A different kind of winder

I saw a different kind of yarn winder scrolling the marketplace, and ordered one. I was intrigued because instead of using a tilted core that spins off-axis, it uses a stationary core and an arm that oscillates. Unfortunately it makes very messy yarn cakes. Functional, but messy.
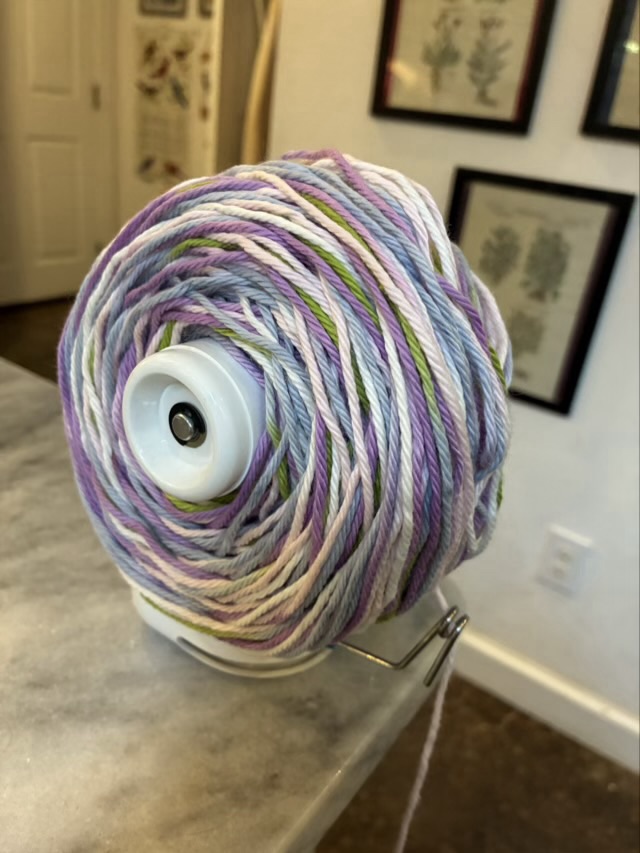
Photo description: messy yarn cake on a horizontal style ball winder

I tried several different ways of winding: forward, backward, without tension, with tension in different directions, but all the cakes were messy. Even the picture on the box had a messy yarn cake, so I don’t think I’ll be able to achieve a beautiful wrap with this device. But it could serve another purpose. I took it apart to see how it worked.
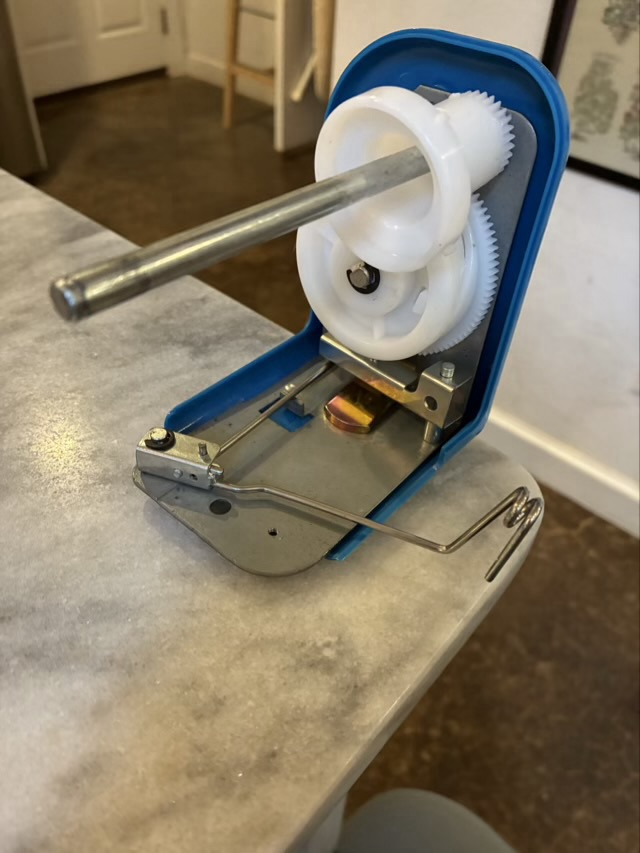
Photo description: same yarn winder with the cover removed showing the gears and cogs that make it tick (literally)

When I had it apart I played a little with the arm length and spent quite a bit of time turning the handle to watch how the parts worked together. The seed of an idea is in the back of my head to make my own yarn winder that I can use with a treadle instead of a handle.

When working with small metal parts, a magnetic watch band can be a useful accessory, if you remember that it is magnetic and will pick up tiny parts. I spent five minutes looking for the small black clip on the floor before I looked at my watch.
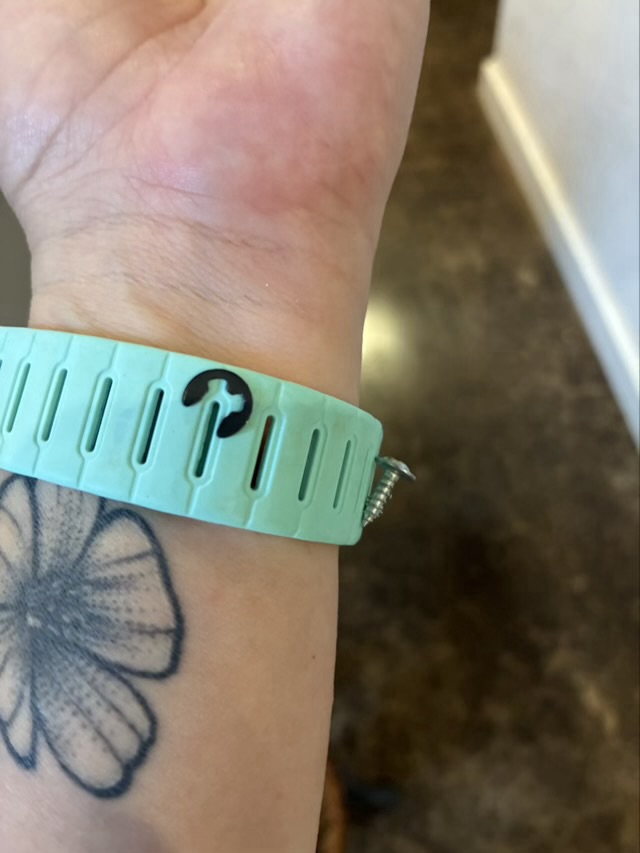
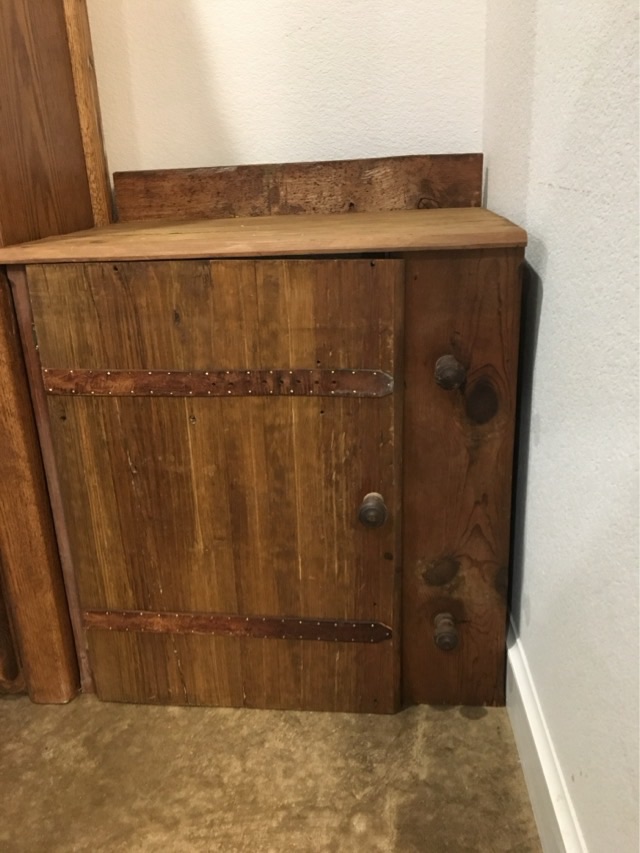
Photo description: small black clip and a small screw magnetically attached to my watch band

Throwback Thursday: cat cabinet

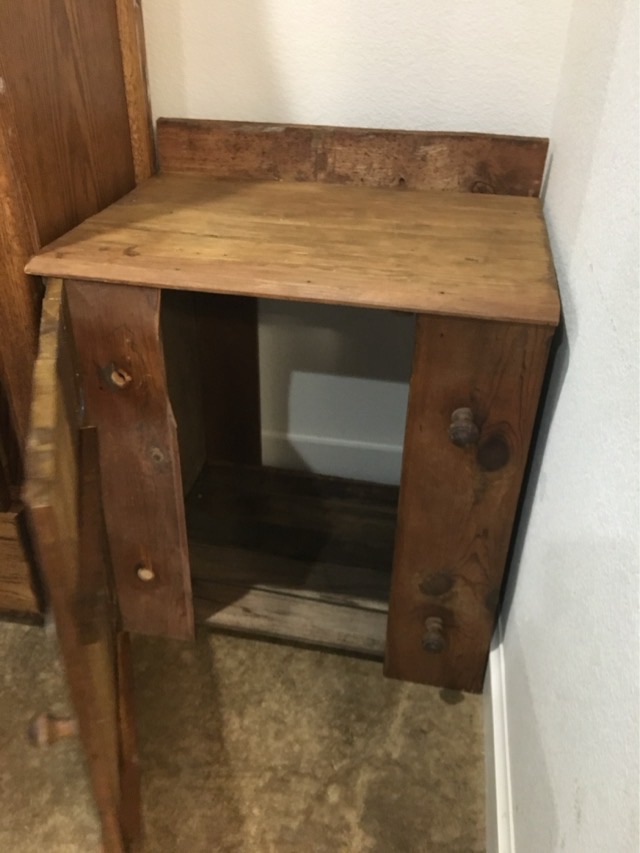
In January 2018 we were still working on setting up the new-to-us house and I needed a place to feed Izzy the cat. We had a space in the corner of the master bedroom and the previous owners left a large old wood workbench with drawers on the back porch. I used the drawers as the structure for a cabinet, and cut sections of the workbench top for the cabinet top, bottom, and door.

Photo description: cabinet made from old workbench drawers
Photo description: inside of the cabinet, showing the open back

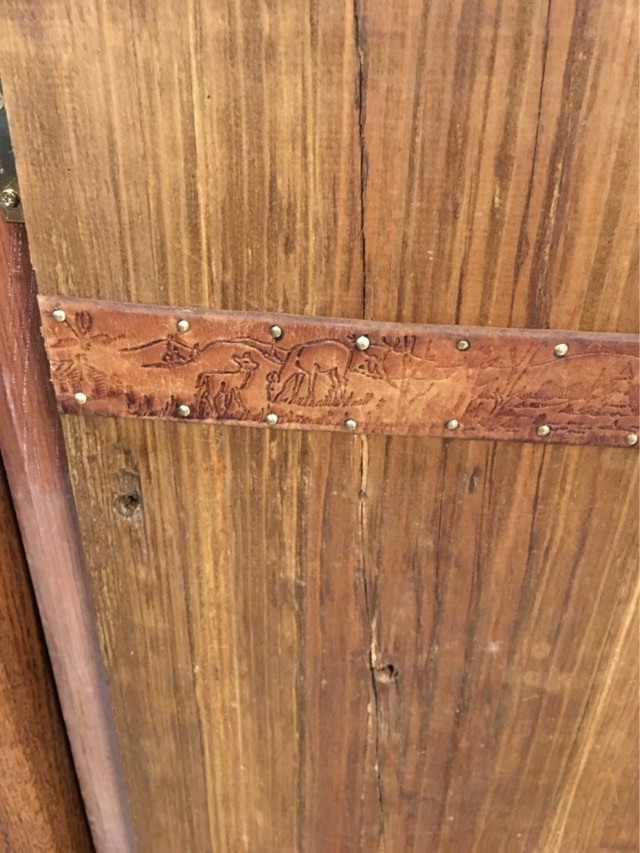
The door had a crack, so I used an old leather belt as strapping to reinforce it. It worked, because the door is still strong after 8 years.

Photo description: closeup of the leather strap showing the carving details from when it was a belt

Chimes

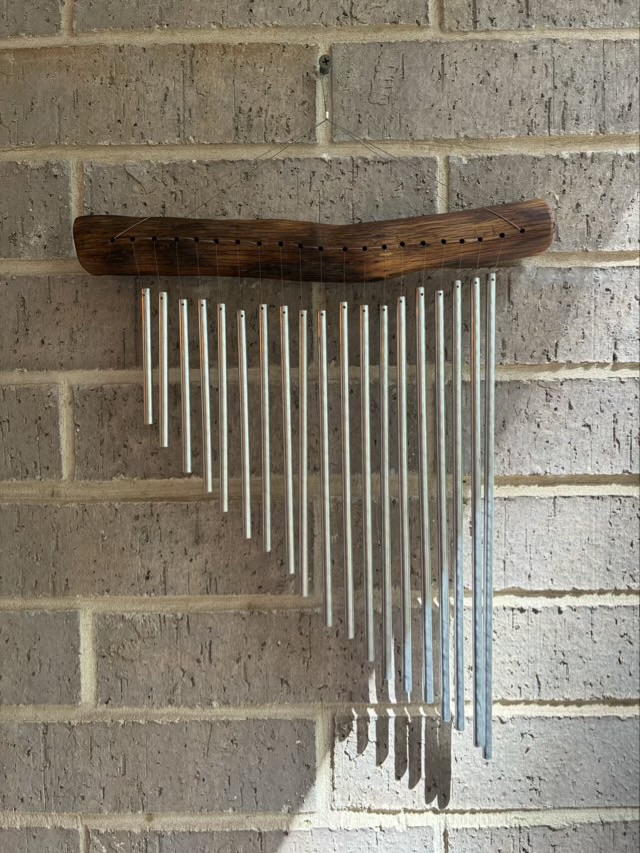
I wanted a set of chimes for the front entry, so decided to make some.

Photo description: graduated chimes made from 1/4 inch aluminum rod hung with fishing line from a section of a cedar branch

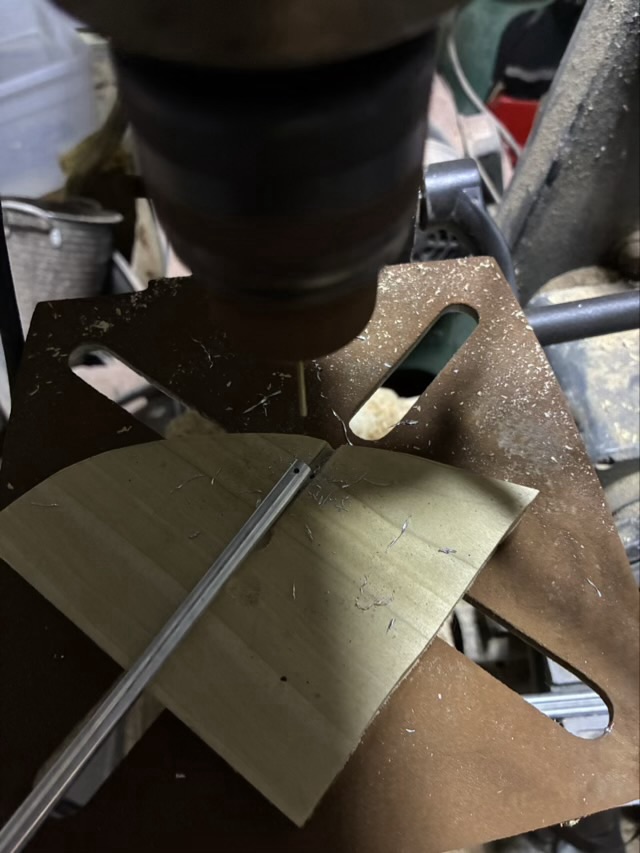
I read that chimes are usually made with solid aluminum or brass tubes. Aluminum is easier to work with, so I purchased a set of 10 quarter inch rods that were each 16 inches in length for about $14. My first step was to make a small groove in some scrap wood to hold the rods while I drilled a hole in each end.

Photo description: scrap wood jig holding a aluminum rod and a hole drilled in the end with a drill press

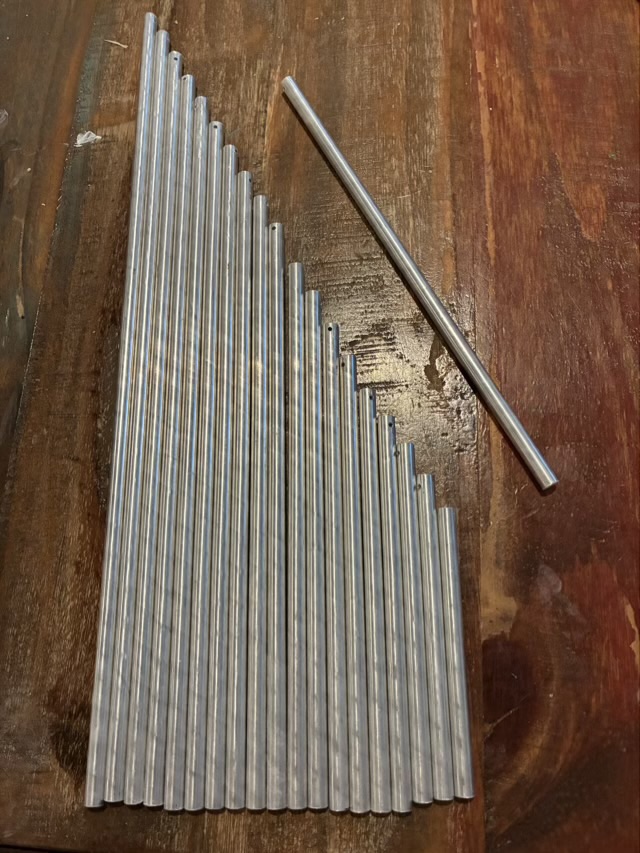
Once each rod had a hole in each end, I used a band saw to cut the rods into different lengths, with about a 1/2 inch difference. I then sanded them to remove the burrs and sharp edges.

Photo description: 19 graduated aluminum rods with one extra originally intended to play the chimes, but was unnecessary

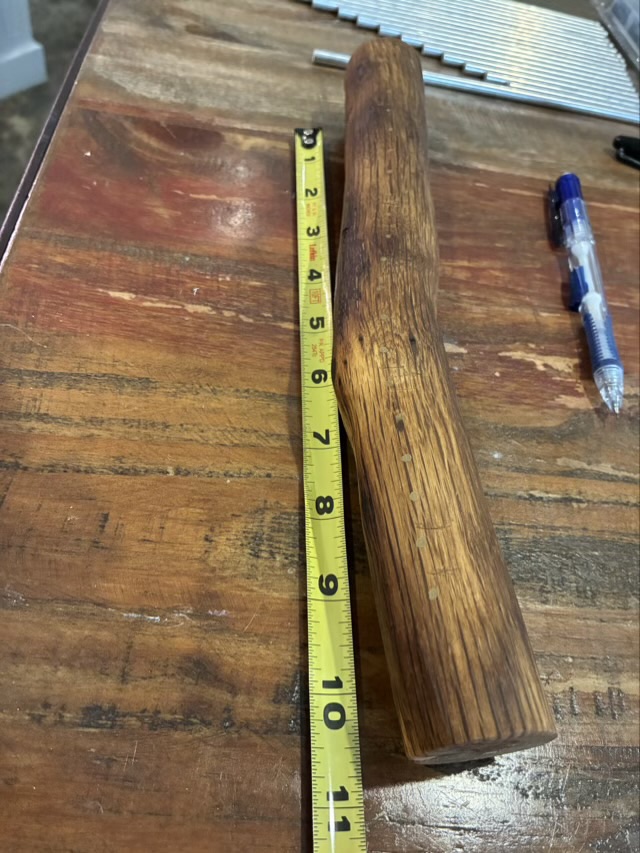
I found a scrap of cedar branch from a failed walking stick project and cut it to about 12 inches. I sanded it and finished it with Howards Feed-n-Wax.

Photo description: cedar branch being prepped for holes drilled 1/2 inch apart

I used steel stranded cable to hang the wood, and monofilament fishing line to string the chimes. The knots for the fishing line are all on the back of the branch. The chimes are strung with line that comes out the back and back in the front to increase ring time, and I found have a long line for stringing and a shorter secondary line for tying knots worked fairly well.

Here is a video of the chimes in action. If I get ambitious, I will tune them .

New direction

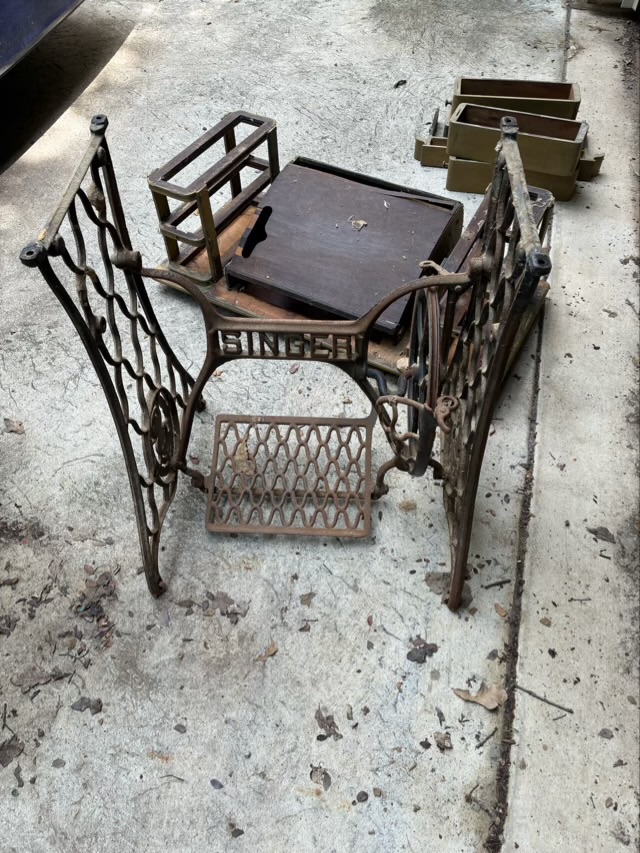
The Singer 27 treadle sewing machine that I purchased for $50 and pulled put of barn where it had lived for years is going back to the original purposes for which I bought it. I just wanted the cast iron base.

After reading about treadle machines I had changed my plan and attempted a restoration, but there is just too much rust. So. Much. Rust. Cleaning and polishing teeny tiny parts is not my happy place, so the project sat for three years. I need the workspace back, so I’m going back to my original plan of restoring just the cast iron base to be a power source for different tools.

Photo description: cast iron Singer sewing machine base separated from the wood top that was rotting and painted a strange yellow

Lame sheath

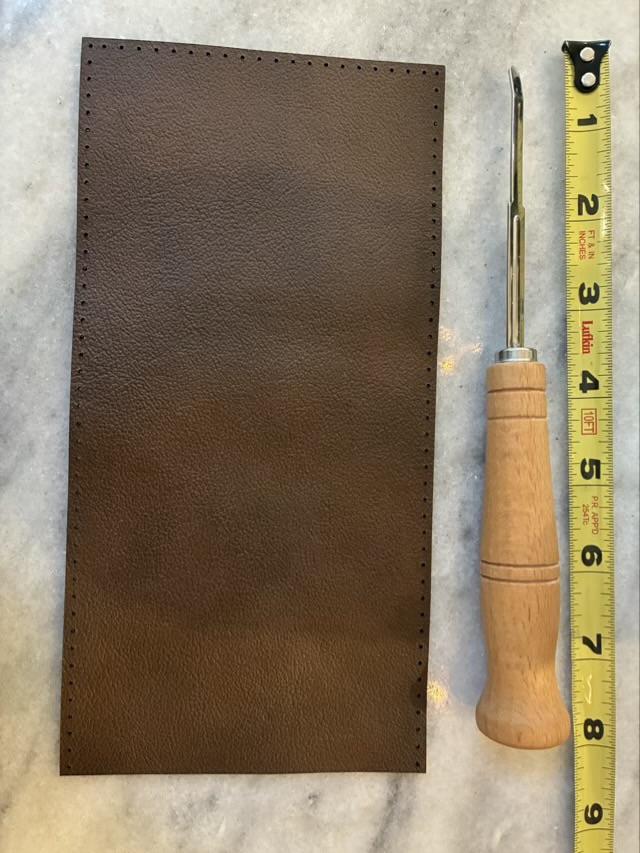
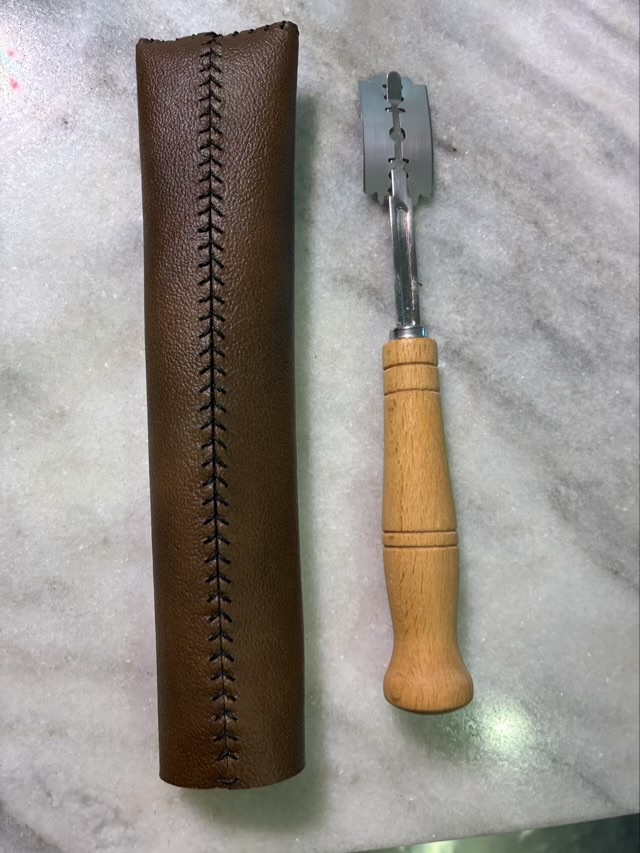
My lame (a blade for cutting bread) has been living inside the original cheap cardboard box for a few years now. I finally made a new leather sheath for it!

Photo description: piece of laser cut finished leather, lame (without blade), and a tape ruler
Photo description: sheath stitched up using waxed nylon cord and a baseball stitch, lame with blade attached

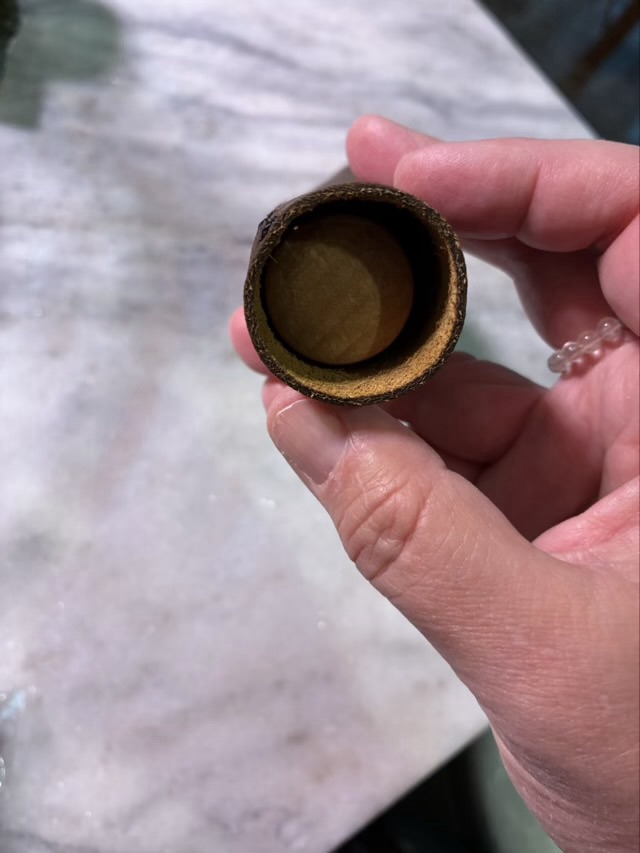
The lame fits inside nicely with the blade. I don’t know if I want to make a lid for the open end, it’s not like I’m cutting sourdough on the go. I really just needed something to keep it safe in the drawer.

Photo description: open end of lame sheath with lame inside

I really like my laser cutter for the ability to make precise leather bespoke items.