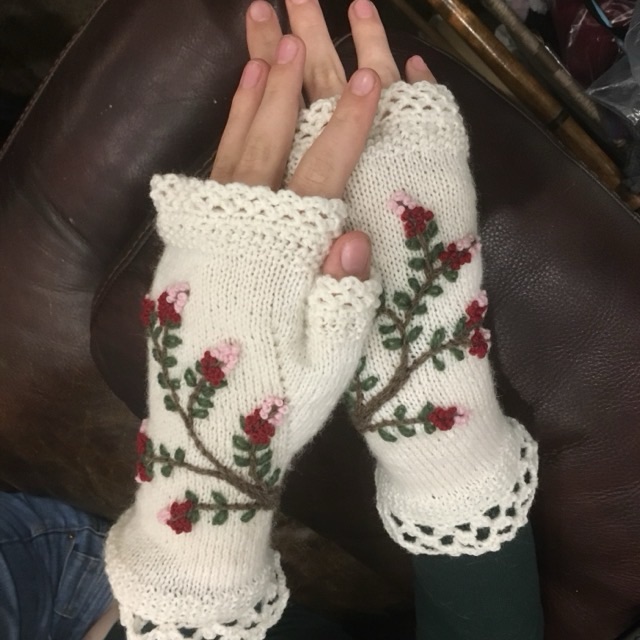
I made a second pair of fingerless gloves in November 2018, with the body of the gloves knit, the edges crocheted, and embroidered flowers added to the backs of the gloves.
Photo description: knit, crocheted, embroidered fingerless gloves made from wool fingering yarn
I’m not sure of the practicality of white wool gloves, but the embroidery sure looks nice against the light background.
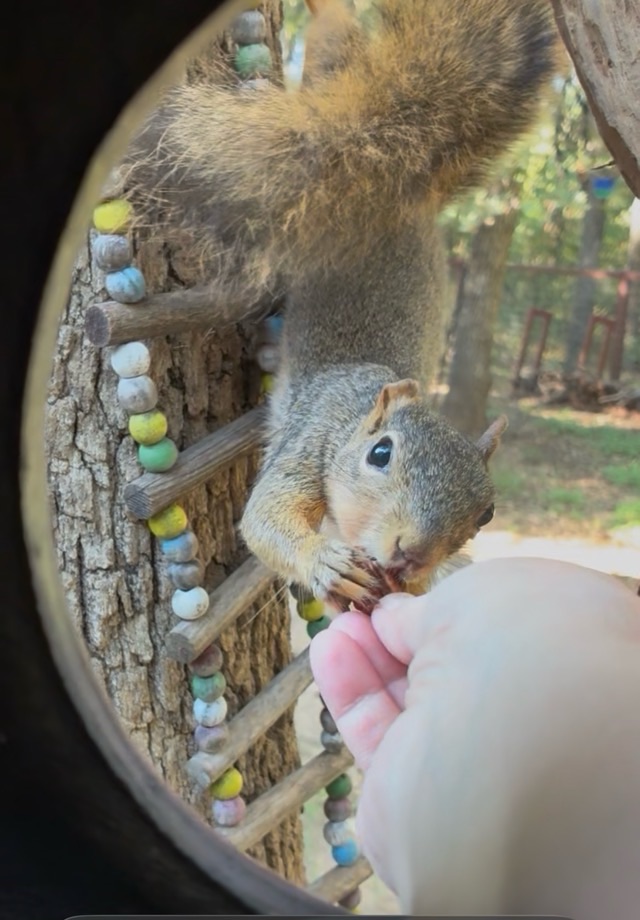
I have a squirrel that I can hand feed pecans! She stares at me from the tree outside until I take her out a couple pecans, then she will take one from my fingertips and eats it while sitting on a knot on the tree. Here is a video.
Photo description: still from a video of a squirrel taking a pecan from my hand
Yes, her right ear is mangled. I suspect she had ear mites and scratched it up. And yes, I know she is a female, and has had kits. When squirrels are stretched out to feed on corn it is easy to tell gender.
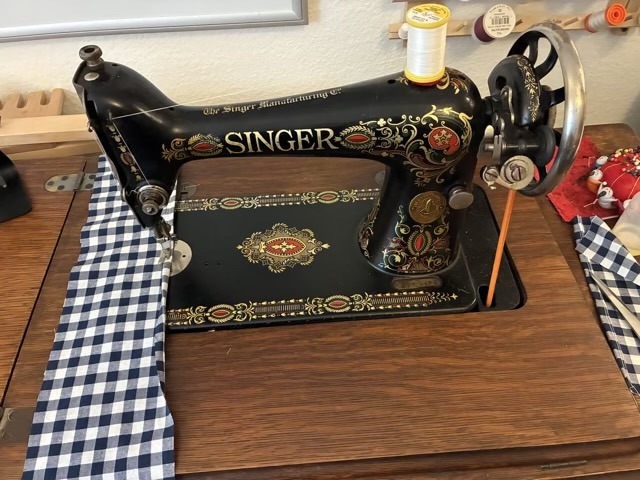
Pinner aprons were a popular clothing protection addition from the late 1700s to the late 1800s. The bib added above the waistband was pinned to the top of the dress, hence the “pinner” name. I made mine from 100% cotton gingham fabric, which has a checked pattern made by weaving together white and dyed blue thread, not by printing. I sewed it on a Singer model 66 treadle sewing machine (1916) using 100% cotton thread. I cut all the pieces by calculating size and following the squares on the fabric, and did not use a pattern. To keep the edges from unraveling, I hemmed each piece before assembly.
Photo description: hemming an apron tie with a Singer model 66 treadle sewing machine
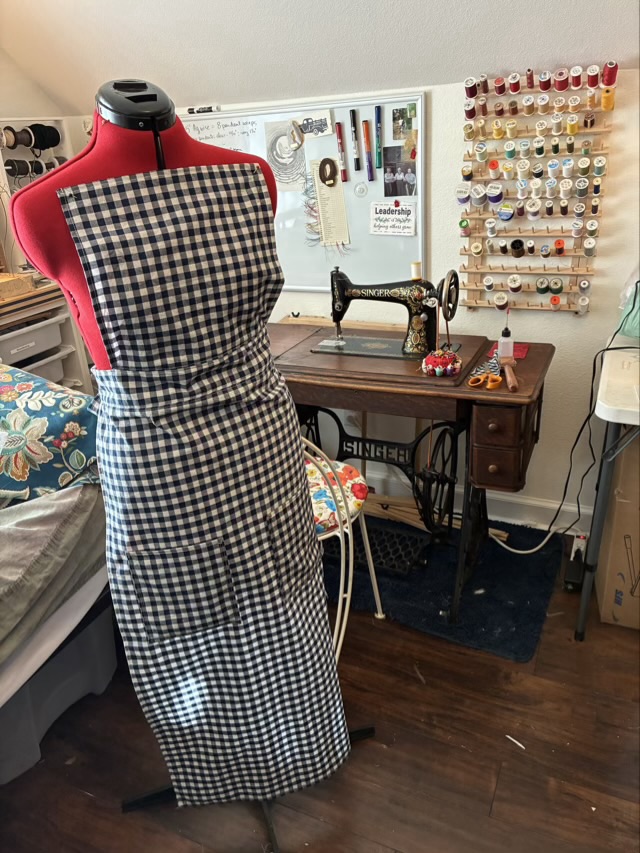
I made the apron because I wanted (needed) pockets with my 1860s period outfit. I did not gather the apron because my walking skirt from Historical Emporium doesn’t have gathers.
Photo description: finished apron on a mannequin with the treadle sewing machine in the background
The apron worked as intended, and aside from the problem of putting tiny holes in my shirt from the pins, the bib stayed in place, honestly better than straps stay on for me.
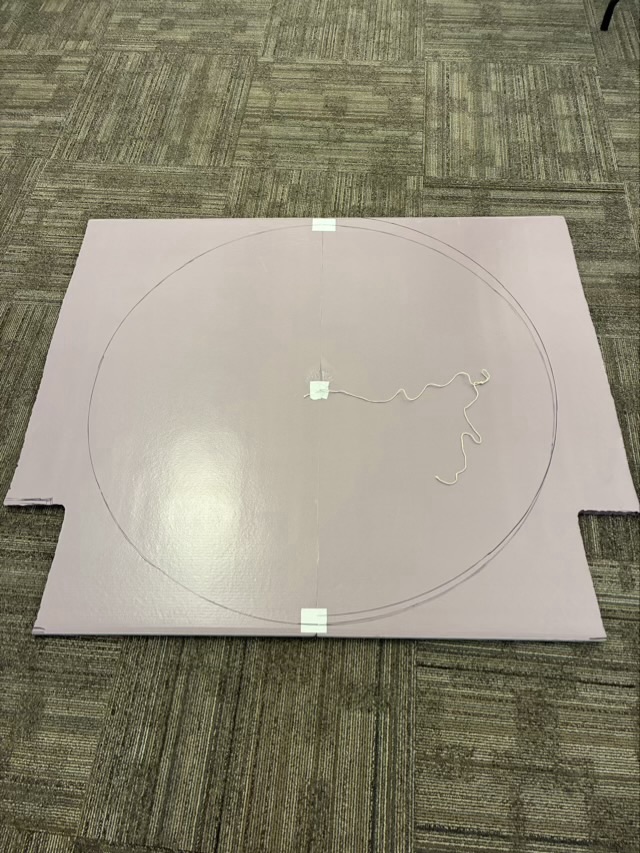
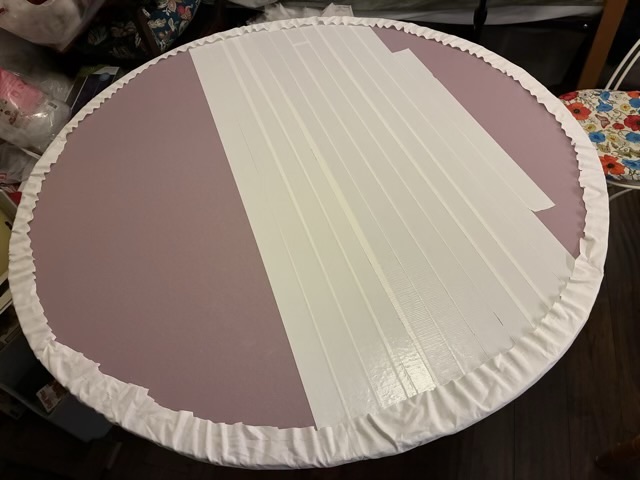
For a fun decoration for the Pioneer Festival, I made the moon. I used foam insulation and made a circle with string and a sharpie pen.
Photo description: foam insulation board pieced together with duct tape and a circle drawn in sharpie
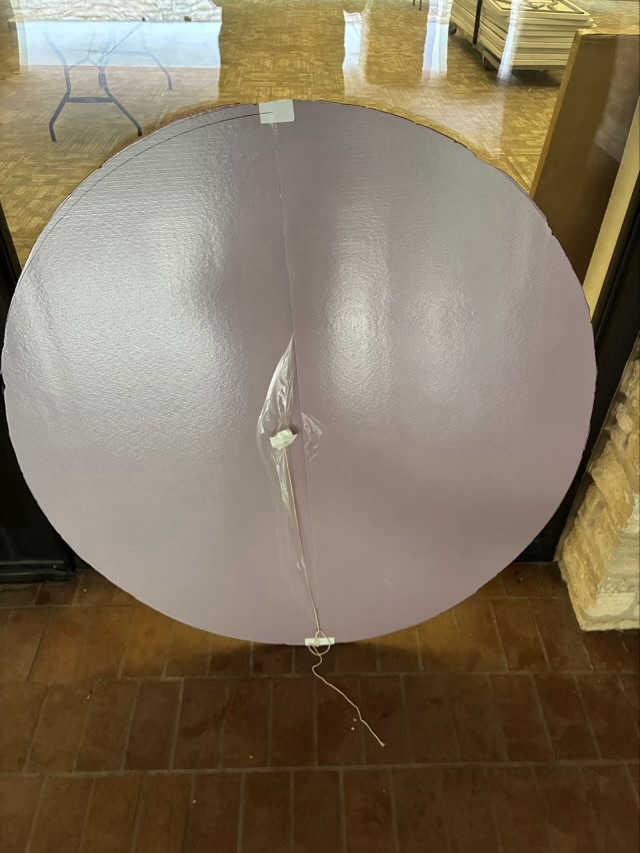
I cut out the circle with a heavy duty hot knife, which made the cutting (melting) very easy. Always cut outside in a well ventilated and heat resistant area. (I was very glad I did, the fumes and heat are no joke.)
Photo description: circle of foam insulation
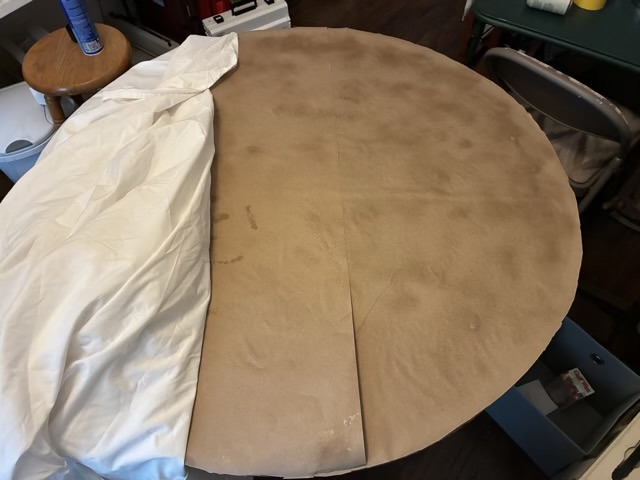
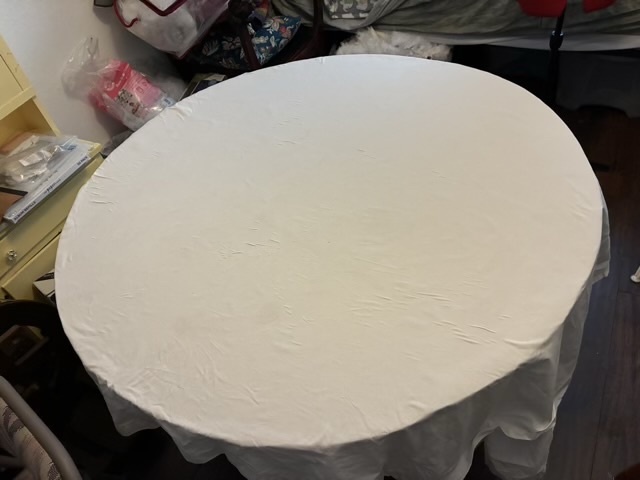
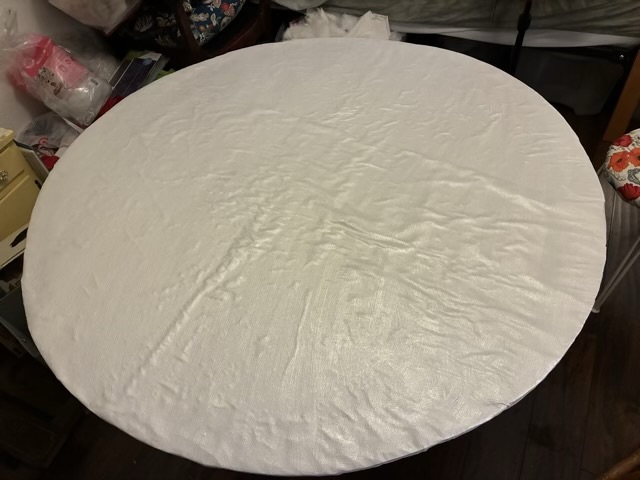
To hide the duct tape and give a visually solid surface, I used spray adhesive to cover the front with kraft paper, then on that adhered an old white sheet.
Photo description: kraft paper covered with spray adhesive with a white cotton sheet ready to pull taut Photo description: white cotton sheet pulled over the foam insulation and kraft paper
To give an even edge, I trimmed the sheet about three inches from the edge of the foam board, flipped it over, and baste stitched the fabric with upholstery thread to make an even gather.
Photo description: edges of the white cotton sheet gathered with thread
I put another layer of security on the fabric by adding duct tape to the back to keep it in place.
To give the moon a glow, I primed the cotton fabric with pearlescent acrylic paint. I had an interesting discovery: the kraft paper and fabric layers reacted to the paint differently and created an uneven surface. For the moon this is a great result, but for any other project where a smooth surface is needed, it would be vexing. Good thing I was making the moon.
Photo description: circle primed with pearlescent acrylic paint
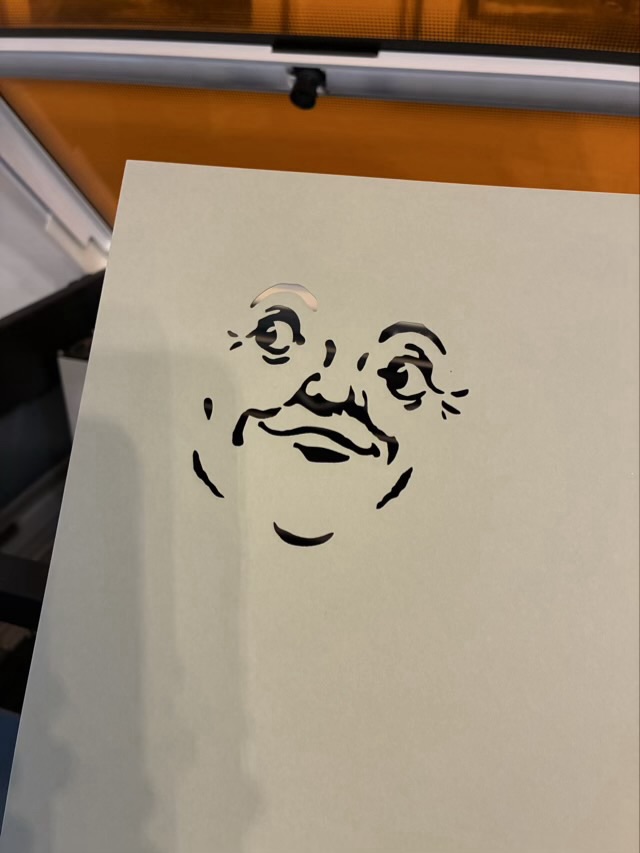
Photo description: moon face stencil cut from cardstock using a laser cutter
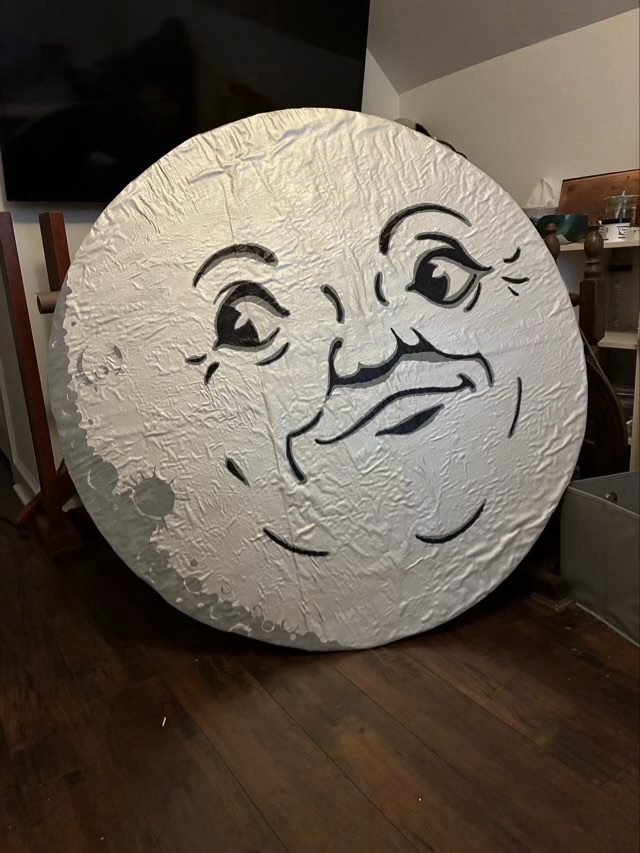
I experimented with several lights trying to get one that didn’t disperse so much that the light cast onto the surface was unusable, and finally settled on my phone flashlight, which still dispersed the image, but I could get the general shapes pencilled in on the moon shape (but no pictures because my phone had a different purpose.) I painted the moon face with gray and black acrylic paint, and added a shadow to indicate more craters.
Photo description: finished moon with painted face and crater shadow
Did I get a picture of the moon installed at the festival? No, I was too busy spinning, lol. But it did look the part where they hung it.
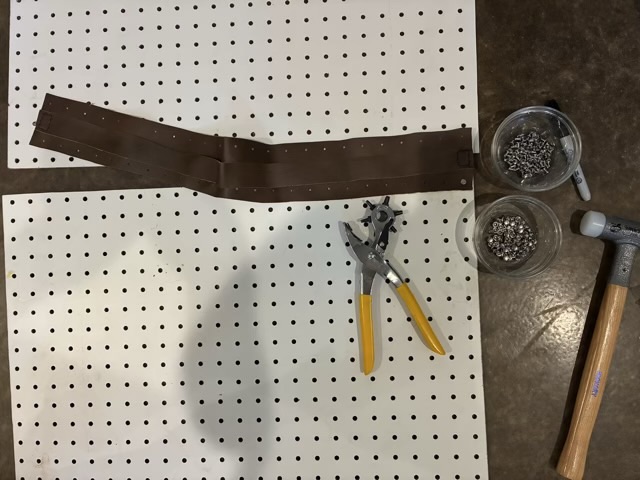
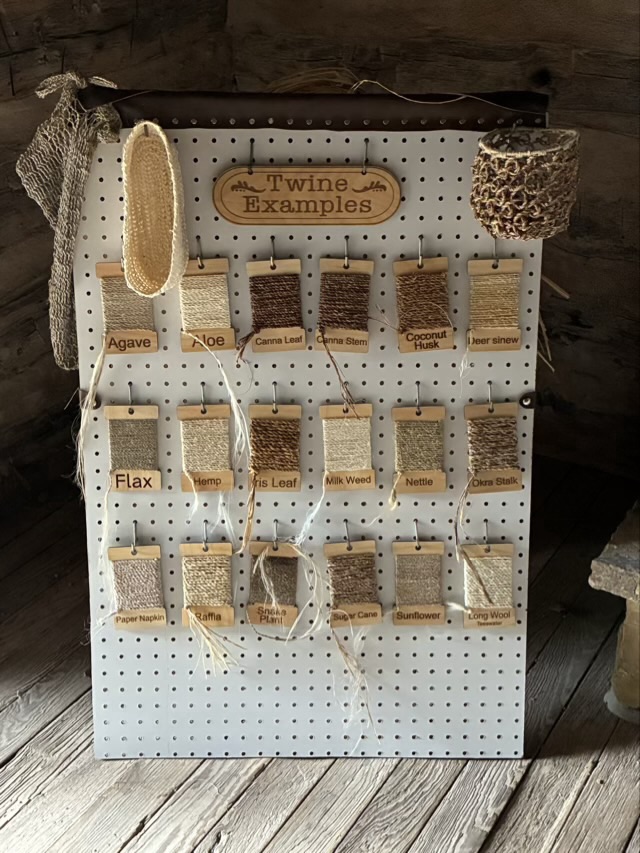
I used scrap pegboard to make a display for all my twine cards for the Pioneer Festival at the Doss Heritage and Culture Center. To make the two pieces of pegboard into a sandwich board I cut and punched a strip of leather and riveted it to the top of the boards.
Photo description: pegboard, leather strips, leather hole punch, two bowls holding one half of the two sided rivets, and a dead blow hammer
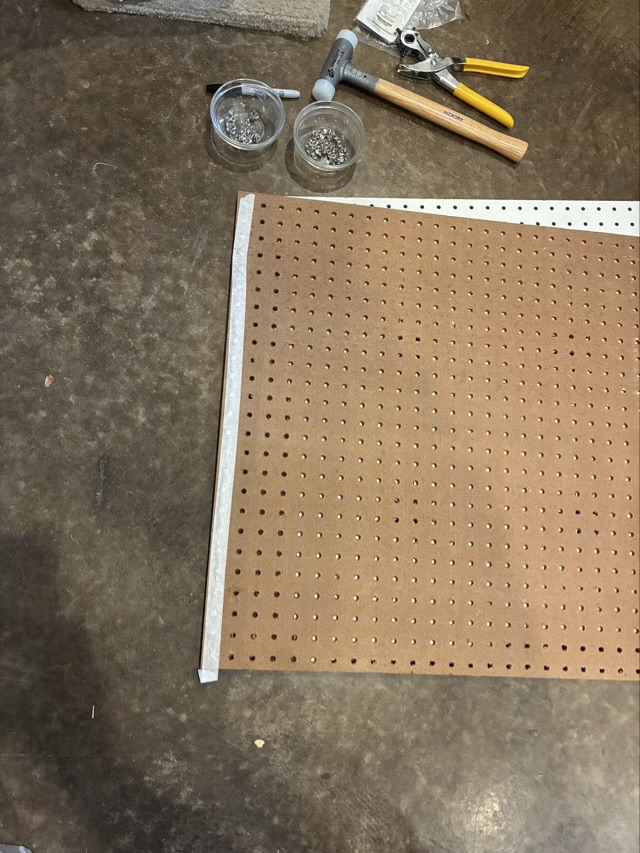
My rivets were just the right size to lock together through the leather and the pegboard. I used a dead blow hammer to secure them as the board laid flat on the floor. The second board was a little tricky to set the bottom rivet, so I flipped the board over, put in the rivets, and secured them with tape so they wouldn’t fall out. I used screw rivets to secure side straps to keep the boards at the same angle when open.
Photo description: back side of the pegboard with half the rivets in the top holes secured with tapePhoto description: finished pegboard sandwich board with 18 examples of twine, a laser cut “Twine Examples” sign, two baskets made from looped twine, and a bag made from twine
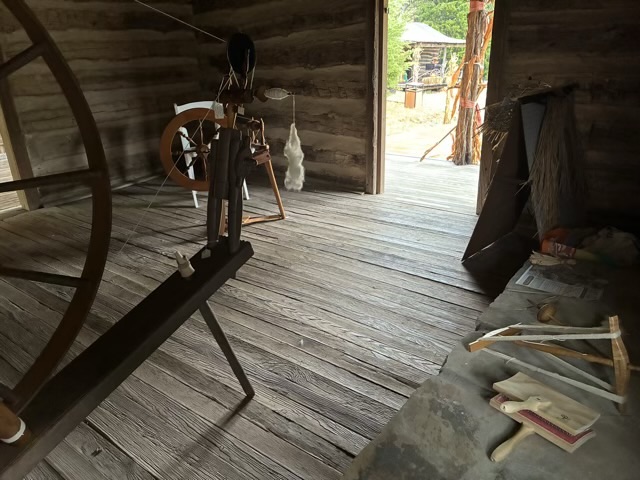
The twining went over well. I took raffia and taught two wonderful volunteers to twine and they taught hundreds of people coming through the event to twine bracelets while I demonstrated spinning on a great wheel and a treadle wheel (not at the same time, but as a comparison). Of course I didn’t take a single picture of my period outfit, but I did take one of the wheels I worked with in the 1850s cabin I was in.
Photo description: inside the Strain cabin with a great wheel (left), modern treadle wheel (behind the great wheel, twine display (far right), and spinning tools on the hearth: carders, niddy noddy, and drop spindles
The treadle wheel was meant to only be decoration, but it just needed a new string on the footman at the bottom, and a bit of wire at the top to keep it on. I cleaned it and oiled it and had it spinning wool again. On the Great Wheel I was spinning Texas grown cotton.