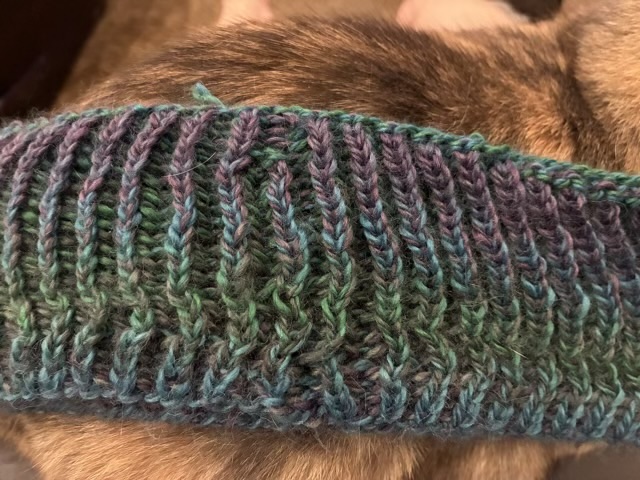
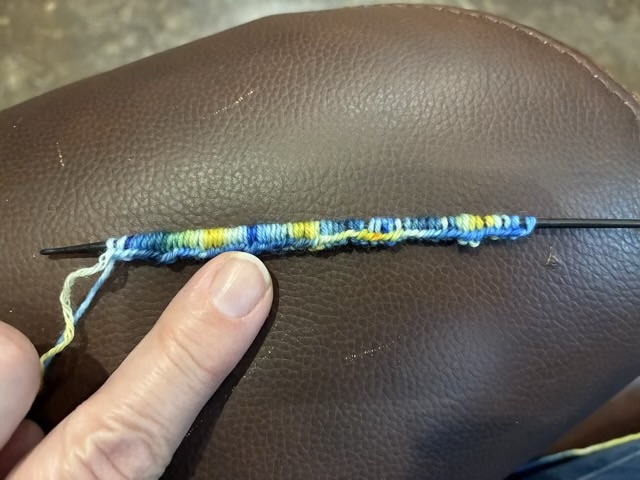
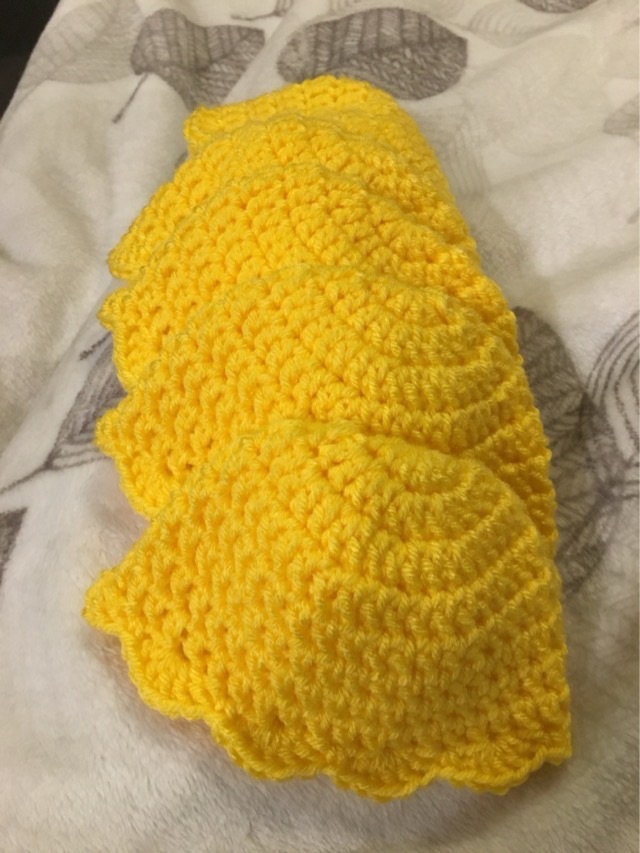
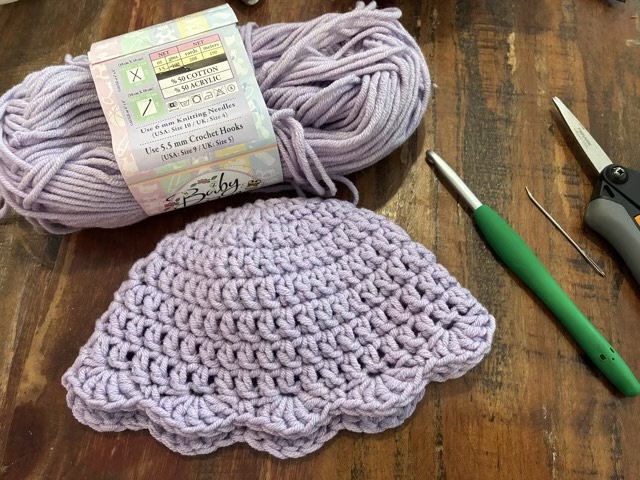
Throwback Thursday: coin pendant

In May of 2017 I made a custom wire wrap so that a coin could be worn as a necklace.

Photo description: Black Belt coin with gold colored wire wrap on a leather cord with loop and knot closure

The wire wrap is constructed with three circles of wire just slightly larger than the coin, wrapped together at four points. The top circle crimps inward to hold the front of the coin, and the bottom layer crimps inward to hold the back of the coin, leaving the center circle to frame the coin. At the top I made a loop for the leather cord.

Sock experiment #2

Previously I tried making a pair of spiral socks, where the spiral rib fits the heel without having to make a gusset or turn a heel when knitting. This kind of sock also is independent of foot length, making it a great choice when shoe size is unknown, or you are dealing with growing feet. It worked, so I started a second pair. About half way through the second pair, we discovered that the first pair didn’t stay up very well. The spiral fit the heel, no matter how the socks were put on, but tended to slide down the foot. I have to admit that I lost interest in the project for a while. Eventually I came back to it and decided to just finish off the sock in stockinette stitch and do an even decrease to make a round toe.

Photo description: blue and yellow socks with a spiral rib ankle and heel and stockinette ball of foot to the toe, ends not woven in

I wove in the ends and had my youngest try them on.

Photo description: socks on feet with a good fit, ends woven in

The socks look strange, but fit well. I feel they will have the same issue sliding down the foot without some modification. For the next pair, I plan to make the ankle a standard rib, use the spiral rib for the heel, a rib across the arch, and a stockinette toe with round finish. The goal is to have a sock that can be put on easily without having to align a heel, but still stays in place.

Four-leaf clover preservation charms

I’m trying to forever preserve some of my clover from my four and five leaf clover patch in the yard. I selected one five-leaf clover and four four-leaf clovers and pressed them between layers of wax paper for a couple weeks. I purchased round bevels with loops and put an initial layer of clear two-part epoxy resin down inside.

Photo description: 5 gold plated bevel cups half filled with 2 part expoxy

When the epoxy set, I used Modge Podge to attach the pressed clover to the epoxy, then put another sealing coat on top of the leaves.

Photo description: five-leaf clover decoupaged to an epoxy base in a gold plated bevel cup

Once the glue had dried, I put a final layer of epoxy on top.

Photo description: real pressed clover preserved in epoxy resin in gold plated bevel cups

I chose gold plated bevels because I think four-leaf clovers should be on gold, but also because epoxy resin tends to have a yellow tint. That yellow blends in with the gold, mitigating the problem.

Pitch Pipe Paper

My quartet uses Tombo Pitch Pipes. I’ve see fully customized pipes with different colors and logos! I dipped my toes in the waters of customization and applied a custom paper to the decal in the center of the pipe.

Photo description: four Tombo Pitch Pipes with custom labels decoupaged in place

The Tombo label is 42mm in diameter and has a small indent to line up on the pipe so the pitches are in the right place. I used Adobe Illustrator to layout the design, then my laser cutter to cut them out precisely. To apply, I painted the bottom and top with matte Modge Podge.

I did mark three of beginning pitches with the initials of the song names, just in case. I should be able to remove these labels and put on new ones for future revisions.

Eventually I would like to make them fully customized, and not brown, but that is a future endeavor.

Good luck charm

It is traditional for Sweet Adelines to give small gifts of encouragement or luck in the time leading up to contest. Last year I crocheted worry worms, this year I made small four leaf clover charms from dyed green leather.

Photo description: suede side of a 1 inch charm cut from green leather, sitting on my hand

I designed the cut out in Adobe Illustrator. The grouping of four hearts represents the four voices of Barbershop Harmony. I originally wanted to do a fill engrave, then a cut out, but overall processing time would be 1.3 minutes each. I needed 60 charms. I redesigned the charm to be cuts only, using open slits to delineate the heart-shaped leaves, which dropped the processing time to 18 seconds each. The slits can also be used to hang the charm on a keyring or similar. I’m quite pleased with the number of pieces I was able to cut from a 12” square of leather.

Photo description: view through the yellow window of the WeCreat blue diode laser cutter to show the tight formation of clover shapes

I did lose three cuts on the left because the leather wasn’t completely flat, but all the other charms came out well. The laser does leave a charred edge, so I washed all the charms with water to remove the soot, then let them dry overnight.

I designed, printed, and cut flat cards and used glue dots to mount the leather charms to the cards.

Photo description: 60 Good Luck cards with leather charms that have my quartet logo “Precious Tones” with the words “A small good luck charm for a big moment. Go Shine!”