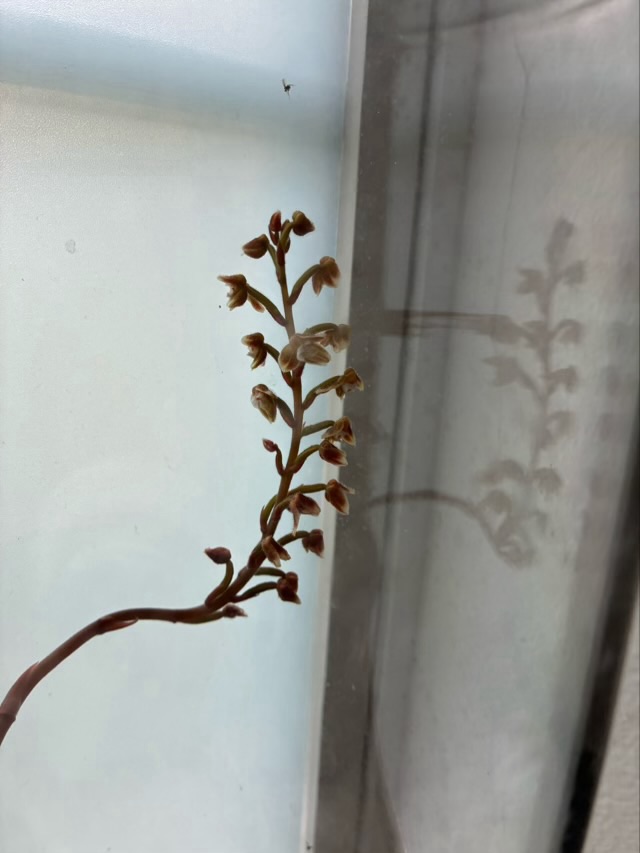
Photo description: photo taken through the clear acrylic cylinder so slightly diffuse of a jewel orchid bloom, with the reflection off the cylinder keeping in the moisture
It is not as showy as other orchids, but I’m still excited that I found a setup in which it will bloom. It is in a small mason jar full of live moss, and capped with a large clear acrylic upside-down vase, in a southern facing frosted bathroom window. I add water maybe once a month.
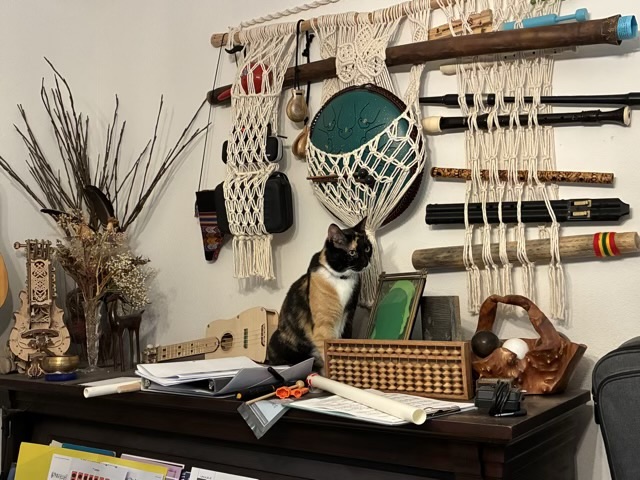
Photo description: Top of an upright grand piano covered in sheet music and oddities with a wall hanging holding a collection of instruments, cat in the middle
It isn’t a very difficult “Where’s Waldo” photo, but she wasn’t trying to be subtle. She was trying to get to me to make me stop singing. I was standing at a music stand facing the piano, working on warm ups, and she gets quite perturbed when I even sound like I’m working on overtone singing. I can actually tell when I am using my full resonant voice because she comes over to yell at me (it is definitely not with me). Actual overtone singing and she will come from anywhere in the house to get me to stop.
Here is another square done from the book Granny Square Flair by Shelley Husband.
Photo description: crocheted square made from alpaca yarn, pattern name “Crop Circles”, not blocked
How long did it take you to notice that the center circle is showing the wrong side? I didn’t notice until all four outer circles were stitched in and I had started the connecting stitches. Sigh. I’ll put it in an obscured spot in the final garment. Or call it a design choice.
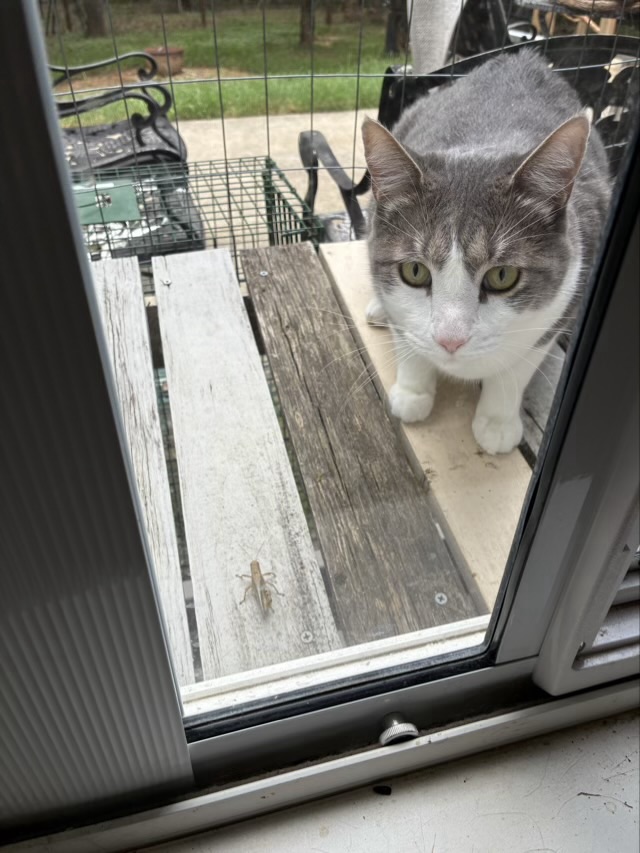
When we got home from our trip, Missy the dog was the first to greet us, turning inside out because she thought we had left her forever (our eldest had to work so couldn’t go on the trip, so the dog was well cared for). Izzy and Sophie the cats were chill, more like “you were gone? make a lap.” I did see Thor the cat for a little while, then he popped up in the catio window with a present.
Photo description: gray tabby outside a catio window with a grasshopper he just dropped for me
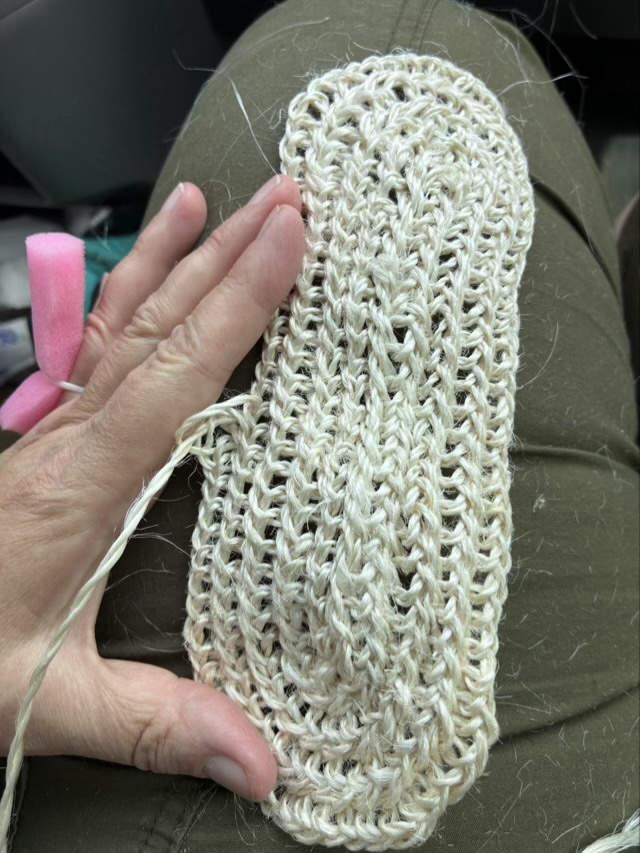
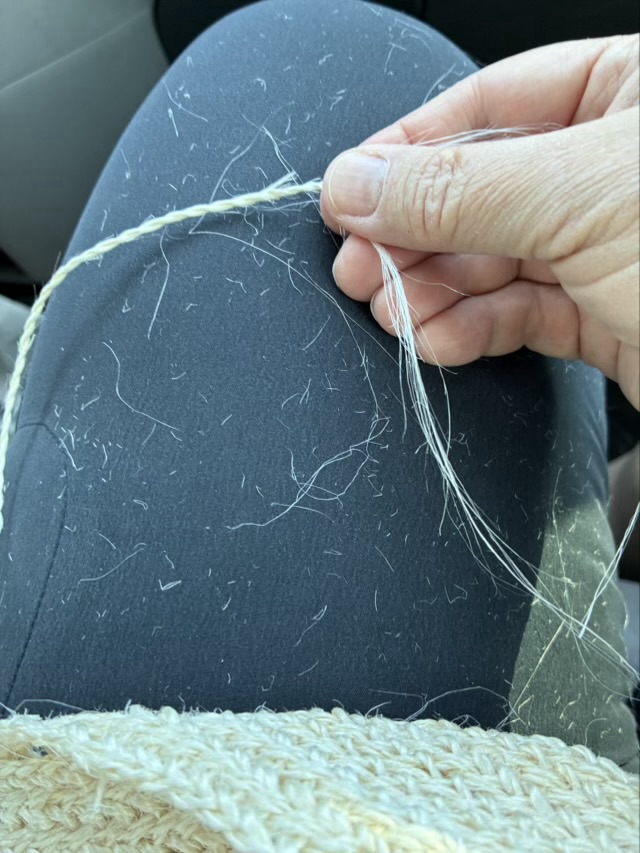
On our five-day road trip I spent time in the car twining and nålbinding a small oval basket from the lotus fiber that I hackled before we left. Once I had an oval shape for the base by adding increases only to the curves, I stopped increasing to build the walls.
Photo description: nålbound oval made from lotus fiber and an Oslo stitch , small section of sponge tucked into my ring because damp fingers twine plant material betterPhoto description: tiny lotus fiber fragments everywhere as I twine
Even though I hackled the fiber and removed many of the shorter fibers, the lotus had more and there bits everywhere. The fibers are hair-like and itchy. Luckily I keep a lint roller in the car because I had to use it before every stop.
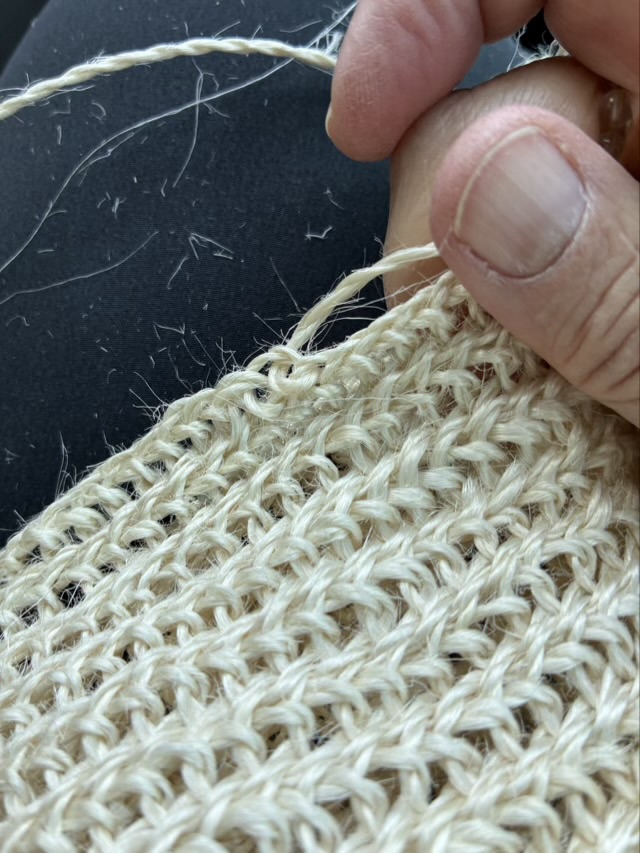
Photo description: final row before tightening the stitches Photo description: final row after tightening the last three stitches and adding a couple simple loops to taper it down
To finish the basket I wrapped the twine around the top rim twice to give the edge more strength.
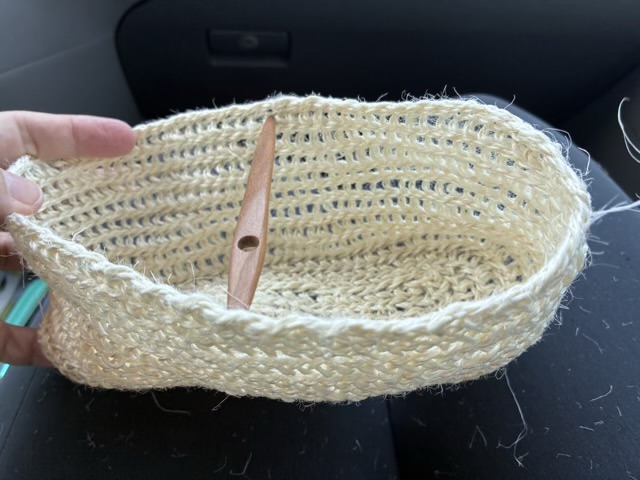
Photo description: finished basket with the cherry wool nål I used for stitching
The basket had a bias twist and was a little wonky, but sturdier than I expected.
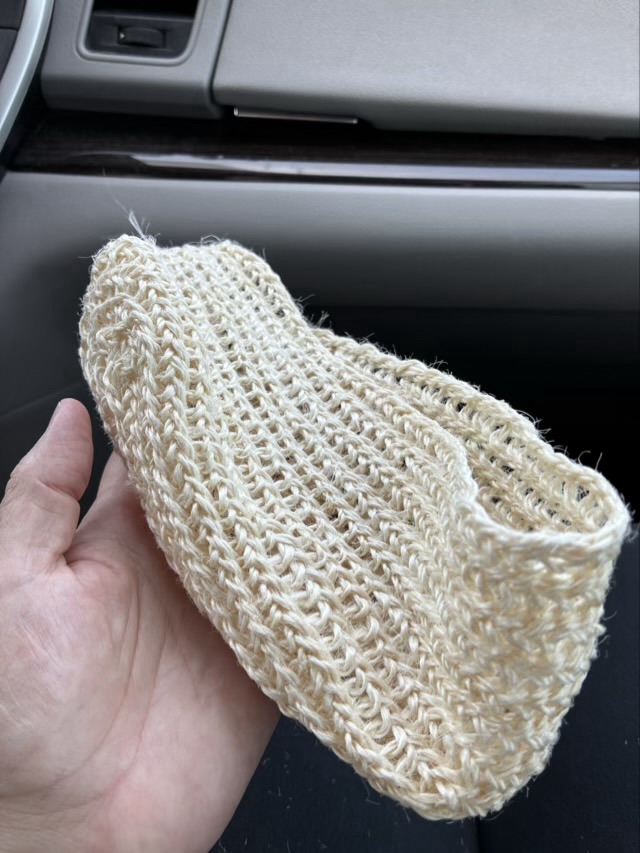
Photo description: the basket twisted without anything to hold it open
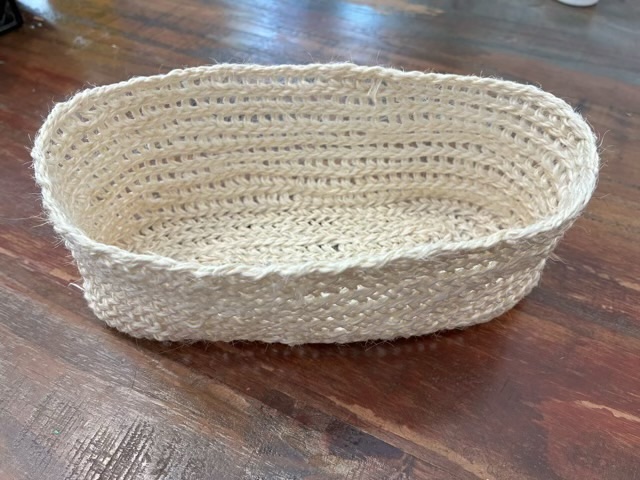
When we got home, I gave the basket a plain water soak and the twist relaxed, making quite a nice little container once it was dry.
Photo description: finished basket after blocking
This project took me roughly 18 hours, but it was very satisfying to twine for a while then stitch for a while. I was originally thinking to make this into a base for a project bag, but since it holds shape, I think I will keep it as a small basket.