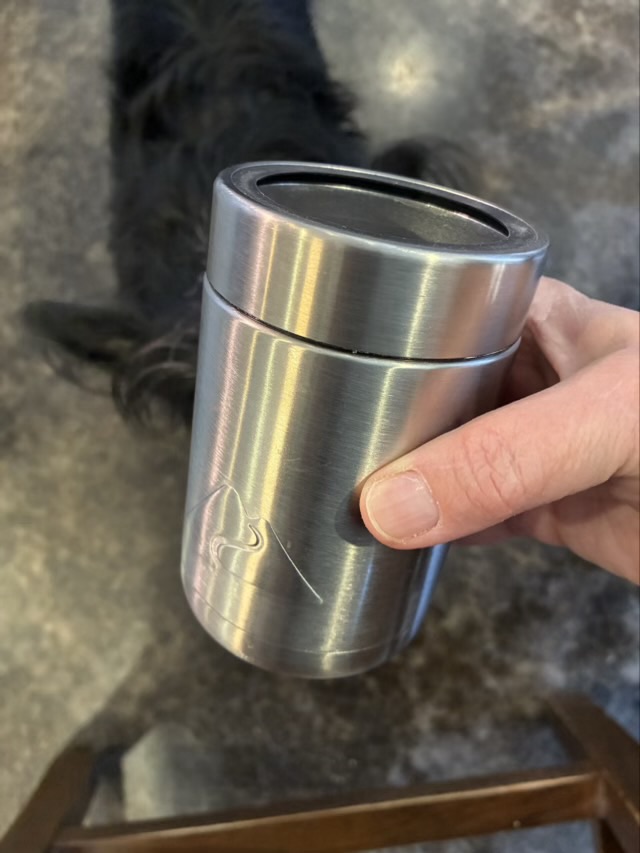
I wanted a travel case for my tiny Turkish style spindle, so went digging through my cupboards. I found a stainless steel can cozy that was just the right size, but didn’t have a lid.
Photo description: metal can cozy with open lid, curious dog in the background
I measured the space and used my laser cutter to cut and engrave a piece of thin birch plywood. I sealed the wood with modge podge (white glue), which also holds the circle in place.
Photo description: same can cozy with a wood insert graved with my logo of a tree and roots
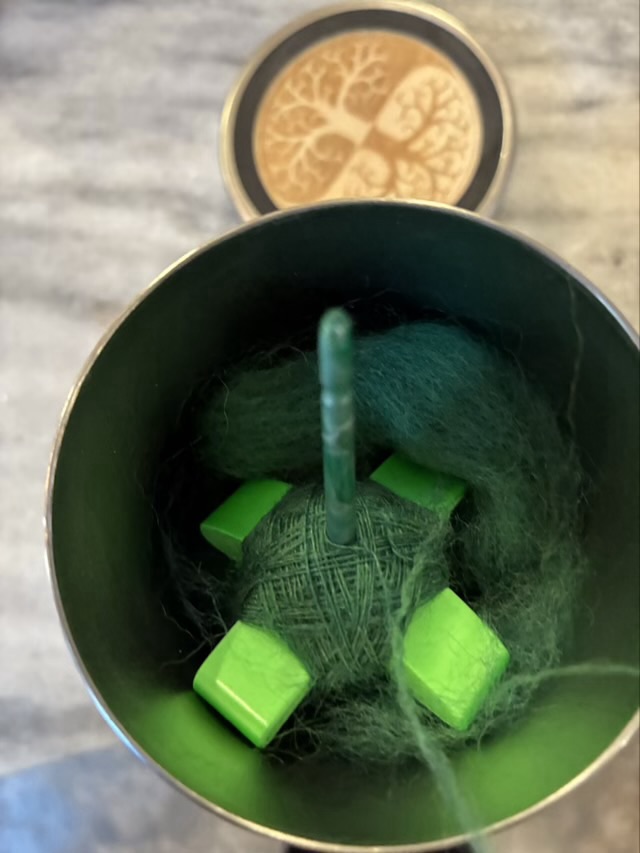
The can fits nicely in the bottle pocket on the side of my purse and fits a handful of wool and the spindle inside.
Photo description: Femto spindle by Turtle Made inside the repurposed can cozy
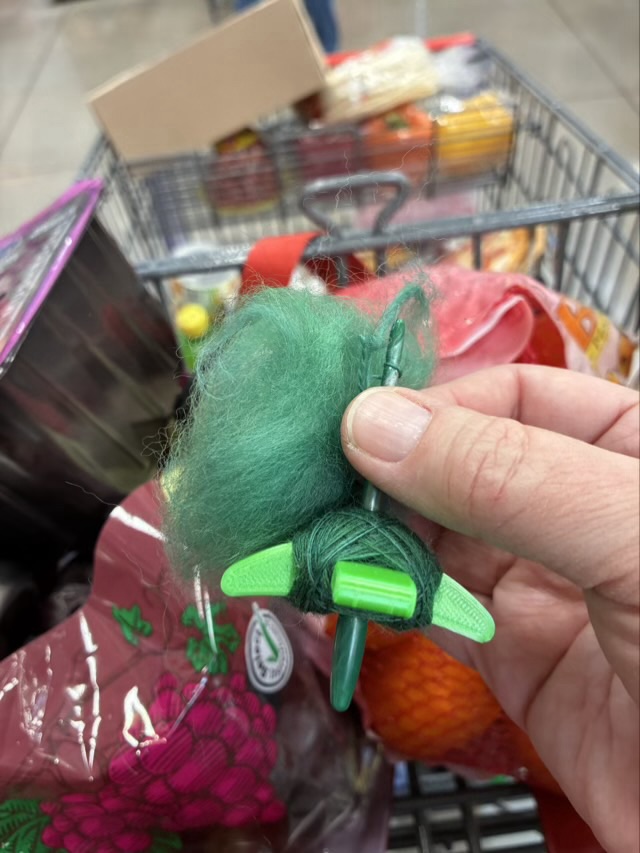
And yes, I really did pull it out and do some spinning waiting in the line at grocery store!
Photo description: spindle with in progress spinning with a grocery cart in the background
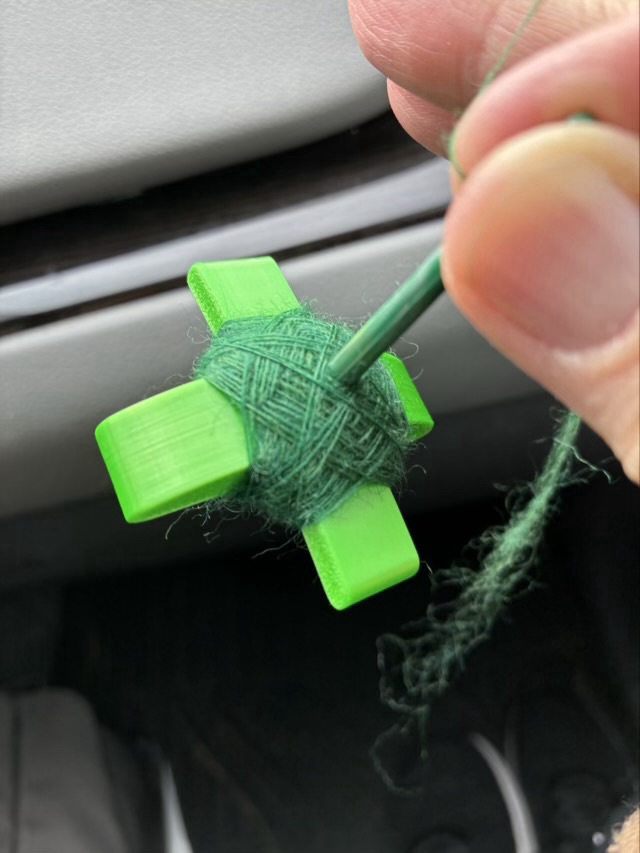
Squee! I ordered a femto spindle from Turtle Made on Etsy, which is a 3D printed Turkish style spindle that is teeny tiny!
Photo description: 3D printed spindle with dark green shaft and neon green arms sitting on my hand
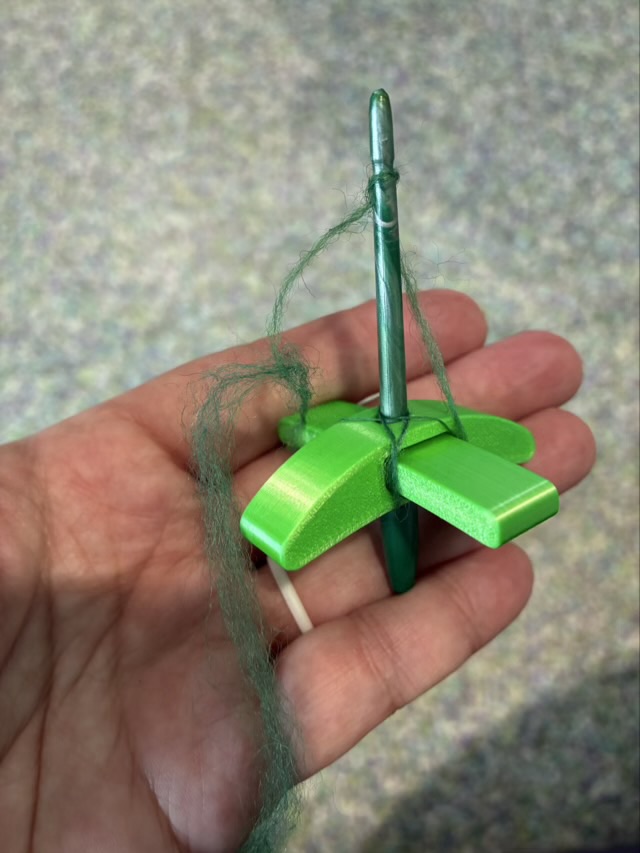
With a spindle this tiny, the obvious choice is to spin as thin as possible. I have some green dyed Corridale mix wool from AnnieWhere that I used to get started.
Photo description: same spindle, wrapped with single spun green wool thread
The spindle works amazingly well for something so small. I plan on finding a case for it and have it be my emergency spinning kit. The emergency would be if I am out and about without a project! Or need to meditatively spin anytime, anywhere.
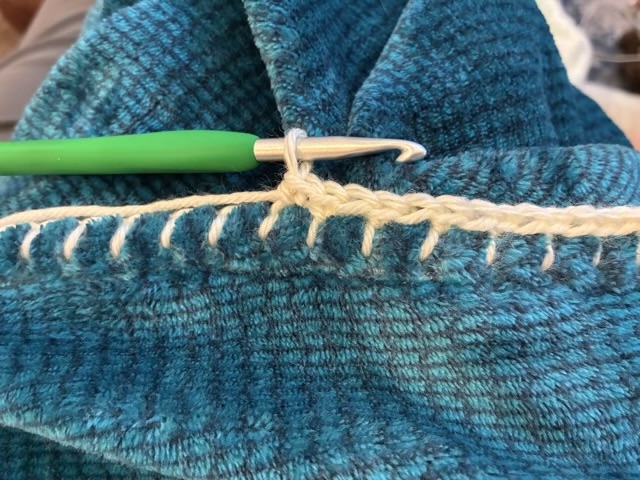
To make the poncho that I made from a free blanket wearable, I used inexpensive acrylic yarn to do a blanket stitch around the neckline, then crocheted into the blanket stitch.
Photo description: single crochet into a blanket stitch, video here
I then alternated rows of shell stitches, 3 on the first row, two on the second, and decreased at the V on each side.
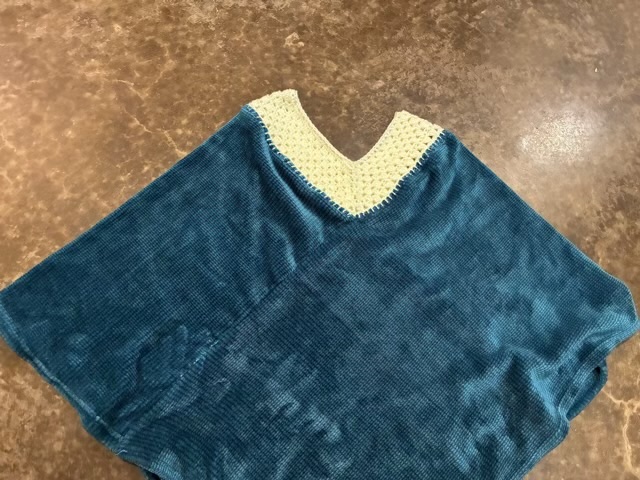
Photo description: crochet added to the neckline of a 2 rectangle poncho
I don’t know why one side has more stitches than the other, but I didn’t count, so that is probably the cause of the error. The crochet did help keep the poncho on, but I still hate wearing it. I even tried wearing it sideways with a “V” on each shoulder. That was better, but the corners on my hands were annoying.
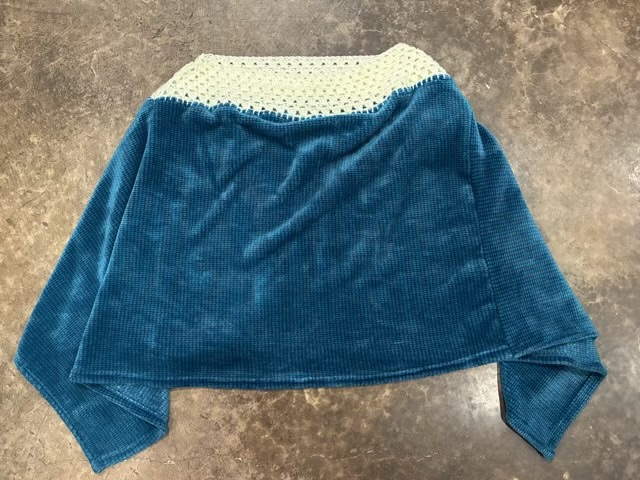
Photo description: same poncho, but turned 90 degrees with the V neck on the shoulders
I’m very glad I did this trial with inexpensive materials, and did not put in hours knitting something that I would hate wearing.
The idea of making a poncho with two rectangles intrigues me. I like the pictures I’ve been seeing on online searches and I wanted to give it a go without a big investment of time, so I cut up a free plush blanket.
Photo description: plush blanket on the floor folded in half lengthwise, then the corners folded in to assess appropriate length
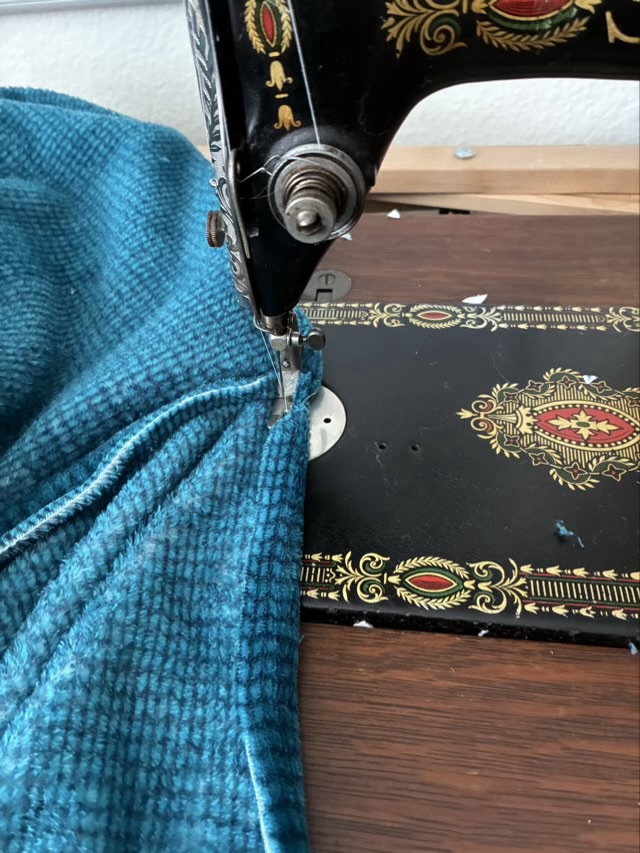
I cut the freebie blanket in half lengthwise. After consulting several measurements in different instructions, which say to take the length from shoulder to wrist and add the neck length for the long edge of the rectangle, I cut the blanket and sewed one short edge to the other long edge.
Photo description: sewing plush material with a model 66 Singer sewing machine
The internet lies. Not that this is a surprise, and after as many times as I’ve seen the same wording repeated across multiple sites you would think I’d be prepared for “tutorials” that are parroted from other “tutorials” and never actually tested, but it still made me mad. I have at least learned to be cautious. Rather than sewing the final seam, I pinned it and tried it on. Massive fail. The neck hole was big enough to completely step through. I looked closer at the pictures I was seeing and noticed that the ponchos on the models were pulled up in the front to give the illusion that the neck-hole wasn’t a gaping chasm. Humph. I cut some of the length off my rectangles until I had a two to one ratio: the long side was twice as long as the short side. The neck hole still seemed big, but I decided to sew. I finished the second seam, and hemmed all the raw edges and wore it around the house. I hate it. The opening for my head is still way too big and it is awkward to wear. What is going on?
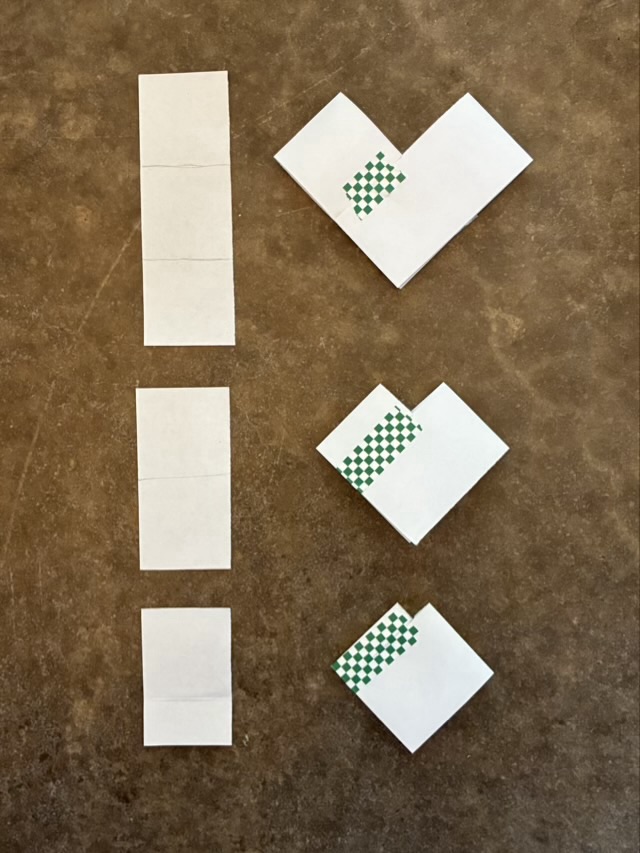
I decided to go smaller and make some paper models.
Photo description: paper models of two rectangle ponchos showing a 3:1 ratio (top), 2:1 ratio (middle), and a 1.5:1 ratio (bottom)
After doing the paper models, I believe a rectangle that is 1.5 times longer than it is wide will give a head opening that is more reasonable, especially with stretchy fabric, like a knit. The next step is to test this to scale. Stay tuned!
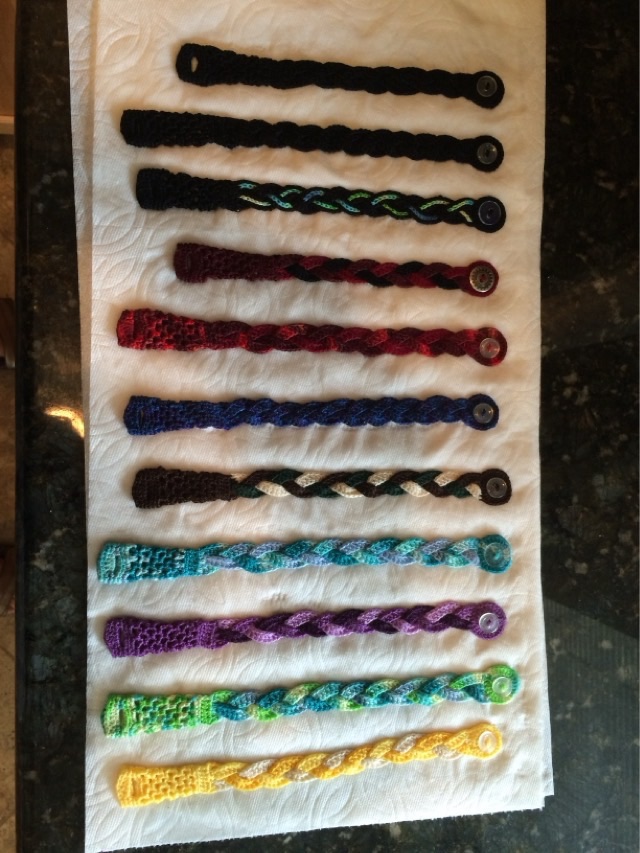
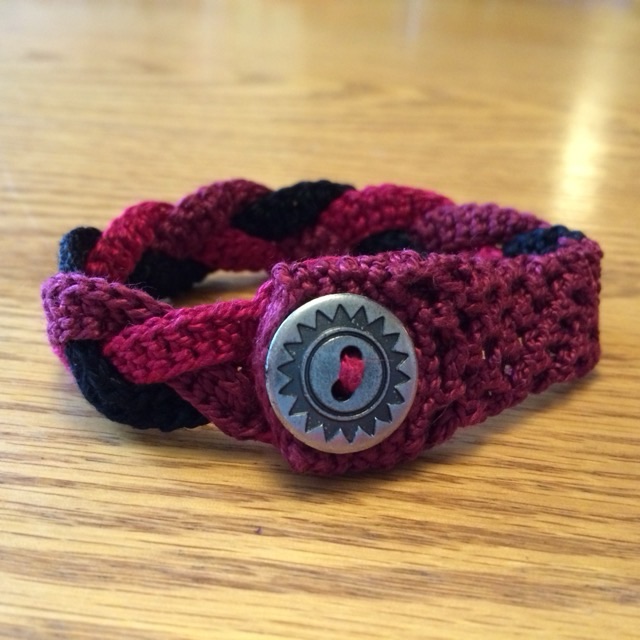
In August of 2016 I was in the throes of crocheting bracelets and anklets with small pockets. It started with being annoyed at my fitness tracker on my wrist. When I walked, I was pushing a stroller and my steps weren’t being counted because my arms weren’t swinging. I had the idea that I could put the tracker on my ankle, but there weren’t any bands big enough to go around, so I crocheted one. I had friends ask for one, so I made a bunch and started to sell them.
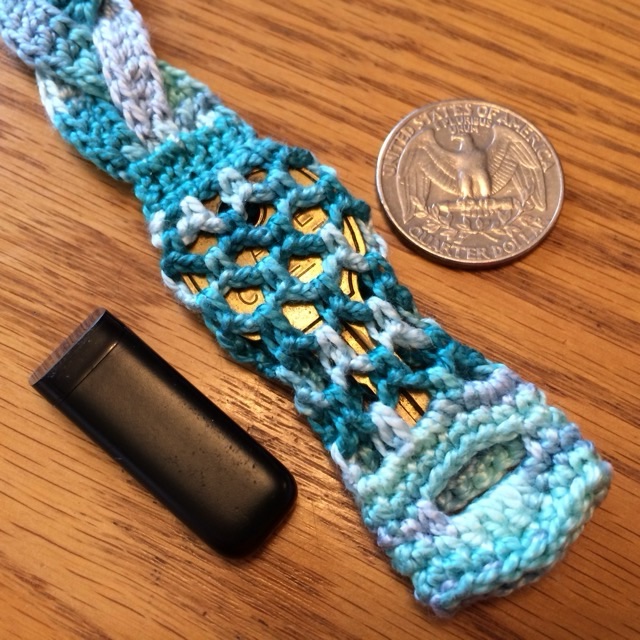
Photo description: eleven crocheted and braided bracelets with button closures and small mesh pockets made from pearlized cotton in various colors and lengthsPhoto description: closeup of the pocket, with a key inside, quarter on one side for scale, and a fitness tracker on the other sidePhoto description: bracelet shown closed
The problem with the crocheted cotton was that cotton stretches with time, and each strap was crocheted to size with no adjustment. The button also wasn’t a reliable closure. Sometimes brushing against furniture would pop the anklet open. I sold a few, but after the design problems became apparent, stopped making them.