I found four little pots of flesh colored slime on our table, lined up in a neat little row. Felt a bit like the intro for a Dr Who episode. Turns out my youngest mixed up all her slime colors and redistributed them in the original pots. That doesn’t really diminish the chill factor, does it? On that note,
Happy New Year’s Eve!
I’m old, so I’ll be going to bed, but the rest of you crazy kids be safe. See you on the other side.
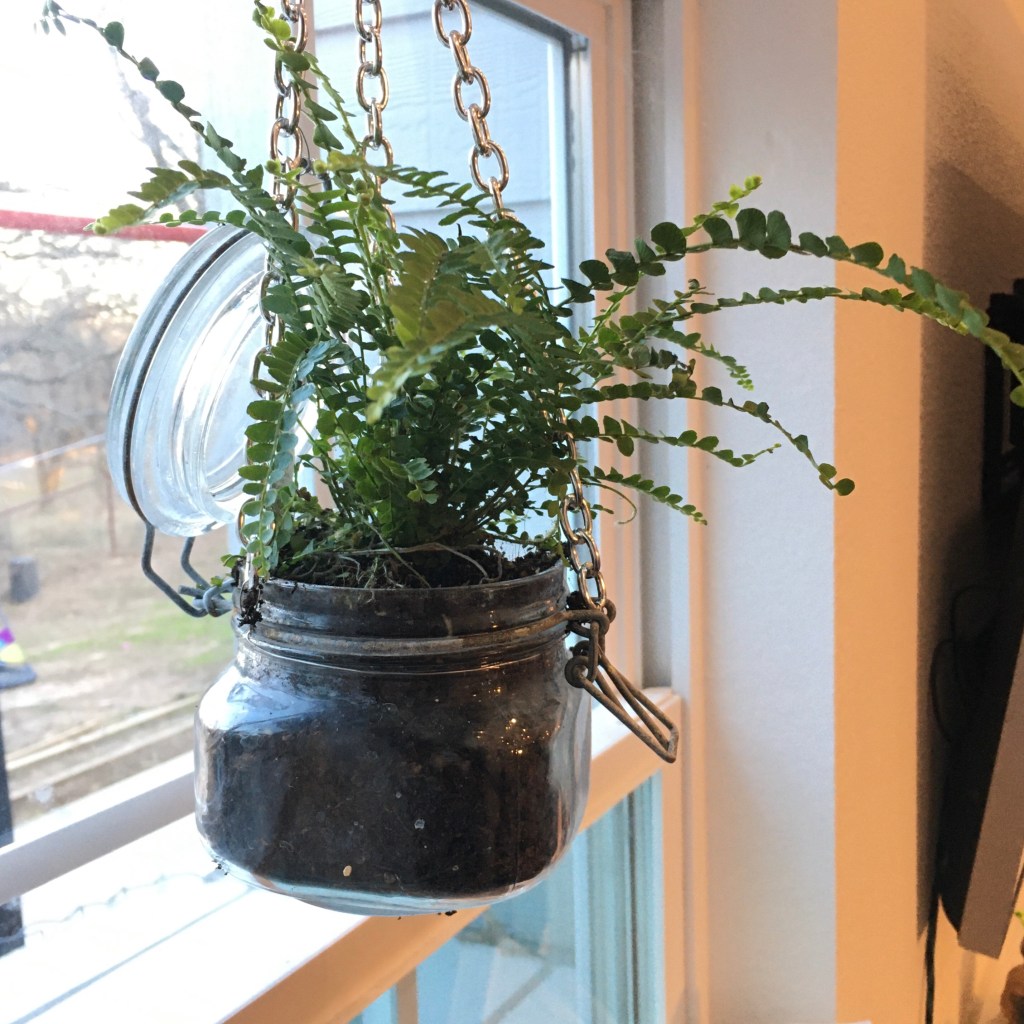
I needed a small hanging pot for a fern and found an old canning jar in my cupboard and some chain in a drawer. Viola! A pretty way to reuse an old canning jar! I used some steel wire to attach the chain to the lid hardware on the jar.
Canning jar hanging potFront view of hanging canning jar
Having the lid hang down threw off the balance of the pot, so I wired it up onto the chain. The fern is now in a north facing window, so gets light, but not full sun. We’ll see how it does!
And yes, more hats. These berets are even easier! (American notation.)
Crocheted berets
Use a hook size recommended for the yarn you are using. Row 1: Crochet 10 double crochet (dc) in a magic circle. Slip stich (sl) in first dc. Row 2: Chain (ch) 2, dc in same stich, 2 dc in each stitch around, sl in first dc. 20 stitches in round. Row 3: ch 2, dc in same stitch, dc in next stitch, 2 dc in following stitch, repeat, sl in first dc. 30 stitches in round. Row 4: ch 2, dc in same stitch, dc in next X (X=2) stitches, 2dc in following stitch, repeat, sl in first dc. 40 stitches in round. Repeat Row 4, increasing the X number each round. Make rows until the diameter of the circle is 2-3” larger than the hat size. (A size 7 hat has a 7” diameter. For hats for me, I found that my handspan is also my hat size.)
Return: berets should lie flat when not worn, so now we will work in a similar manner but with decreases. Next Row: using the X value from the last row, ch2, dc in next X stitches, dc 2 together, repeat, sl to join. For each following row, decrease X by 1. Continue to add rows until the circle is slightly smaller than the desired hat size. Bind off.
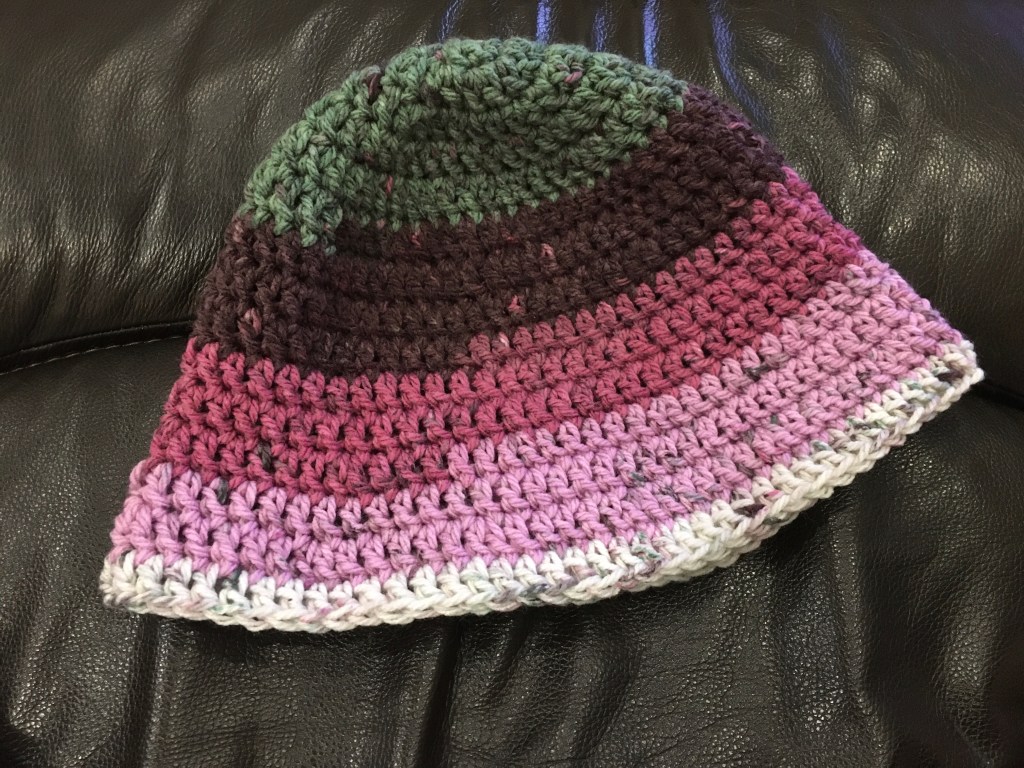
Yup, still busting through that stash. But I have to mix it up or I get distracted, so here is a cloche style hat based on my beanie hat. (American notation.)
Crocheted cloche
Use a hook size recommended for the yarn you are using. Row 1: Crochet 10 double crochet (dc) in a magic circle. Slip stich (sl) in first dc. Row 2: Chain (ch) 2, dc in same stich, 2 dc in each stitch around, sl in first dc. 20 stitches in round. Row 3: ch 2, dc in same stitch, dc in next stitch, 2 dc in following stitch, repeat, sl in first dc. 30 stitches in round. Row 4: ch 2, dc in same stitch, dc in next X (X=2) stitches, 2dc in following stitch, repeat, sl in first dc. 40 stitches in round. Repeat Row 4, increasing the X number each round. Make rows until the diameter of the circle is the hat size. (A size 7 hat has a 7” diameter. For hats for me, I found that my handspan is also my hat size.) For the next rows, dc in each stitch, sl to join. Make enough rows to reach the top of the ears.
Flare: Using the X number from your last increase round, repeat Row 4. Next Row: dc around, sl to join. Repeat these two rows until you reach the desired length for the hat. Flares that get too long can always be pinned up with a cute pin!