Standing up

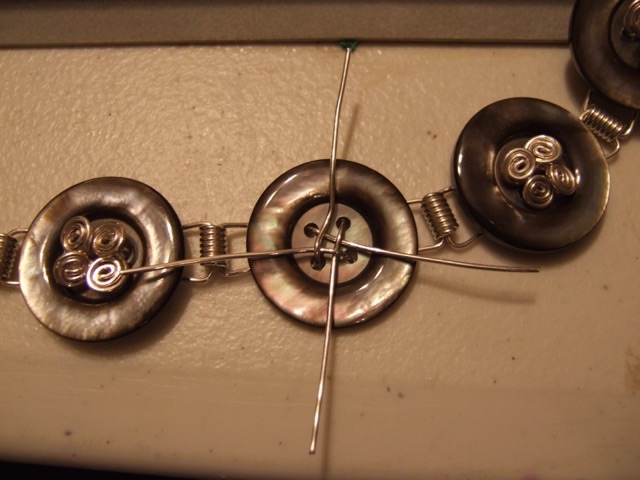
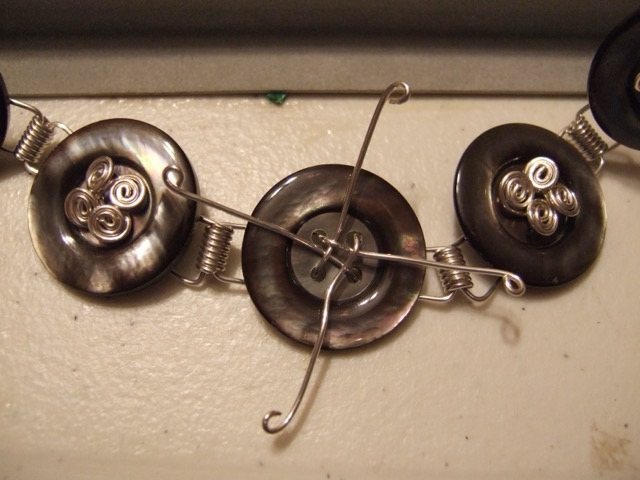
I received a synthesizer from a neighbor who was cleaning out. It has a “learn” function, something my 1928 upright grand doesn’t. What it doesn’t have is a music stand. (My upright grand has an awesome music stand that can hold many piano books.) I looked up the manual online and saw that the issued music stand was just a thick wire fitted into two holes. Hm. I took an old wire hanger, snipped off the hook, and bent the rest into the right shape. I took a second hanger and made a page stop at the bottom, which does not stop the sheet music from bending and sliding out the open wire frame. Hm.

Photo description: music stand on a synthesizer made from wire hangers

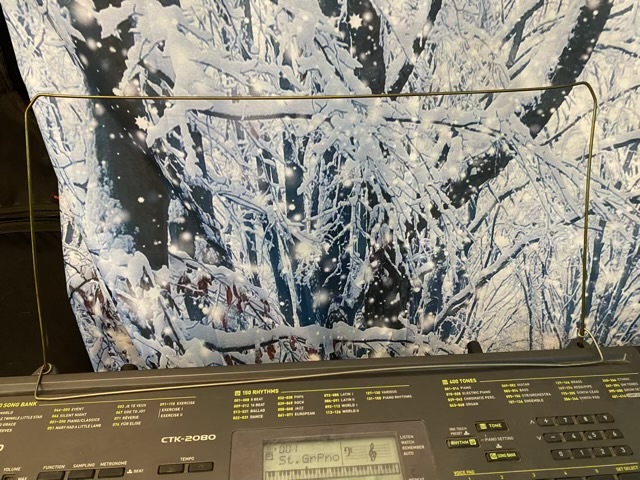
To fix the open frame, I used a grocery bag to make a sheath over the wire. It works, and was a zero cost solution. A little washi tape on the channel works better than the wire to keep pages from sliding.

Photo description: wire and grocery bag music stand on a synthesizer

Sheet music is my crutch. I’m struggling with the teaching method on the synthesizer, since it only shows the note on the staff when it is played, not before.

Throwback Thursday: Picture frames

In May of 2013 I was into making sculptural wood and wire photo frames.

Photo description: oak wood photo frame with wire tree and Mother of Pearl buttons as leaves

I cut the frame from hardwood, sanded and finished it, then put a peg hole and dowel in the back to function as a stand. I drilled holes for the wires, epoxied them in and shaped them. I added tabs to the back to hold the photos in. Did I take a picture of the back? Not of this one.

Photo description: back of an owl photo frame showing peg stand, metal tabs, and hanging hardware. The eyes of the owl were fused glass with iron oxide pupils that matched the tone of the wood. the back of the eyes can be seen in the photo.

My photo skills took a slip back at this time. Many of the photos for the other frames were blurry, or at a strange angle, and others were taken with photos in them. Some of the photos of photos were decent, but since I don’t post faces on this blog, it made them unsuitable for future use. In my past-self’s defense, I had two young children and I’m frankly lucky to have remembered to take pictures at all.

Throwback Thursday: recycled glass

Back in December of 2012 I was into cutting up wine bottles and heating them up to melting in my kiln. I made an ornament from the base of a green bottle, cut a groove in the side with my wet grinder, and wire wrapped it. Using an engraving tool I wrote the first verse from A Visit from St Nicholas by Clement-Clark Moore in a spiral out in tiny lettering.

Photo description: green glass ornament with spiral writing and organza ribbon

As I scroll my photo history, I don’t take every craft project for a throwback post. When I look at a photo, if there aren’t enough words in my head, it doesn’t get picked. There are some projects where I don’t remember what materials I used, or don’t have any in process photos to remind me how I constructed it. So I keep scrolling. Since I’m still picking projects from 13 years ago, I figure I have some leeway.

Throwback Thursday: button necklace

In September 2011 I was experimenting with ways to make jewelry from buttons without destroying the button. One of Grandma’s pet peeves was when buttons had been glued or cut to “upcycle” them (she was a button collector).

I came up with a wire wrap that utilized a four hole button, making it into a link component.

Photo description: first step of a button spiral cluster using two pieces of 20 gauge sterling silver wire threaded though hand made wire coils, then the button holes, then interlocked
Photo description: step 2 begins making each leg of wire into a spiral
Photo description: close up of finished spiral cluster securing a button nondestructively
Photo description: full necklace with identical buttons wire wrapped in silver

I actually took production photos for this necklace, for which I am now very thankful.

New card display

I have had it in my head for a while to make a new card display for the greeting cards I have for sale at my favorite coffee shop. I wanted something artsy that would show off the cards, but also have a spot for a stack of cards and business cards. I decided the take a block of flame maple from my stash and combine it with some spiral wire card holders.

Photo description: hand made card holder with flame maple base with storage slot carved in and embedded wire spirals for also holding cards

I used a two part epoxy to secure the wires in the holes drilled into the wood, then finished the block with Howard Feed-n-Wax. The feed and wax is my kind of product: it applies easily and dries within 24 hours or less, plus it smells nice.

Photo description: card holder with cards for sale at The Full Cup in Weatherford Texas

The bouquet style display brings the cards up off the table and creates an eye catching arrangement.