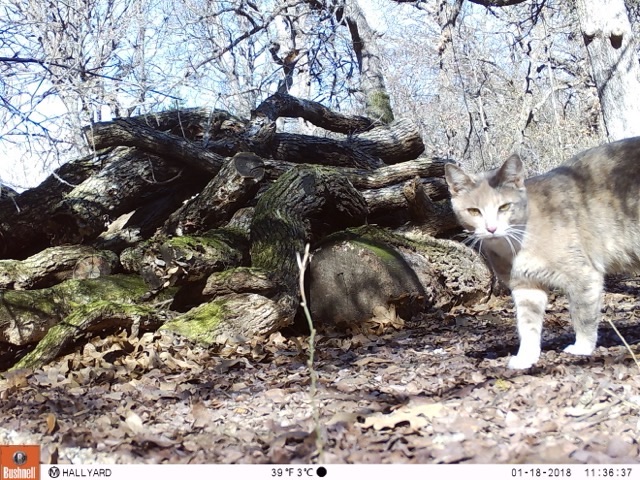
I found the first trail cam photo of Sophie the dilute calico from January, 2018. We had just moved into the house and I set up the trail cam (a gift from my folks) to watch the wood pile past the back fence. This was before she adopted us and we took over her medical care.
Photo description: trail cam photo from January 18, 2018 with a large pile of cut post oak debris on the left and the front half of a dilute calico on the right, looking at the camera
Eight years later, and Sophie spends her nights indoors (and most of the day), and that log pile is almost completely decayed away.
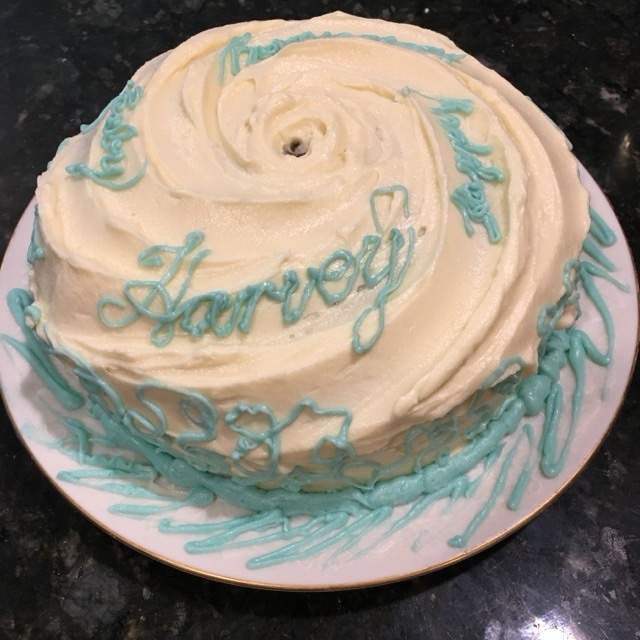
In August 2017 Hurricane Harvey devastated Texas and flooded many of our neighbors houses and property, displacing them for months on end. At the beginning, we didn’t know what we were in for, but our youngest did have a fear of storms, so we made a cake.
Photo description: white and blue frosted cake with a definitive swirl formation and “Harvey” written in light blue icing
The storm wasn’t a furious one, it was a sulking behemoth that just sat over us and rained constantly for days and days. We had just recovered from a house fire two years before and were fortunate not to add flood to the house history. Many of our neighbors were not so fortunate, and had to be evacuated by boat, with flood lines two feet up in their living rooms.
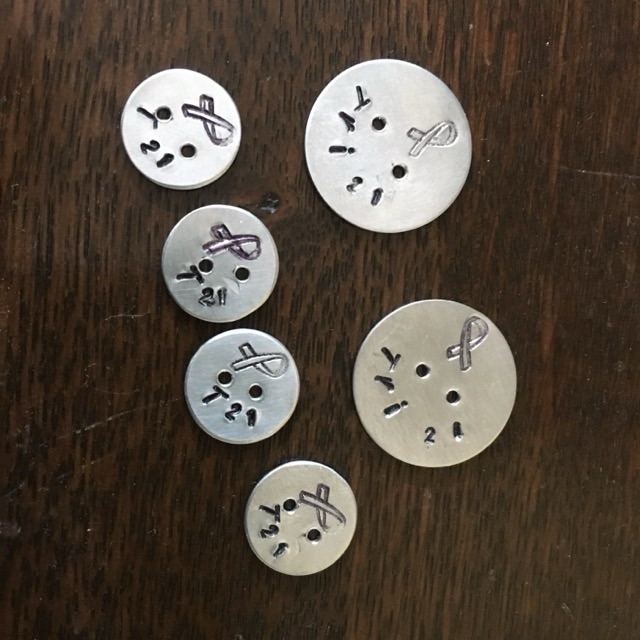
In August of 2017 I made custom metal buttons for Down Syndrome (Trisomy 21) awareness bracelets by drilling two holes in aluminum discs and stamping them.
Photo description: six handmade aluminum buttons in two sizes stamped with “T21” or “Tri 21” and a looped ribbon stamp
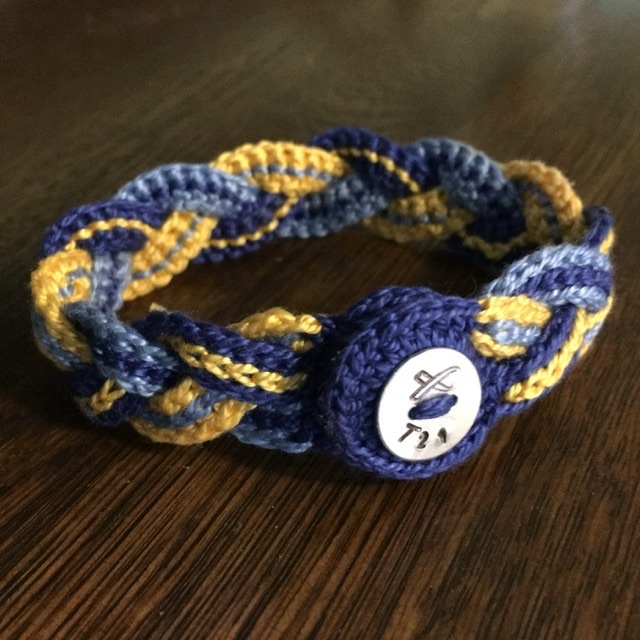
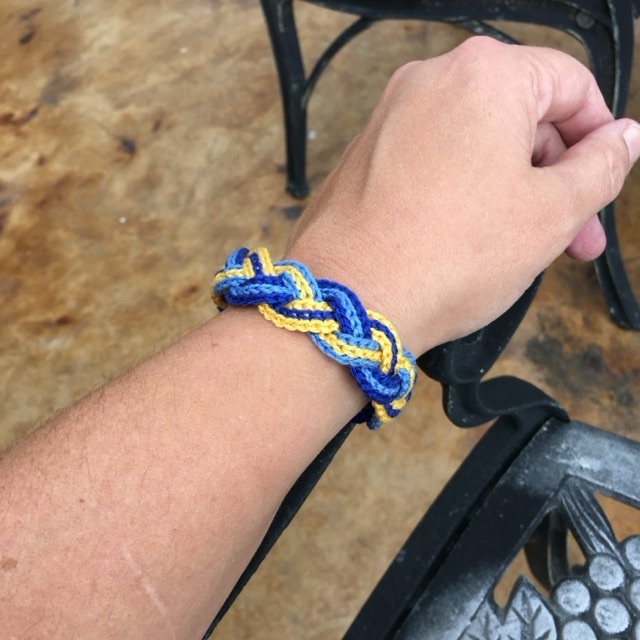
I then crocheted braided bracelets and used the buttons for the closures.
Photo description: Trisomy 21 bracelet with custom button and blue and yellow crocheted and embroidered braidPhoto description: bracelet being worn on my wrist
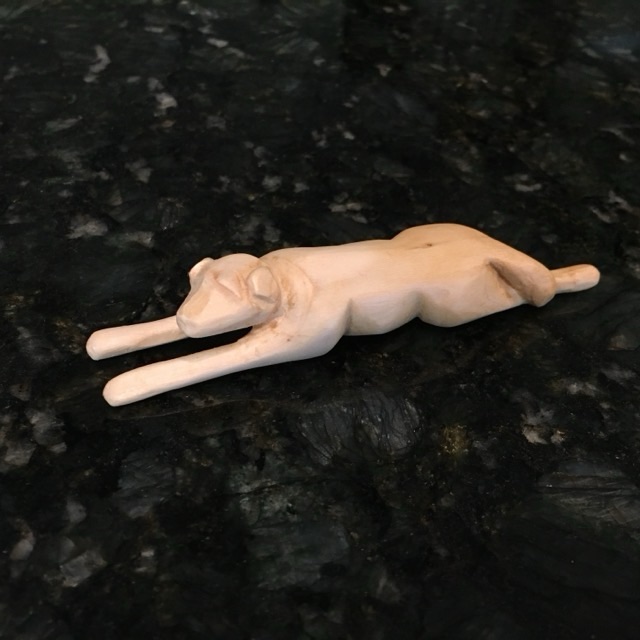
In June of 2017 I did a small carving of a dog from a stick of basswood.
Photo description: wood carving of a dog laying stretched out
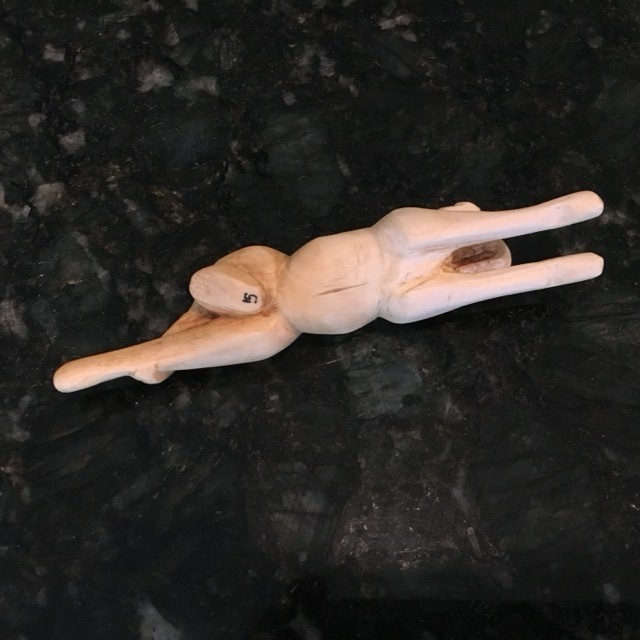
What I like about this carving is that from one side it looks like a lazy dog, but the back leg is not splayed. It is positioned under the body, ready to spring to action.
Photo description: underside of the carving, showing the back right foot tucked up under the dog
The quick brown fox would not jump over this deceptively lazy dog.
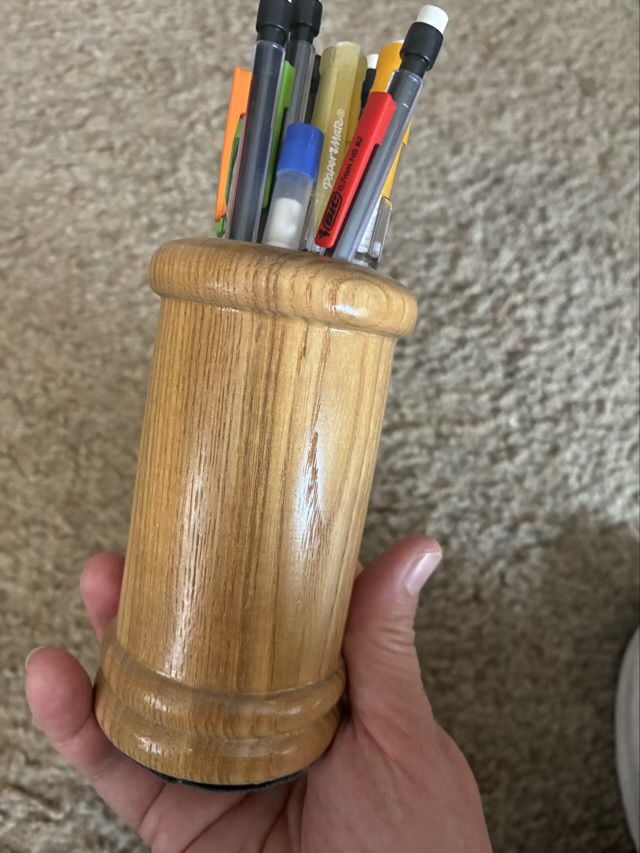
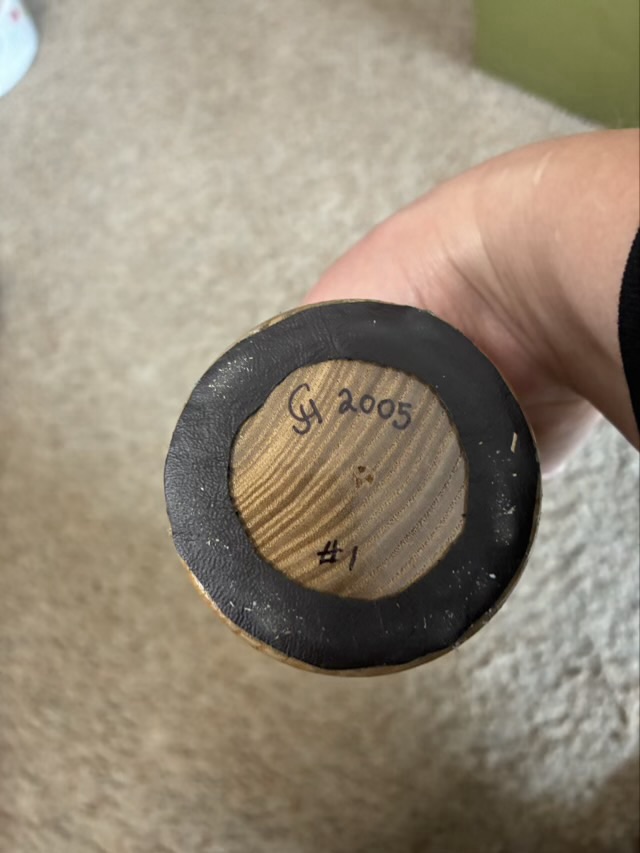
In February 2025 I made a turned wood pen holder for my Dad. A month later my first child was born. What is the correlation? When I saw the pen holder at my folk’s house I didn’t remember it. At all.
Photo description: cylindrical wood pen holder with turned bead accents at the top and bottom, filled with several mechanical pencilsPhoto description: bottom of the holder with a glued on non-slip ring (maybe leather?), and hand written “CJH 2005 #1”
I used the information on the bottom to find the original picture, that is how I figured out that it was a month before my first child was born.
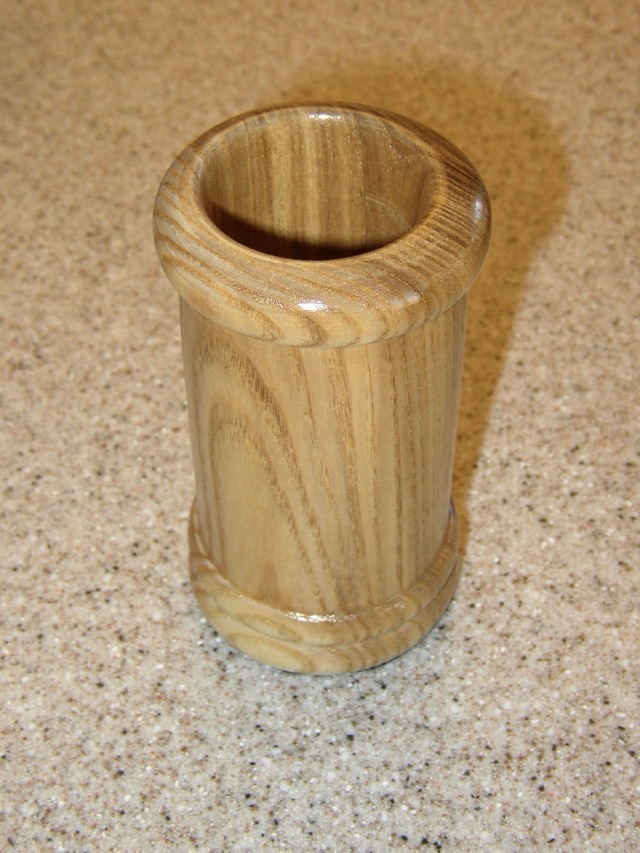
Photo description: original picture of the turned wood pen holder taken on a kitchen countertop
There are small indents on the bottom of the cylinder which are likely marks left by the lathe. The two beads carved at the bottom and one at the top also would have been done on a lathe, because the precision is very difficult to achieve without a lathe. The wood grain looks like white oak, which is a common hardwood and one that I had access to at the time. I can’t remember how I hollowed it out, but since the piece is marked #1 and there are no others in the following month, I imagine it was difficult. I know it is difficult to hollow out a form even with a lathe. Getting the wood secured and balanced is tricky, and the angles are awkward for a beginner, which is what I was in 2005. The finish is likely to be a store bought urethane, because that is also what I was using at the time. I didn’t discover tung oil until later.
I do think it is interesting what my brain retains and what it jettisons. This is why I take pictures and mark my work.