I found out that my ukulele capo works great on my piano as a page holder.
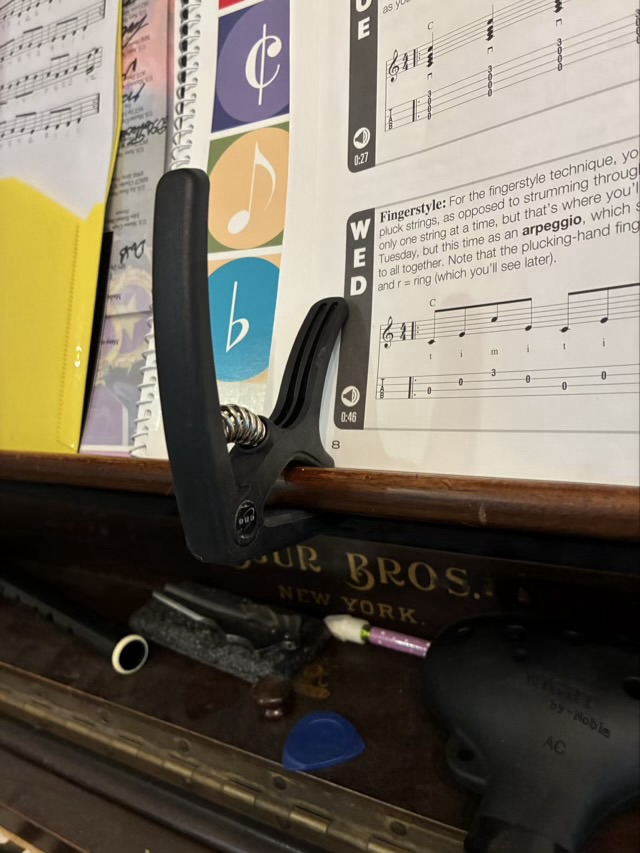
Capos are usually used on the neck of a stringed instrument to the change key for a song.

I found out that my ukulele capo works great on my piano as a page holder.
Capos are usually used on the neck of a stringed instrument to the change key for a song.
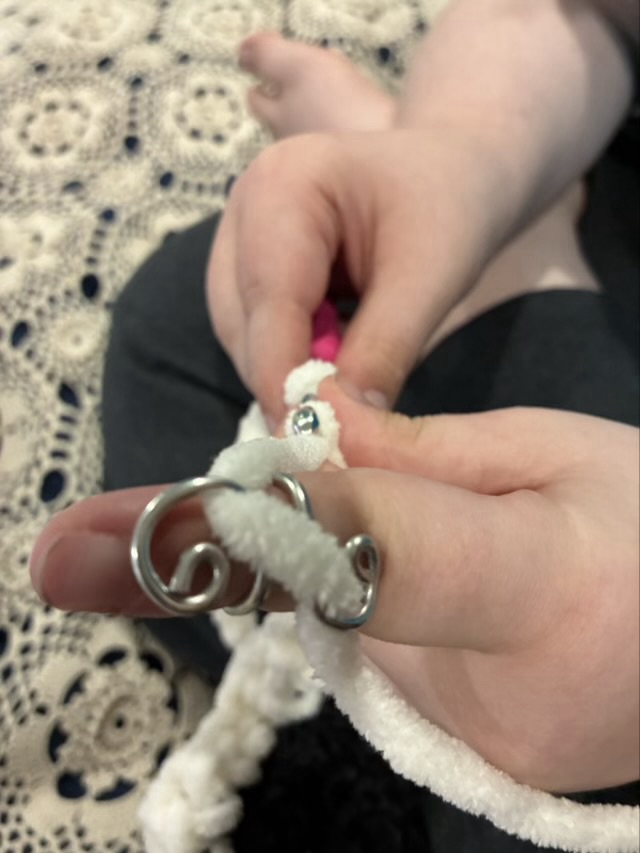
My youngest was wearing her yarn tension ring in such a way that her finger couldn’t bend, which caused pain issues after three hours of crocheting. So we modified the ring to make it smaller and I am encouraging her to wear it so the yarn runs along the back of her finger, and the ring doesn’t interfere with her knuckles. I have also been teaching her hand and wrist stretches to do periodically while she is crafting.
It is a good idea to look at your ergonomics as you craft, especially if you have something you enjoy doing for long stretches of time. As with computer work, there should be scheduled breaks and stretching activities. This will help you enjoy your craft longer both each day and over the years.
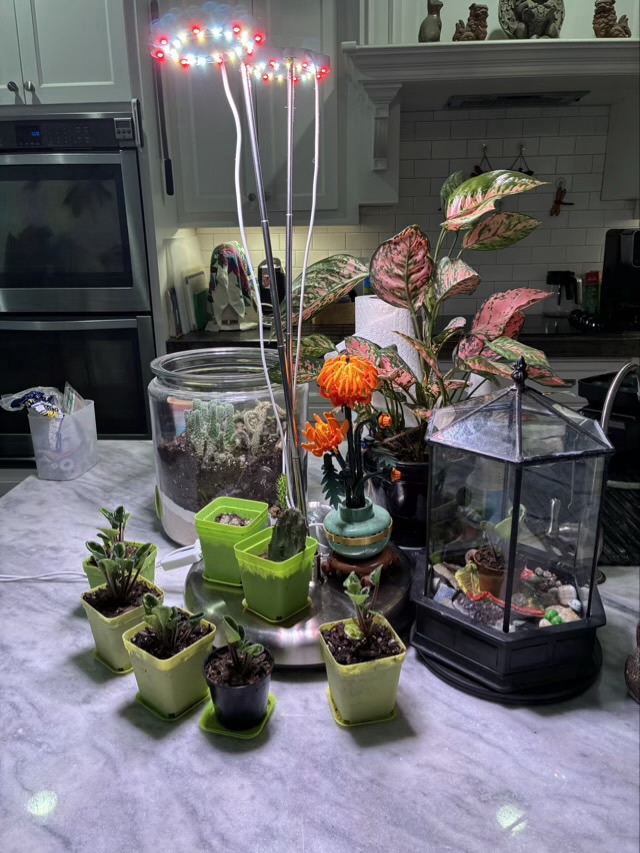
When our halogen light from the nineties finally gave up after 30 years of use, I deconstructed it and couldn’t bring myself to throw out the nice heavy base just yet. When rearranging my plants on the kitchen counter, and moving the grow lamps on stakes, I decided to combine the grow lamps with the old lamp base.
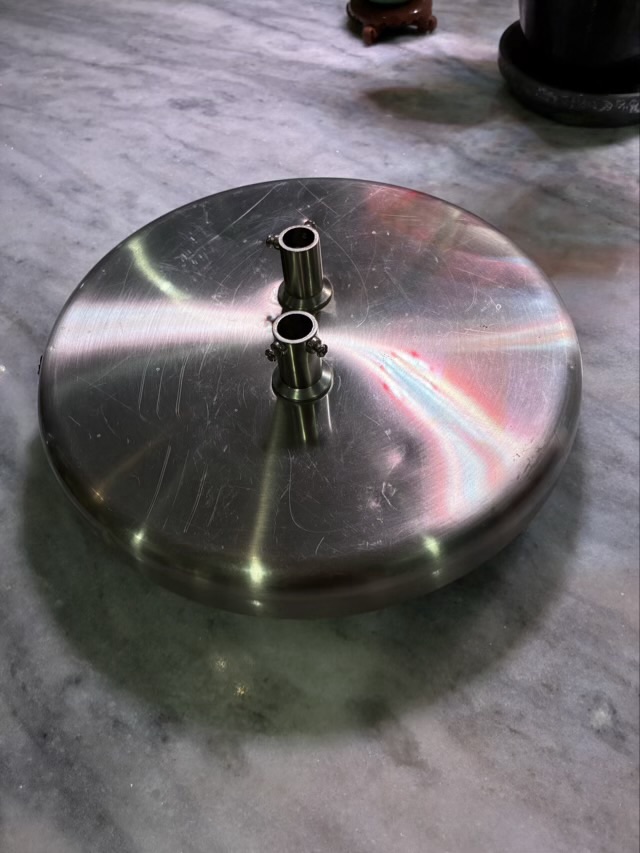
I had to get longer screws to secure the posts of the grow lamps into the stand, but I had some that worked in the garage. The result was quite acceptable.
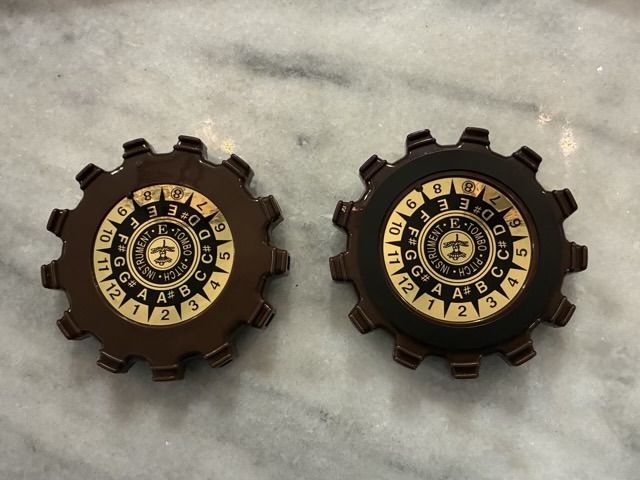
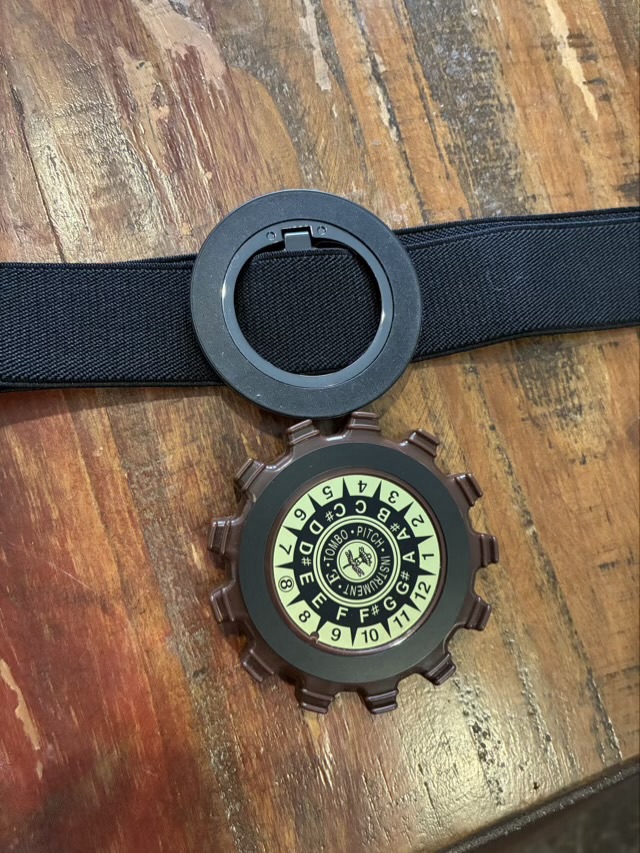
In Barbershop singing, the initial pitch (note) is played on a small instrument called a pitch pipe. When performing, if the pitch piper doesn’t have pockets in their costume, the quandary of where to put the pipe after playing the pitch is a problem. Some pitch pipes are made of metal, so a concealed magnet under the clothing can hold onto the instrument, usually placed near the small of the back. Other pitch pipes have a plastic case, which, of course, is not magnetic. I discovered that a magnetic phone ring made for magsafe phones, is the perfect size for the Tombo pitch pipe as well.
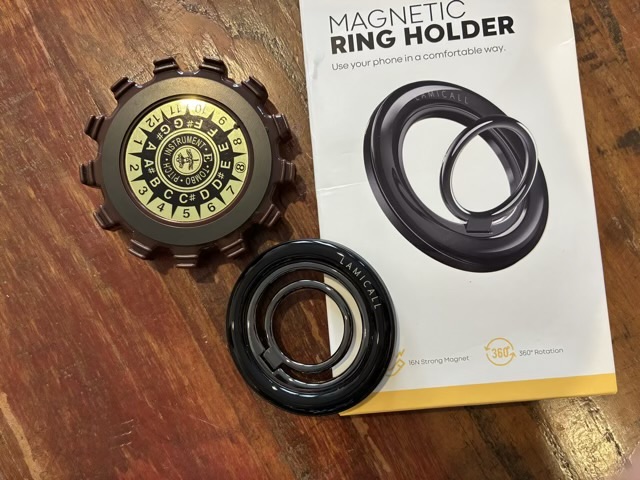
The adhesive ring included in the package fits the face of the pipe perfectly. It still allows the label to be seen and doesn’t interfere with the blow holes.
To use, I am going to try attaching the main magnet to a belt that I will wear under my costume.
I thought I would be fine with a living room chair that swiveled, but didn’t rock. I was wrong. To make the chair rock, I cut a 1.25 inch dowel in half and put it under the base to make it unstable. Just behind the center line gives me an easily obtained balance point when I sit in the chair, allowing a small rocking motion.
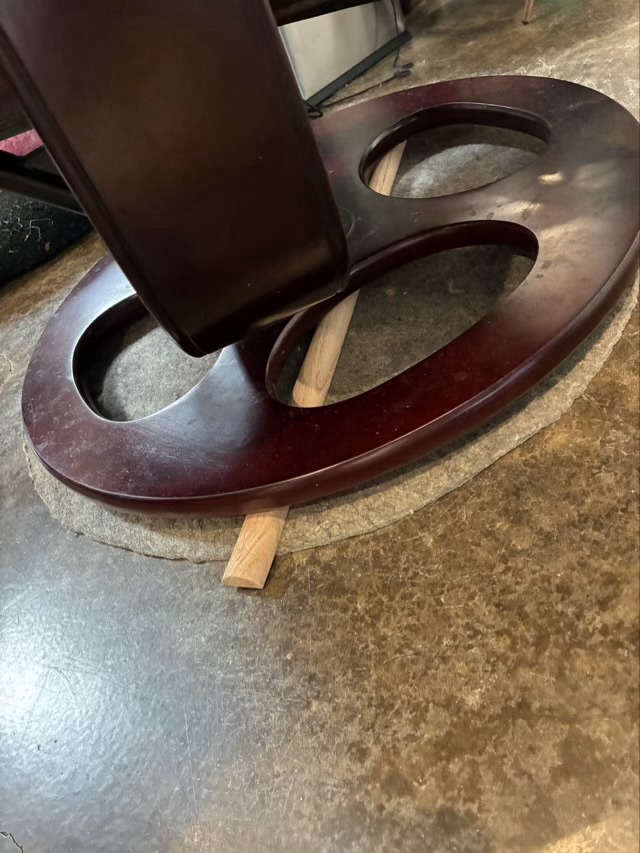
Even this small amount of movement helps to keep my muscles from setting up when I sit too long.
