When I am looking at an arrangement for my Barbershop chorus or quartet to sing, I look at the lows and highs for each part. I can’t keep the low note and the high note in my head and make changes while I read the chart, so I made something to help. I printed a piano keyboard, put it on my desk, and used figures to mark notes.
Photo description: printed key board with a small very bright pink 3D printed sheep, and Alex from Minecraft in a square boat
It amuses me that the closest markers I had to hand were a sheep and Minecraft figurine. There are actually several Minecraft figurines tucked around the house. I’m pretty sure there is a golden spider hanging out in a potted plant somewhere.
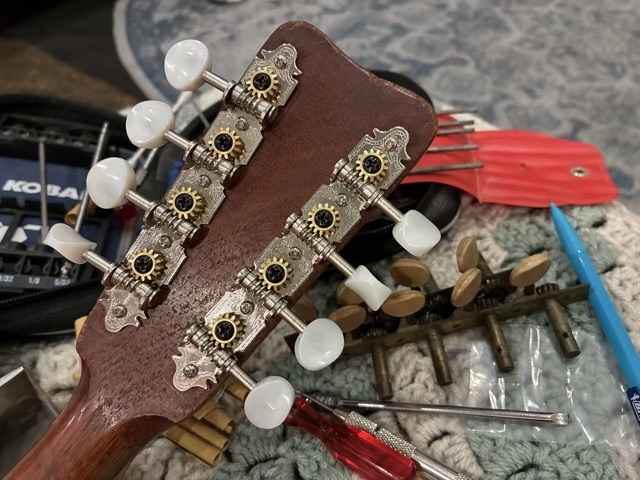
I bought new tuning peg plates for my 1895 bowl back mandolin. The original (maybe?) plates were worn and one peg in particular couldn’t hold its string tight. I purchased Golden Gate A style tuning peg plates and they were almost the right size. I had to sand out the holes to get them seated flat. The old plates came out easily and I replaced one at a time so the bridge stayed in place.
Photo description: back of the head of a mandolin with new Golden Gate A style tuning peg plates, old plates in the background
The mandolin sounds amazing and the strings are holding their tuning. I am happy that she is happy.
I do have to say that as a child of the 80s this week has been a hard hit. Dolly Parton, who was amazing angelically, Tim Curry who was amazing demonically, and Peter Cullen, the voice of Optimus Prime, who probably started my fascination with the human voice.
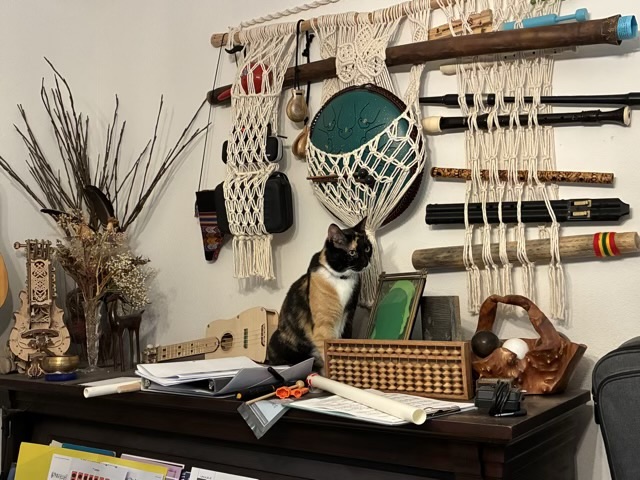
Photo description: Top of an upright grand piano covered in sheet music and oddities with a wall hanging holding a collection of instruments, cat in the middle
It isn’t a very difficult “Where’s Waldo” photo, but she wasn’t trying to be subtle. She was trying to get to me to make me stop singing. I was standing at a music stand facing the piano, working on warm ups, and she gets quite perturbed when I even sound like I’m working on overtone singing. I can actually tell when I am using my full resonant voice because she comes over to yell at me (it is definitely not with me). Actual overtone singing and she will come from anywhere in the house to get me to stop.
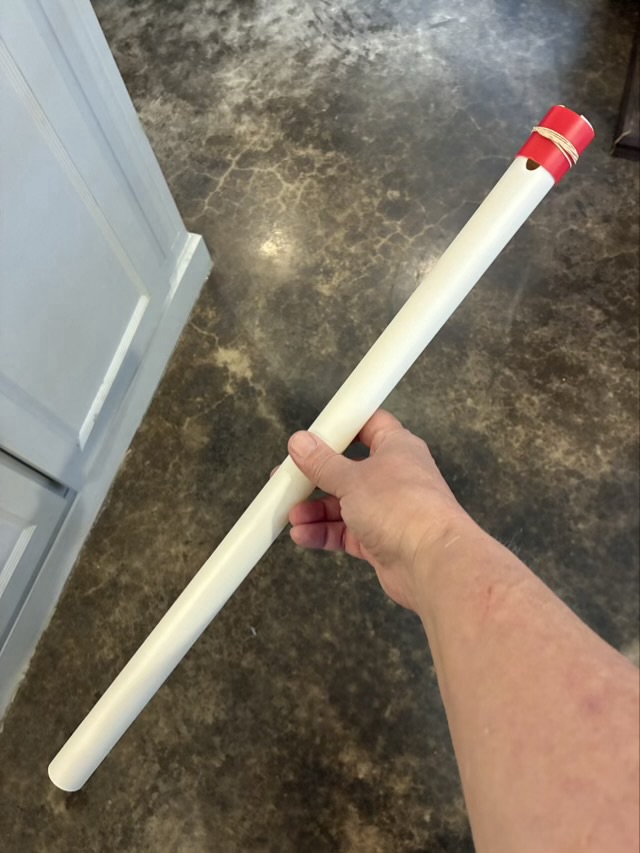
Watching YouTube shorts sent me down another overtone rabbit hole. There was a person with a flute with no finger holes playing a lilting beautiful tune. Wha?! Some quick internet research revealed the Koncovka, a Slavic shepard’s instrument made from a long wood tube. The flute has two overtone series possibilities, one with the bottom hole open and the other with it covered, giving this simple whistle an astonishing number of notes for something with no finger holes. My next question was how to make one, and I found this short YouTube tutorial to make a PVC version.
I have some thin walled PVC tubes from an old Ladder ball game. These pipes have become materials for other projects more than they were ever assembled for the game.
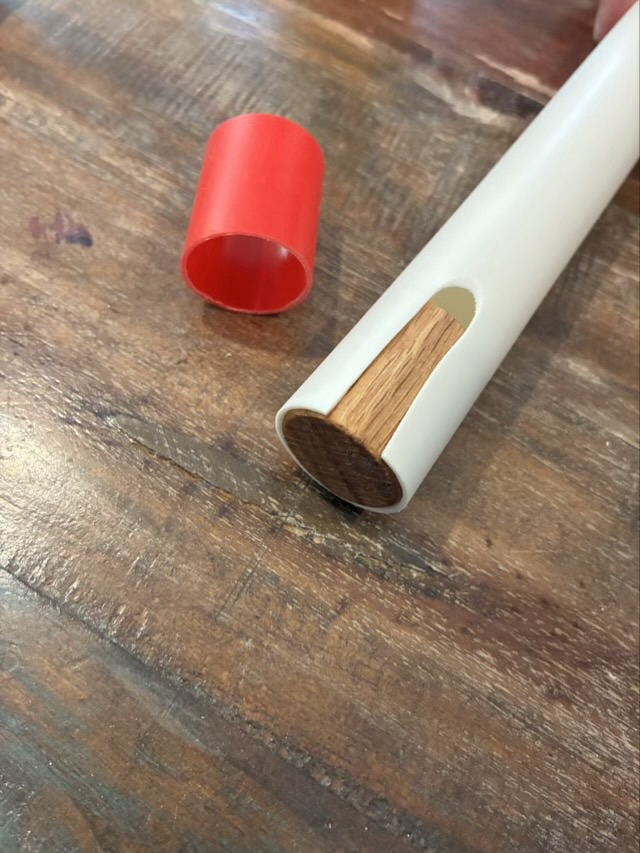
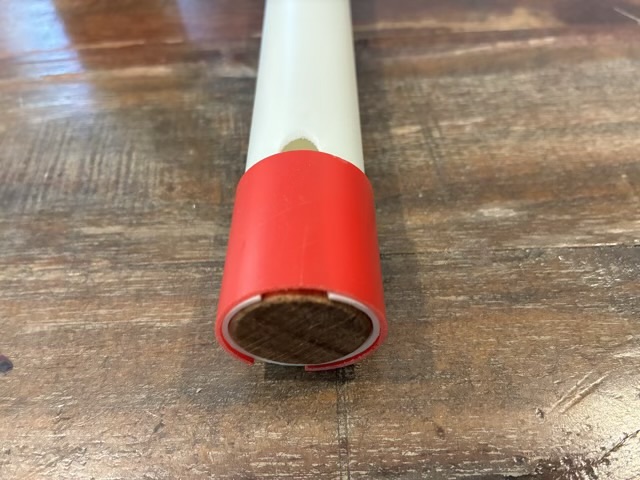
Photo description: PVC pipe with a slot cut and sanded smooth, a section of dowel sanded to fit snuggly inside the tube, and a short section of red PVC pipe the same length as the wood and split lengthwisePhoto description: wood plug finished with butcher block wax and fit into the top of the tubePhoto description: red sleeve placed over the white PVC to create a narrow holePhoto description: rubber band around the red sleeve to keep it tight and reduce air leakingPhoto description: finished PVC overtone flute
The tone of the flute is quite pleasing and very fun to experiment with. Below is an audio file of me playing the PVC overtone flute I talk about in this blog post.
I love it when my crafting and music rabbit holes merge and open a new room.
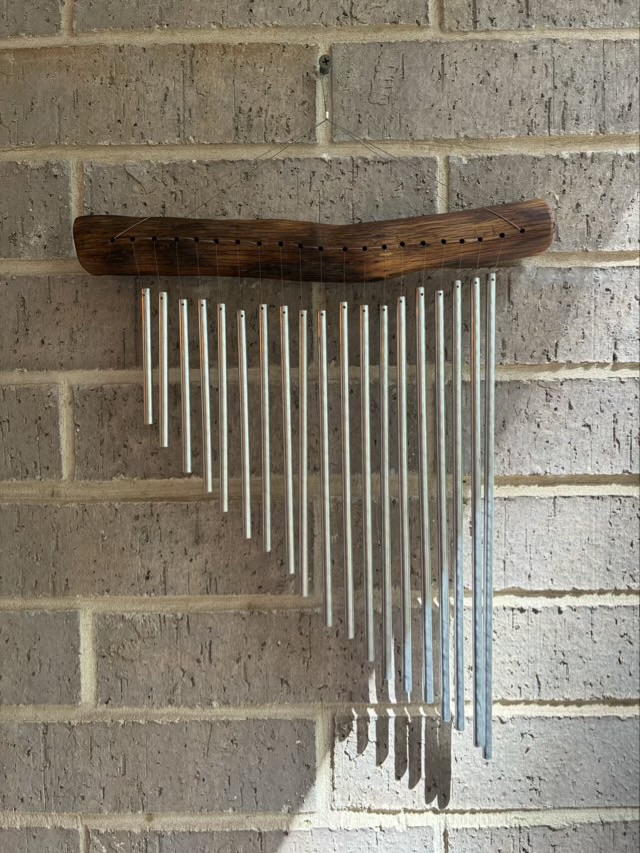
I wanted a set of chimes for the front entry, so decided to make some.
Photo description: graduated chimes made from 1/4 inch aluminum rod hung with fishing line from a section of a cedar branch
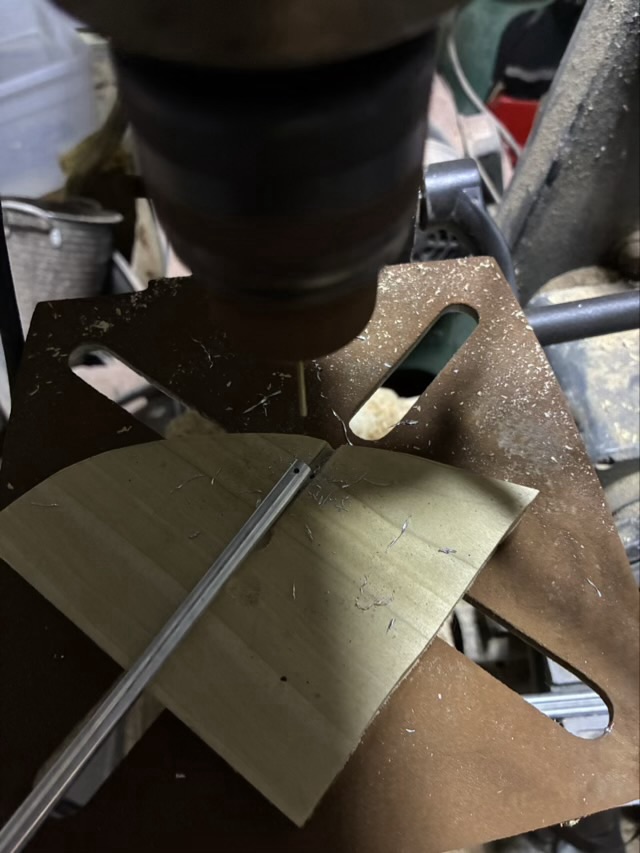
I read that chimes are usually made with solid aluminum or brass tubes. Aluminum is easier to work with, so I purchased a set of 10 quarter inch rods that were each 16 inches in length for about $14. My first step was to make a small groove in some scrap wood to hold the rods while I drilled a hole in each end.
Photo description: scrap wood jig holding a aluminum rod and a hole drilled in the end with a drill press
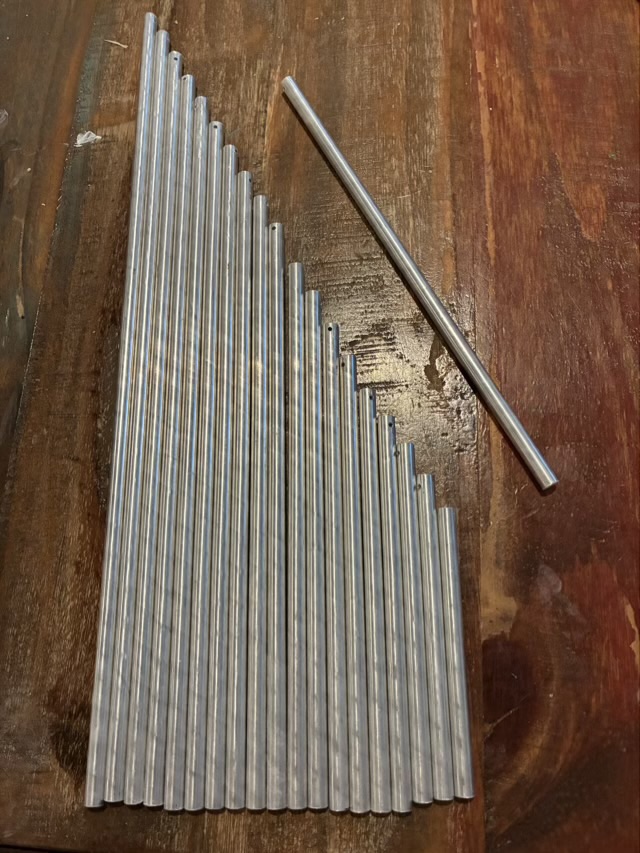
Once each rod had a hole in each end, I used a band saw to cut the rods into different lengths, with about a 1/2 inch difference. I then sanded them to remove the burrs and sharp edges.
Photo description: 19 graduated aluminum rods with one extra originally intended to play the chimes, but was unnecessary
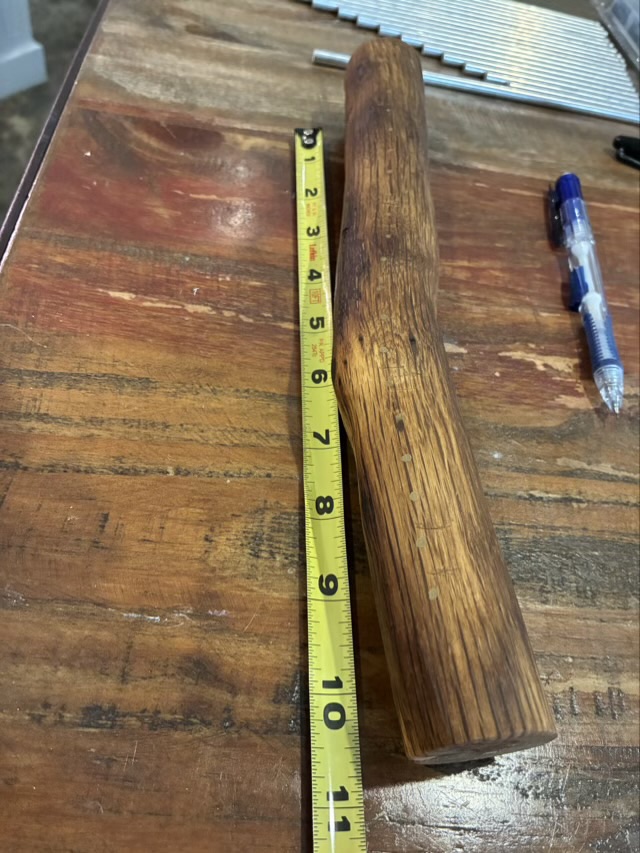
I found a scrap of cedar branch from a failed walking stick project and cut it to about 12 inches. I sanded it and finished it with Howards Feed-n-Wax.
Photo description: cedar branch being prepped for holes drilled 1/2 inch apart
I used steel stranded cable to hang the wood, and monofilament fishing line to string the chimes. The knots for the fishing line are all on the back of the branch. The chimes are strung with line that comes out the back and back in the front to increase ring time, and I found have a long line for stringing and a shorter secondary line for tying knots worked fairly well.
Here is a video of the chimes in action. If I get ambitious, I will tune them .