I found a picture from December 2014 that shows how the creative process sometimes works, or doesn’t. I was trying to develop a simple, repeatable wire dragonfly shape and went through many, many iterations.
Photo description: twelve partially formed brass wire dragonfly shapes on a green table
I still wasn’t entirely pleased with the end result, although I did make a few more like the shape in the bottom left.
Sometimes my ideas work right off the bat, but more often they go through a series of trials, with mostly errors. If we aren’t willing to have a few gnarls in the thread, it is hard to achieve much of anything.
In July of 2014 I was experimenting with making “viking knit” wire chains. I did a number of trials with different metals and gauges of wire. I stumbled across this picture that also showed the time it took to get a small section of work done.
Photo description: wood dowel with looped brass wire, a spool of wire, side cutters, needle nose pliers, awl, book, and ID card
I like viking knit chains, they have a nice feel and drape. The technique is looping, which years later I learned to do with yarn in a method called nälbinding. I still love nälbinding too. Neither are fast crafts, but they are satisfying.
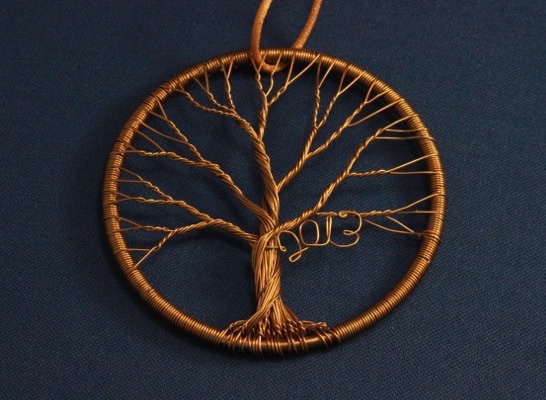
I love trees. I have made many wire trees, and I feel I have a flare for them. In December of 2013 I made an ornament with copper wire and a brass loop with “2013” done in wire along a branch of the tree.
Photo description: copper wire tree in a circle ornament with “2013” on a lower branch
I like this style of tree. Larger versions do well as wall hangings, which, for me, is preferable to sculptures that take up horizontal space. The market for wire trees fluctuates, for while every craft fair and mall had a wire tree booth. So anymore I mostly make these when I want one, rather than to sell.
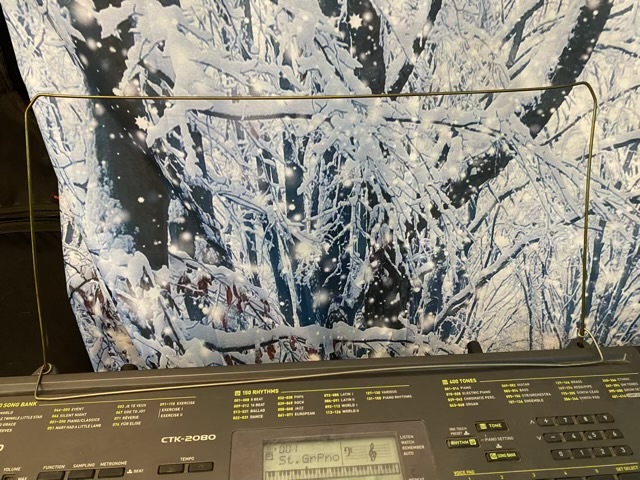
I received a synthesizer from a neighbor who was cleaning out. It has a “learn” function, something my 1928 upright grand doesn’t. What it doesn’t have is a music stand. (My upright grand has an awesome music stand that can hold many piano books.) I looked up the manual online and saw that the issued music stand was just a thick wire fitted into two holes. Hm. I took an old wire hanger, snipped off the hook, and bent the rest into the right shape. I took a second hanger and made a page stop at the bottom, which does not stop the sheet music from bending and sliding out the open wire frame. Hm.
Photo description: music stand on a synthesizer made from wire hangers
To fix the open frame, I used a grocery bag to make a sheath over the wire. It works, and was a zero cost solution. A little washi tape on the channel works better than the wire to keep pages from sliding.
Photo description: wire and grocery bag music stand on a synthesizer
Sheet music is my crutch. I’m struggling with the teaching method on the synthesizer, since it only shows the note on the staff when it is played, not before.