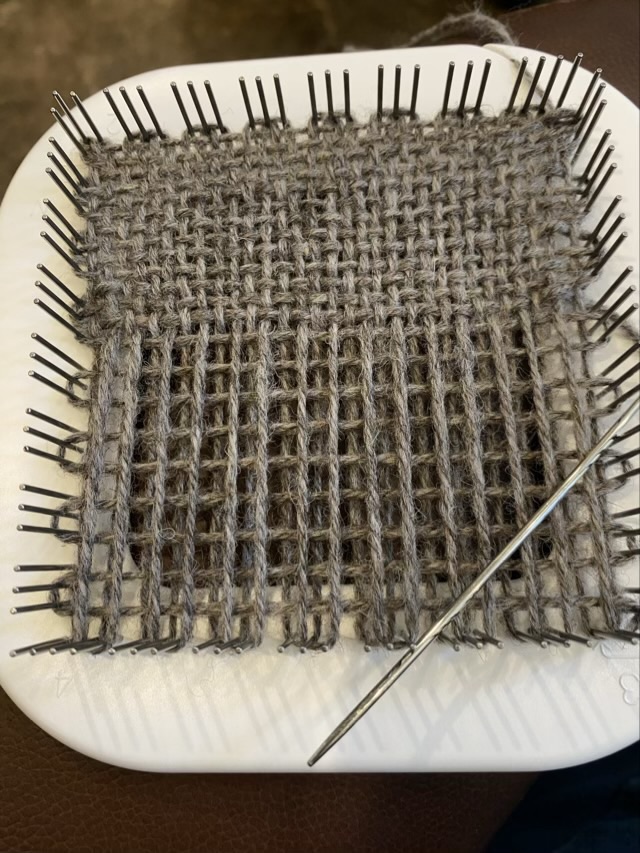
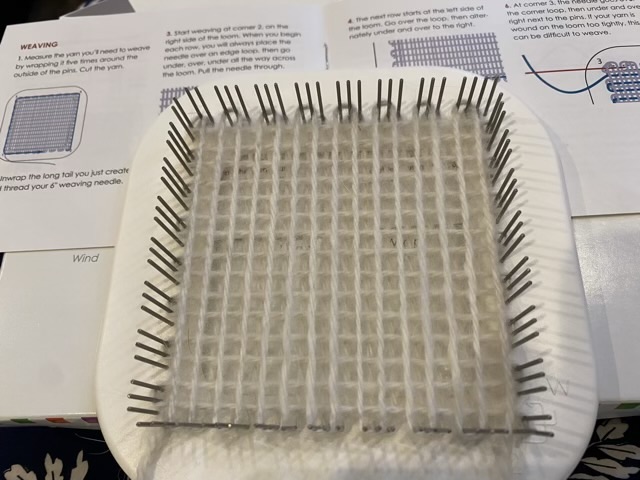
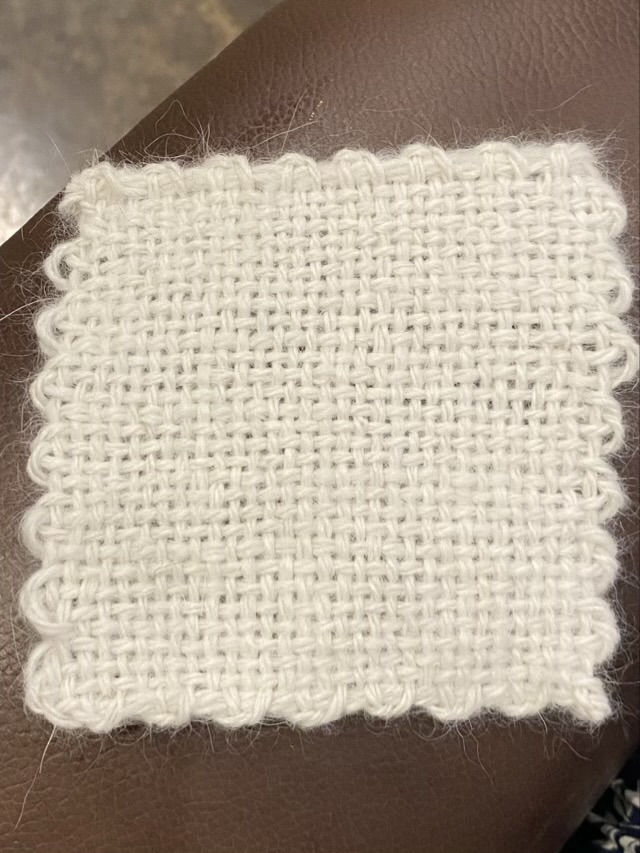
I used my hand spun Jacob’s wool yarn on my new Zoom Loom. I did the three preparatory wraps a little looser this time (as instructed) and it helped ease the way when it came to weaving.
Photo description: three layers of wrapped Jacob’s wool yarn on a 4 inch Zoom LoomPhoto description: Weaving started with a six inch needlePhoto description: finished plain weave square
I’m in awe that these little woven patches lay flat, both with the Samoyed yarn and the Jacob’s wool yarn.
I have had a Zoom Loom on my wish list for a couple years. I finally purchased it and am so glad I did. This is an ingenious little loom that makes a 4 x 4 inch, four selvage woven square by wrapping three layers and weaving a fourth to achieve a plain weave.
Photo description: 4”x4” Zoom Loom by Schacht with the first three layers wrapped with hand spun Samoyed three ply yarnPhoto description: weaving started on the Zoom LoomPhoto description: finished woven square
This just made my weaving swatch the fastest swatch, outpacing both knitting and crochet. I use the swatches for my fiber book pages for each fiber I spin, but this went so fast I’m intrigued by the design possibilities that are now open to me!
I sent my Dad four reed coasters for Father’s Day. He sent back data on preferences for hot and cold drinks.
Photo description: from left to right, #2 round reed with braided edge, reed and hemp string with braided edge, reed with tucked loop edge, reed and plied hemp string with braided edge
Dad reports that his favorite coasters for hot drinks are ranked left to right, and for cold drinks, right to left. The shades of orange coaster on the right made with several plies of hemp string absorbs the most condensation, so is best for cold drinks with condensation.
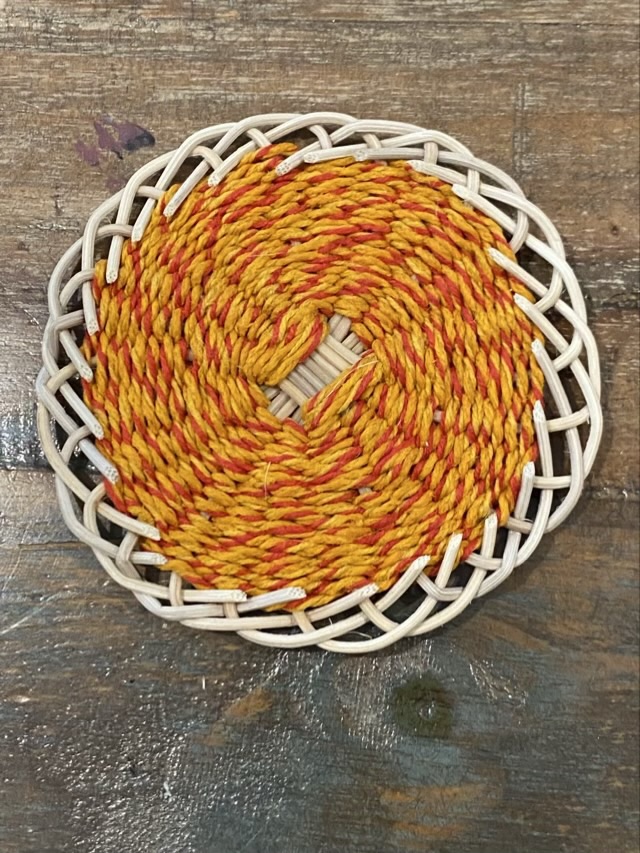
As with all my crafts, after I’ve made a few my mind wanders and I wonder how other variations might work. With the reed coasters, I tried weaving with hemp cord, and a different rim finish.
Photo description: reed coaster woven with natural hemp cord and finished with a woven edge instead of a tucked edge, back side shownPhoto description: reed coaster woven with orange and red dyed hemp cord, back side shown
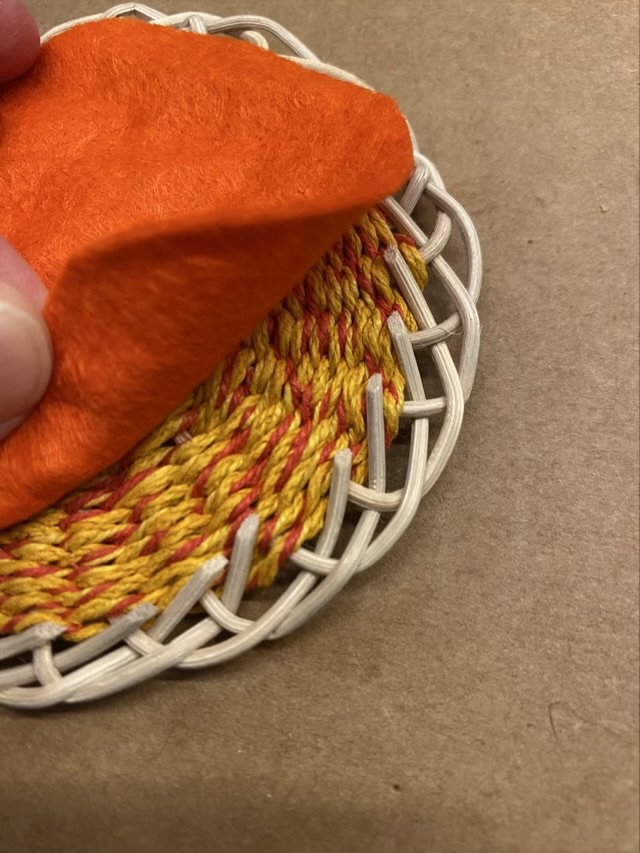
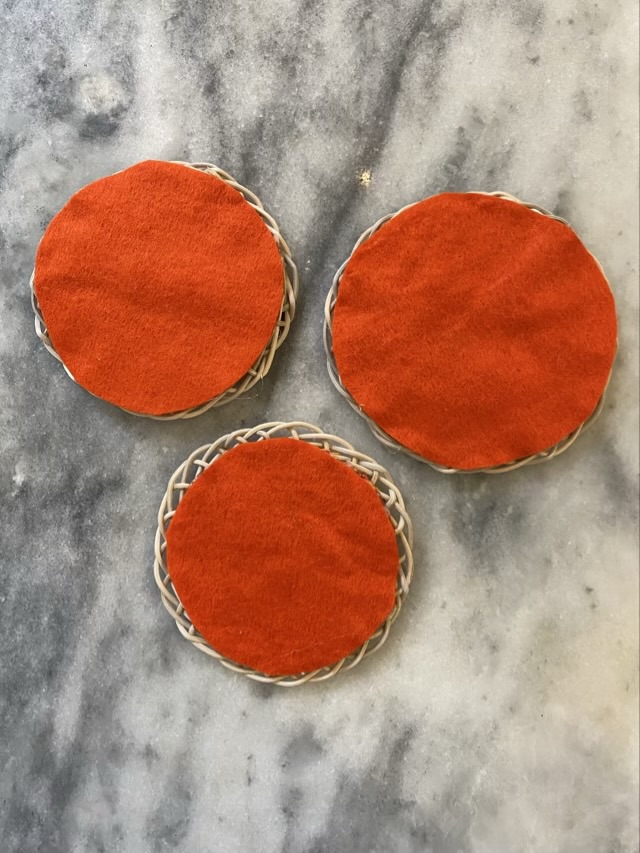
The “bob” edge (behind, over, behind) leaves the ends of the reeds sticking up. I trim them flush, but being a belt and suspenders type person, used hot glue and a layer of felt to make sure they don’t wiggle free and to protect any surface they are set on.
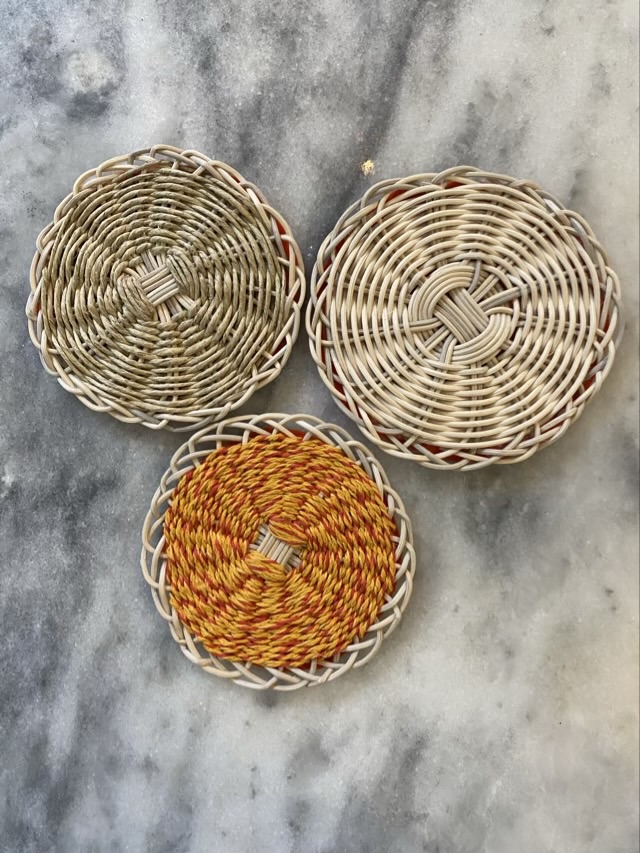
Photo description: showing the cut ends of the reeds before I hot glue down felt to secure them and protect surfacesPhoto description: orange felt backs for three coastersPhoto description: front side of three different reed coasters
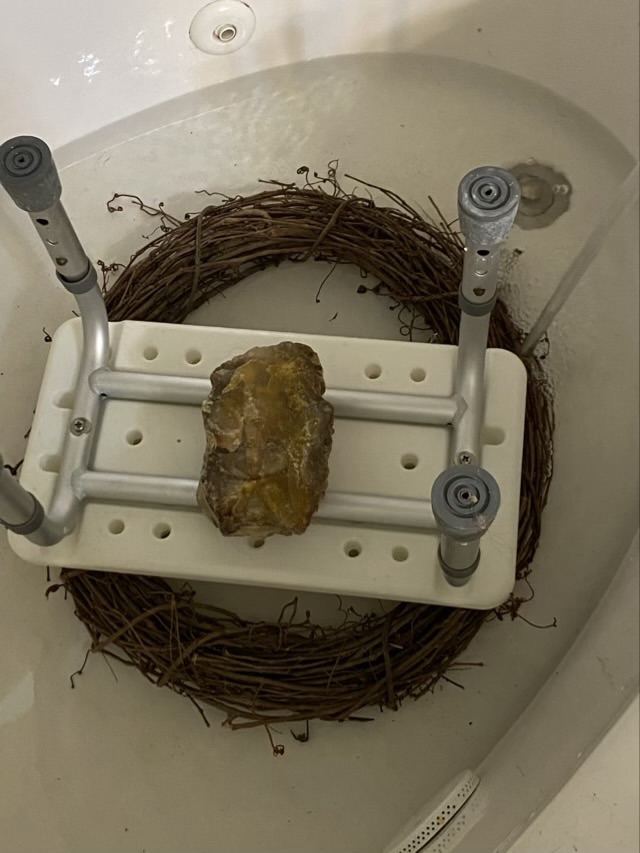
I really like random weave objects that are well done, so it is on my craft bucket list to practice random weaving. I realized I had a source of dried grapevine readily available in the wreath blank hanging on the front door. I filled the bathtub with water, weighted down the wreath, and let it soak for two days.
Photo description: grapevine wreath soaking in a tub with an upside down shower stool and a rock weighing it down
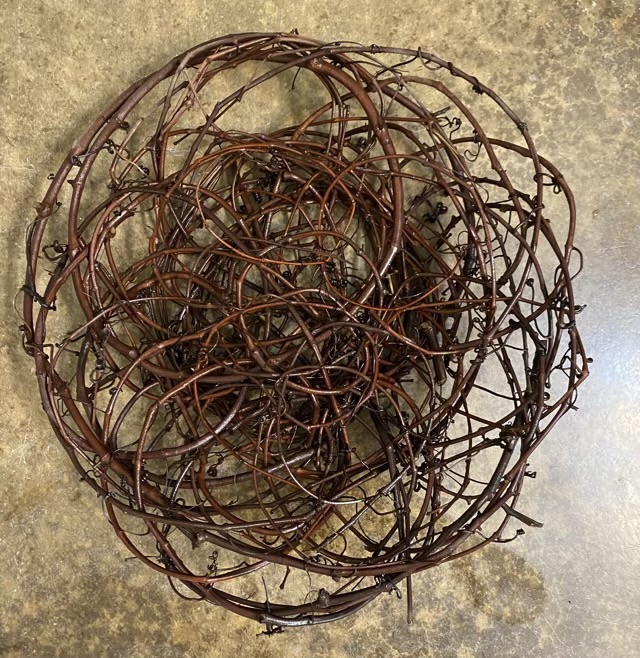
The random weave started out fine; I used loops and interlocked them as I circled around. The problem came when I tried to make the sides curve to make a basket. It stubbornly kept returning to a flat state. Hm. I kept at it for while, then acquiesced to the material’s demands. I finished weaving in all the vines that would weave (a portion was too thick, some were too short, and some were too brittle.) I then took all the little tendrils and wrapped them around nearby vines to lock the weave in.
Photo description: flat random weave still wet on the floor
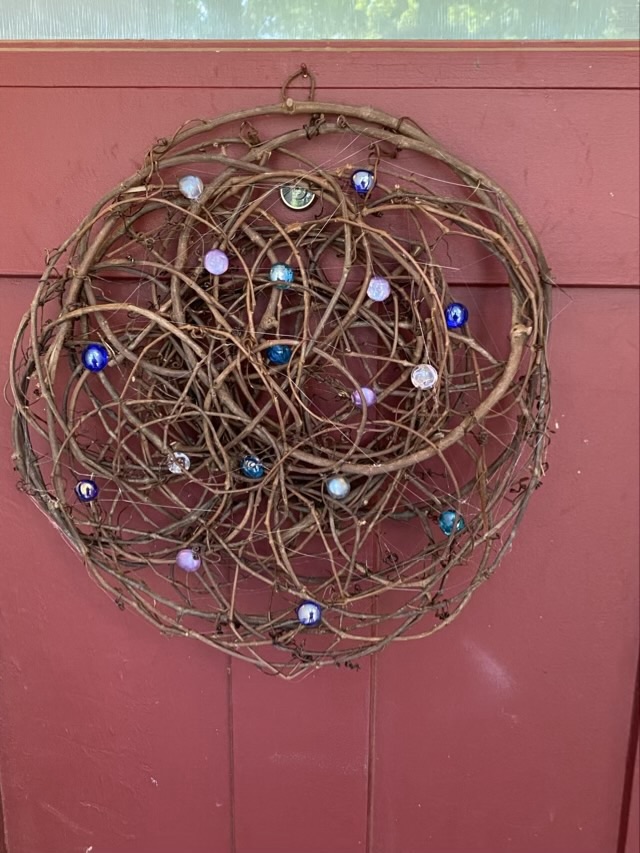
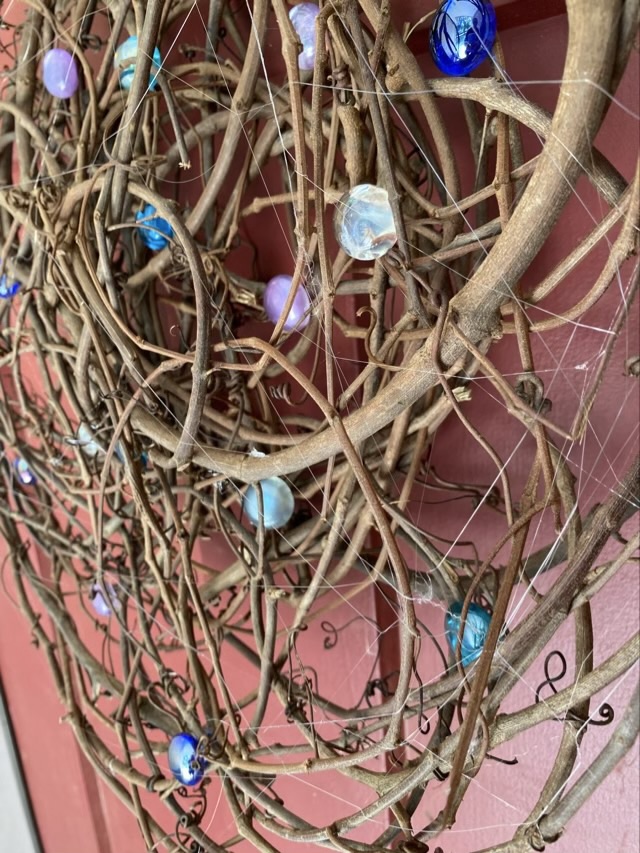
I decided to hang the … object… back on the door. When it was dry I added some colored glass drops using some hot glue, then added fake spider silk by stretching out hot glue strands to give the disc even more of a tangle feel.
Photo description: grapevine tangle with glass drops hanging on a red doorPhoto description: closeup side view of the grapevine tangle showing the hot glue strands
I think my issue was trying to make a medium sized basket with larger sized vines. And next time I think I should work on a form that has the shape I want.