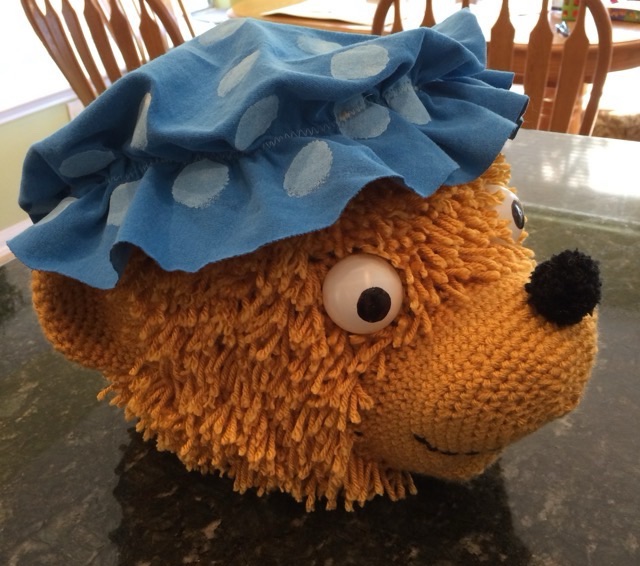
Going back to a pumpkin contest in 2016, here is my hand crafted pumpkin cover of Mama Bear of the Berenstain bears.
Photo description: crocheted bear head with latch hooked “fur”, half ping pong ball eyes, black pom pom nose, and blue mop hat sewn from an old t-shirt hand painted with polka dots
It probably really isn’t in the spirit of pumpkin carving, but at the time we lived in such a humid environment that pumpkins started rotting on day 1. The library would host an uncarved pumpkin contest (paint and glued decorations only) to avoid the rot. I rather like the crocheted cover, it is reusable.
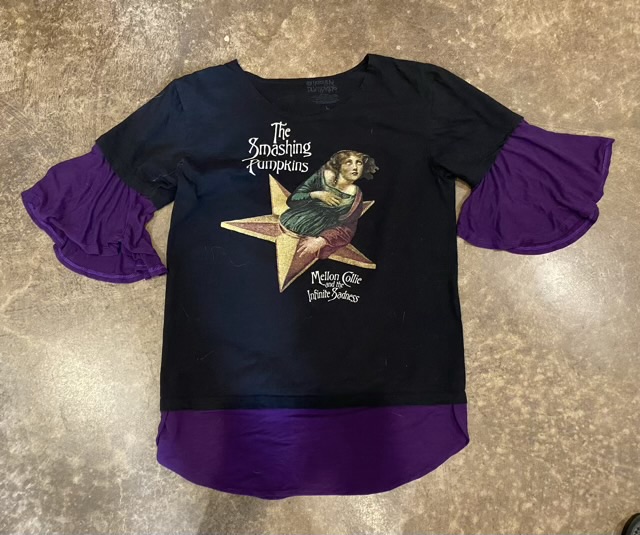
This poor shirt. I previously added crocheted elements, but didn’t like the way the sleeve crinkled in my elbow, so took off all the crochet.
Photo description: Black Tshirt with The Smashing Pumpkins cover art for Mellon Collie and the Infinite Sadness
It hung sadly in my closet along with another shirt that had acquired stains on the front. Eventually they caught my attention again and I combined them. I used the black shirt as a base, removed the flutter sleeves from the purple shirt and sewed them to the bottom of the black sleeves by adding gathers to match the circumference. Then I took sections from the unstained fabric to make a hem extension, overlapping the sides in a petal formation and adding a narrow hand sewn hemmed edge. Honestly I hand sewed all the added bits, because I like to.
Photo description: restyled tshirt with added purple at the sleeves and hem
Photo description: witch’s costume with purple spiderweb cape, dress and cape hand sewn, hat purchased
I don’t know what possessed me to sew a kid’s costume when I had a new born, but I did in October 2008. This is the costume that made me realize that it is more expensive to buy fabric than to buy premade costumes. Was it well made and amazing? Yes, it was. Was the spiderweb themed purple sheer and coordinating black fabric so cool? Oh yes. Was it worn more than once? No. The dress was too small within a month, although the cape lived in the dress-up box for years. Was it worth the time and money? No, not for a growing kid. For an adult? Maybe, especially if it will be worn year after year.
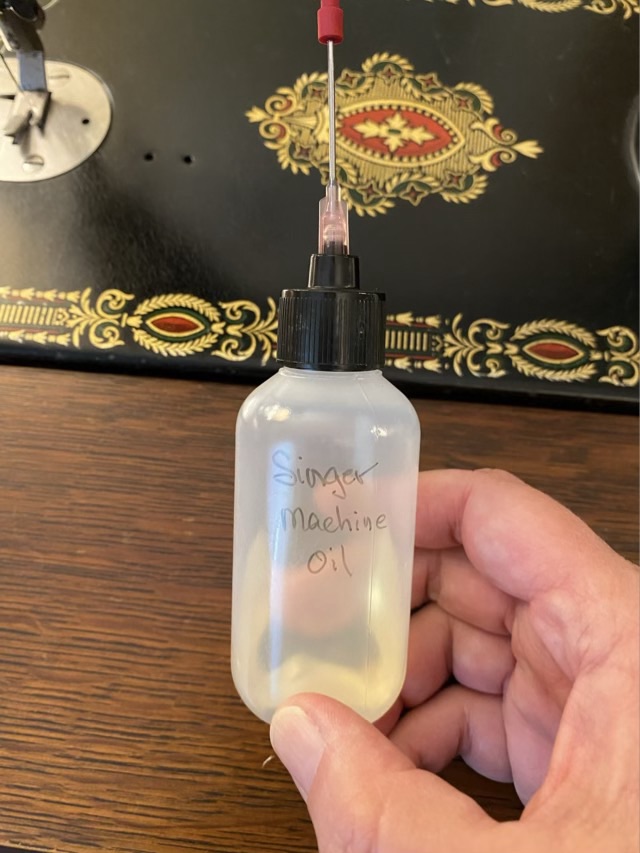
If you start following treadle sewing machine groups, you’ll see frequent use of the acronym SMO, which stands for Sewing Machine Oil. This lubricant is vital, especially for older machines. Of course Singer recommends using Singer SMO, but I find the applicator to be clunky, so I took the advice of several treadle machine bloggers and purchased squeeze bottles with a stainless steel tube to facilitate precise oil placement.
Photo description: 2 ounce plastic squeeze bottle with 1.5” stainless applicator, filled with Singer Machine Oil
I purchased my bottles on Amazon, and it was a little tricky because the name is awkward: plastic squeeze bottle with stainless applicator. Accurate, but hard to search without all the words. Any how, I found them, filled one with SMO, and love how much easier it is to apply the oil without overshooting. I did worry about light getting through the bottle and degrading my oil, but after researching, it is better to be able to see the oil to check for changes (darker, cloudy). I might still keep the bottle in the dark, because some things are deeply ingrained.
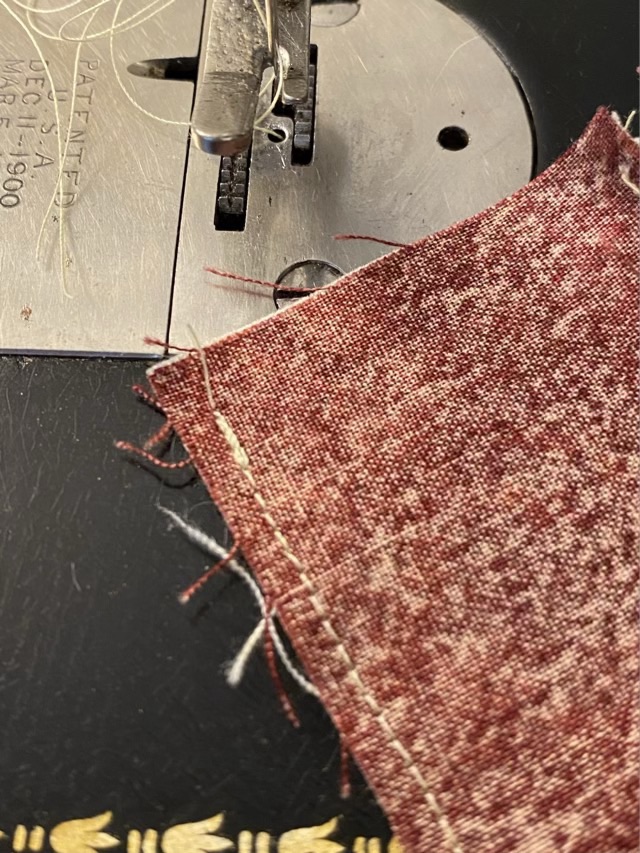
I recently learned another method for securing the start and end of a seam on a treadle sewing machine with no reverse. With this method, you make a few stitches, lift the foot, move the material to the beginning, and stitch over the first stitches.
Photo description: sewing machine foot moved back to the beginning of a seam after a few stitchesPhoto description: seam sewn on a Singer model 66 treadle machine using the lift and restitch method to secure the start of the seam
This trick joins my bag with two other methods. There is the turn-the-whole-fabric way, where you turn the fabric 180 degrees around the needle in the down position, put the foot down, sew a few stitches, then plant the needle, lift the foot and turn the fabric back to the original position, lower the foot and keep sewing. Also there is the tiny stitch method, where the stitch length is set to near zero to start and end a seam, but lengthened in the middle. All three methods work well to make it harder for the stitches to pull out.
On more modern machines there is a reverse button that allows the sewing machine to stitch backwards. Treadling an antique machine backwards will at best break the thread, or worse, make a tangled mess of your bobbin.