I thought my fiber page CRICUT pattern was available online, but apparently it wasn’t, until now. I have made the cut design public and included a materials list and a link to the blog post that has assembly instructions. The link to the CRICUT Design Space project is here: https://design.cricut.com/landing/project-detail/630799ca21506d2c4716a4c2
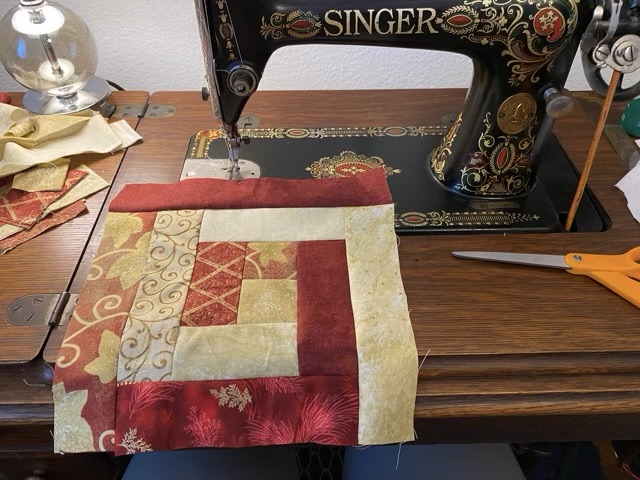
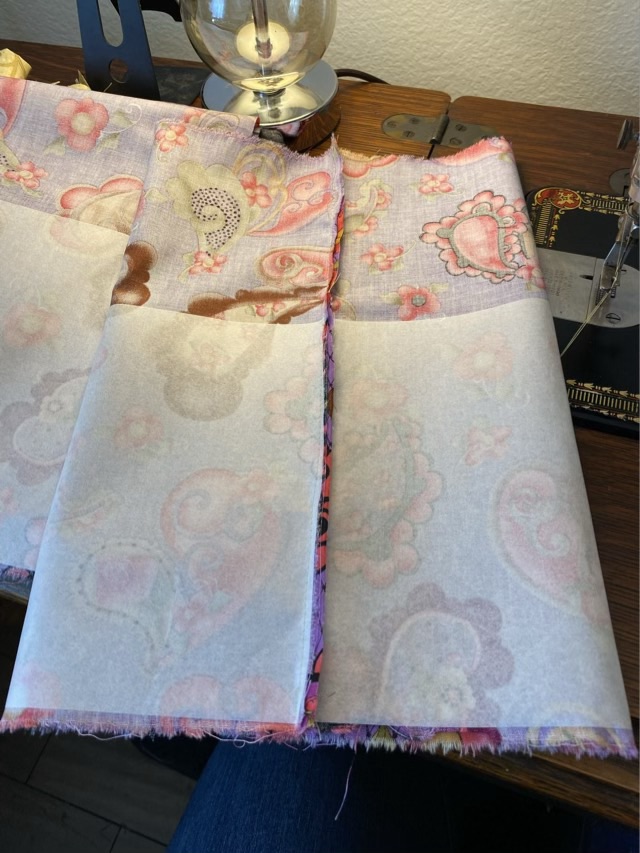
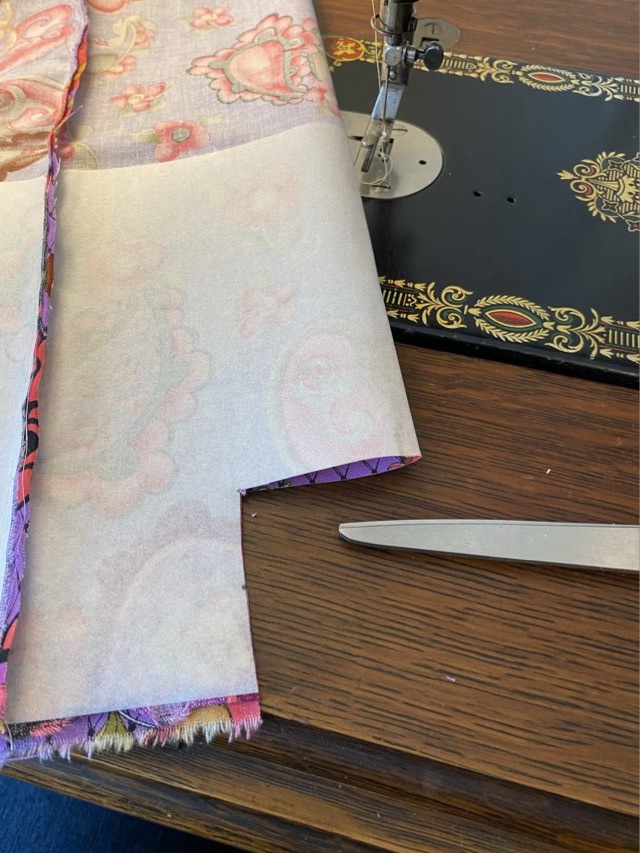
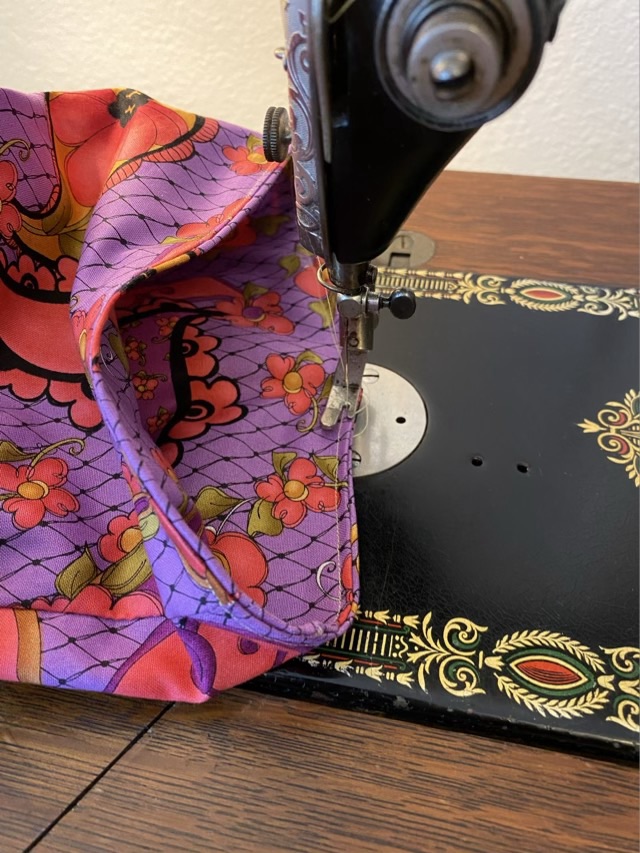
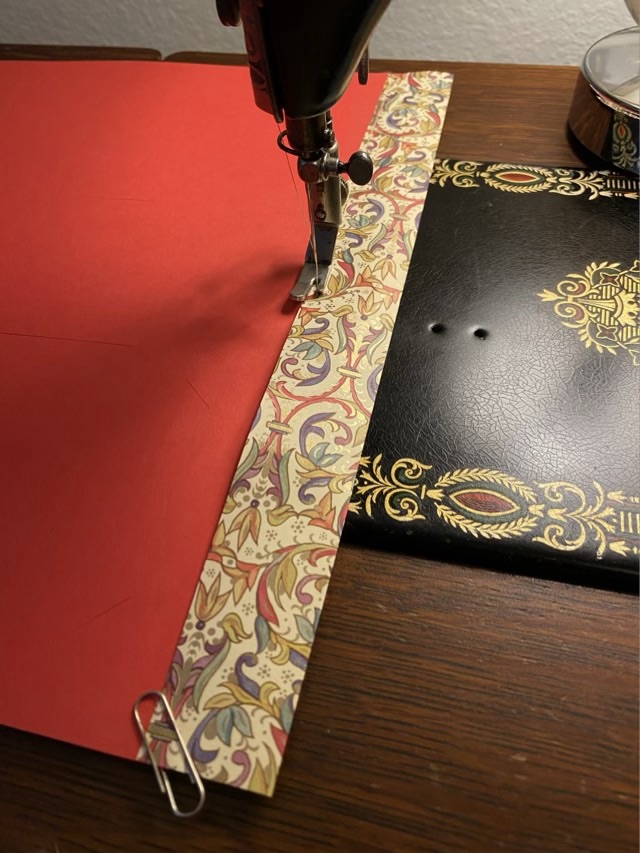
I discovered that the template wasn’t public when I went to make more pages. I assembled my entire stash of 12×12 card stock to make 10 additional pages, which should keep me supplied for a while. I sewed the spine of each page using the 1916 Singer Treadle sewing machine, which did a fabulous job.
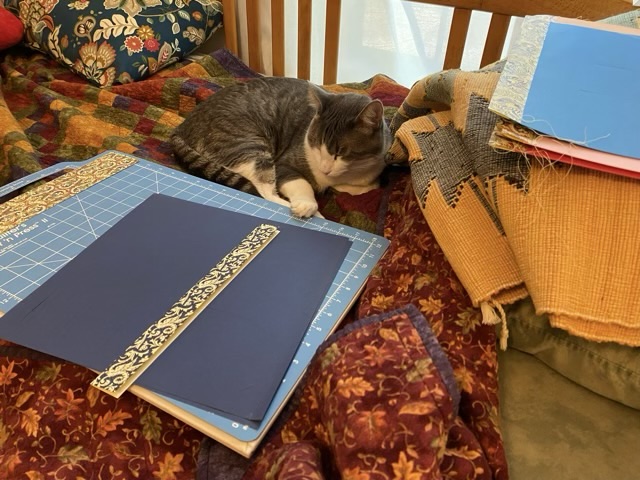

I only fully assembled two pages with the paper spools and fiber drawer for my two current projects. The rest I left so they would stack easier until the time comes to fill them with fiber.
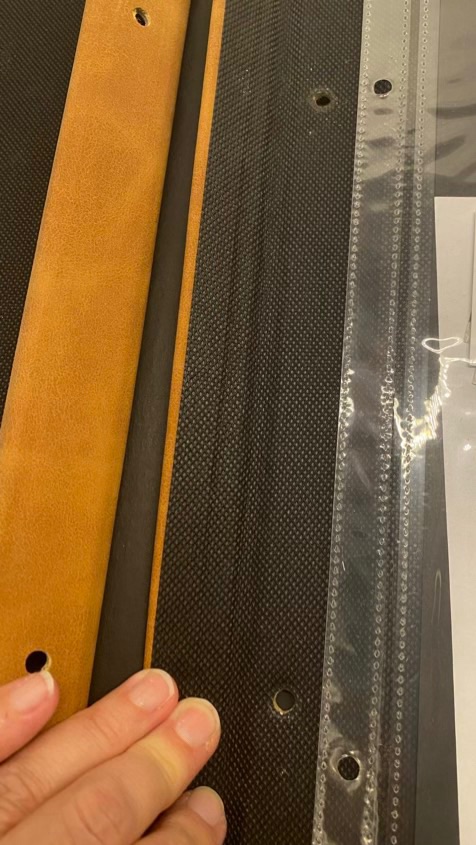
And here is a cautionary tale: when buying photo albums, pay close attention to the spacing of the holes and size of the album. I have too many fiber pages for one book, so bought a new one but didn’t double check dimensions (I really should know better). I’m also stubborn, and rather than returning the book, I cut new holes. My eventual plan is to make my own covers, but I needed something to protect the pages in the interim. Frustrating.