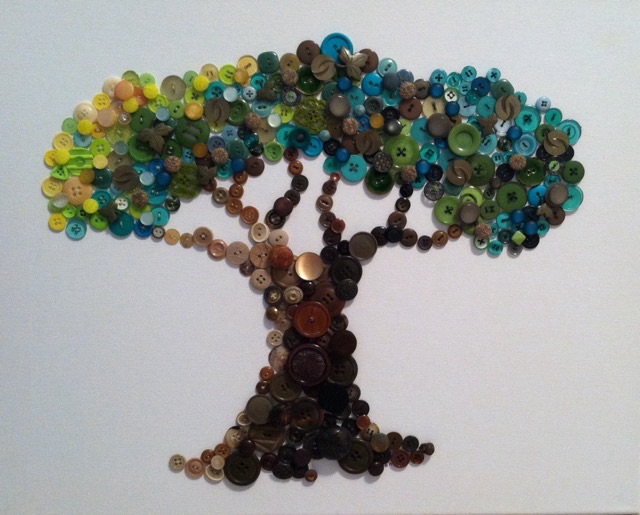
In September 2014 I made a button art tree by sewing colored buttons to a stretched canvas.
Photo description: tree on canvas made entirely with sewn on buttons
My button grandma had a high distain for anything that destroyed buttons, such as glue or cutting off the shank, since that makes them unsuitable for button collectors. So all the buttons are recoverable from this art, should they need to be. I do like how I used the lighter colors to indicate light direction.
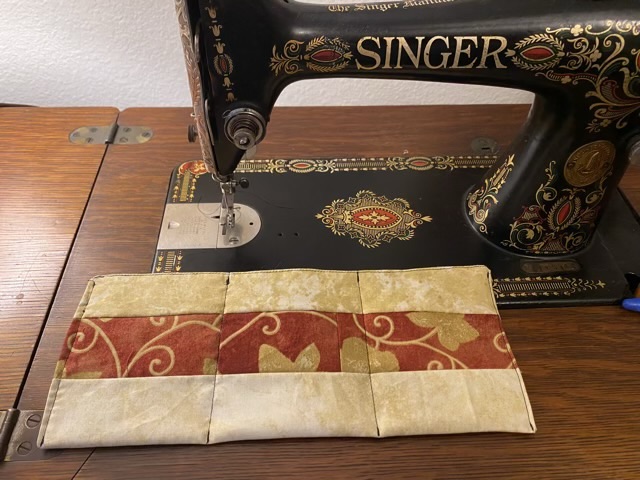
I tried a few different ways to organize my headphone and charging cords in my purse, but they all ended up in a tangled snarl. I thought what I might need is more pockets. (Pockets!) I exercise my antique Singer treadle machine by sewing together scraps of quilting fabric, making larger bits of scrap. I took two of those pieces and made a three pocket strip by sewing the right sides together, turning it right side out, folding it in half, and stitching the sides and pocket dividers.
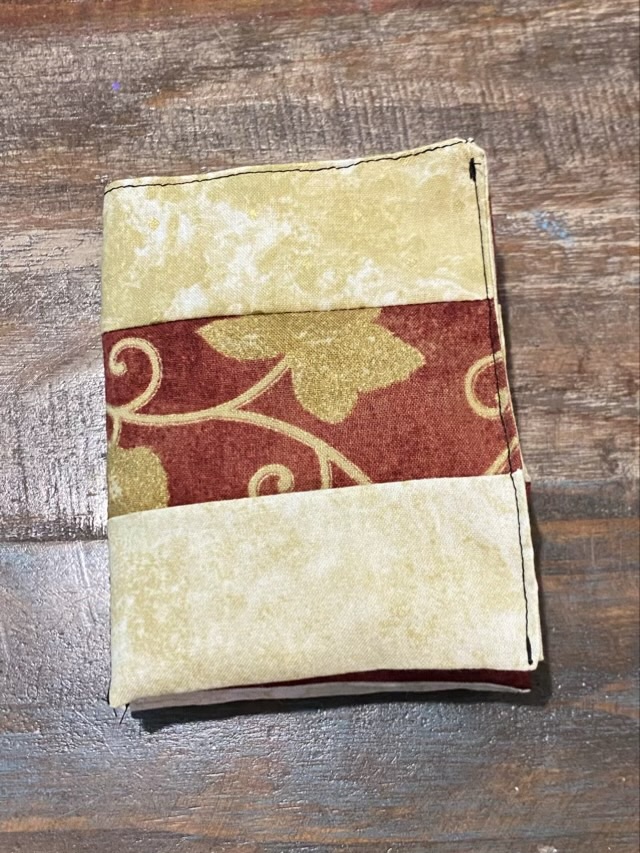
Photo description: three connected pockets sewn from scraps of quilting fabric on a model 66 Singer Sewing machinePhoto description: other side of the pockets shown with headphones, charging battery, and charging cords sticking out of the pockets.Photo description: view of the top of the filled and folded three pockets Photo description: view of the side of the three pockets when they are accordion folded into a wallet
I did not put a zipper or closure on the pockets, because folding the wallet does a good job of keeping the cords in place, and the wallet goes in my purse upright, so there is a low possibility of getting turned upside down. So far the wallet works well because I have not reached into my purse and encountered a tangled mess.
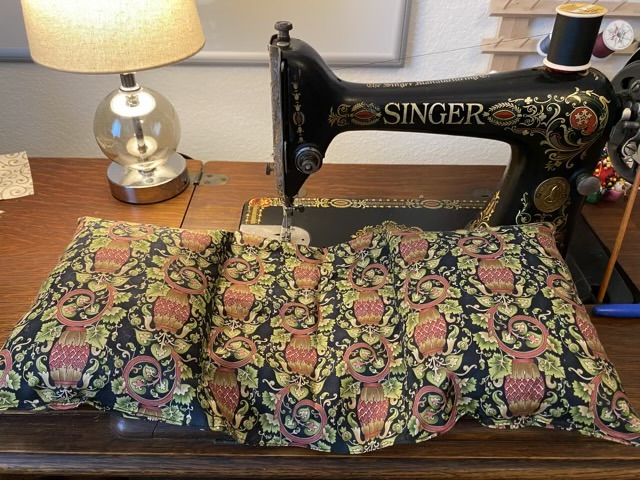
I don’t like the U shaped travel pillows. I’ve tried several, and the bulk pressing against the back of my neck (really anything around my neck) drives me nuts. So I made a different kind of pillow. It is ideal for reclining chairs because it has two side pillows so my neck doesn’t twist too far, and no stuffing behind my head. The best part is that I made it with one fat quarter, some thread, and poly fil stuffing.
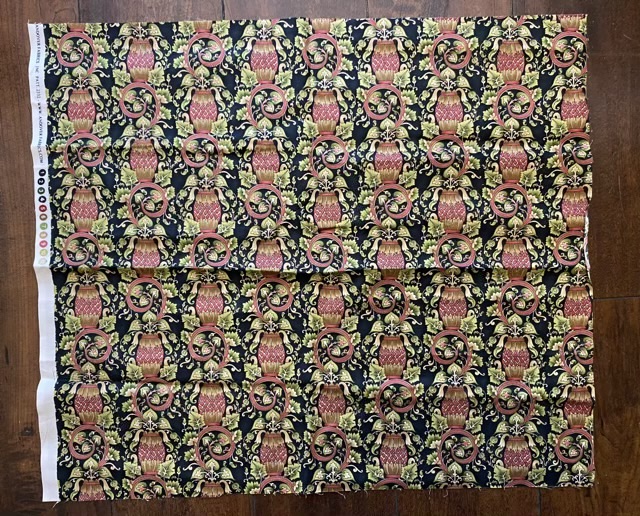
Photo description: fat quarter (18”x21”) of quilting fabric with a pineapple motif
To make the pillow, fold a fat quarter in half lengthwise, right sides together (9” x 21”, doubled). Sew along the edges, leaving two 4” gaps on the outside thirds of the long edge (for stuffing later).
Photo description: fat quarter folded in half and sewn with two gaps on the far edge, on a model 66 treadle sewing machine
Clip the corners and turn the pillow right side out. Fold the case in thirds, mark the line, then sew seams along the lines. This divides the pillow into three parts.
Photo description: pillow case divided into thirds and being sewn using the fold as a guide
Fill the outside sections with stuffing, then sew the gaps closed. I usually do this by hand, but the foot on my model 66 has such a nice tiny toe, I thought I would try on the treadle sewing machine. It worked well.
Photo description: sewing the pillow gap closed using a treadle machine fitted with a standard footPhoto description: finished travel pillow laying on the work surface of a 1916 Singer treadle sewing machine
It amuses me that the fabric coordinates with the “red eye” decals on the sewing machine. I can report that the pillow works great, especially for naps.
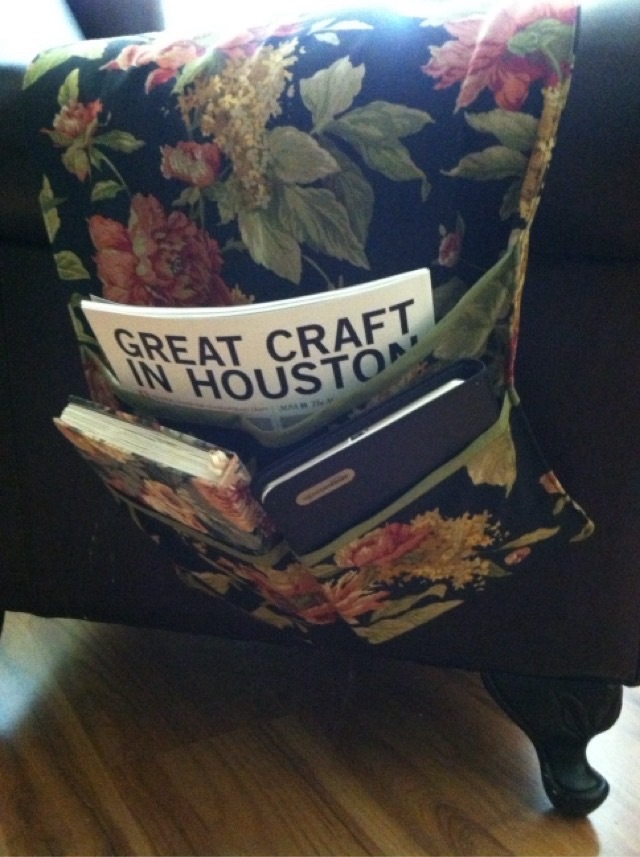
In May of 2013 I made this arm chair organizer that has pockets on the side for magazines and notebooks. I’m not sure why I didn’t sew on something to hold it down on the seat cushion, instead relying on butt power, but I am pleased how nicely I trimmed out the pockets using bias tape.
Photo description: floral fabric with a black background sewn with three overlapping pockets trimmed in green and filled with booksPhoto description: other side of the organizer with different sized pockets to hold different books, electronics, and magazinesPhoto description: over exposed photo of the chair from the front and the organizer stretched across the arms of the chair, no butt anchor
If I were to remake this project, I would add fabric to tuck down on the sides of the cushion, or maybe even go all the way around or under the cushion. Hm. Maybe I didn’t have enough fabric so had to rely on butt power. It would have made more sense to run the center section under the cushion.
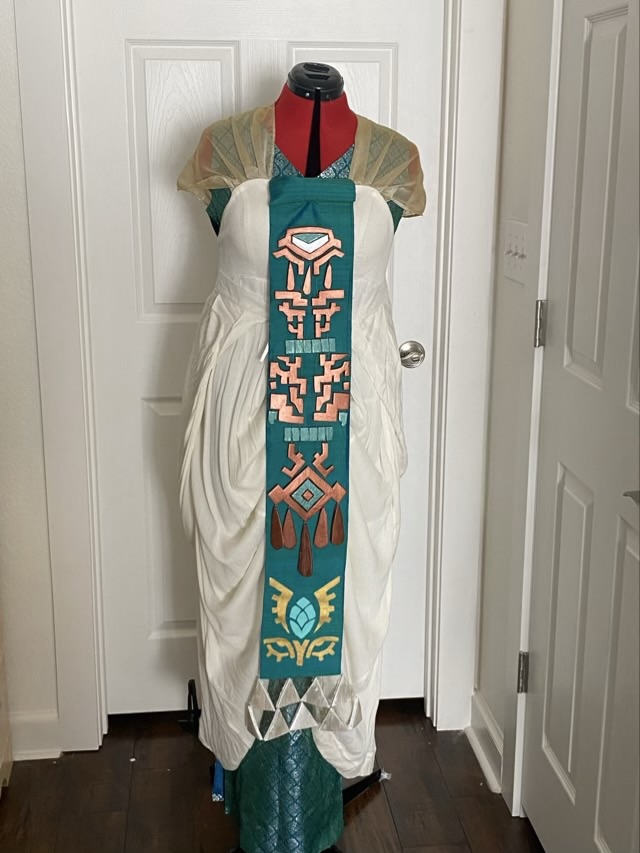
The reveal! Here is the full Zonai panel for Zelda from the Tears of the Kingdom game.
Photo description: Cosplay outfit from Zelda Tears of the Kingdom with green under dress, off-white gathered over dress, and newly created front panel made of EVA foam sheet, acrylic paint, and silk
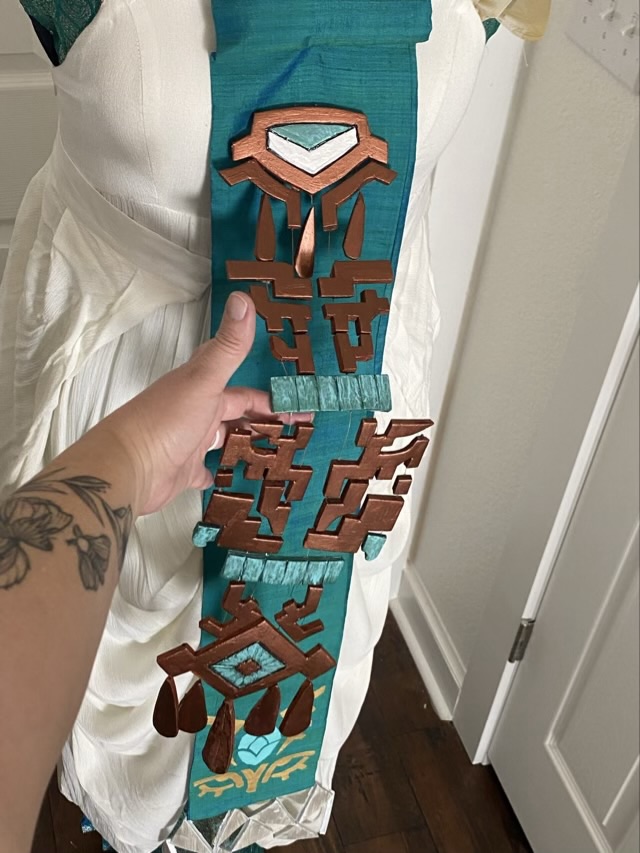
The jewelry panel is pinned to the silk with straight pins, because the EVA foam is easy to pin. The silk panel is safety pinned into the white dress that is a reused element from a previous Halloween. I sewed on the gold chiffon fabric the last time it was worn so that the dress wasn’t strapless. The under dress was my grandmother’s and is the same blue/green silk as the panel, but with a silver thread overlay pattern. I did sew knit side panels on that dress so that it had some breathing space.
Photo description: jewelry panel lifted from the silk panel to show they are different elements and not just painted on
And not so say that I have an impressive craft stash, but I bought very little for this assembly. Everything was reused or repurposed from previous projects. I did need to buy antique copper acrylic paint because I ran out, and as long as I was getting paint, also picked up a metallic dark green, which was a good choice for an under layer of the patina.