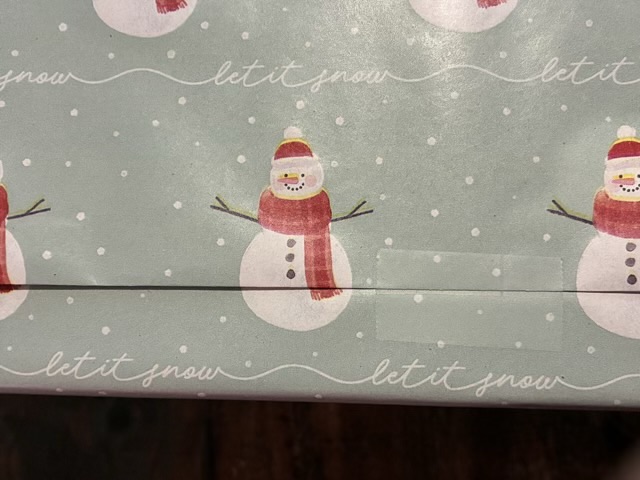
Sometimes, not very often, when I’m wrapping presents the paper pattern and the box size coincide and the fold at the back is a perfect continuation of the pattern. Ah.

Sometimes, not very often, when I’m wrapping presents the paper pattern and the box size coincide and the fold at the back is a perfect continuation of the pattern. Ah.
In April of 2016 I took pictures of my kids against the strong light of a window to get an image of their silhouettes. I then digitized the outlines and used my Cricut cutter to cut colored cardstock. My favorite result was where I layered the two cut outs on some beautiful hand marbled paper my sister gave me.
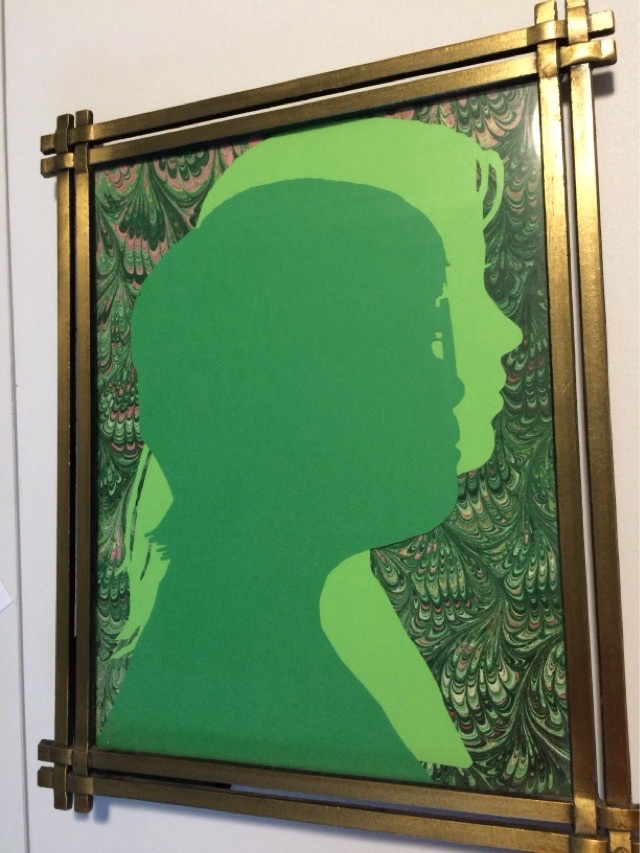
I really admire the people with the skills to cut out silhouettes free hand. I leaned heavily on technology for this setup.
In December 2015 I made my youngest a playing card holder from thin card board and duct tape.

The concept is simple, a slot made from two folds of card board, the back fold slightly higher than the front, then a wide base so the cards stay steady. The duct tape holds it all together. I left the card board exposed where the cards are inserted, so the cards will slide in and out easily.

My youngest can use this to play Uno, even when the hand has nearly thirty cards. I am amazed that it is still working well ten years after I made it, and that it gets frequent use.
In October 2015 I was volunteering at my kids’ elementary school library. They had stacks of old dust covers for books and we had the idea of making a library sign using the colorful printed paper. I selected portions of book covers with coordinating colors and made each letter of the word “library” a different color of the rainbow.
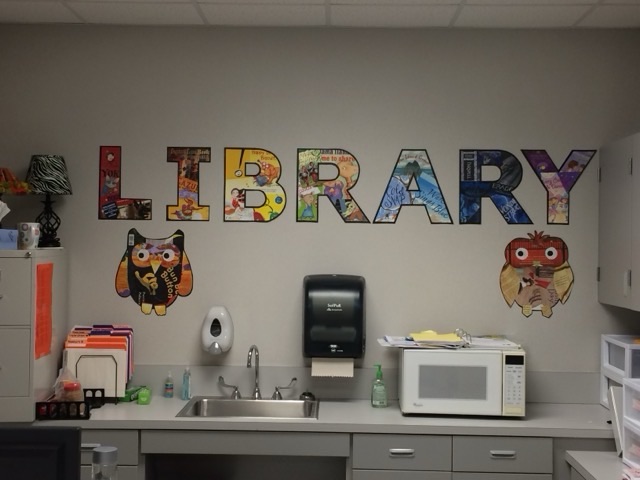

I did write on the back of each letter the names of the books that went into making up the color. The owls were made to coordinate with a backdrop of a collection of owls that was already displayed at the library.
It hurts sometimes. I’ve been struggling with my printer for longer than I care to admit, trying to maximize paper use and minimize waste. I try lying out a print double sided so that I can then cut them apart, but the printer doesn’t print consistently and the double sided is off set at best, or unusable.
After a particularly frustrating waste of 20 sheets of card stock, I walked away from the problem for a while.

I don’t know why I’ve never considered cutting the card stock first. First. Then feeding it into the printer, which can handle small stock. I tested it the next morning, and had a 95% success rate. Much better than the 20% success rate of printing first. Bonus, I can get cut three 3.7×5.75 inch cards from a single letter sized piece of card stock. That is one extra per sheet than if I printed (which with my printing tolerances would be impossible to achieve).
Yeah for ah ha moments.
