To test my theory that knit i-cord has the most options by varying yarn weight and needle size, I knit worsted weight cotton with size two needles, which are much smaller than recommended for the yarn.
Photo description: i-cord knit with worsted weight cotton yarn and a size 2 circular Prym needle
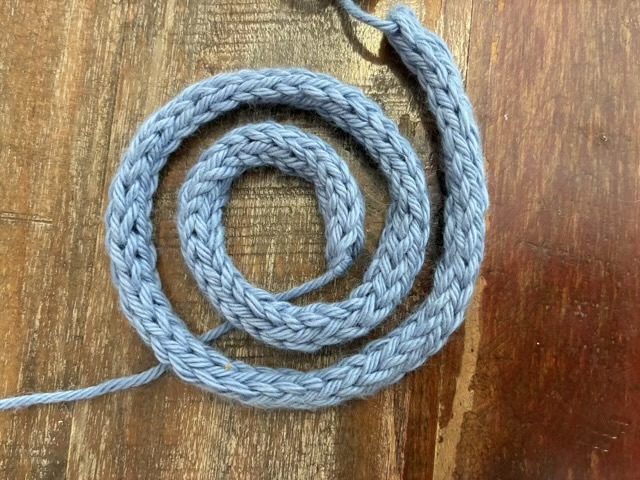
As expected the cord comes out more dense and sturdy than cord knit with bigger needles. I only managed to make 10 inches of cord in 30 minutes. It has 20% stretch, which is 5% less than the i-cord knitted with size 8 needles. I’m a little disappointed that the difference in stretch isn’t more different.
Photo description: 10 inches of densely knit purple i-cord in a small spiral
Hm. Yes, I can vary stitch density by changing needle size, but I think I would choose another method if I needed a dense cord with less stretch.
In a world where you can be anything, be kind. Never forget.
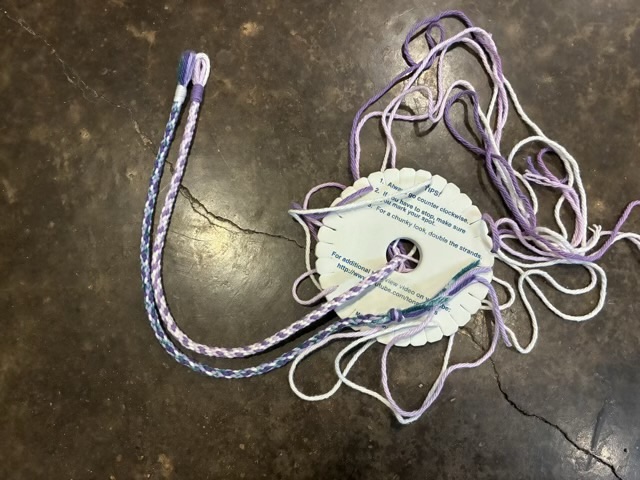
Braiding is common in cord making, so I did my 30 minute test with a foam disk (also called a Kumihimo disk). Here there is an added element of time wasting when dealing with the loose ends of the yarn. I initially cut lengths of cotton worsted weight yarn that I guessed would only take me 30 minutes to braid. It took 25 minutes. So I cut longer lengths and tried again. At the 30 minute mark I had a cord that was barely longer than the first cord because I had to manage the longer lengths of yarn tangling as I braided.
Photo description: foam braiding disk with a cord in process at the 30 minute mark and a finished cord that took 25 minutes, but is about the same length
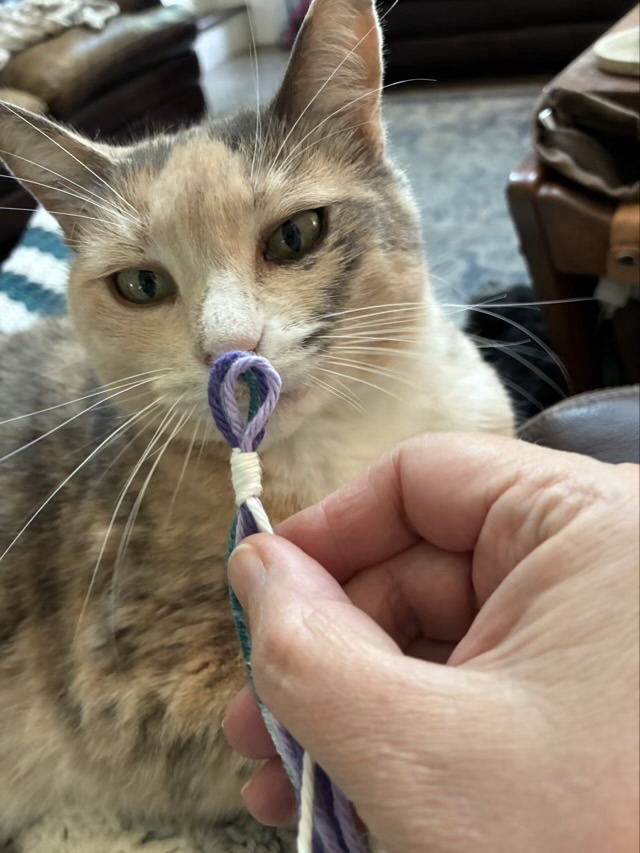
There are ways to manage longer lengths of yarn, such as using bobbins or spools. Sometimes those tangle too, and there is time used to unwind more yarn when needed. Dangling yarn ends also attract cat attention, which can cause delays.
Photo description: Sophie the cat sniffing the end of a lashed yarn bundle, she came up on my lap chasing the yarn
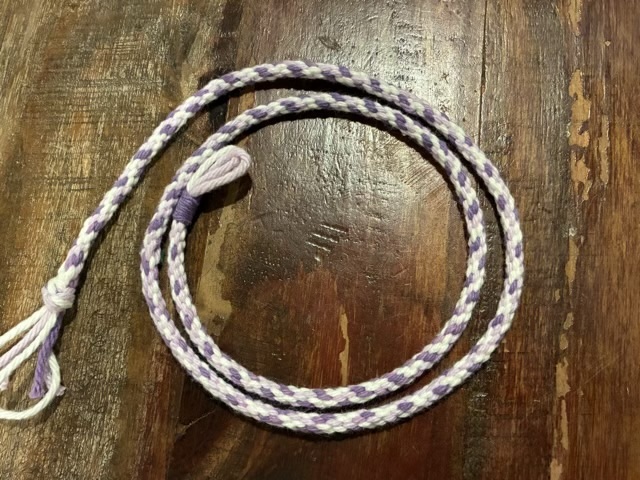
When I reached 30 minutes and still had unused yarn, I decided to push for another 30 minutes, rather than waste the yarn. In 60 minutes I created 28 inches of braided cord. The cord is dense and stiff, but has 15% stretch (20 inches can be stretched to 23 inches.)
Photo description: seven stranded finished cord braided with a foam disk in an hour
Braided cord is a length limited method because the yarn needs to be cut prior to beginning the braid. With yarn management, though, it is possible to braid quite a long cord. I wonder if the bobbins used for bobbin lace would work for braiding? Hm. Something to experiment with.
I have read about weaving a round cord, and I’ve been wanting to laser cut a heddle to experiment more with back strap weaving, so I combined the two with my 30 minute series.
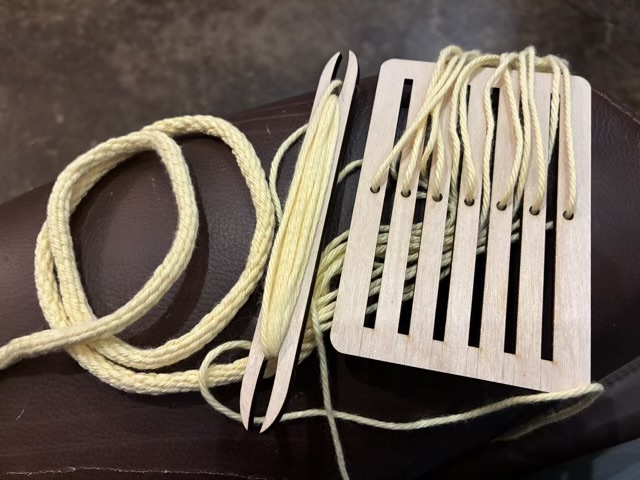
Photo description: laser cut rigid heddle and shuttle, with yellow worsted weight yarn woven into a cord
I cut 13 lengths of yarn and threaded them through the slots and holes in the rigid heddle, then tied knots at each end of the yarn bundle. I secured one end to my foot, and the other to my belt. I loaded the shuttle with yarn and started weaving. To weave a round cord the weft thread only goes one direction, rather than back and forth for a flat piece. It took a little time to get my rhythm, but once I learned to pull the weft yarn nice and tight, the cord making went smoothly.
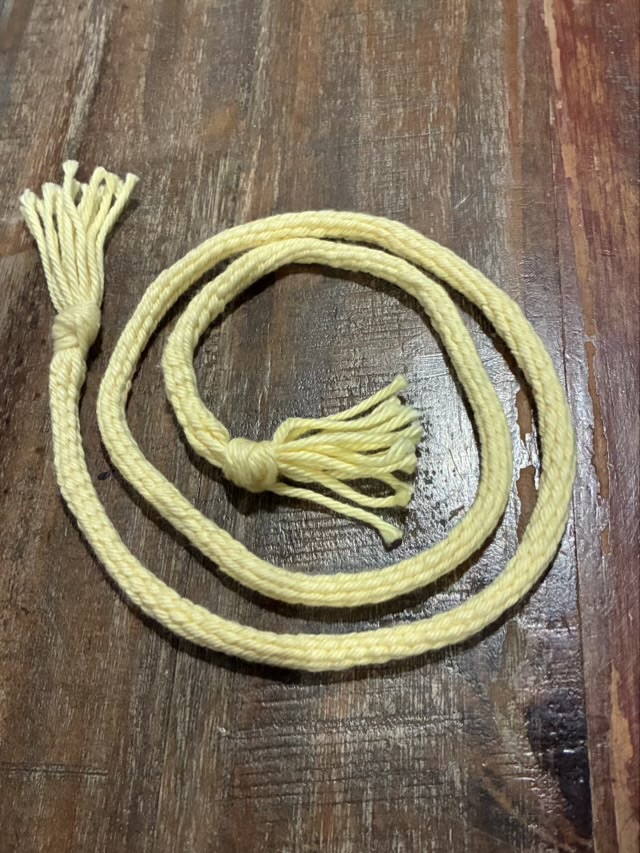
Photo description: yellow woven cord with knots and tassels at the ends made from worsted weight cotton yarn
In 30 minutes I made 27 inches of cord. The cord is strong and dense with 6% stretch (27” stretched to 28.5”). Unlike i-cord or lucet cord, though, this type of woven cord has a limited length because the yarn needs to be cut before weaving begins. This is the kind of cord I would want for bag handles or load bearing clothing elements. It is also possible to weave around a core, which gives more strength and body options.
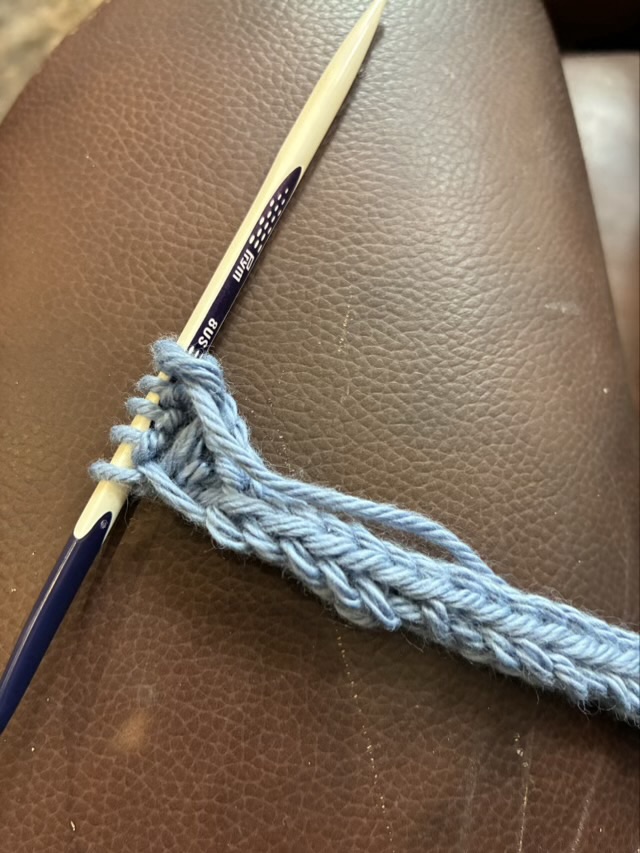
I-cord is traditionally knit with knitting needles. It is possible to make an i-cord of many different gauges and densities depending on the yarn weight and needle size, which makes this method of i-cord making the most versatile. I started with cotton worsted weight yarn and one size 8 circular needle (two double pointed needles work as well).
Photo description: i-cord being knit on a circular size 8 Prym needle with blue cotton yarn, back side, showing the gap from knitting a small round object on a straight needle
There is a little gap that happens at the back of the knitting where the yarn is brought back to the front, but this disappears when the cord is stretched and worked and the loops settle in. Somehow, near the end of the cord I added a stitch to have five instead of four. Hm.
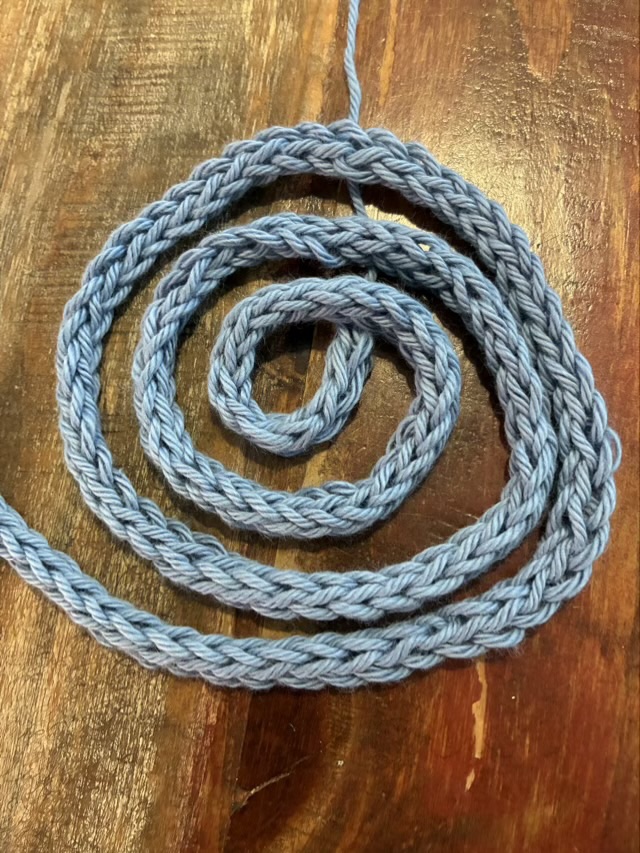
Photo description: knitted i-cord made from blue worsted weight cotton yarn
In 30 minutes I made 18” of cord, which has a little more body than the crocheted and dolly knit versions. It has 25% stretch (18” stretched to 22.5”).
I think I will experiment with yarn weight to needle size variations of i-cord. I actually prefer my cordage to not have much stretch. Experiments will continue.
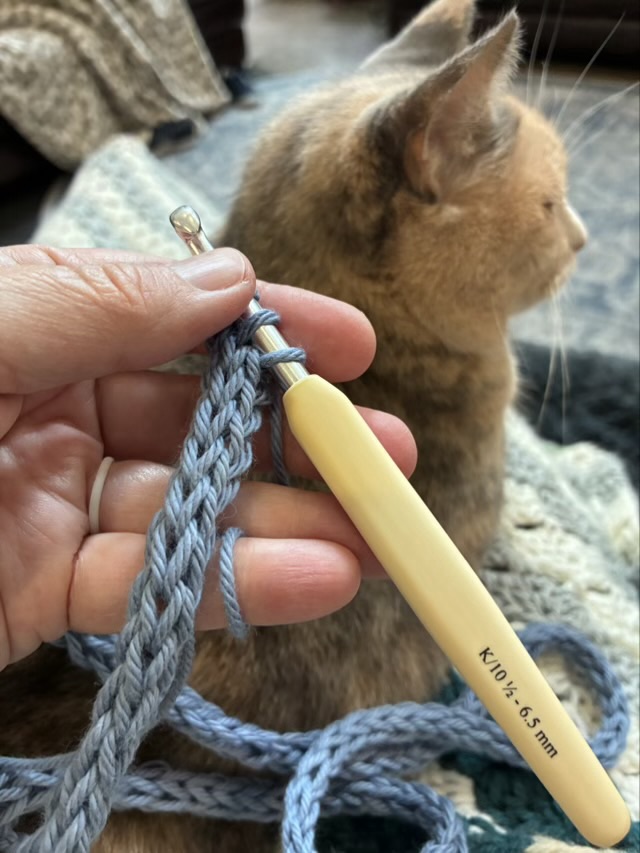
Crocheting i-cord is possible, if you really don’t like any other method than crochet. It involves having two live unsecured loops while you go back to the first loop with your hook. I find it fiddly and difficult to get going. I also tend to make my loops bigger so I don’t loose them.
Photo description: crocheting an i-cord with a size K crochet hook and blue cotton worsted weight yarn, dilute calico in the background
In 30 minutes I made 39” of cord. It is very loose and squishy, but fairly uniform. It has 30% stretch (I took twenty inches and could stretch it to 26 inches.) With practice and bravery, I could probably use a smaller hook to get a tighter cord, but honestly I will always choose a way that doesn’t have loose live loops if I can help it.
Photo description: loosely crocheted i-cord made from blue cotton worsted weight yarn
This is definitely my least favorite cord making method so far.