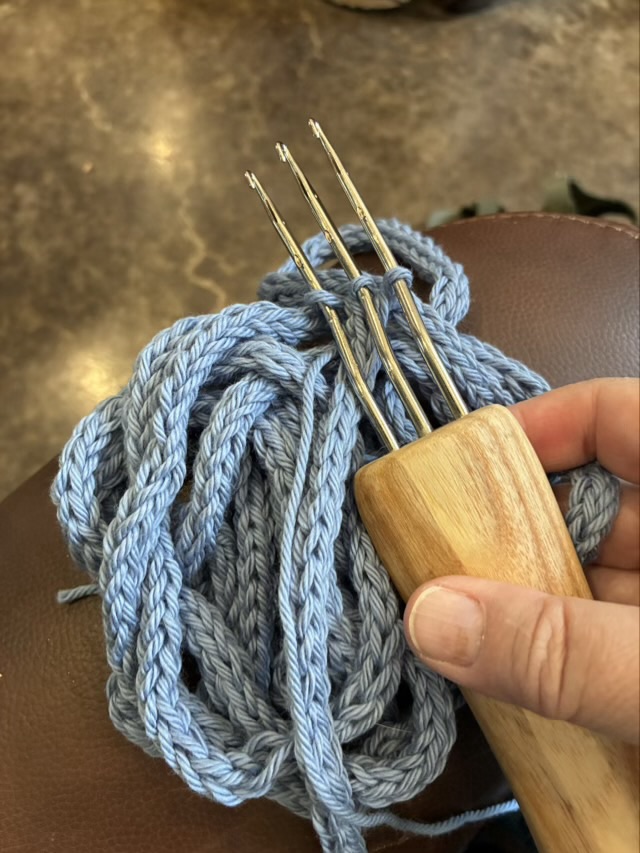
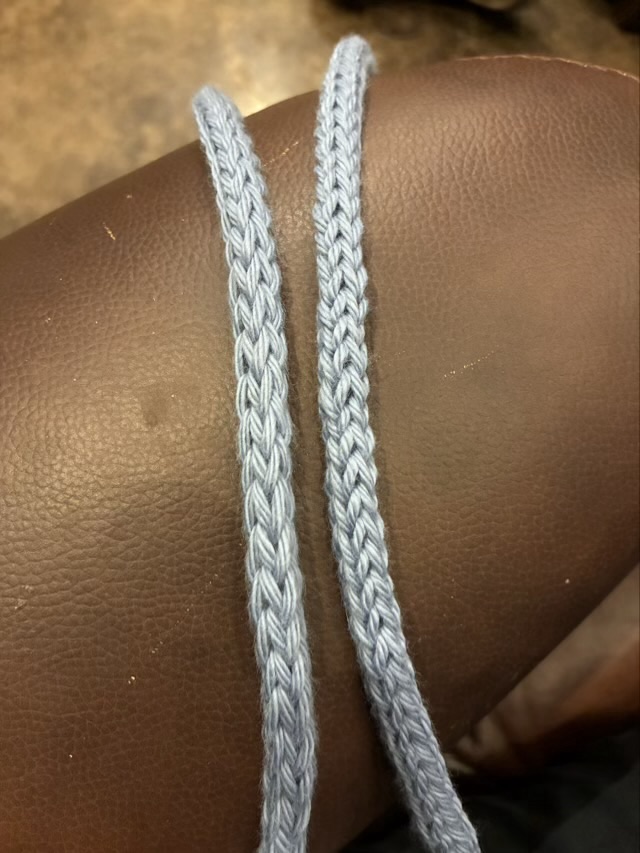
Three latch hooks mounted in a handle can make a long length of i-cord very quickly.
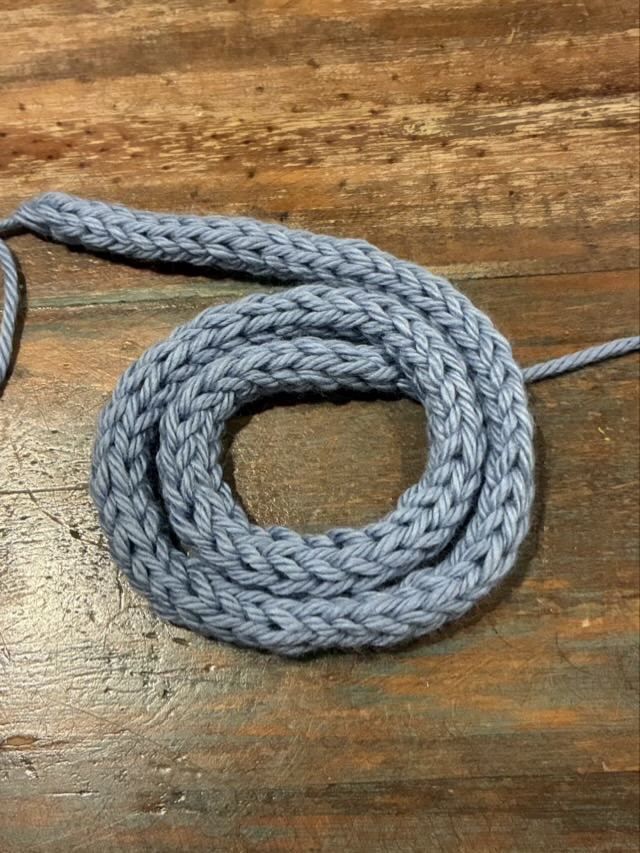
Photo description: handmade i-cord maker with three latch hooks in a hickory handle and a pile of cord made with worsted weight blue cotton yarn
In 30 minutes I made 152” of cord. The cord has a soft drape with 25% stretch (20 inches of cord stretched to 25 inches, I made my math easy.) When my attention wandered and a loop fell off, I did have some difficulty getting going again, and the cord shows an anomaly at those points.
I wouldn’t use this cord where it was a visual focus, but it makes a great filler.
While I handmade my tool, other makers have 3D printed versions made with machine knitting hooks (smaller versions of rug latch hooks) under various names.
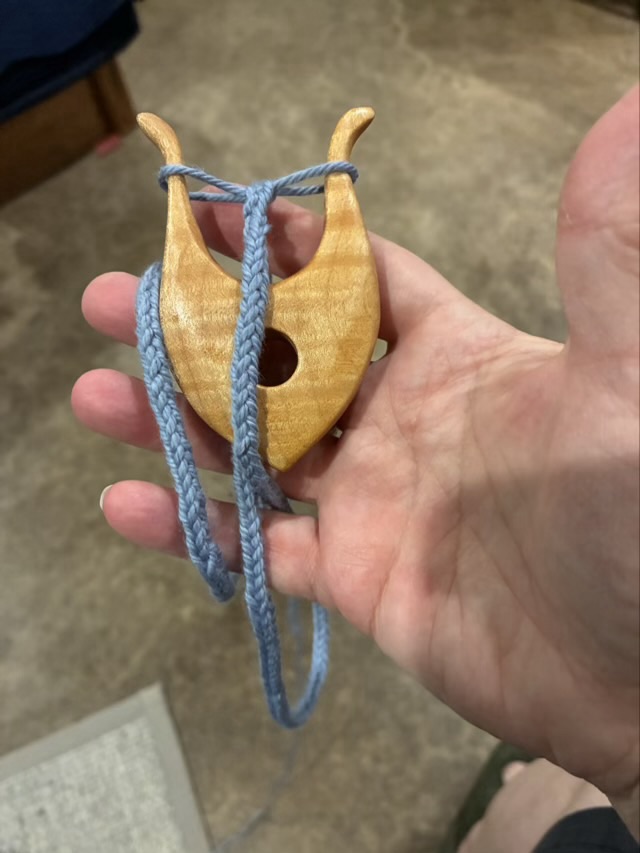
Next in my “how much can I make in 30 minutes” craft series is lucet cord. I made a lucet out of flame maple several years ago, and have a how-to video on YouTube, which I reviewed before making the cord. Getting back into the swing of making the chord took less time than learning the knitting dolly for me.
Photo description: hand made flame maple lucet in my hand with blue cotton worsted weight yarn in process to become cord
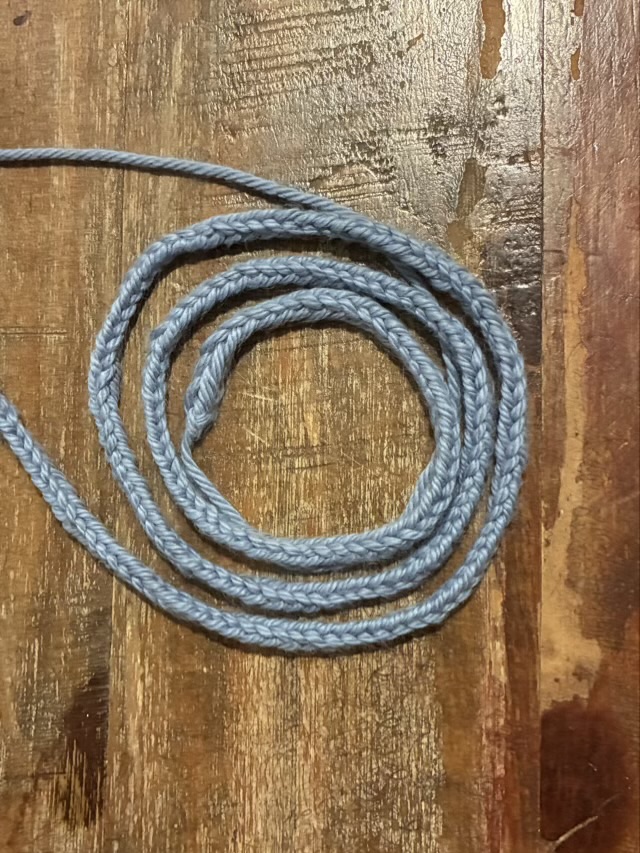
In 30 minutes, I made 29” of cotton cord. This two loop method makes a smaller diameter cord than the knitting dolly with 4 loops, but the process makes a much tighter cord. It has 20% stretch (35-29/29*100) and is square rather than round, but still quite flexible. There is some unevenness in my cord, because how tight the loops are pulled is subject to eye-balling, and my loops weren’t absolutely consistent.
Photo description: 29” of lucet cord made from blue cotton worsted weight yarn
With more practice I believe my stitch length would be more consistent, but I don’t think I would get much more length in 30 minutes.
This is a technique that can be used to make very long cords.
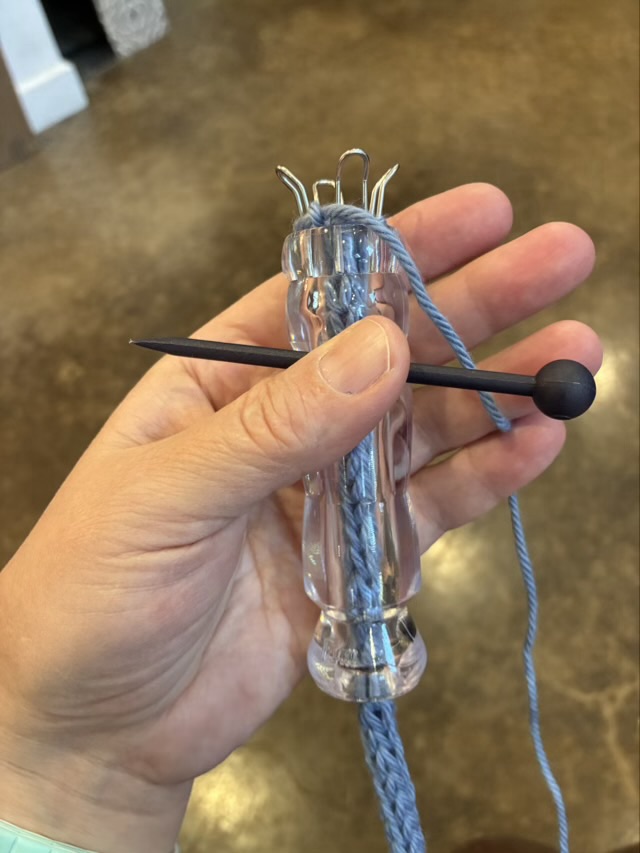
I’m starting a study on how much cord I can make in 30 minutes using various techniques. The idea started with my acquisition of the Prym knitting dolly, which feels like a sophisticated version of the “spool with nails” French knitter. It has a carved crystal-like body and loops instead of pegs at the top, and comes with a needle that locks inside the body of the knitting dolly for safe keeping. Why did I acquire it? Because I don’t have one. I thought I did, a kid’s version, but it isn’t in the knitting bin or the cord bin. Hm.
Photo description: Prym knitting dolly (aka French Knitter, Knitting Spool) with blue cotton yarn
I did have a bit of trouble remembering how to use a knitting dolly, I kept doing the initial twist round as I built the cord and it took a a few minutes of puzzling to figure out why my loops were twisted. It was good data, at least.
Photo description: two cotton cords, the left one made with twisted loops (each stitch the yarn was wrapped around the post), and the right one with untwisted loops (the yarn taken across the front of the post)
I started my timing once my technique was settled. In 30 minutes I made 17” of cord with the knitting dolly. This number is for my skill set at the time of knitting (I’m sure I could improve the length per time with practice), and the 4-peg knitting dolly with commercial worsted weight cotton yarn.
Photo description: 17 inches of knitted cord created with a Prym knitting dolly with blue worsted weight cotton yarn
The resulting cord is smooth and soft, with mostly regular stitches, and 24% stretch. I calculated stretch by measuring the cord stretched, subtracting the unstretched length, then dividing by the unstretched length. In this case (21-17)/17*100. This technique can be used to make very long cords.
I plan to make 30 minute samples of other cord making methods and do a comparison of both length produced and quality.
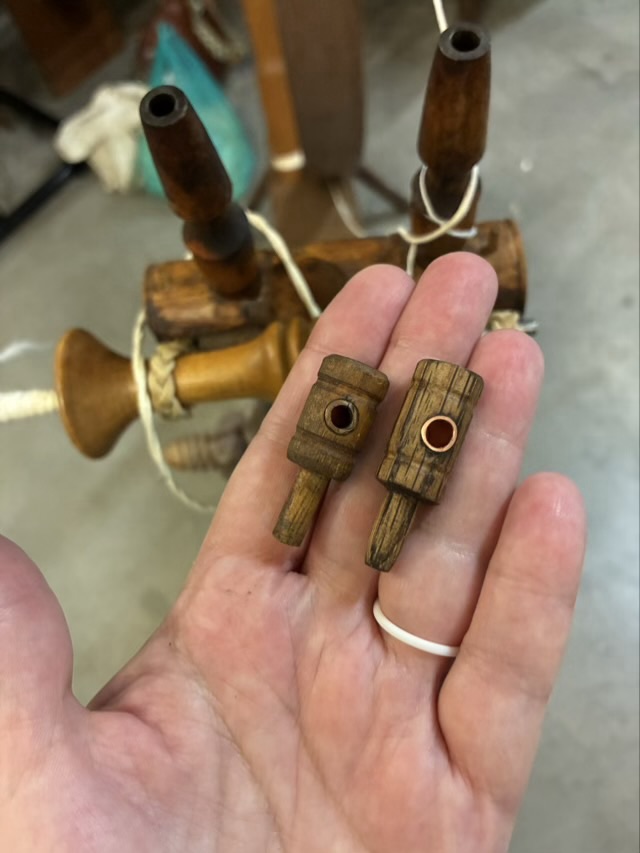
The new bearing that I made for an antique great wheel works! It is slightly longer than the original, but since the maidens adjust separately, the fraction of an inch difference doesn’t affect functionality.
Photo description: my hand holding the original bearing on the left and the new one on the right
The shaft of the bearing ended up being a little thick. It was a tight fit, but needed to be able to rotate to hold the accelerator wheel as the maiden post was twisted up or down. I used my pocket knife to shave off some of the wood so the bearing could rotate.
Photo description: bearing with the shaft narrowed held in my hand next to the maiden post, spindle visible belowPhoto description: fully assembled accelerator head on a great wheel with new bearing on the left side of the picture and the original bearing on the right
I spun for about an hour, working on my yarn width consistency and testing out my new part. It worked just fine! And rotated in the socket when it came time to stop and release the tension on the drive bands. I always lighten the tension between spinning sessions so the bands don’t stretch. I don’t loosen them enough to come off when stationary, which is standard practice for spinners. I can see though, how someone coming along and turning the wheel might be startled by the drive bands coming off or the parts not moving. The bands just need to be tightened before use.
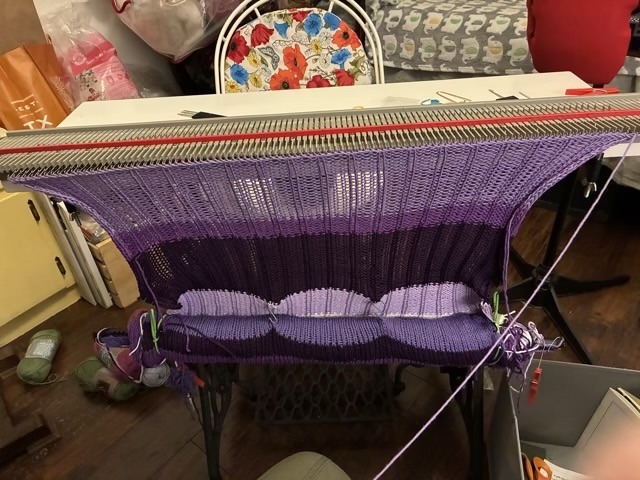
I did another full width (100 stitches) knitting project on my “incredible sweater machine”. I wanted to make a shawl with random purple stripes, and originally intended it to be 65” long and calculated it needed 350 rows of knitting.
Photo description: The incredible knitting machine set up on a narrow table with purple cotton yarn in four shades plus white, last row is finished and backstitched
I tracked the hours I spent at the knitting machine using a row counter app (Knitting Chart), and when I bound off I had put in 8 hours to make 350 rows, which is much faster than I hand knit. I also had better focus, this project on regular needles would have sat for long periods of time. I did put in a rib every four stitches, and hooking up the perl ladders did slow down the process, but it was worth the time to have the shawl lay flatter and add interest to both sides.
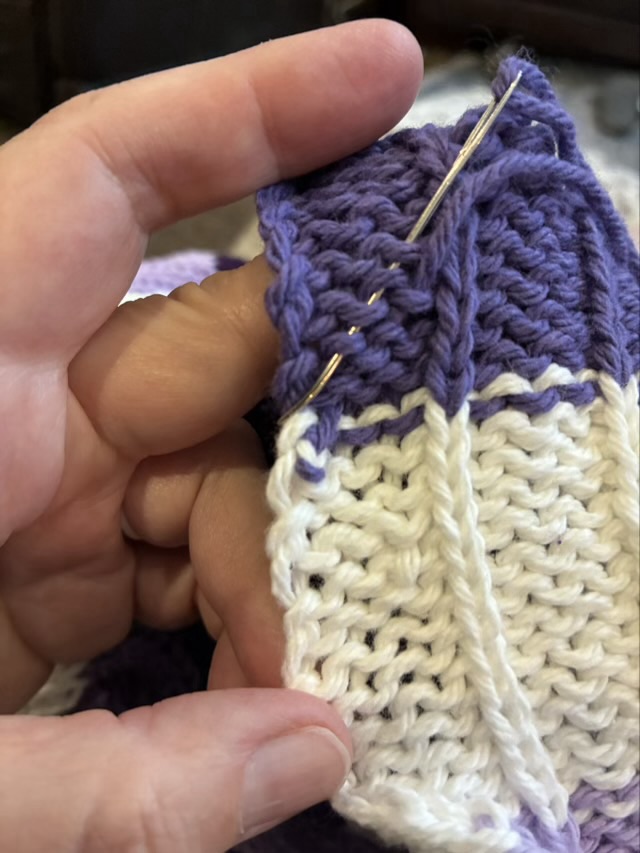
I wove in the ends my favorite way with knit: at an angle on the perl side.
Photo description: weaving in ends with a large eye needle on the perl side, going under the perl bumps at an angle
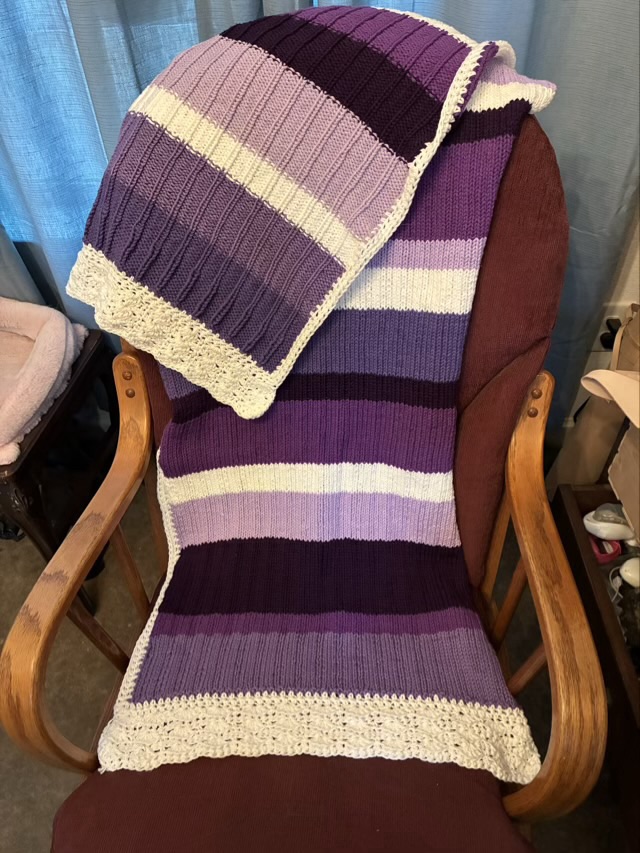
The cotton yarn knit tighter than my acrylic gauge swatch, so I didn’t make it to my desired length. I decided to crochet along the edges, a half double crochet stitch every other knit stitch, then added shell lace to the ends.
Photo description: glider chair with machine knit shawl in purples and white stripes with crocheted lace edges, showing both sides of the knit and crochet, pre-blocking
I steam blocked the shawl using a steamer and ironing board, which really helped even out the stitches and relax the curl.
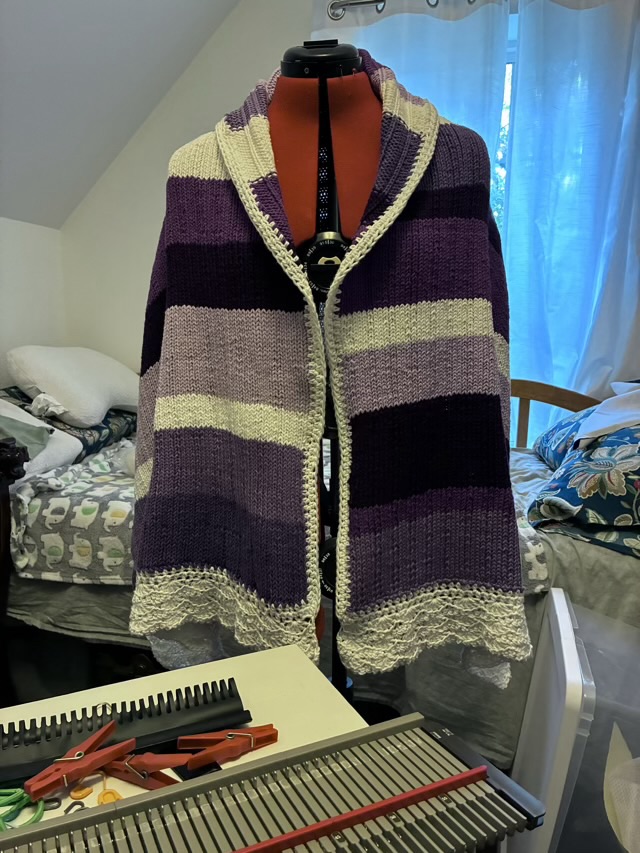
Photo description: striped shawl on an ironing board, steamed areas on the counterPhoto description: finished shawl on a dress mannequin with the sweater machine in the foreground