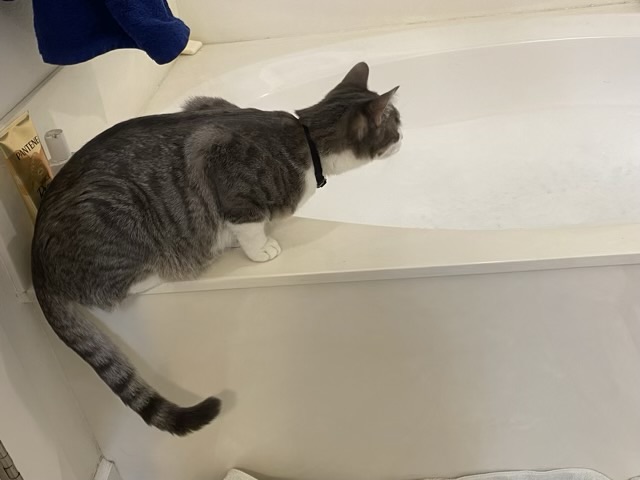
Thor did not jump into the tub, probably because I had the camera rolling, but he did dip his paw down into the bubbles. Full of curiosity, that one.

Thor did not jump into the tub, probably because I had the camera rolling, but he did dip his paw down into the bubbles. Full of curiosity, that one.
Pinterest strikes again. I’ve been pinning linocuts and woodcuts because I like the results and I saw that there are slabs of rubber that can be carved to create flexible stamps. Color me intrigued. I bought a set, and I already have micro wood cutting tools, so I gave it a go.
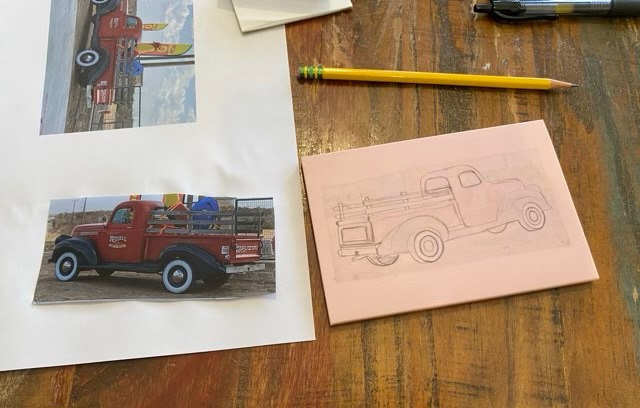

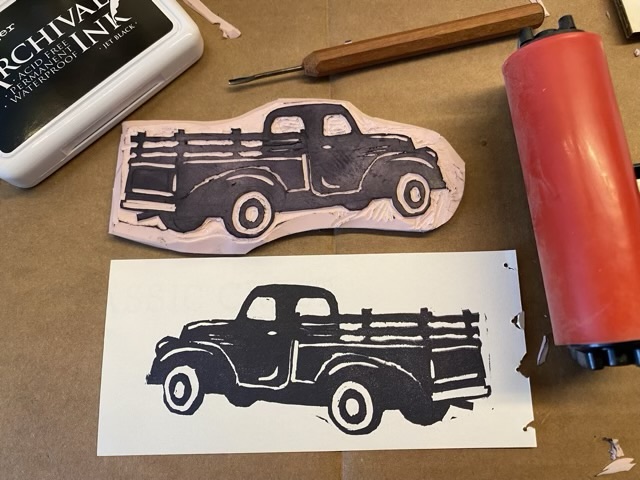
So this was fun. My lessons learned include making sure the carving tools are all very sharp. My gouge was not and left micro tears at the edge of the lines which filled with ink and printed a fuzzy mess. Putting the paper on top of the inked stamp then using a roller to press the paper to the stamp worked much better than pressing a stamp down on the paper. The process definitely has a learning curve, but the rubber is relatively easy to carve and it opens up worlds of possibilities.
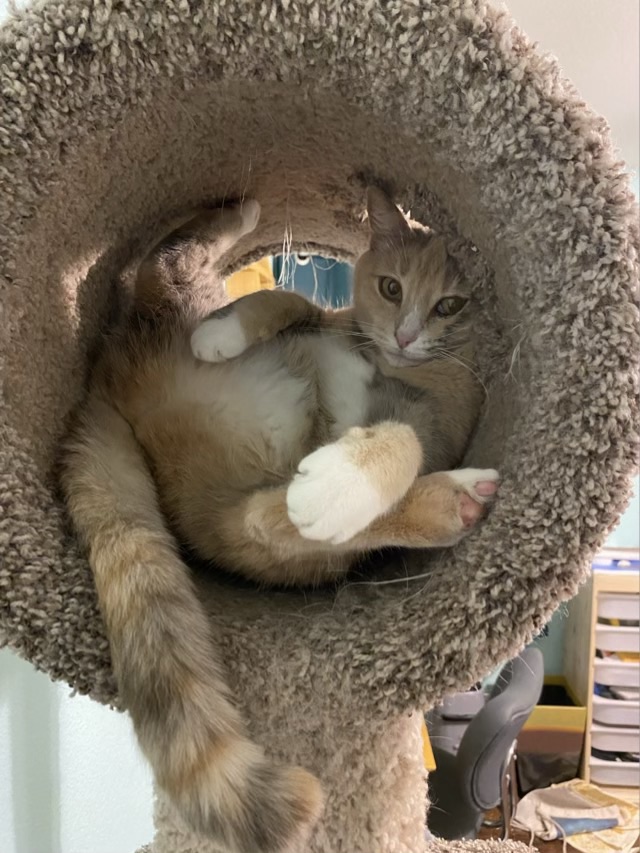
Sophie the cat loves to climb her carpeted cat tree and play “get your fingers” through the holes. She is willing to contort for the side attack. Silly cat.
I purchased a bag of quilt scraps from my local quilt store. I love the owner’s eye for color, and it gives me something to exercise the Singer model 66 treadle sewing machine. I know that the scraps I sew together will eventually be used to make something purposeful, and this time I didn’t have to wait long.
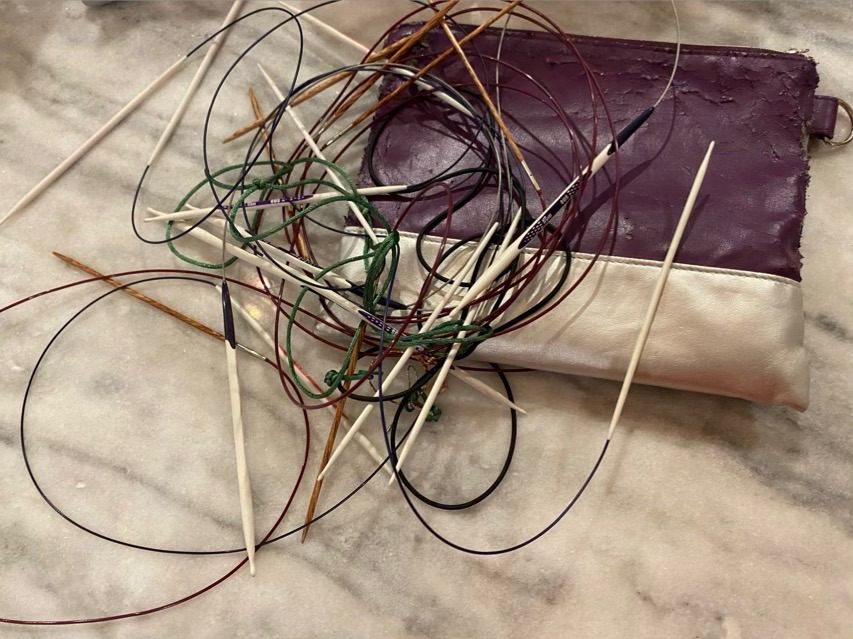
The free bag I was using to hold my circular knitting needles disintegrated, literally. The outer coating was peeling off. Storing circular needles in a pouch is also problematic as they tend to tangle and be a right mess.
I decided that the long strips of fabric that I have been sewing together would do well for the base of a knitting needle case. I paired it with coordinating fabric from my stash (yes, I had matching fabric for the quilt scraps), and layout a folded design that will create 12 inner pockets and two outer pockets.

I sewed the two base pieces of fabric together using the treadle sewing machine, leaving a small gap, then turned the case right-side out. I pressed the whole piece, then laid out the side pocket folds. I sewed zippers across the edges of the outer pockets using oversized vintage zippers.


To make the inner pockets, I measured out three sections on each side and sewed from the top of the inner pocket down to a couple inches shy of the zipper. This is so when accessing the pockets from the zippered side, the bottom is closed, but the pockets aren’t too deep to reach the bottom. This took some experimentation. And seam ripping.
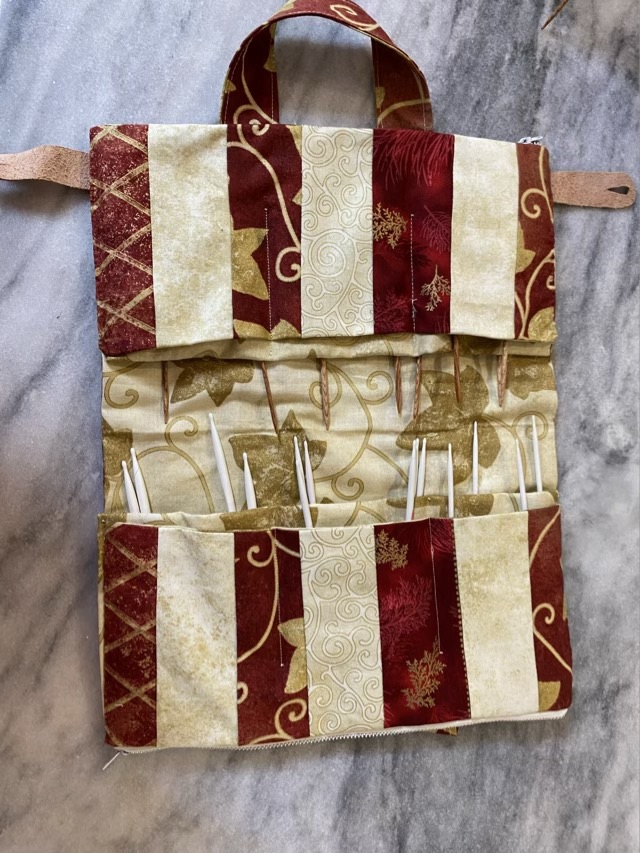
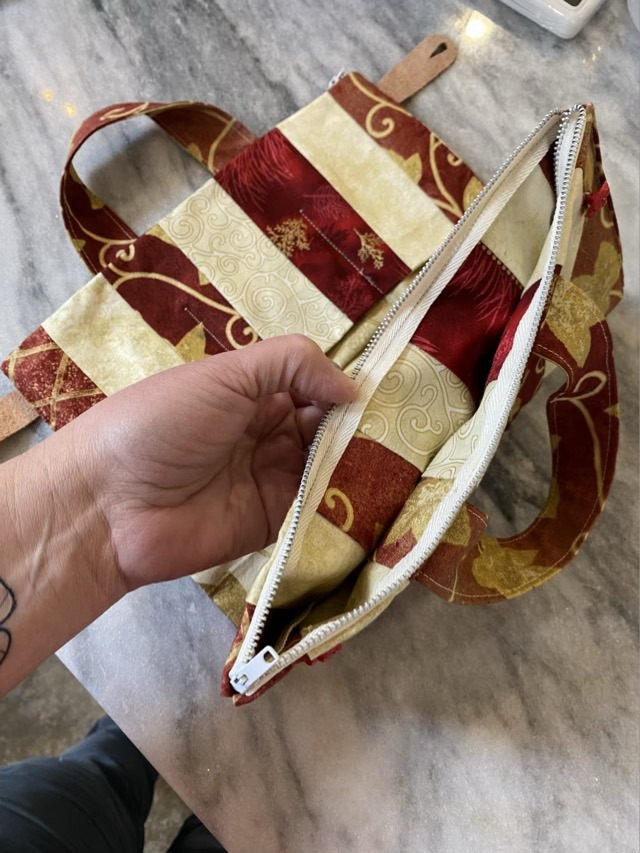
I hand-sewed the sides of the pockets together because there were 16 layers of fabric at the edge. None of my machines can handle that fabric load. A simple straight stitch with teeny tiny outside stitches did very well to pull the fabric together neatly.
I used the treadle machine to sew two long strips of fabric together, turned it right-side out, stitched along the edges, then sewed it into a circle to make the handles. I machine sewed the handle to the bottom of the bag, then hand sewed the handle to the top of the bag. To keep the bag closed, I cut some thin pieces of finished leather, cut in button holes, and sewed them to the sides of the bag. I found vintage red buttons in my button stash and hand sewed them on.
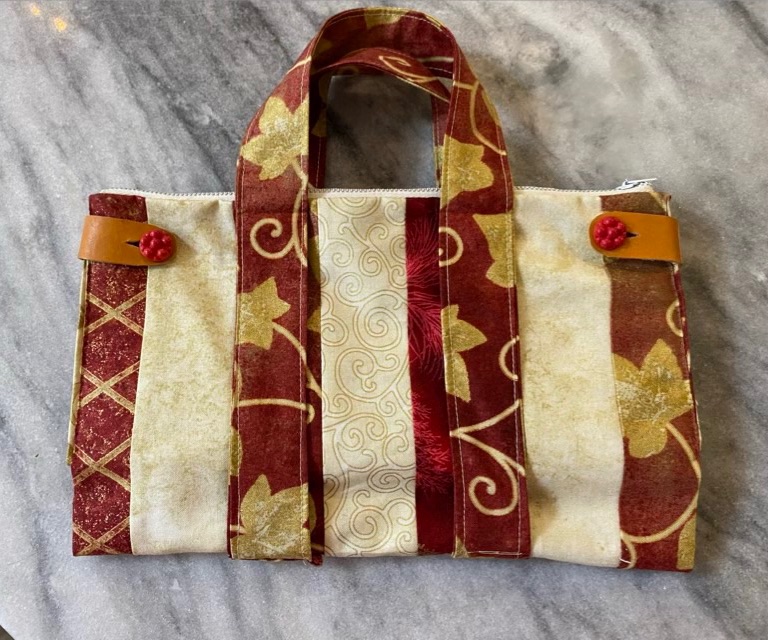
All done! All the sewing was done either by hand or with the 1916 treadle sewing machine. The zippers and buttons are vintage, and the whole project cost me only time, since the fabric was sourced from my stash. Now my circular knitting needles are neatly stored and organized, with space for stitch markers, rulers, and other knitting necessities in the zippered pockets.
Put a fuzzy bed in the sunlight and it will sprout a cat. Even if it is an unconventional bed.
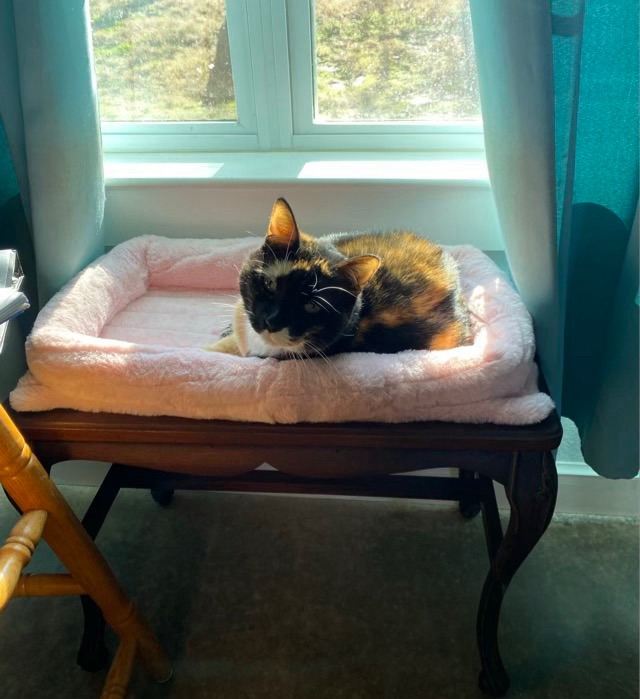
I was a little concerned yesterday when the cats would have nothing to do with the new bed. I’m glad baiting the bed with sunlight worked.

