Photo description: Dried leaves and twigs with green leaves emerging including the five leaf clusters of bluebonnets. Photo credit to my husband.
My husband took a wander out to the meadow and made a lovely discovery: bluebonnets in progress! I like his photo composition as well, with the arc of a twig, opposing arc of dried grass, and the line of bluebonnet leaf clusters trailing down from the top right to the bottom left.
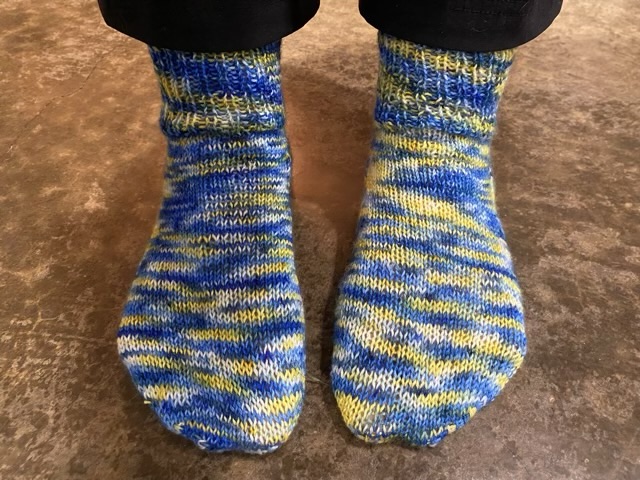
Photo description: blue, yellow, and white variegated socks with ribbed cuffs on my feet.
I finished a garment! Ok, yes, it was a pair of socks, but they fit! In addition I learned many things, such as I don’t like knitting socks top down, and I’m not a fan of a heel flap construction. I should probably use smaller needles, too.
What I did like about this project is knitting both socks at once with two circular knitting needle sets. When I was done knitting one sock, I was also done with both socks. No trying to make a second match! Two needle sets were quite fiddly with this pattern and method, but I have hopes for the next pattern that uses a toe up method!
I know other people really like the top down method, and enjoy double pointed needles. I’m glad we are all different and that there are people out there sharing their preferred methods.
Photo description: two seed trays placed in trays on clear acrylic shelves in the window.
I have planted peppers and basil in seed trays and am trying out the new window shelves for their intended purpose. The hardest part is going to be keeping them moist. I forget they are there.
The ginger in the water absorbing crystals is not doing well. I think the “crystals” are desiccating it rather than providing life giving water.
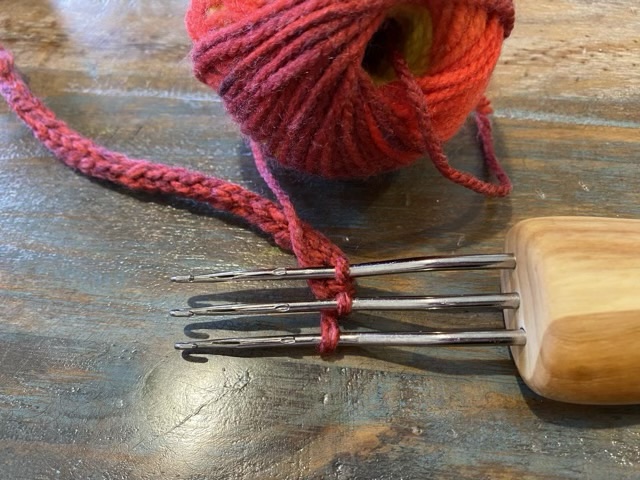
It works! The three hook i-cord maker that I made (yesterday’s post) works quite well to make a cord that is usually made by sliding stitches off a needle to make a round.
Photo description: three hook cord maker with a red i-cord in process.
Casting on three stitches on a regular knitting needle around size 11 makes the cleanest start, but if a needle isn’t available, making a chain with one hook, then placing the loops on the other two hooks, works just fine. To make the rest of the i-cord, you pull the loops on the hook down below the latches, lay the yarn loosely (really, I mean it), over the hooks just below the curve, and pull the loops up and over the hooks. The latches should close as the loops are pulled up, trapping the new section of yarn, and allowing the loops to pass over. A good strong tug brings the new yarn to make three loops, which you then pull back down below the latches. When I picked up the knack, it really went quite quickly.
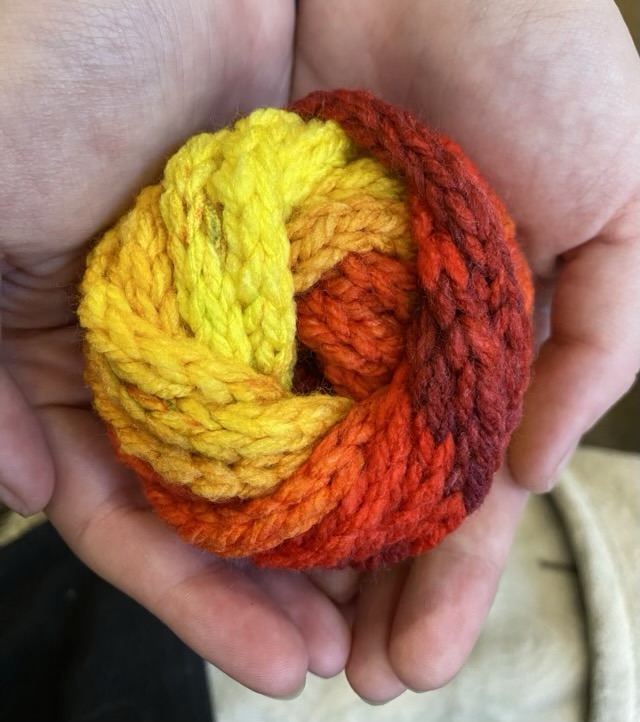
Photo description: wound ball of i-cord made of bulky red, orange, and yellow variegated acrylic yarn.
I saw the viral video of someone making an i-cord using three latch hooks, and saw the subsequent string of videos of people showing how to make them. I have seen 3D printed ones, and tools with the base made out of oven hardened clay. I like woodwork, so decided to make one.
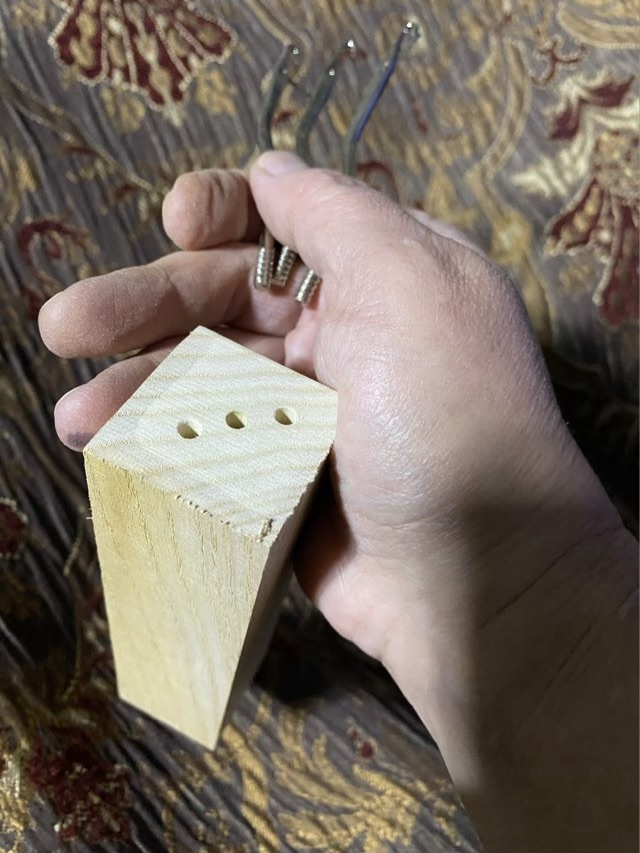
I purchased inexpensive latch hooks intended for rug hooking and broke the metal hook out of the wooden handles. I then made my own wooden handle out of a scrap of 2×2 hickory wood.
Photo description: three holes drilled at the diagonal in a 2×2 chunk of hickory hard wood, with the hooks free of their old handles and held in my hand.
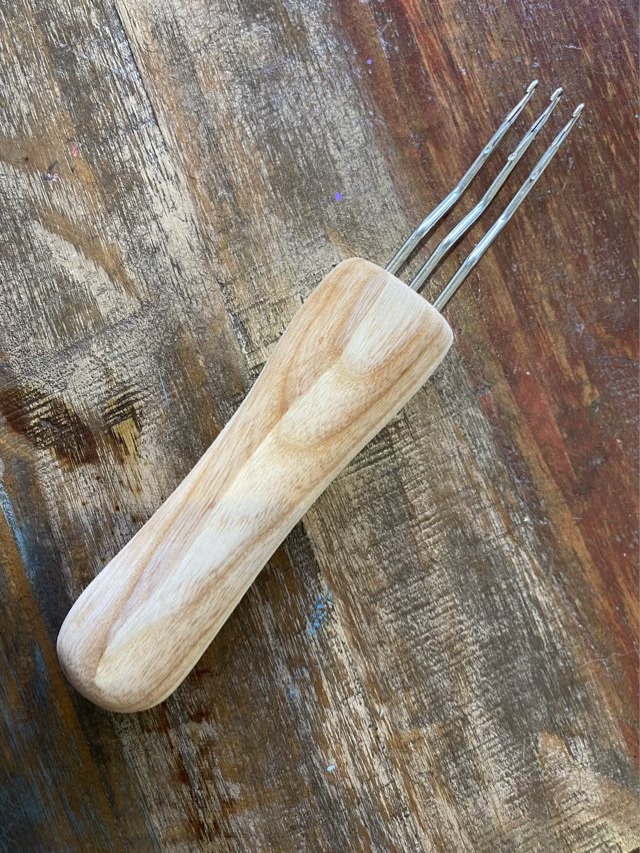
After drilling the holes, I shaped the handle using an oscillating spindle sander with the largest sanding tube with a medium grit. When I had the shape to my liking, I hand sanded with finer and finer grit, getting down to 400. I glued in the hooks using wood glue.
Photo description: shaped hickory handle with three latch hooks in parallel.
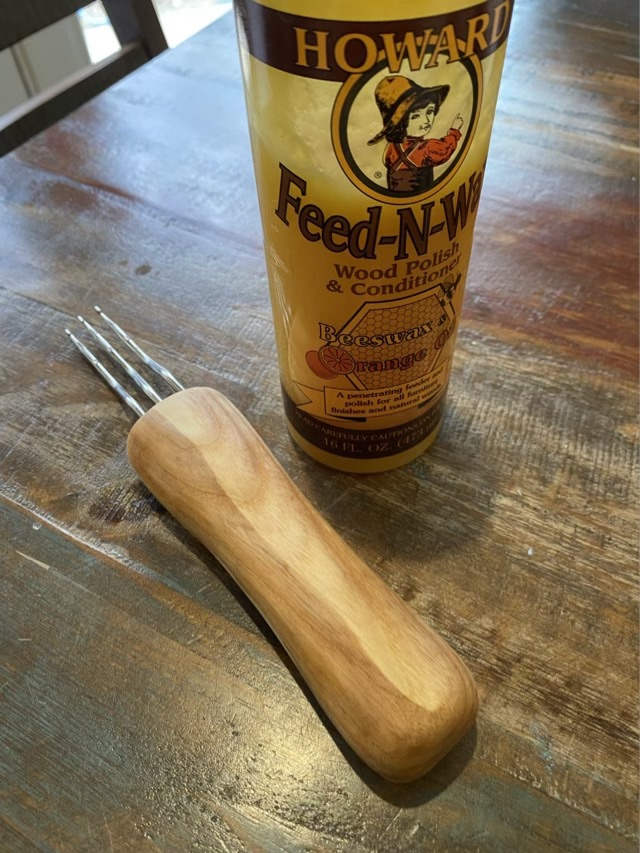
To finish, I used Howard’s Feed-N-Wax, which, I was pleased to read, could be used on finished or unfinished wood.
Photo description: three hook cord tool finished with two coats of Howard Feed-N-Wax sitting next to the bottle.
Waiting for the finish to cure is the hardest part. I’m looking forward to testing!