I found out that my ukulele capo works great on my piano as a page holder.
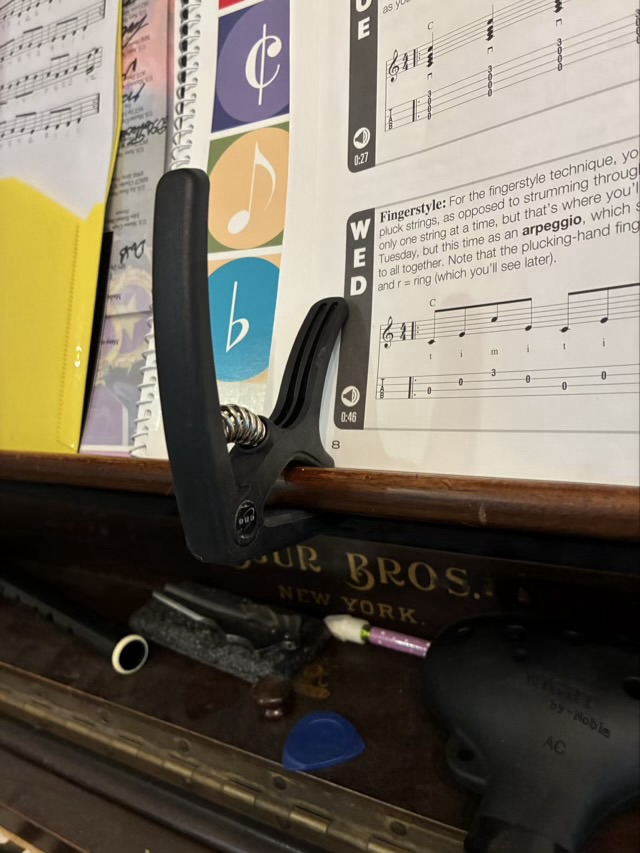
Capos are usually used on the neck of a stringed instrument to the change key for a song.

I found out that my ukulele capo works great on my piano as a page holder.
Capos are usually used on the neck of a stringed instrument to the change key for a song.
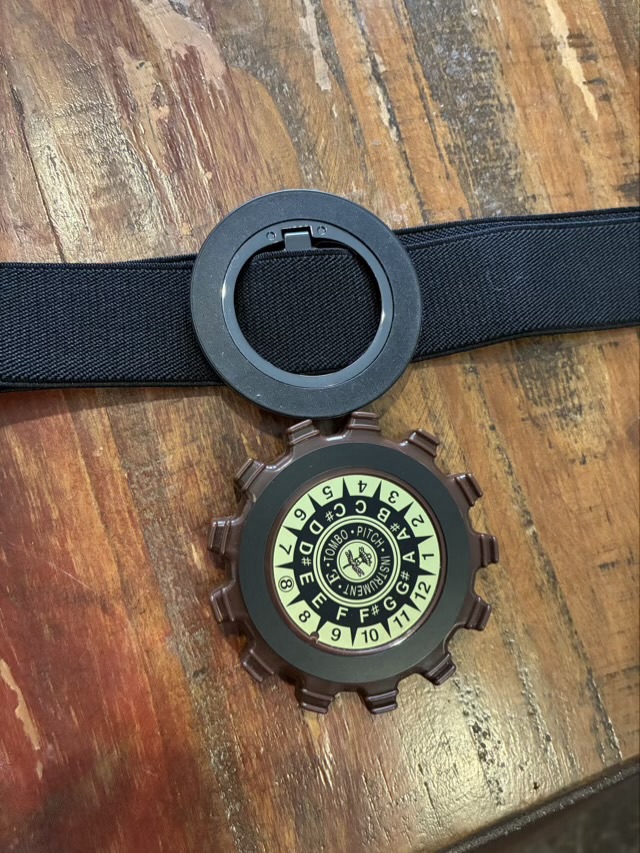
In Barbershop singing, the initial pitch (note) is played on a small instrument called a pitch pipe. When performing, if the pitch piper doesn’t have pockets in their costume, the quandary of where to put the pipe after playing the pitch is a problem. Some pitch pipes are made of metal, so a concealed magnet under the clothing can hold onto the instrument, usually placed near the small of the back. Other pitch pipes have a plastic case, which, of course, is not magnetic. I discovered that a magnetic phone ring made for magsafe phones, is the perfect size for the Tombo pitch pipe as well.
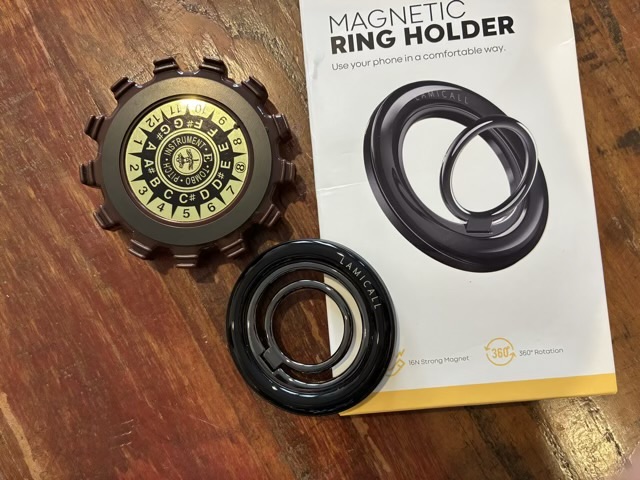
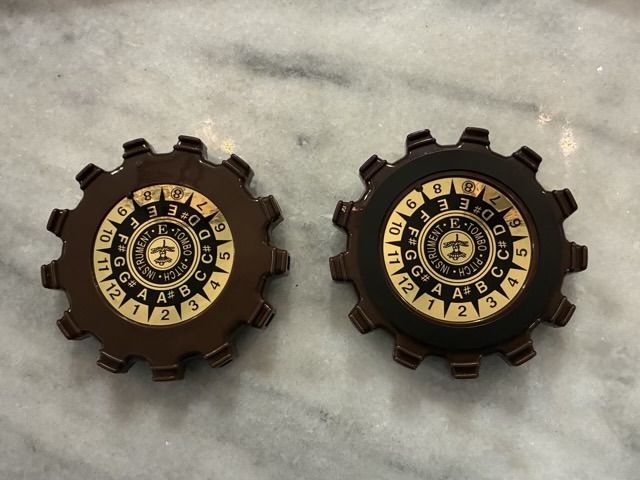
The adhesive ring included in the package fits the face of the pipe perfectly. It still allows the label to be seen and doesn’t interfere with the blow holes.
To use, I am going to try attaching the main magnet to a belt that I will wear under my costume.
My Barbershop chorus has an electric pitch pipe that is quite versatile, and quite large. It doesn’t fit in a pocket very well and although it comes with a stand, it doesn’t have a way to carry it hands free. We did have a lanyard loop stuck on the back with double sided tape for a long time, but then the tape gave out and the pitch pipe fell to the floor. So I came up with a mechanical connection.
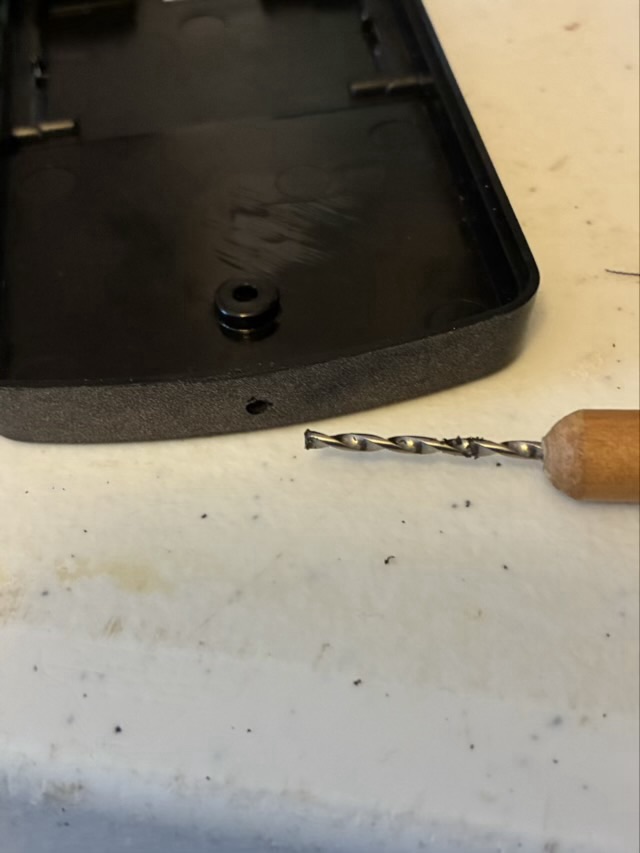
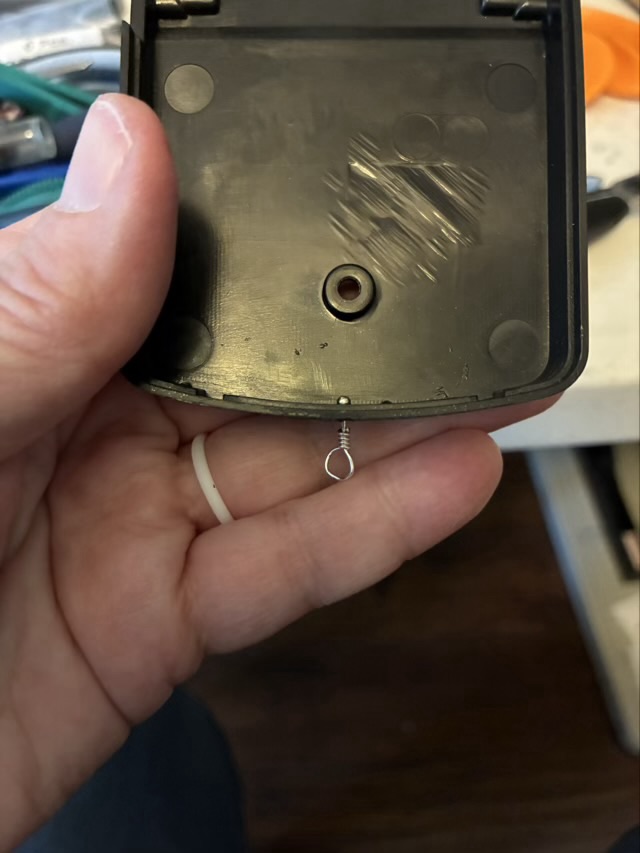
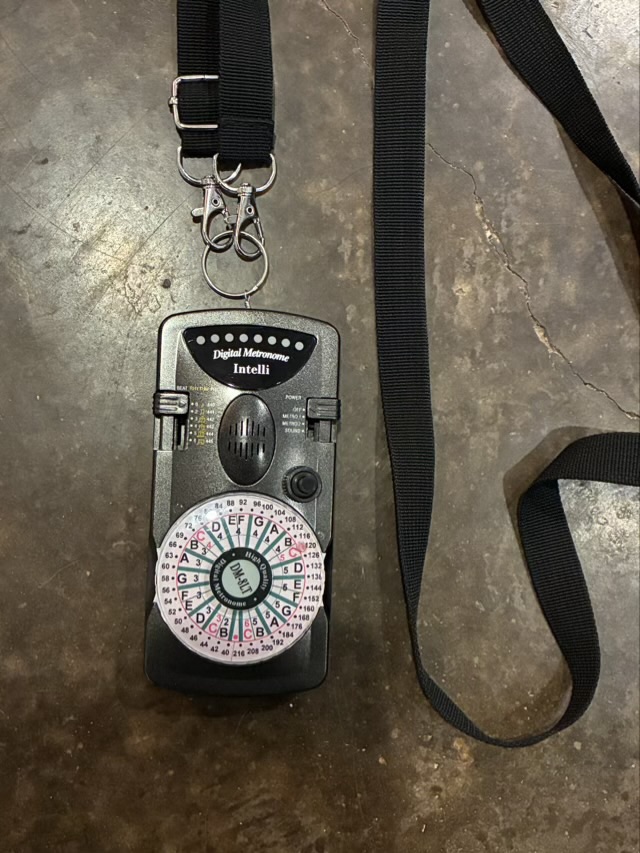
The back of this kind of pitch pipe removes with a single screw. Use the smallest drill bit possible to drill the hole through the thick section of the plastic. Head pins are available in the jewelry section of most hobby stores, as are split rings. I used a clip-on strap from a small purse.
I wear the pitch pipe over one shoulder, which puts the device in easy reach of one hand and keeps it off to the side. One of the benefits of this method is that the pitch pipe hangs straight down and easily rotates, which makes dialing in the pitch and pushing the button easier.
The 1895 era American Conservatory bowl back mandolin I purchased a couple months ago finally has new strings.

I was nervous about restringing her, but she was quite supportive for the whole procedure. Mandolin strings have a loop at one end of that hooks onto raised metal tabs. I changed out pairs of strings, one set at a time, so that I didn’t move the bridge. I used cheesecloth to wipe away the dust, but did not do a deep clean or try anything aggressive.
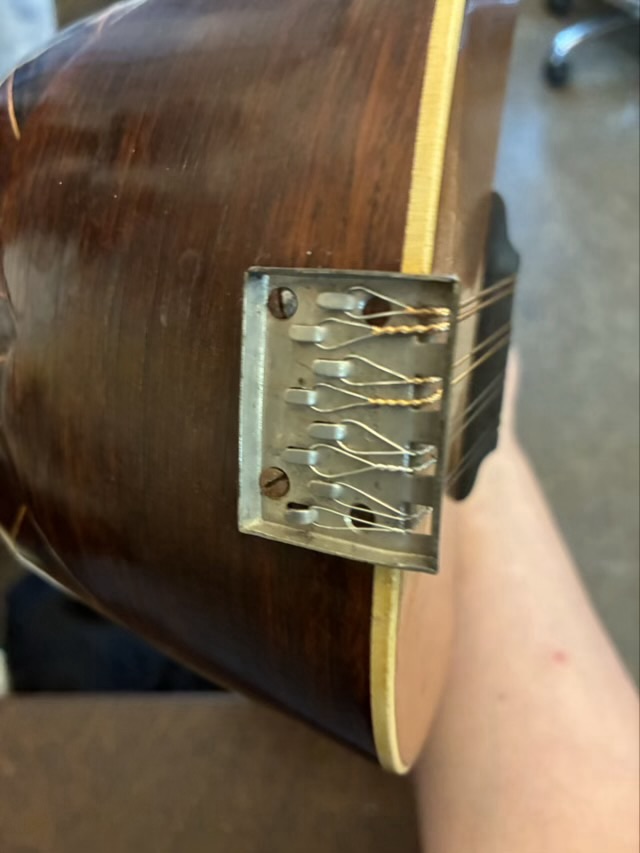
I am also experimenting with alternative tuning. I tuned to DGBE, as the top four strings of a guitar are tuned. These notes are lower than typical mandolin GDAE tuning and make the strings softer to press. Plus, it might make learning chords transferable to guitar. So far the mandolin is accepting the new tuning, and when all the strings are tuned, she still resonates with my voice. New strings take a long time to settle in and require frequent tuning. I will also keep a close eye on her construction to make sure the new tuning doesn’t cause stress damage.
I played my mandolin for a little while, until my fingers started to hurt. The top strings are thin and feel sharp. To deal with it I need some calluses.
“Calluses develop from repeated friction, rubbing or irritation and pressure on your skin.” (Cleveland Clinic)
Traditionally string players develop calluses from playing their instruments; one recommendation is to play for 10 minutes multiple times per day, rather than one long session. I would love to this, but my schedule doesn’t always allow for that, and I am easily distracted. I started to look for other ways to apply sharp pressure to my finger tips. I tried several home grown things, a block of wood wrapped with old guitar strings, a hand strengthener wrapped with wire, but they did not fit easily in my pocket and so would not be readily available throughout the day. I ended up making a triangular stick.
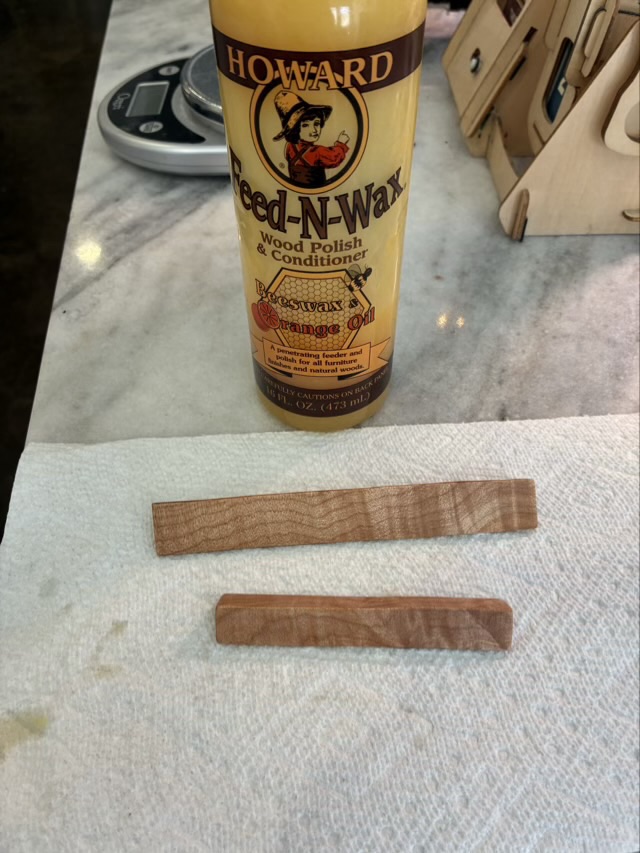
I squared up a small piece of flame maple to 3/4”, then cut it down the middle to make two triangular shaped sticks. I sanded them to 320 grit and sealed the wood with feed-n-wax. I made two lengths, one to sit by my chair, and the shorter one to go in my pocket.
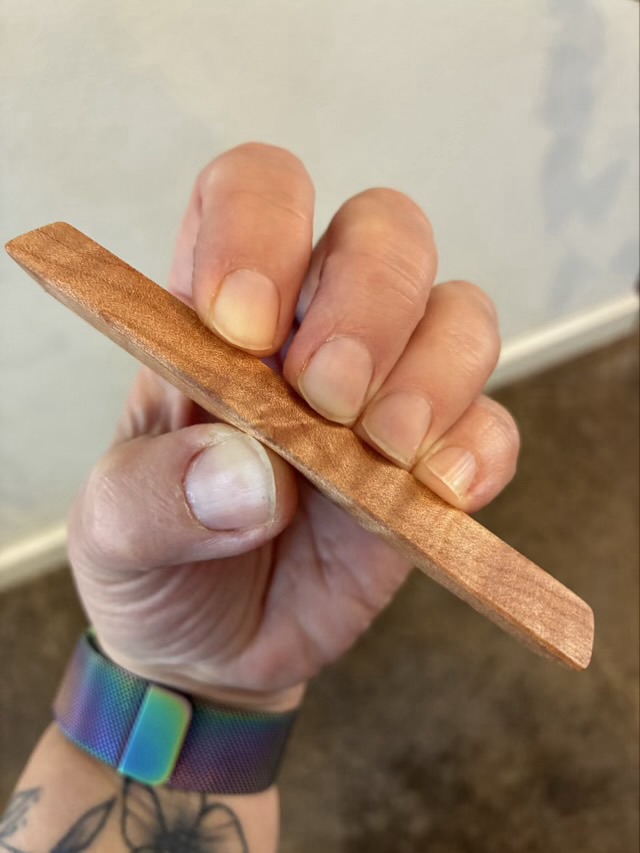
To get the edge of the triangle to bite into my fingers, I place my thumb at the wide base and my fingers on the apex.
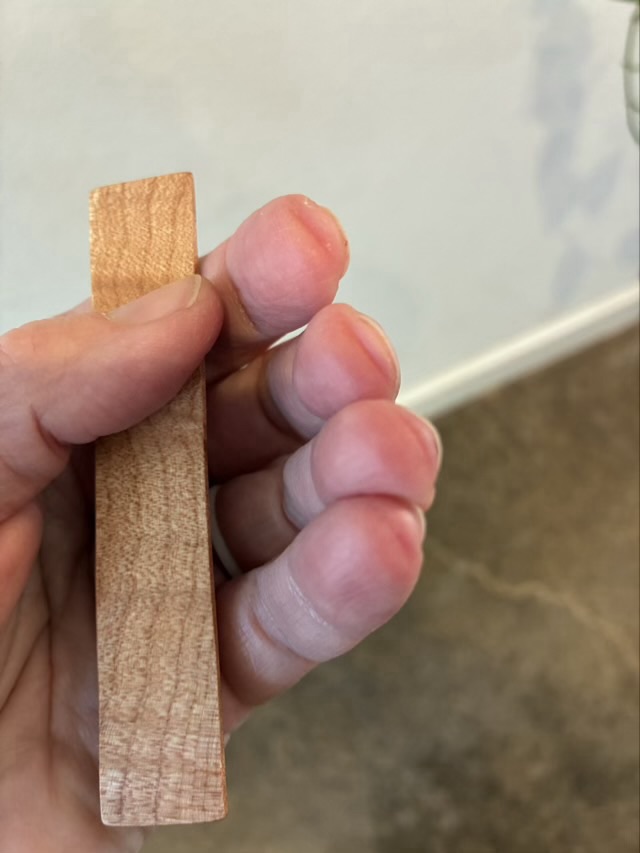
It takes a month to develop proper calluses, so I will update y’all later on the efficacy of this method. I can say that in the past few days I do pull out the stick (I need a better name) and use it several times a day. Even if calluses don’t develop, it makes a useful fidget.

