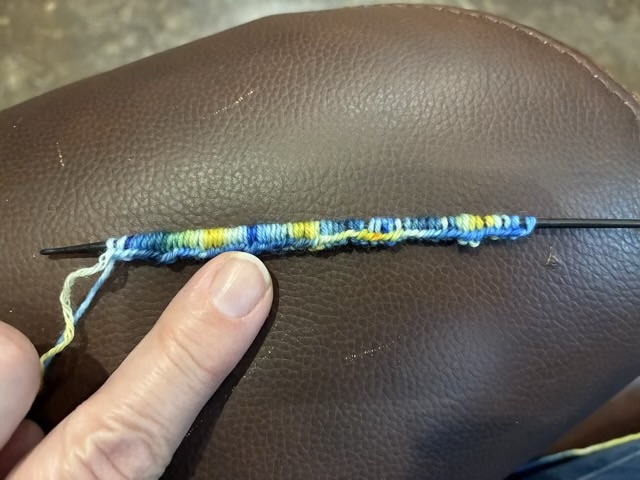
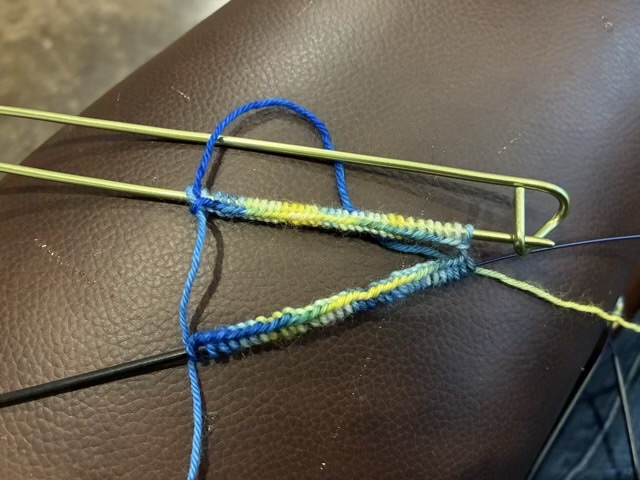
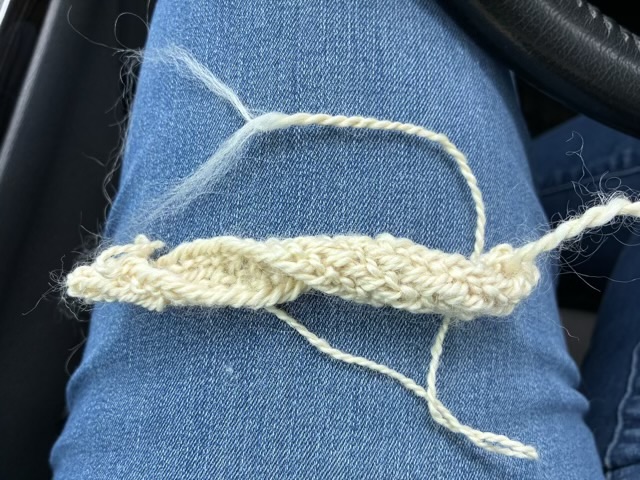
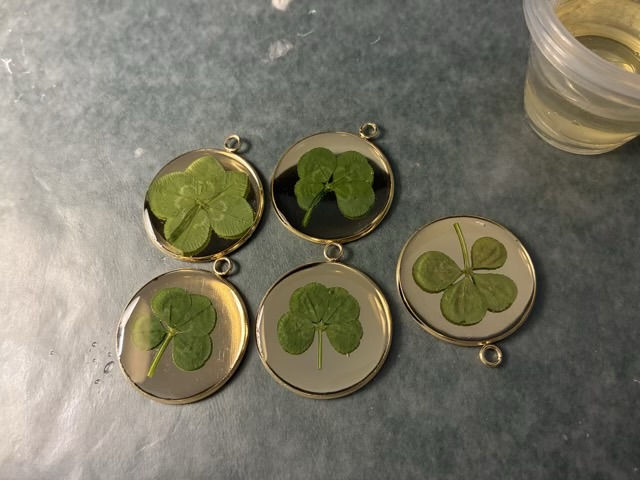
I had another knitter who wanted to talk brioche knitting, so I had to brush up on my skills. I found a beautiful variegated yarn and decided to work from the inside and the outside of the skein, which was stunning done in the two-color brioche ribbing.

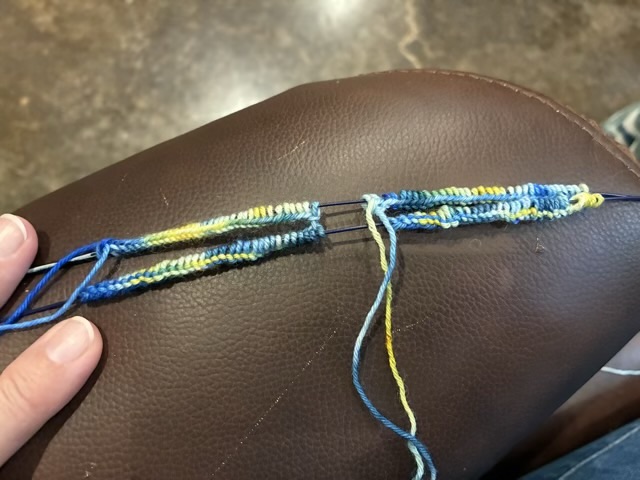
The color shifts are stunning, but the mistakes in the knit were not. I have a 10 second rule: if a casual observer can’t see the mistake in 10 seconds don’t fix it. My mistakes added up and overwhelmed the rule.
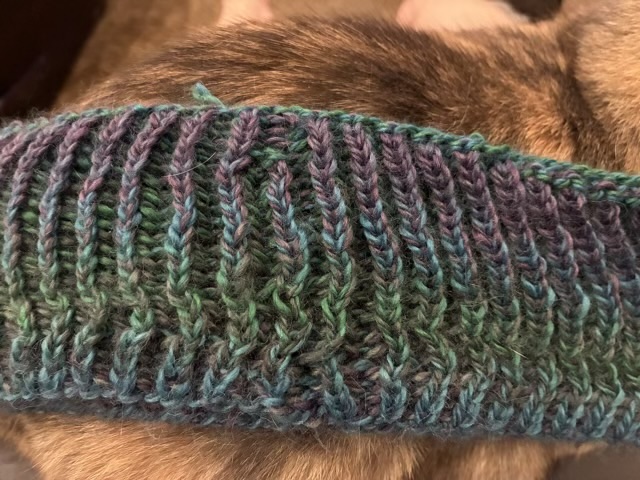
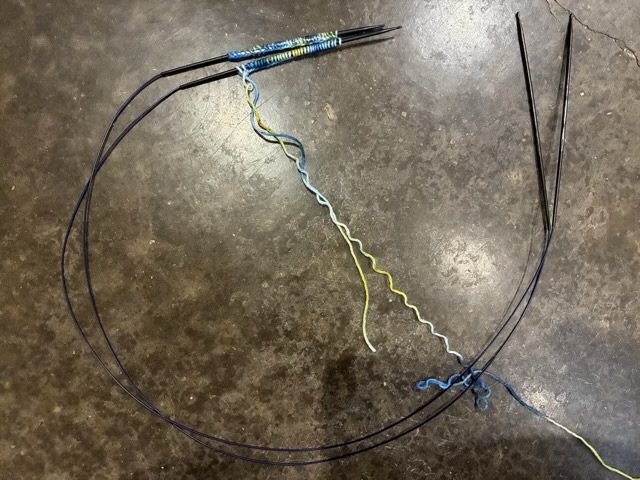
The yarn I’m working with is delicate, ripping out the knitting would have made the yarn unusable. Continuing on with all the mistakes was unthinkable, so I bound off and am going to try again.
And yes, those are pictures of two different cats on my lap. I have become a battle ground in cat chess.