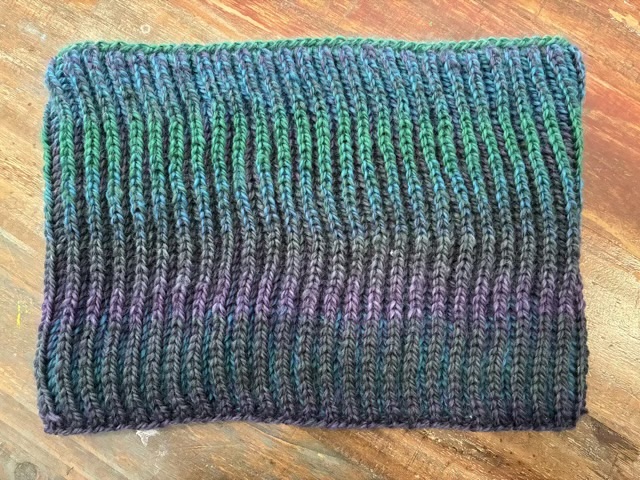
Here is the finished brioche knit cowl that I made with yarn that had a long color shift. I absolutely love the play of color that appeared by knitting it from opposite ends of the same pull skein.
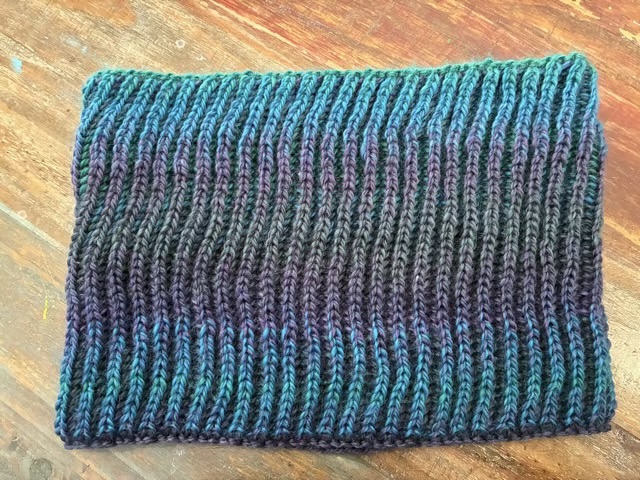
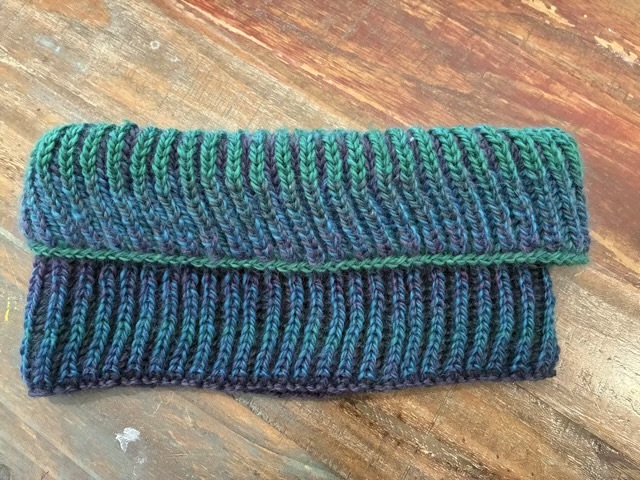
Photo description: brioche knit cowl side one in blues, purples, grays, and greensPhoto description: brioche knit cowl side two in blues, purples, grays, and less greenPhoto description: brioche knit cowl folded to show parts of both sides
The yarn was two ply with each ply a separate color, so some sections were solid color, but others were purple and gray, or blue and purple, and the colored sections were long. As I was rolling up the yarn into two separate balls, I did find some knots from the manufacturer that put an abrupt color change in the yarn. I reknotted those sections to different areas of the yarn that had a closer match. It pays to rewind commercially spun long repeat yarn to check for inappropriate color changes due to knots.
I had my first encounter with textured metallic vinyl for my electric cutter. My youngest wanted new bookmark/ornaments for teacher appreciation week and I thought using the gold vinyl would look great for lettering and stars. I did look up what settings other crafters used to cut the vinyl so cut cleanly on the first pass (on my CRICUT air: Vinyl + setting and a deep cut blade. (Note: cutting cleanly on a first attempt with a new material is almost unheard of, it was a deceptive introduction.))
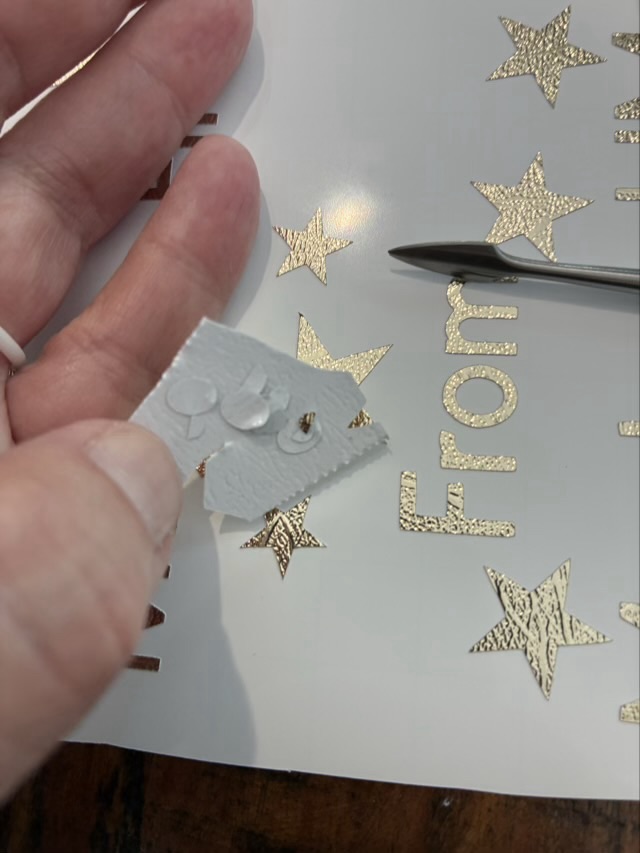
I find it easiest to weed the cuts (take out the bits you don’t want) using a metal pick, and then use a larger waste part as a sticky holder for the smaller fiddly waste parts.
Photo description: weeding gold-colored textured metallic vinyl with a pointed metal tool and a section of waste vinyl to hold the tiny pieces from the inside of letters
Weeding was a little fiddly, but not terrible. The terrible part came when I placed the transfer sheet on the cuts. The purpose of the transfer sheet is the hold the cut vinyl from the front so the nice layout is preserved and you can then move the cut vinyl to the final project location. Transfer sheets are usually clear sticky film with grid lines. The textured metallic vinyl doesn’t like to stick to the transfer sheet. It would much rather stick to my fingers or the pick or really anything other than the transfer paper.
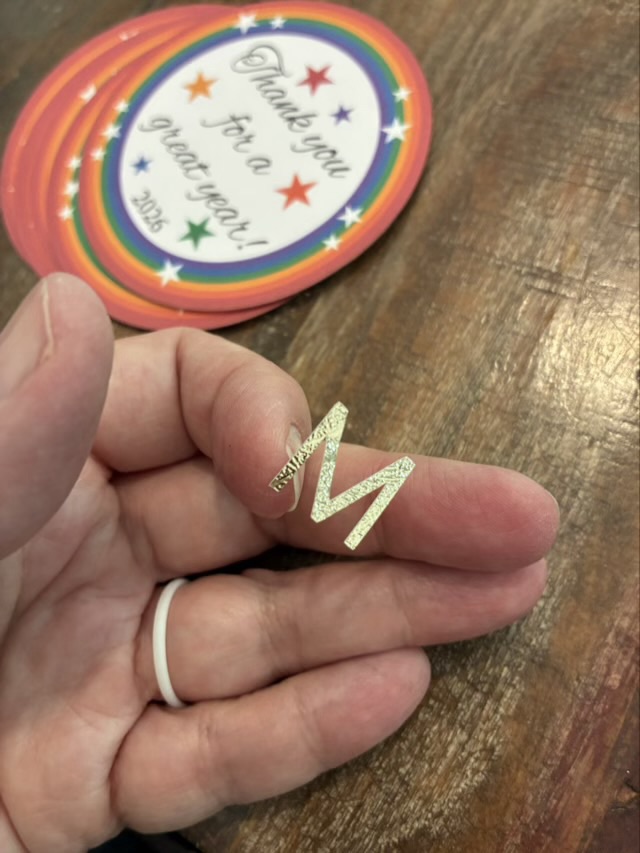
Photo description: Textured metallic vinyl letter “M” stuck to my finger, Teacher gift project in the background
The first transfer was a complete disaster and I ended up with most of the letters stuck to my fingers and had to place each individual component onto the back of the printed circles by eye. It was readable, but not neat. I then took more time peeling off the backing paper, bending it sharply back, and using the metal tool to detach the letters.
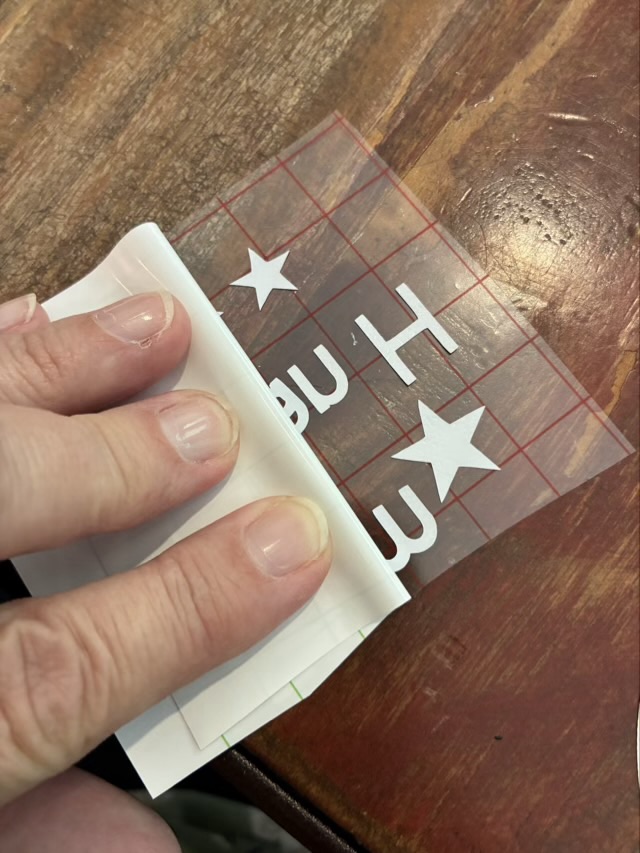
Photo description: bending the backing paper sharply back and rolling it off the cut vinyl
The transfer sheet and vinyl didn’t stick well, but the transfer sheet loved the card stock and if I used any pressure at all, the top layer of the cardstock would come away with the transfer sheet. Ugh. I finished the rest of the lettering by very lightly touching the transfer sheet with its precious cut vinyl cargo to the cardstock to place the letters. It is one of the fiddliest craft things I have done. If I use textured metallic vinyl again, it will be large cutouts, rather than small letters.
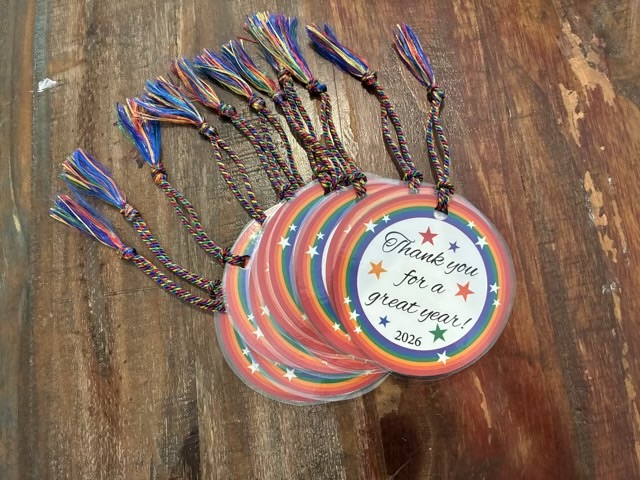
The teacher gifts came out well. I designed the graphic to my youngest’s specifications in adobe Illustrator, printed on recycled card stock, cut the circles with a blue diode laser cutter, put the “from” information on the back with vinyl (this was the time suck), laminated the circles, punched a hole, and added a rainbow tassel.
Photo description: bookmark ornaments with rainbow circle and stars and the words “Thank you for a great year! 2026” created as teacher gifts (cut vinyl personalization on the back of the circles)
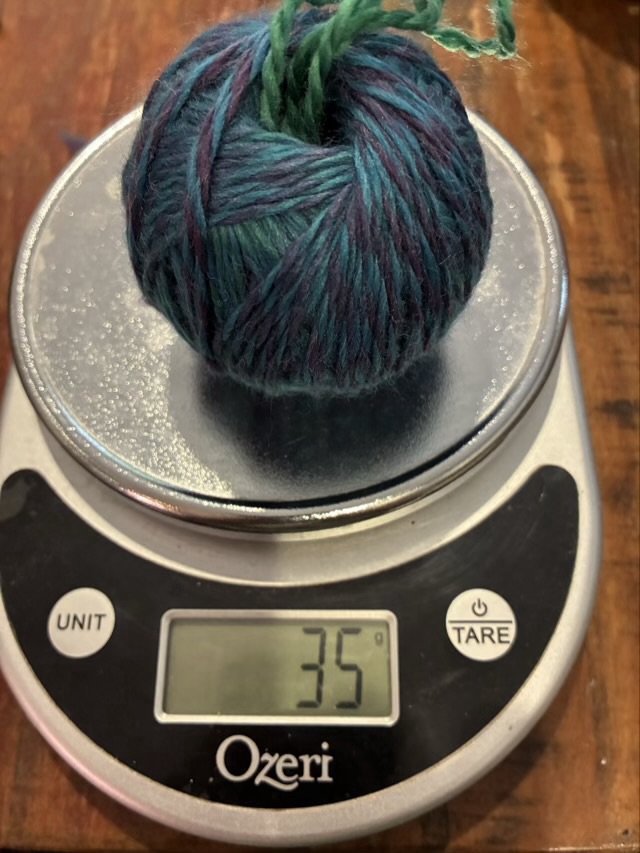
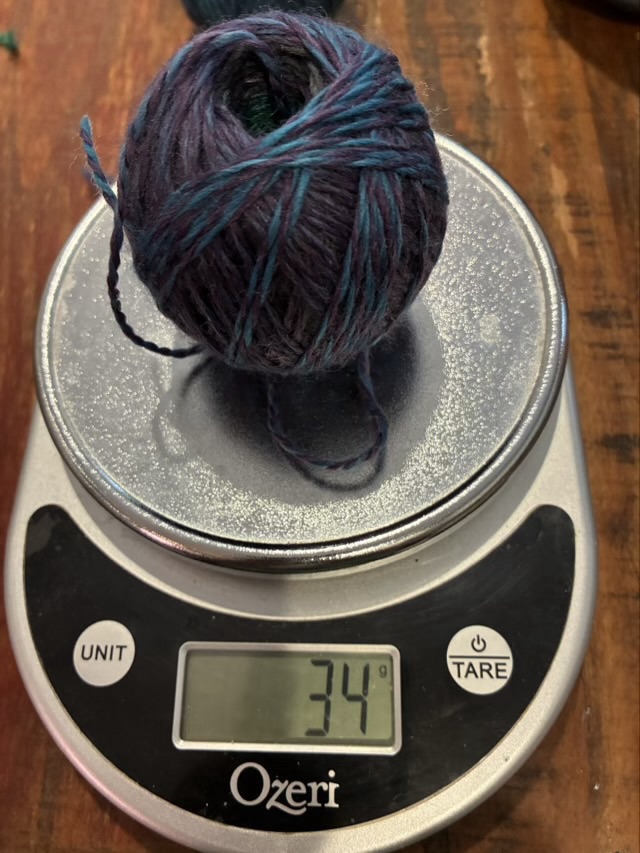
I tried again with the ombre brioche cowl, after I bound off my first botched attempt. This time instead of working from the inside and outside of the commercial pull skein, I divided the yarn into two nostepinne wound balls.
Photo description: center pull ball of yarn wound nostepinne style on a scale reading 35 gramsPhoto description: center pull ball of yarn wound nostepinne style on a scale reading 34 grams
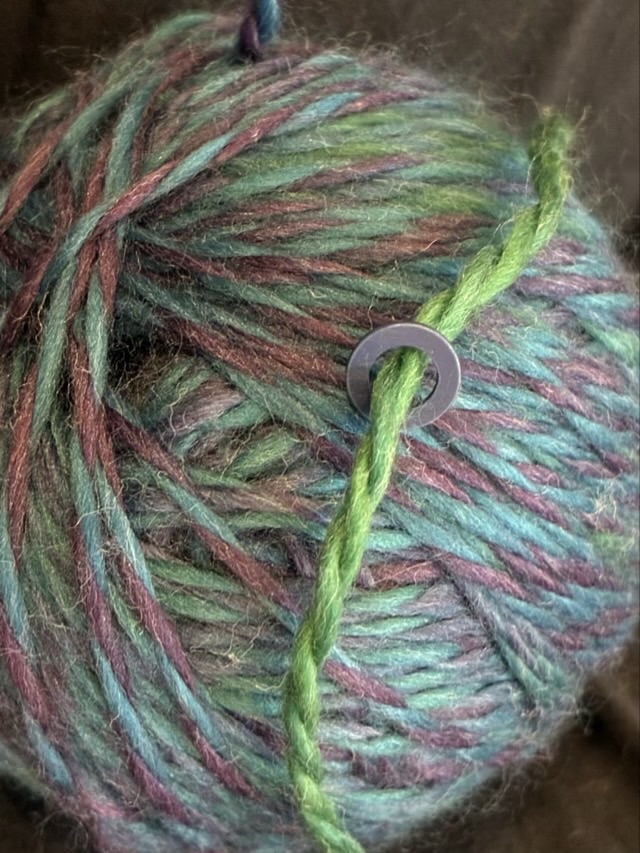
Because each ball will slowly change color as I knit, I marked ball “B” with a blue stitch marker so I could keep track of which one I was working with.
Photo description: blue stitch marker threaded onto the yarn of ball “B”
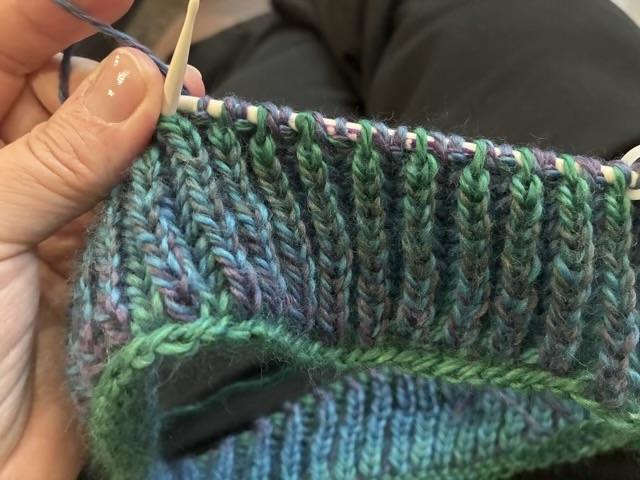
Brioche takes longer because each row is passed over twice: once to knit every other stitch, once to purl every other stitch, slipping the unstitched loops with an added yarn over, but I am quite pleased with the way the color changes play against each other in the fabric.
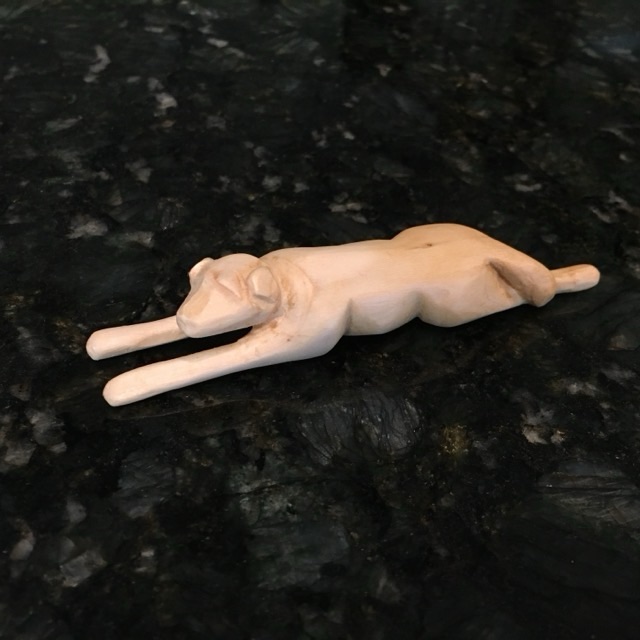
In June of 2017 I did a small carving of a dog from a stick of basswood.
Photo description: wood carving of a dog laying stretched out
What I like about this carving is that from one side it looks like a lazy dog, but the back leg is not splayed. It is positioned under the body, ready to spring to action.
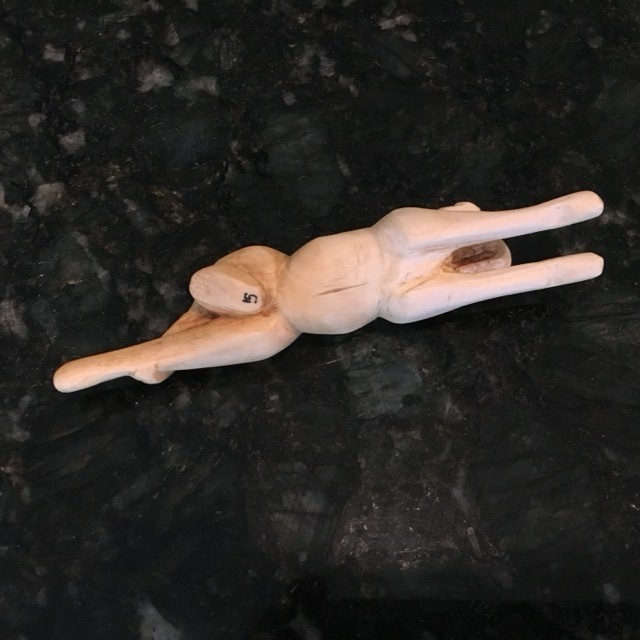
Photo description: underside of the carving, showing the back right foot tucked up under the dog
The quick brown fox would not jump over this deceptively lazy dog.