I had my first encounter with textured metallic vinyl for my electric cutter. My youngest wanted new bookmark/ornaments for teacher appreciation week and I thought using the gold vinyl would look great for lettering and stars. I did look up what settings other crafters used to cut the vinyl so cut cleanly on the first pass (on my CRICUT air: Vinyl + setting and a deep cut blade. (Note: cutting cleanly on a first attempt with a new material is almost unheard of, it was a deceptive introduction.))
I find it easiest to weed the cuts (take out the bits you don’t want) using a metal pick, and then use a larger waste part as a sticky holder for the smaller fiddly waste parts.
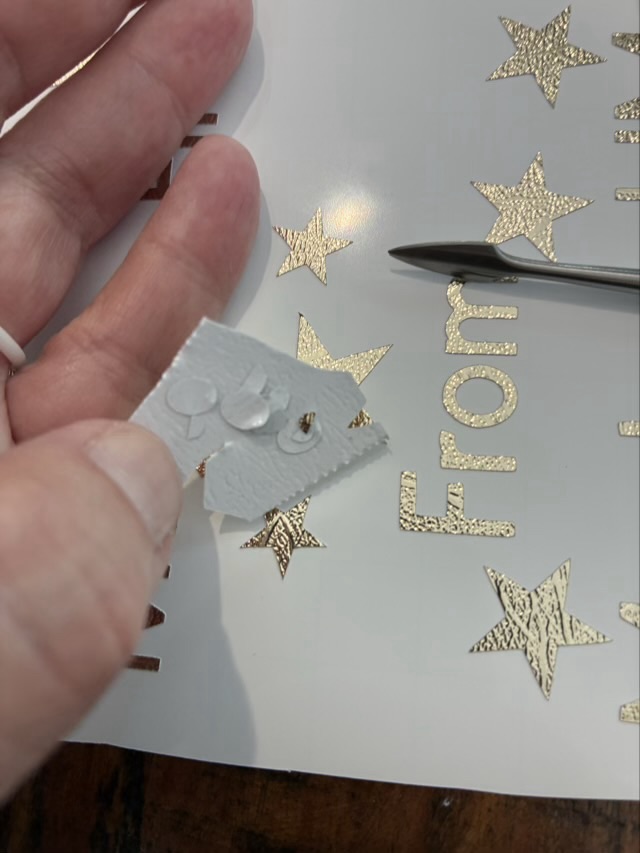
Weeding was a little fiddly, but not terrible. The terrible part came when I placed the transfer sheet on the cuts. The purpose of the transfer sheet is the hold the cut vinyl from the front so the nice layout is preserved and you can then move the cut vinyl to the final project location. Transfer sheets are usually clear sticky film with grid lines. The textured metallic vinyl doesn’t like to stick to the transfer sheet. It would much rather stick to my fingers or the pick or really anything other than the transfer paper.
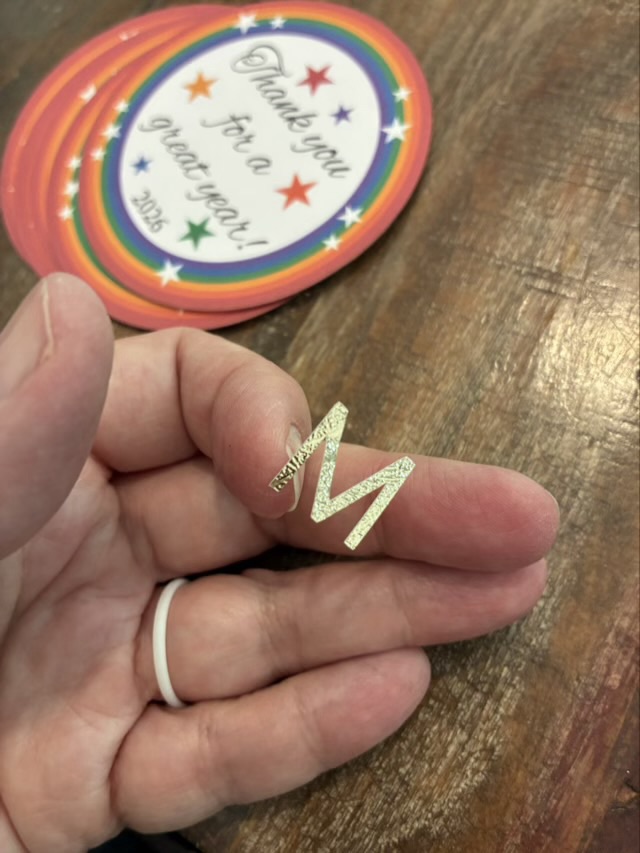
The first transfer was a complete disaster and I ended up with most of the letters stuck to my fingers and had to place each individual component onto the back of the printed circles by eye. It was readable, but not neat. I then took more time peeling off the backing paper, bending it sharply back, and using the metal tool to detach the letters.
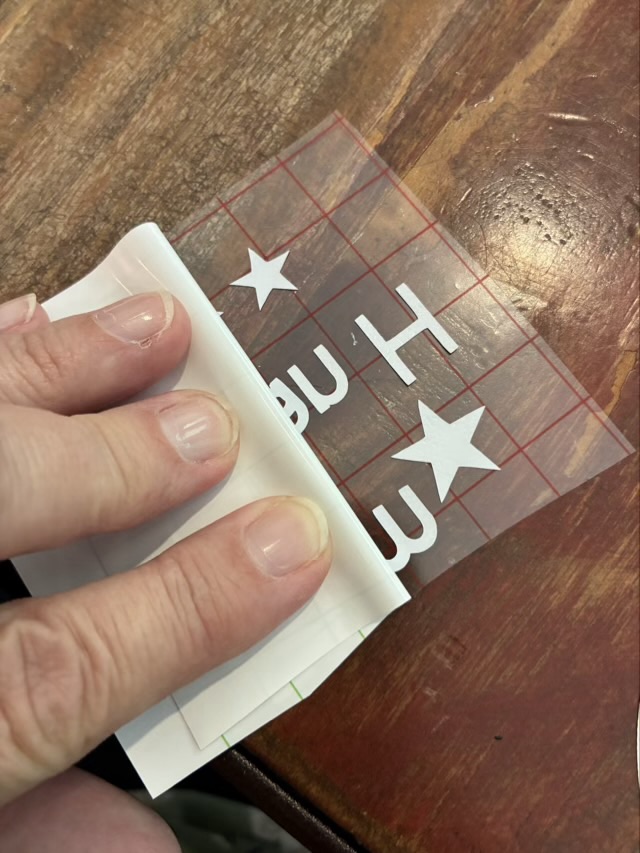
The transfer sheet and vinyl didn’t stick well, but the transfer sheet loved the card stock and if I used any pressure at all, the top layer of the cardstock would come away with the transfer sheet. Ugh. I finished the rest of the lettering by very lightly touching the transfer sheet with its precious cut vinyl cargo to the cardstock to place the letters. It is one of the fiddliest craft things I have done. If I use textured metallic vinyl again, it will be large cutouts, rather than small letters.
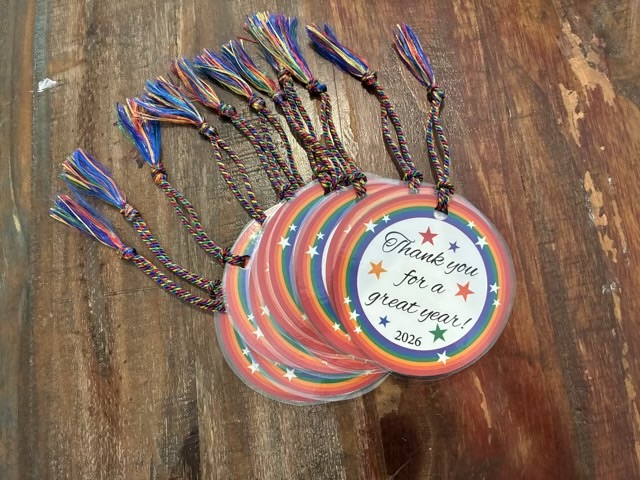
The teacher gifts came out well. I designed the graphic to my youngest’s specifications in adobe Illustrator, printed on recycled card stock, cut the circles with a blue diode laser cutter, put the “from” information on the back with vinyl (this was the time suck), laminated the circles, punched a hole, and added a rainbow tassel.