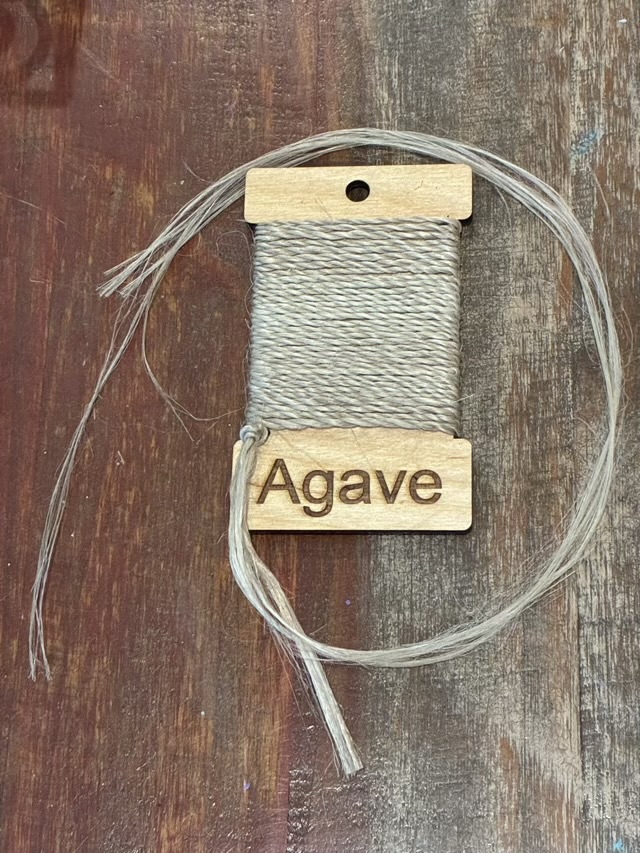
The agave plant, native to Mexico, has many beneficial uses, including providing a strong fiber good for rope and other textiles. It is a long line fiber, like flax, which makes it easy to twine.
Photo description: laser engraved flat wood spool with agave twine wrapped around it and long untwisted fiber hanging from the end
The bundles of fibers I was working with were cut on one end, giving the section a blunt end with many fibers ending at the same place. When twining, all those fibers would pop out of the twine at the same place. I used a small pair of sharp scissors to trim them.
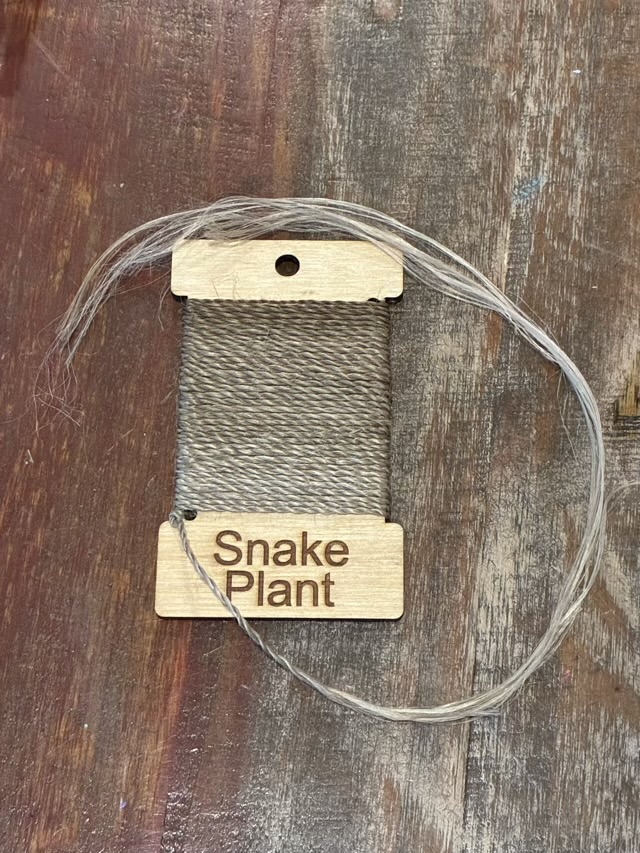
I was very excited to see snake plant fiber available at Conserving Threads. I had heard that snake plants can be retted to free the fiber, but my own plants are not big enough to harvest yet. The fiber from snake plants is a long line, thin filament, perfect for twining.
Photo description: laser cut flat wood spool with twine made from snake plants, the darker color at the top is due to the twine absorbing the oil finish on the wooden card because I didn’t wait long enough for the card to dry
To start I take a small section of fiber and twist it near the middle. I then bend the twist in half to make two “legs” and bring the top leg toward me. I twist the back leg away, then bring it forward, and keep repeating this process to twine. The individual legs are twisted away and the two legs are twisted together toward me. The opposite twist energy balances the twine and strengthens it.
To add in more fiber I take a smaller section and lay the middle between the two legs, then twist the new fiber with the old fiber. With practice, the addition blends in and is nearly undetectable. It helps to keep the two legs different lengths to spread out the ends along the length of the twine as well.
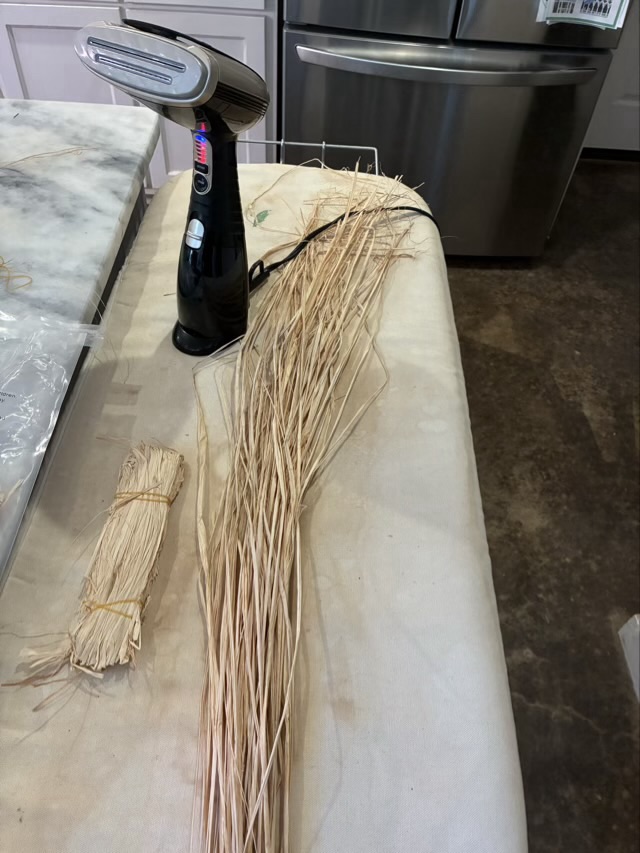
Raffia palms grow in tropical regions of Africa and the leaves can be dried and torn into very long strips to create a natural ribbon. Raffia is a crafting staple, easily found in craft stores and floral departments. I ordered mine online and it came bundled and vacuum packed which gave it very crisp creases where I didn’t want creases. I used a steamer to straighten the strips, which worked extremely well.
Photo description: ironing board with steamer, a rubber banded bundle of raffia, and an open bundle after steaming (some bends still visible)
I could absolutely twine the raffia without steaming it, but the bends make an awful tangle, so it was useful to use the steam to make fiber management easier.
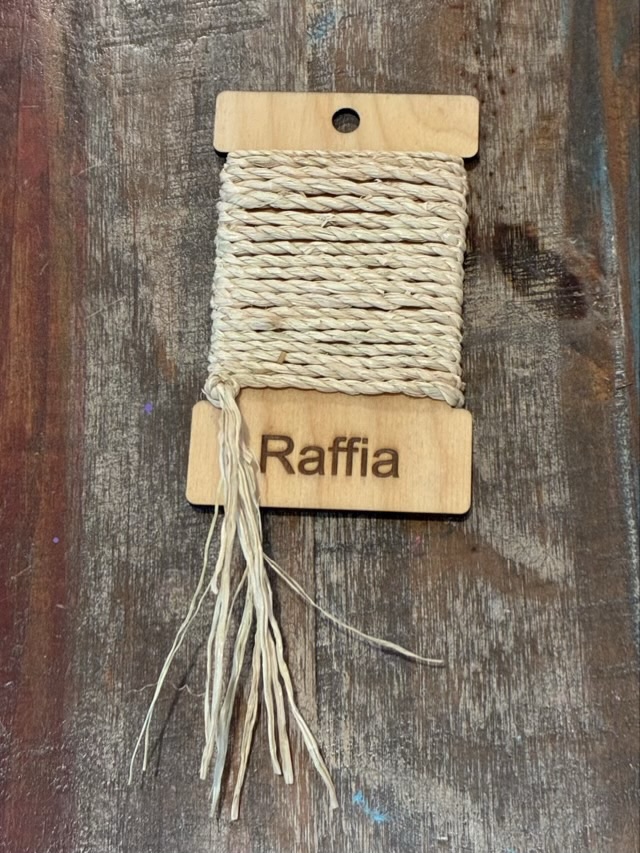
Photo description: laser cut flat wood spool with raffia twine
I use raffia to teach twining because it is readily available, you can twine for a long time before having to add in fiber, and it is sturdy. I made a simple two knot sliding bracelet and wore it for a week where it got wet and dried several times and it held up to the wearing. Raffia is used to make hats and bags and mats and can even be woven to make clothes. Here is a fascinating article.
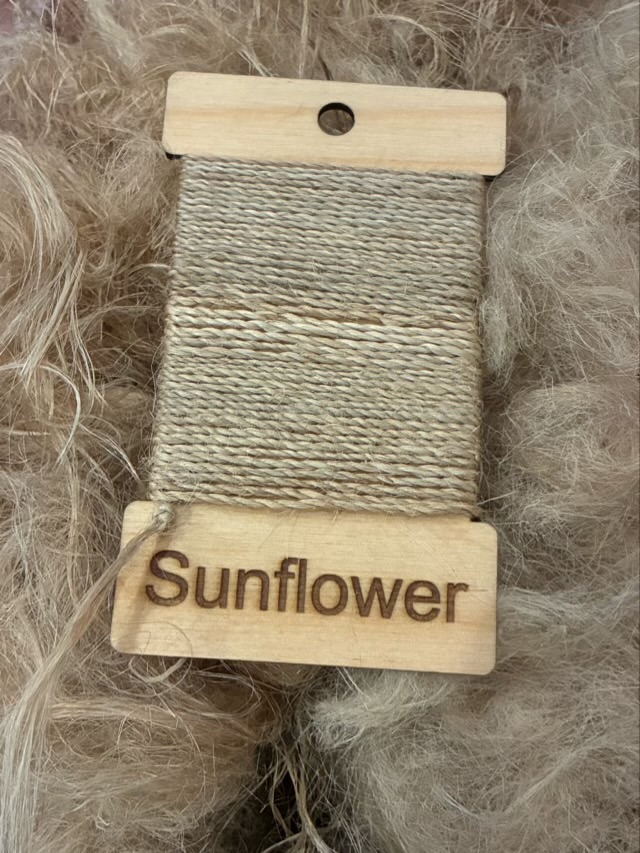
Next up for the twinging example cards is sunflower fiber. This is a long line bast fiber from the stalks of sunflowers. For me, this sunflower fiber feels similar to flax in length, fiber thickness, and when I twine it. It has a beautiful golden luster as well.
Photo description: laser cut flat wood spool with twine made from sunflower bast fiber, laying on a bed of uncombed sunflower fiber
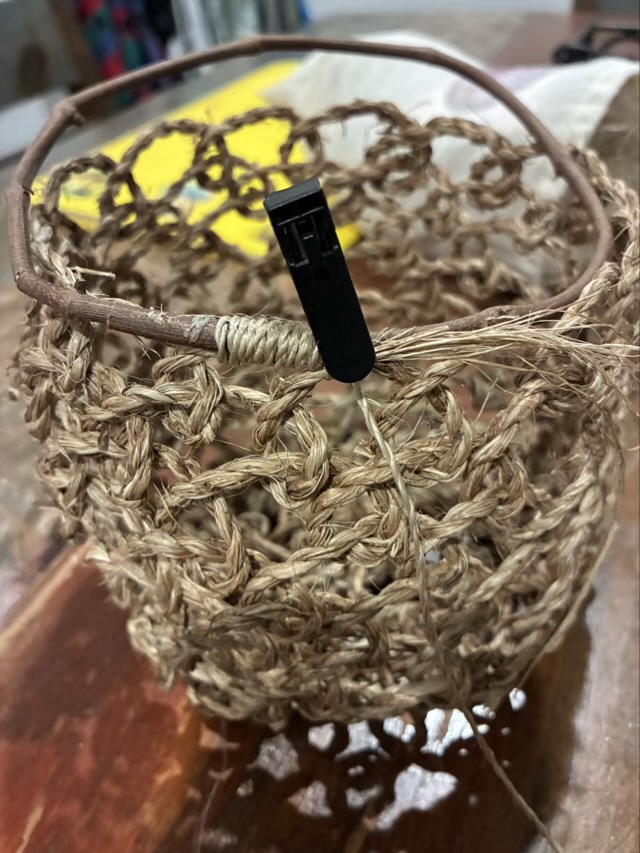
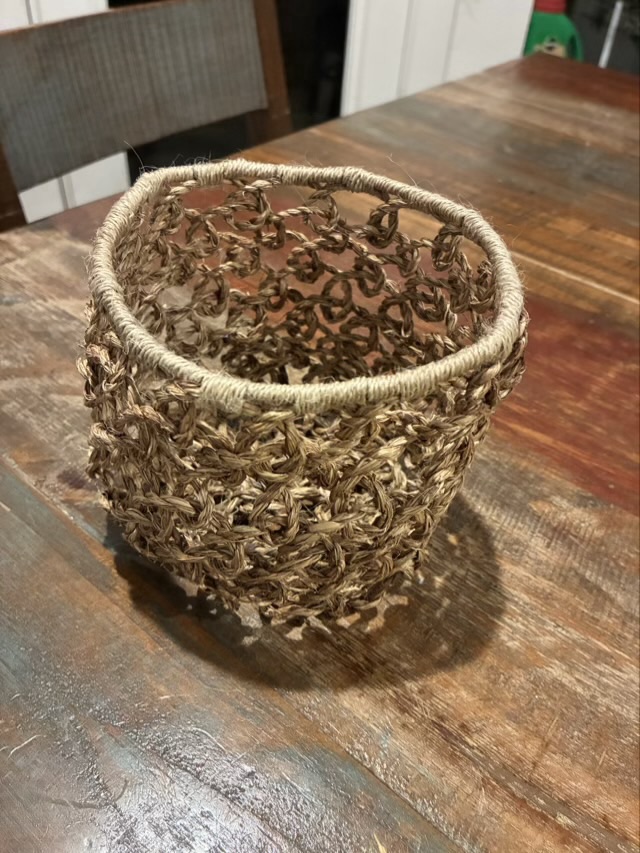
I used this sunflower fiber, along with a length of grape vine, to finish my okra and sugar cane basket.
Photo description: in process: loop of grapevine bound to the top loops of an okra and sugar cane basket with sunflower twinePhoto description: “Crops basket” small looped basket made from okra fiber, sugar cane fiber, grape vine, and sunflower fiber
It is a surprisingly sturdy little basket that does have some flexibility, but can stand on its own. It pleased me that I was able to make it from the discard parts of commercial food crops, hence the name “Crops basket”.
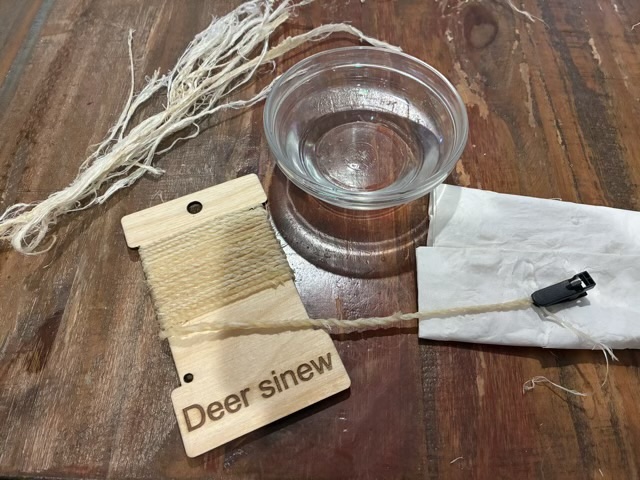
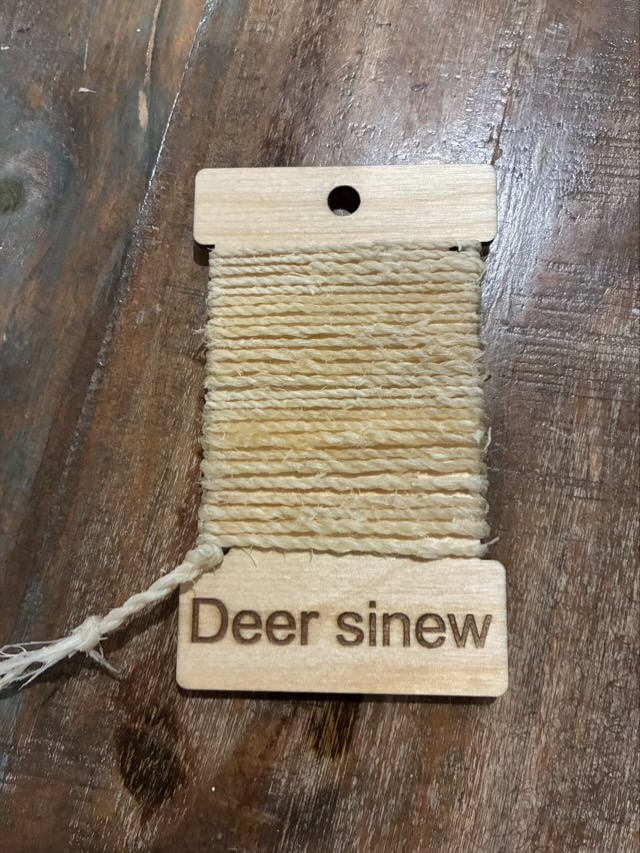
I was gifted some deer sinew from a local hunter to make my next twine example. I used a little bit of water to moisten the dried sinew to make it pliable, and oh is it pliable. I could put more twist in this than any other fiber I’ve worked with before it started to ply back on itself.
Photo description: twining deer sinew using a small bowl of water for my fingertips, dried sinew shown upper left
The collagen powder from the sinew made for sticky work, and I had to change out my bowl of water frequently, but the sinew is really, really strong, and very stretchy when damp. I did tear the sinew sections apart, but chose to make a thicker twine for this example. Sinew can be separated farther and twined very thin to use as sewing thread. When dry, the twine is hard until it is worked. I made an extra inch of twine past the card, knotting it on either side to test flexibility, and while it was wet it was rubbery, then dry it was hard and stiff, but once I bent and twisted it, it became flexible, but still very strong. It is easy to see why this material has been used as binding since before recorded history.