Making blocks is a great thing to do with the odds and ends of left over yarn you have in your stash. Warm Up America is a non-profit organization that gives warmth to those in need. One of their many ongoing projects takes 7”x 9” blocks either crocheted or knitted. Volunteers join the blocks together to make blankets. They have many free patterns, which is another way to increase your skill level with a smaller time investment, and make something truly meaningful. There is more than warmth in handmade items, there is connection and the knowledge that another person put time and effort into helping a fellow human. It is a philanthropic activity that is both physically and psychologically beneficial to both the maker and the receiver.
I made blocks with the diagonal squares pattern from Mary Maxim, which I love so much. I found worsted weight acrylic yarn crocheted with a size K hook with 8 squares by 10 squares makes a 7” x 9” block.
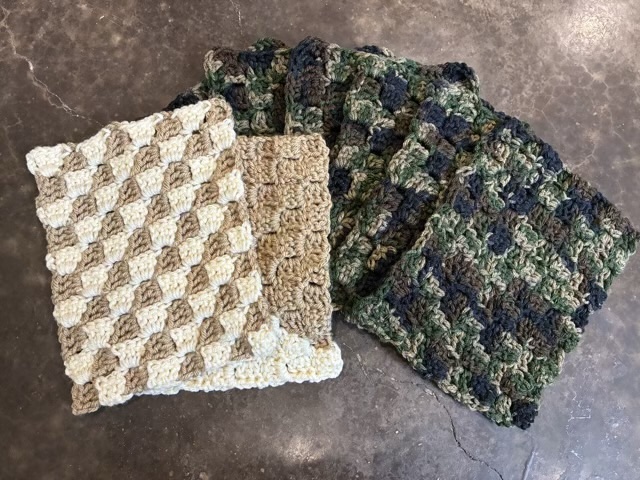
The block on top in the picture above was made with alternating rows of color, which was an interesting experiment, but resulted in many, many, many ends that had to be woven in. Please weave in your ends!