It works!

The new bearing that I made for an antique great wheel works! It is slightly longer than the original, but since the maidens adjust separately, the fraction of an inch difference doesn’t affect functionality.
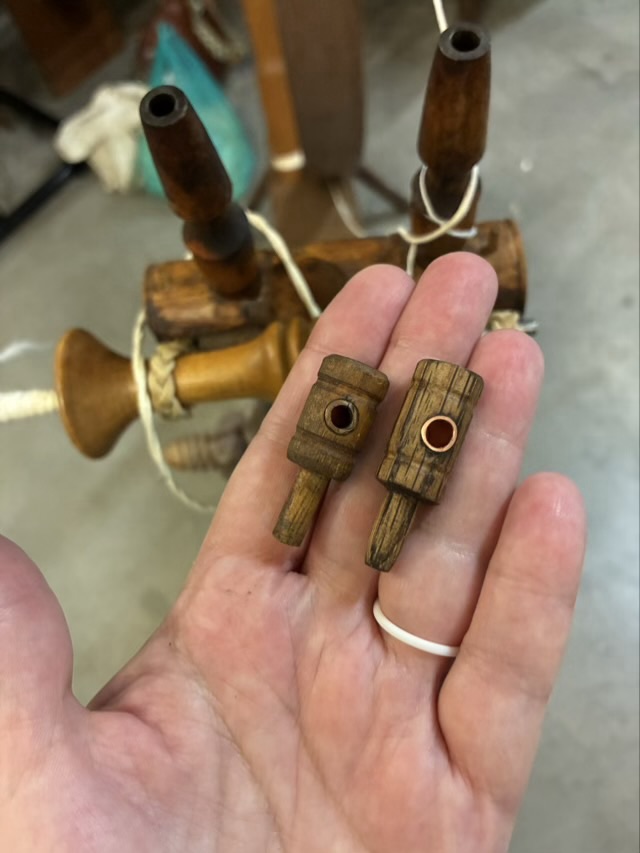
Photo description: my hand holding the original bearing on the left and the new one on the right

The shaft of the bearing ended up being a little thick. It was a tight fit, but needed to be able to rotate to hold the accelerator wheel as the maiden post was twisted up or down. I used my pocket knife to shave off some of the wood so the bearing could rotate.

Photo description: bearing with the shaft narrowed held in my hand next to the maiden post, spindle visible below
Photo description: fully assembled accelerator head on a great wheel with new bearing on the left side of the picture and the original bearing on the right

I spun for about an hour, working on my yarn width consistency and testing out my new part. It worked just fine! And rotated in the socket when it came time to stop and release the tension on the drive bands. I always lighten the tension between spinning sessions so the bands don’t stretch. I don’t loosen them enough to come off when stationary, which is standard practice for spinners. I can see though, how someone coming along and turning the wheel might be startled by the drive bands coming off or the parts not moving. The bands just need to be tightened before use.
Small for the Great

The Great Wheel I spun with in the basement of the Doss had one accelerator wheel support bearing missing. The previous spinner’s solution was a bit of dowel and a pin, which worked just fine, but I wanted to try to make a replacement bearing.

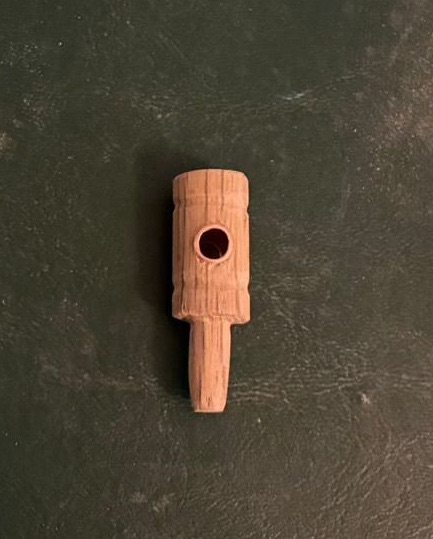
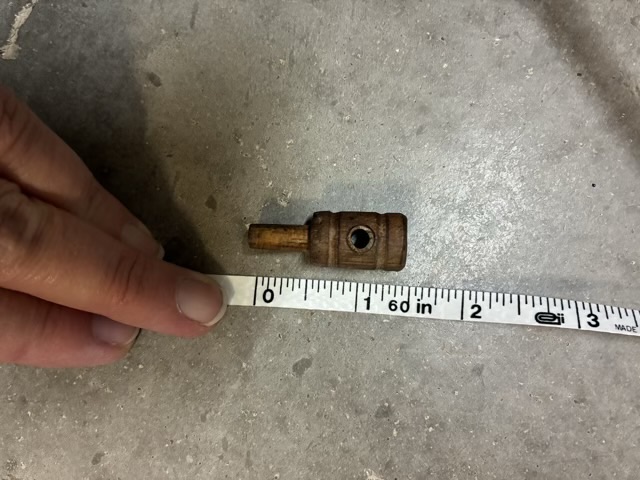
Photo description: original bearing for the accelerator head on a great wheel next to a tape measure

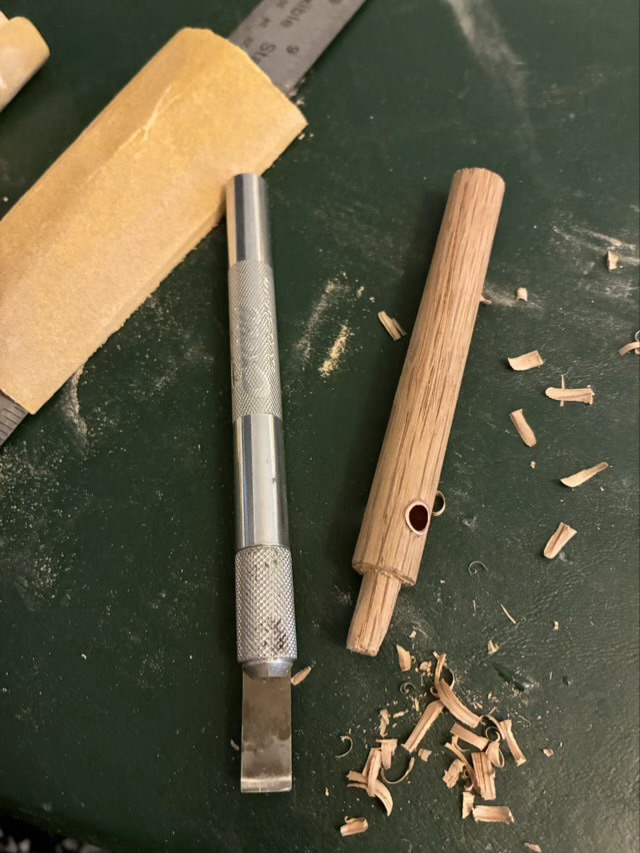
I took a picture of the original bearing next to a tape measure so I had the measurements. Sorting through my stash I found some copper pipe that was about the right internal diameter of the side hole. This is the main point of friction, so having it lined with metal gives it a longer wear time. I drilled a hole through a 1/2” oak dowel and friction fit the copper pipe (hit it until it went through), then sanded the ends flush with the wood. Since carving small bits of wood is difficult, I worked with a long piece of dowel and carved the shaft at the end next.

Photo description: end of the dowel carved down to a quarter of an inch using a straight blade on a utility knife

My lathe needs assessment and all the bands broke on my belt sander, so I used a small round file to carve the decorative grooves on the bearing, then a coping saw to cut off the new part from the dowel “handle”.

Photo description: roughed in bearing for an accelerator wheel on a great wheel made from oak and copper

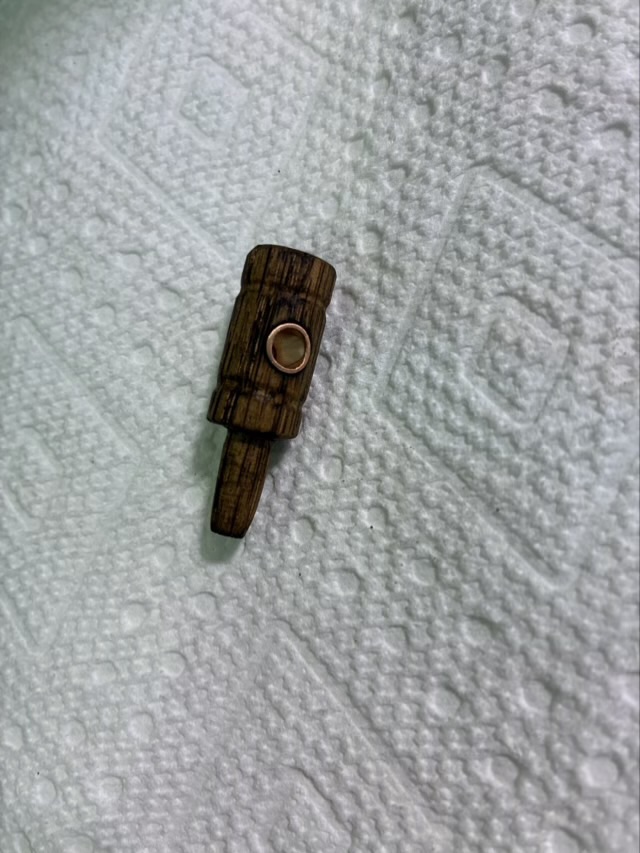
I did some more sanding, then stained the part with dark wood stain to get it closer to the color of the other bearing.

Photo description: stained bearing laying in a white paper towel

Now it is time to line up a meeting with The Doss to see if the part fits and works with the great wheel!

Throwback Thursday: carved dog

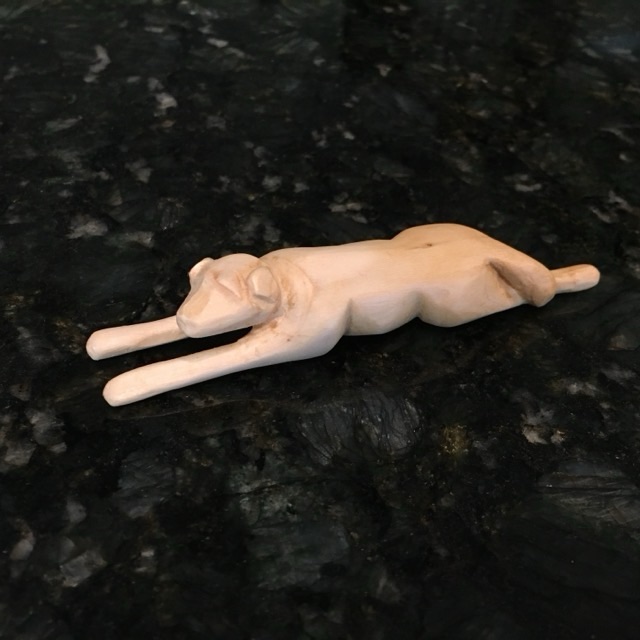
In June of 2017 I did a small carving of a dog from a stick of basswood.

Photo description: wood carving of a dog laying stretched out

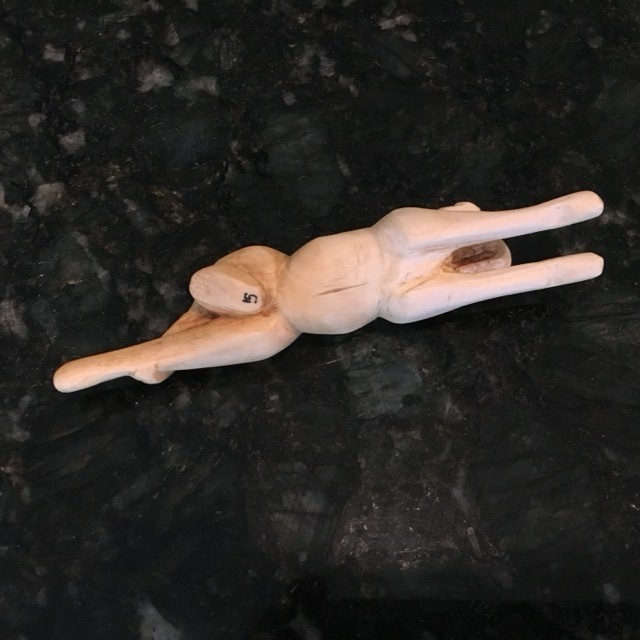
What I like about this carving is that from one side it looks like a lazy dog, but the back leg is not splayed. It is positioned under the body, ready to spring to action.

Photo description: underside of the carving, showing the back right foot tucked up under the dog

The quick brown fox would not jump over this deceptively lazy dog.