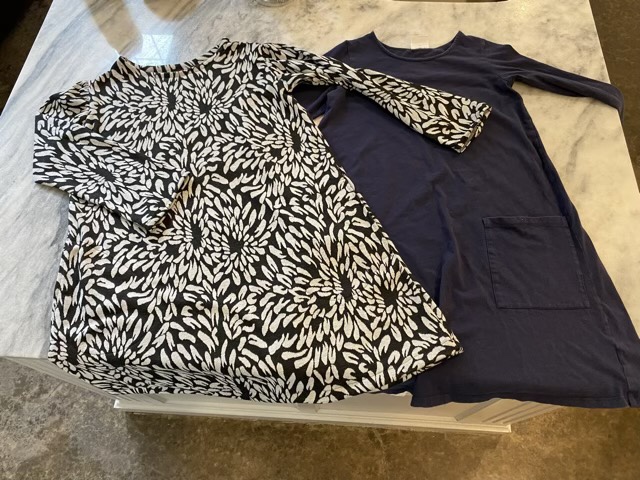
I wanted to try my hand at making a dress for my youngest. I took one of her dresses that she likes and fits well and used it as a pattern to cut the new fabric. I did not cut or alter the old dress, just laid it out on the fabric and gave a generous half-inch seam allowance when I cut the pieces.

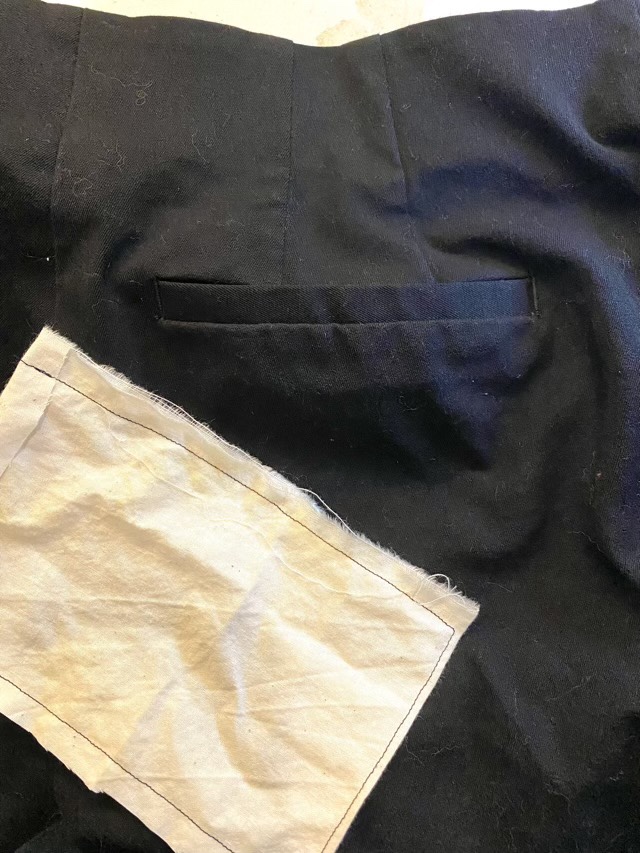
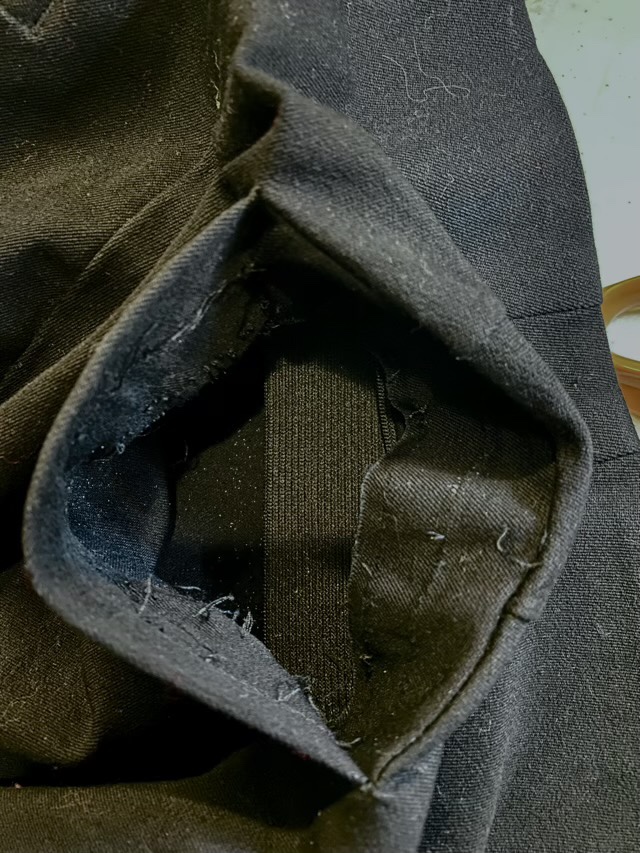
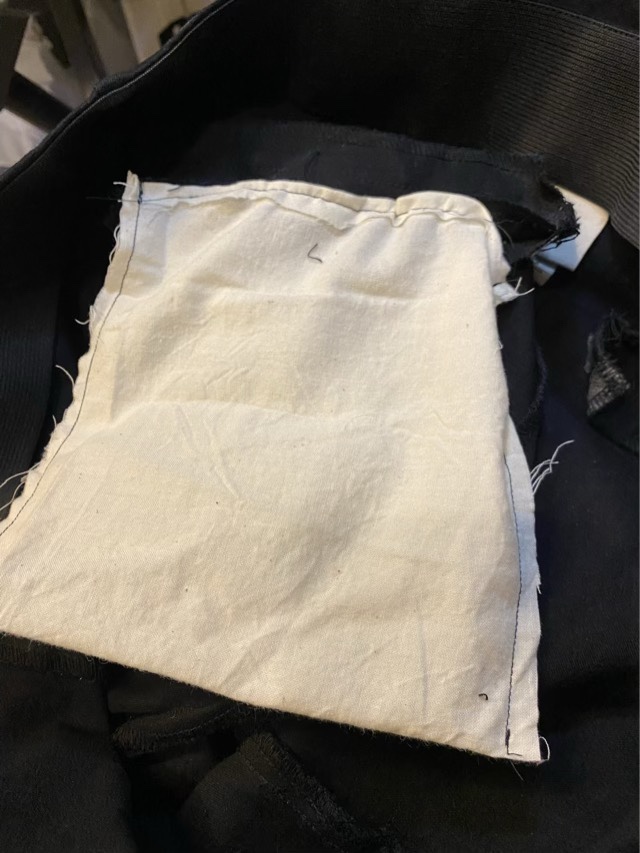
My youngest loves pockets, so the dress had to have pockets, but I didn’t think front patch pockets like the original dress fit the fabric of the new dress, so I did a single layer seam pocket. The pocket is sewn to the front of the dress, but because of the big bold pattern, they are almost undetectable.

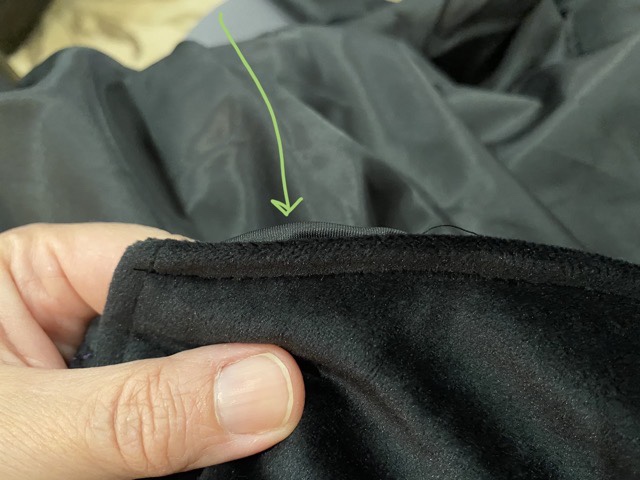
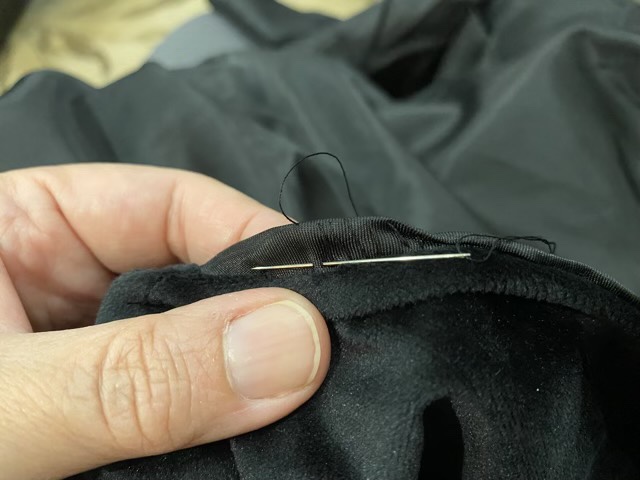
Dusting off my clothing sewing memory, I sewed the pieces together, top of shoulders first, then I finished the neckline (while it was easy to access) with a strip of the matching fabric. I put gathering stitches across the top of the sleeve to ease it into place, and sewed the shoulder seam next. I pinned the side seam and placed the pockets. I then sewed the pocket seam in back, and turned over and sewed a half inch for the pocket opening in front. I sewed the side seam down to the pocket and then from the bottom of the pocket to the hem. At that point I pinned the pocket to the front and sewed it in place, reinforcing the stitching at the top and bottom. I hemmed the sleeves and (…ahem) hem, the gave the dress a quick wash and dry.
The dress came out better than I expected and fit my youngest well. She appreciated the pockets.
I did the pocket the way I remembered, by using my hand as a pattern, which makes a nice looking pocket perfect for hands. I think next time I will make one that has a curve on top, but drops down along the seam to make the pocket more functional for things in addition to hands. I would also dip the front of the neckline a little more than I did, next time. And there will be a next time. It is hard to find appropriate clothing in the stores that fits. Although I might change my tune after the first trip to the fabric store. (This dress was made from fabric from my stash.)