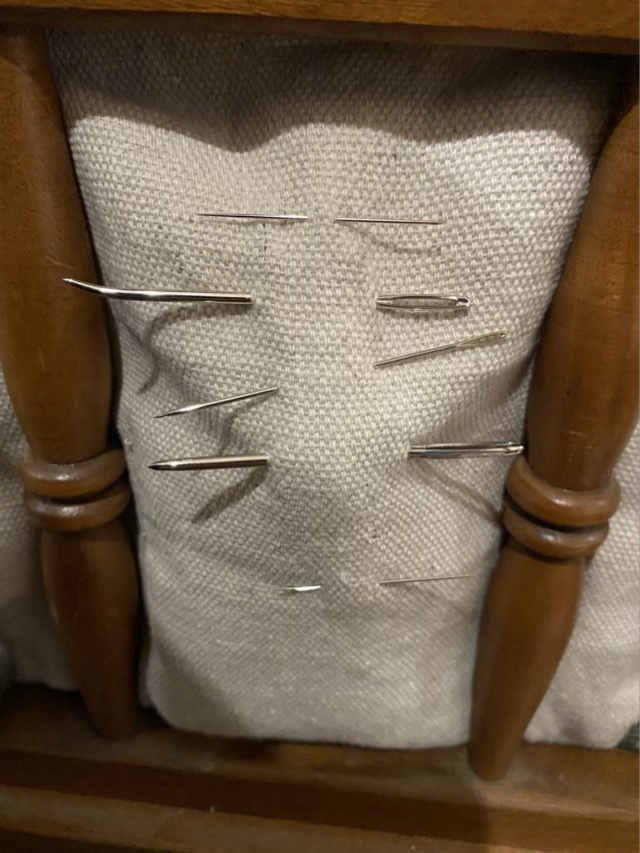
I do have a sewing basket. Inside that sewing basket are a couple pin cushions. Is that where I store my needles? No, it is all the way in the other room most of the time. I do have a cloth divider in my side table, and the needles go well there, and are at hand when I need them.
My eldest recently found a beautiful crocheted drawstring bag from a local shop (I’m very excited about the new shop, there are fibers to spin and classes being lined up!) The bag is beautiful, but needed a liner to hold the dice my eldest wanted to put in there. We pawed through my fabric stash and found some light weight black knit that would stretch well with the crochet and wouldn’t show through.
Pieces of knit fabric to make a lining
Because the bag had a round base and cylindrical sides, I matched the design with the lining, cutting a circle of fabric the size of the base, and a rectangle slightly oversized.
Sewing the rectangle to the circle
I started sewing the long edge of the rectangle to the circle, leaving room on the rectangle for the side seam. I used a jersey stitch on my sewing machine to keep it stretchy.
Cutting off the excess
When I finished the base seam, there was extra fabric on the rectangle, which is OK, better than not enough. I trimmed the extra fabric off and sewed up the side seam.
Hand sewing in the lining
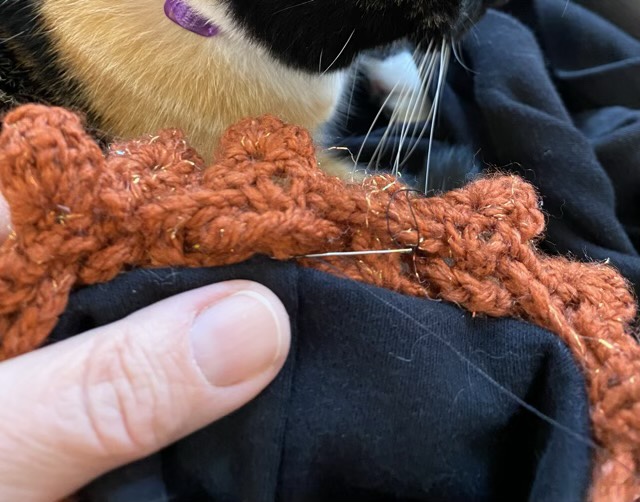
With the seams facing out, I fit the liner to the bag, folding over the top of the liner, and hand stitching the folded edge to the yarn work. I was very careful to follow the bag just below the drawstrings so as not to impede their function.
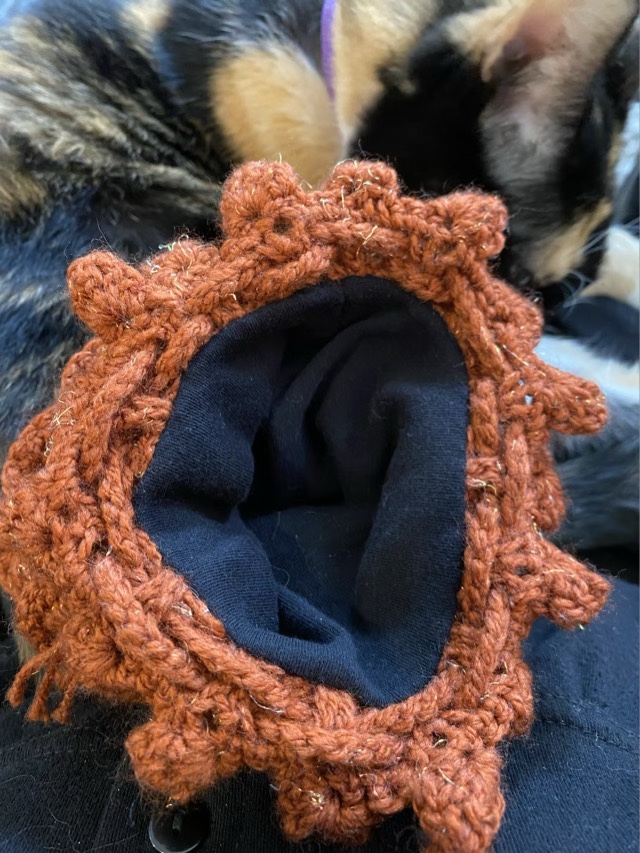
Liner installedCompleted bag
I am pleased with the liner, it expands very well with the crochet, doesn’t peek through the stitches, and should keep anything put inside nice and safe.
Izzy the cat loves when I sew quilted things. I recently sewed my sister a quilted bag and Izzy spent most of the time laying on the quilted pieces and purring. Loudly.
Izzy napping on my project
I rearranged my craft room recently and am trying the folding table in a new location. She approves, and really appreciates that there is room for her fuzzy butt. Especially if she can lay on fabric as well.
Quilted bag
Here is the finished project, modeled after one of my favorite totes, with two external pockets, two internal pockets (one with zipper), and a bonus pencil pouch. I went a little crazy with the padding, so I’ll wait and see how it functions in the wild before I post any patterns or instructions.
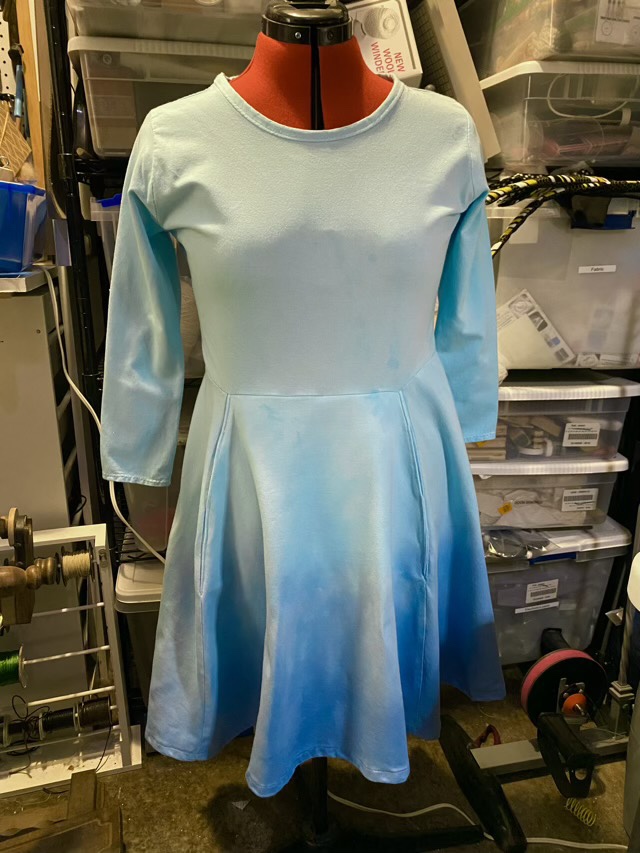
I am not a fan of dye. I like color, don’t get me wrong, but bleeding, unintentional splotching, and staining the wrong item irritate me. Still every so often, I try again. I made my youngest a dress for the holidays (she doesn’t read my blog, so I’m safe to post today). I could design the dress for spinning as requested, but I couldn’t find the right sky blue color, so I purchased a white cotton knit.
Swing dress in white
Because it is me making the dress, I included a pocket panel across the front. Three sides of the pocket are sewn in and there are two openings, so it is rather like a hoodie pocket, but concealed.
Pocket!
After the dress was finished and hemmed, I dyed it. First I did an all-over dye with RIT Aquamarine, following the instructions carefully.
Dress in a dye bath on the stove to maintain temperature
I rinsed the fabric (for forever), and then while the garment was still wet, I dip dyed the bottom in a different dye bath of Royal Blue. I then rinsed again. Then I ran it in the washer. Then I ran it with color stay, then I washed it again before drying it.
Blue ombre dress (it is difficult to photograph blue)
From a distance the color came out as intended, but up close there are splotches and variations that were not evident after the initial dye bath. Hm. I’m still not a fan of dye.
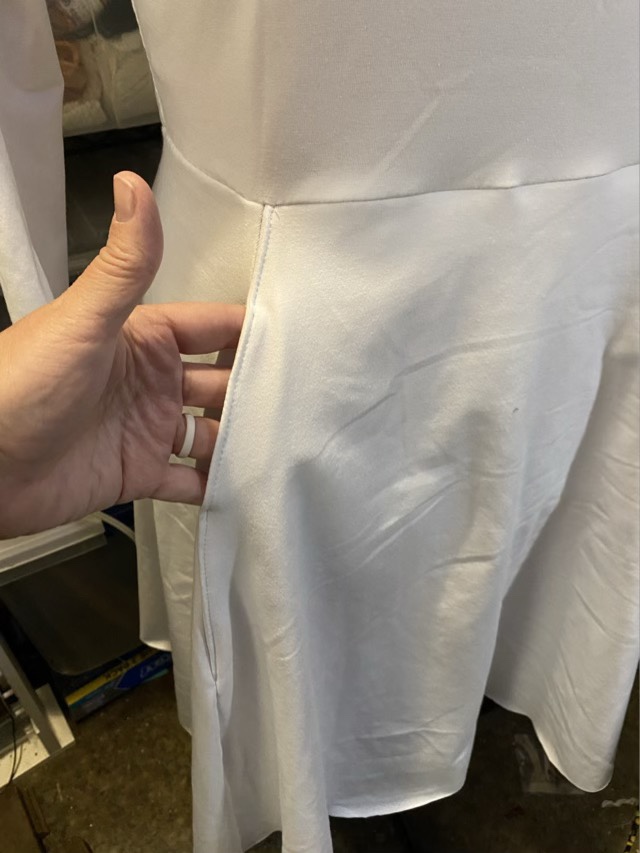
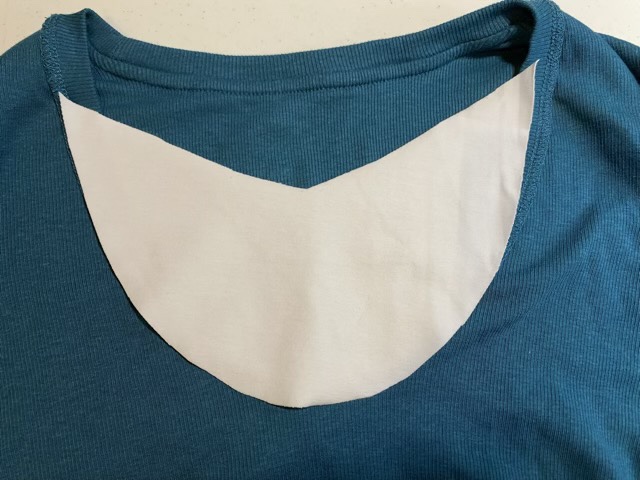
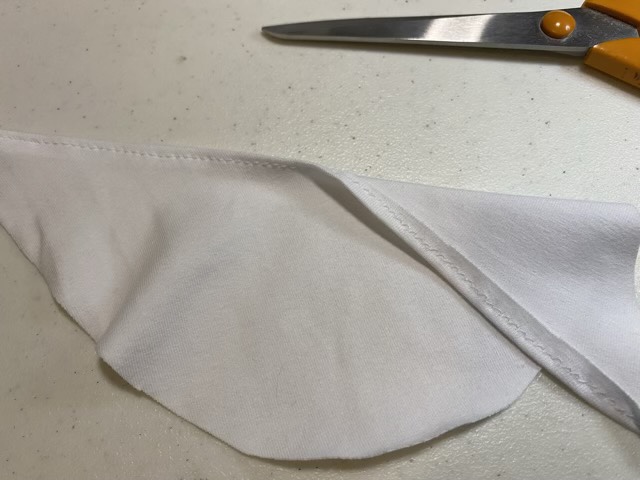
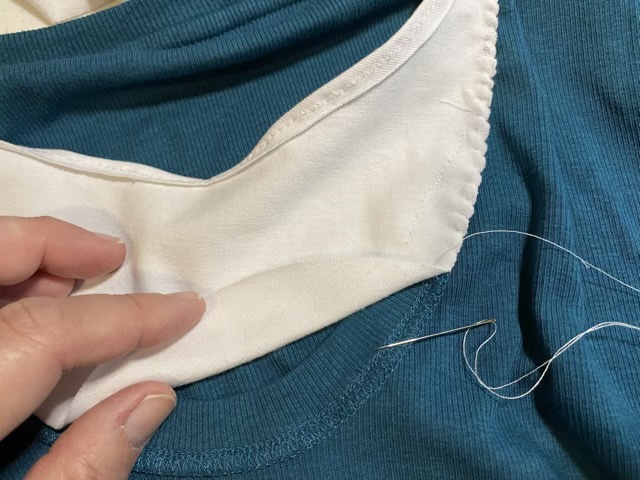
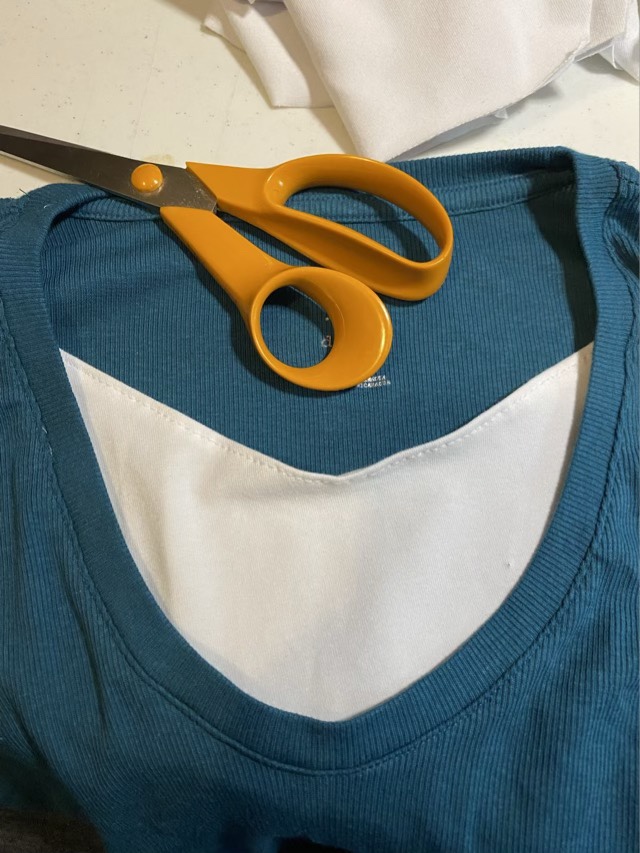
I picked up a shirt when shopping with the kids and the neckline turned out to be way too low. So I added a modesty panel using cotton knit material. I did attempt to do the whole alteration on my machine, but I had a terrible time feeding the thin knit material consistently under the sewing foot. Frustrated, I turned back to hand stitching; the inside of the neckline had a convenient seam that made making an invisible whip stitch easy. I think the next time around I will hand stitch a decorative edge on the top as well, leaving the machine work for woven cotton and inside seams. The finished product has the look of layers, without the bulk.
Crescent of material cut to cover the low neck line of a knit shirtMachine stitched top edgeHand stitching panel to inside of shirt with a whip stitchInstalled modesty panel