We have blackout curtains in all the bedrooms, but my youngest has high anxiety about fireworks and thunderstorms. She doesn’t wear her hearing aids at night, so usually can’t hear but the loudest rumble, but she can see the light flash around the blackout curtains, even without her glasses. I wedged a cardboard box in the window as a temporary fix, but we needed a better long-term solution. I knew that blackout fabric was something purchasable, but I didn’t know that Velcro had the rest of the solution. Velcro produces a household product that has one side of their hook and loop with a strong adhesive, and the other side without glue for sewing, perfect for attaching blackout fabric to a window.
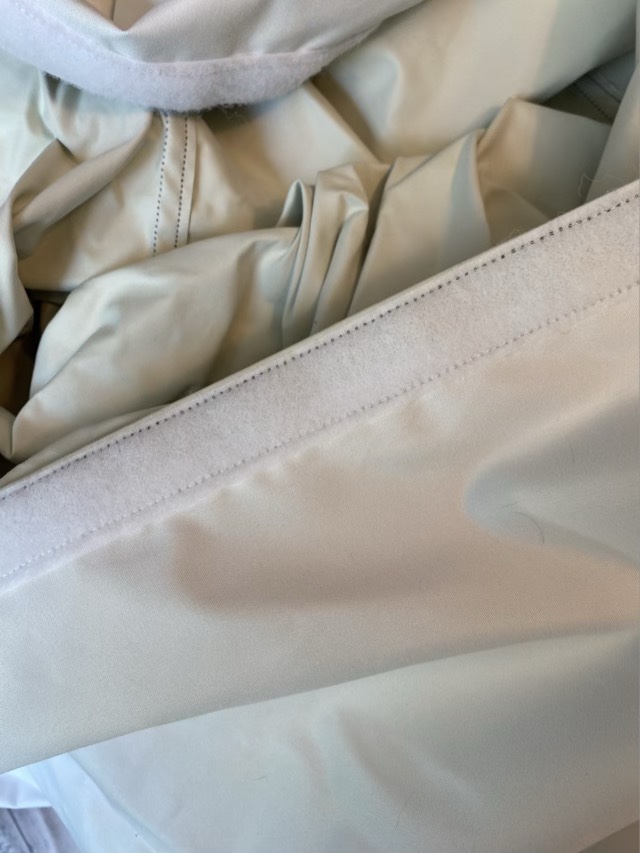

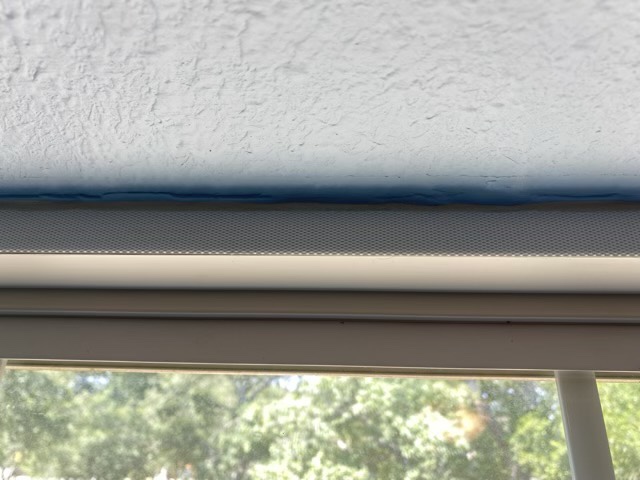
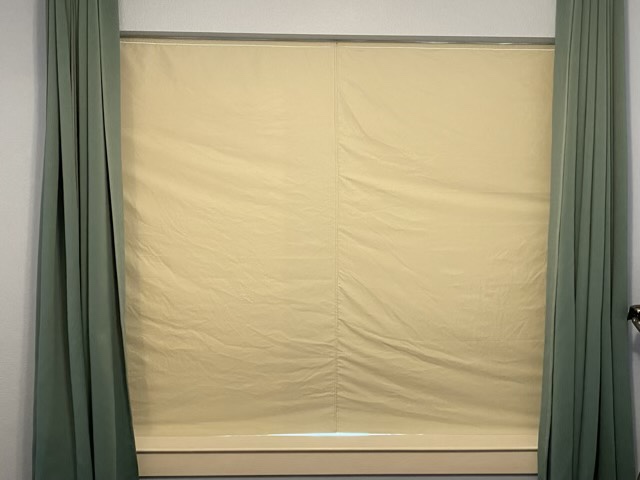
Velcro didn’t mess around with this product. It is one of the strongest hook and loops I’ve encountered. Our customer service person cutting the Velcro put it together before cutting. Next time, I will ask for the two parts to be cut separately. So sticky. My window frame is a half-inch, and the Velcro was 3/4”, so I had to cut the hard side down to fit. There is still some light that creeps through, but paired with the hanging curtain, it is dark as pitch in the room. Except for the light coming from the closet, which also has a window. I have another curtain to sew.