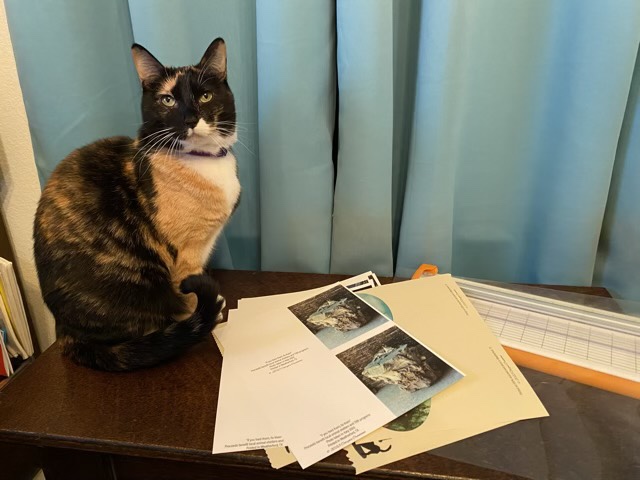
I’ve been making up greeting cards to sell at our local coffee shop: The Full Cup in Weatherford, TX. I have two lines: my little truck paintings, and cat photos. The cat photos are printed on 30% recycled linen paper and depict mostly feral cats that have been part of a TNR (Trap Neuter Return) program. Three are cats I have personally seen through the process, and several more are cats in Italy from when I visited in 2003. In Italy cats are protected by law. Colonies are registered and it is illegal to remove a cat from where it has chosen to live. They even have government funded neutering programs, which here we call TNR. Part of the proceeds from selling these cards will go to our local TNR programs.
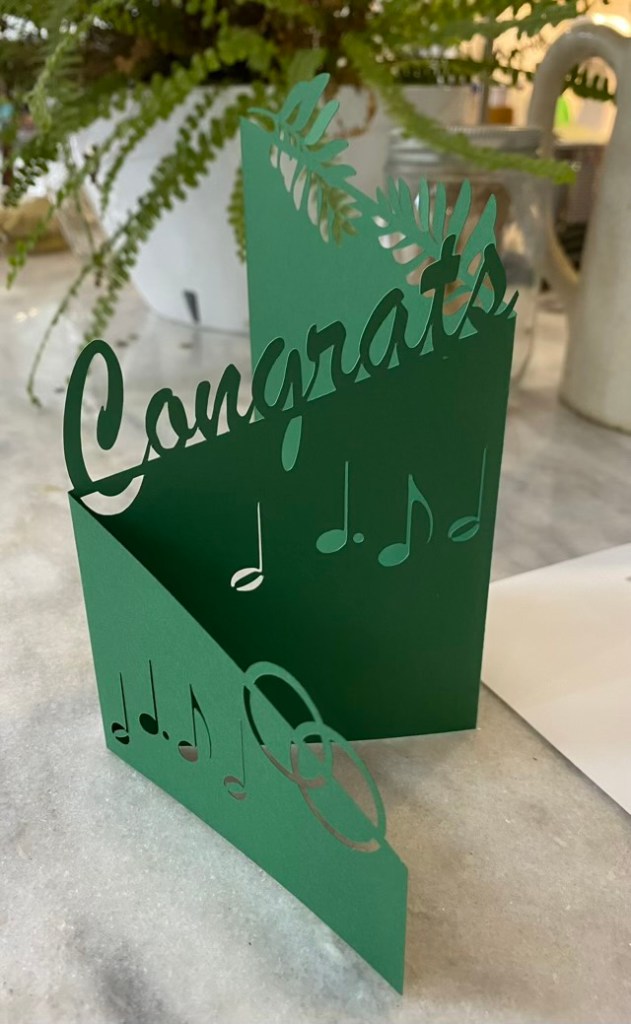
I enjoy using my Cricut cutter to design cards. This one is for a fellow singer who is getting married this year. I particularly like the trifold and how nice it looks in the standing position.
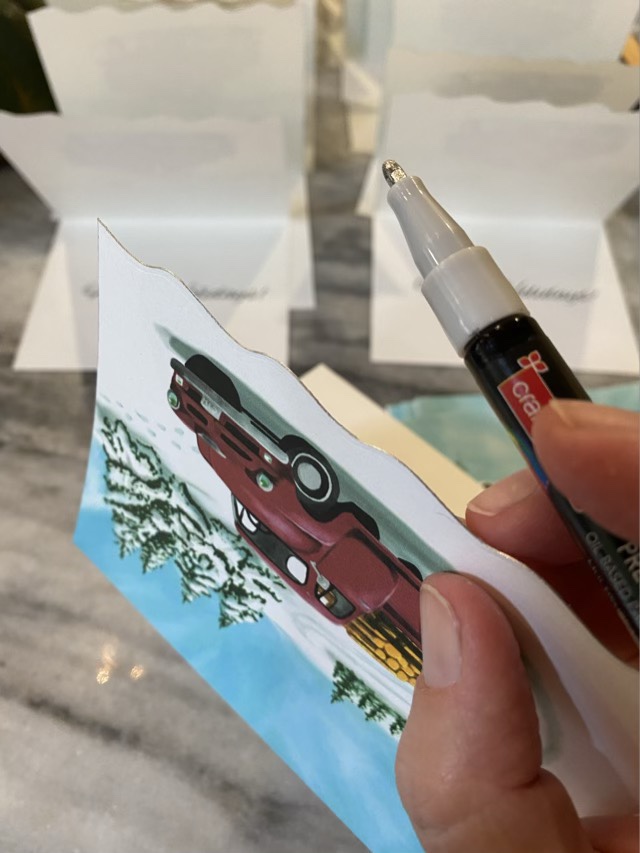
To add a little pizzazz to my greeting card, I ran an oil-based silver marker down the edge of the card stock to gild it. It gives a little definition to the edge, and a flash of sparkle. It worked well, though one pen only covers the front three edges of about 12 cards. This collection was a custom order, but I did a few extra and uploaded them to my Etsy site.
Gilding a greeting card with oil-based silver marker
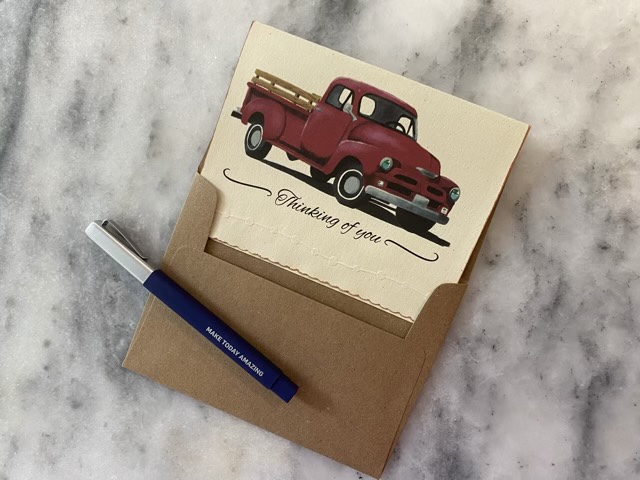
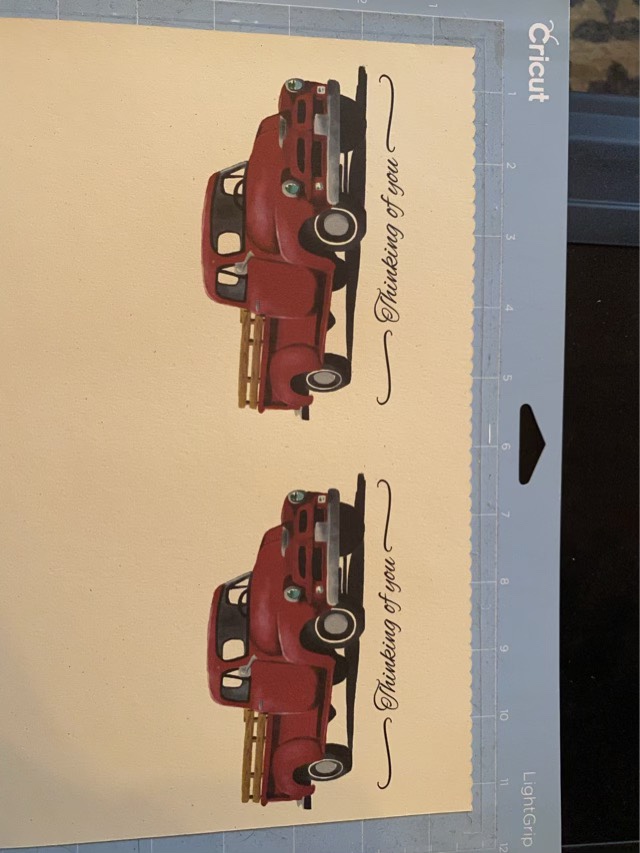
I’ve been having fun designing “little red truck” digital paintings for a friend who needs greeting cards. I’ve posted the technical bits of the digital side on my business site (https://carynscreations.com/blog/), but I thought I would go into the hand finishing here and provide some tips and tricks that I’ve found along the way.
Little Red Truck card
So the first hurdle was getting my image to print properly on my printer. When I would print from the computer, the colors would be faded and streaked. My printer has the capability to print pictures from USB, so I made my image a JPG, transferred it to USB, and printed directly from USB to printer. The print took forever to produce, but when it was done, it was glorious and imperfection free! And I print on 100% recycled card stock, which makes my heart happy.
Using an electronic cutting machine to do fancy edges
The next challenge was making a fancy cut on the front edge of the card. I bought a couple patterned scissors, but they are fiddly and are difficult to line up. So instead I designed some edges and used my Cricut to cut them. So much easier and faster than scissors or an x-acto knife.
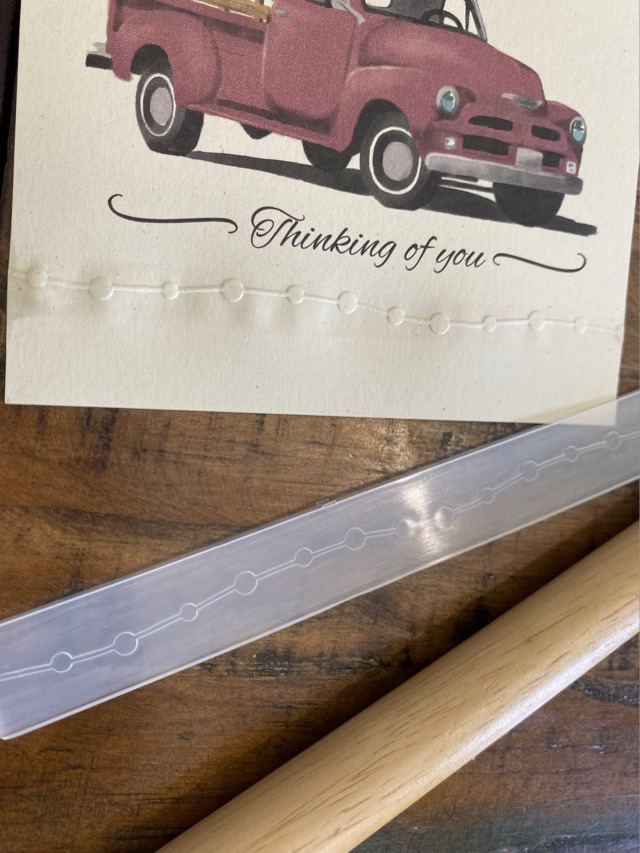
Embossing with embossing folders without a machine
Although I have an electronic cutter, I did not want to buy an embossing machine. I discovered embossing folders and found that if you wet the paper and use a rolling pin or stick to press down on the folder, you can skip the machine. I have a modest set of four embossing folders. I need to figure a way to design and make my own, because that would just be cool.
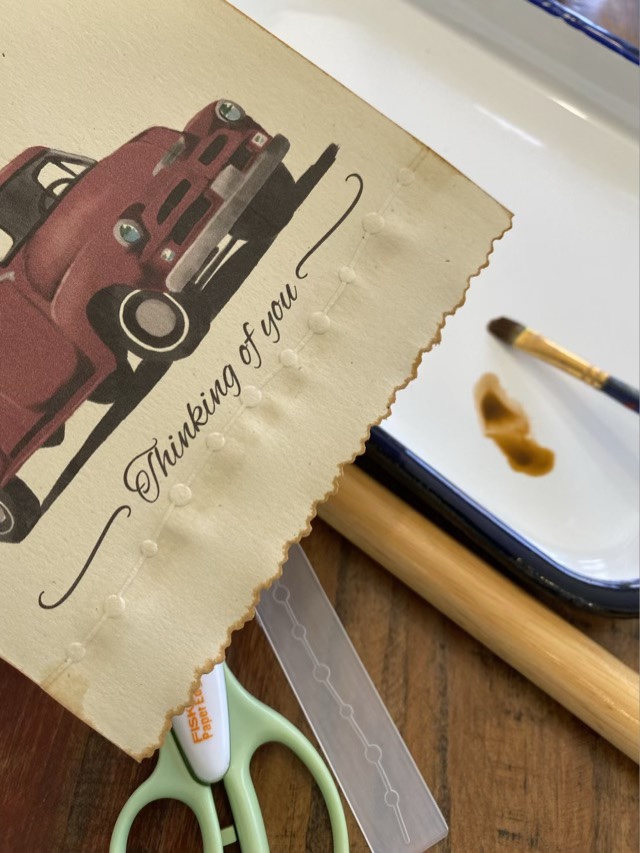
Aging the edge
The next card improvement was aging the edge to give the card an antique look. I tried brushing the edge with a chalk ink pad, but was not pleased with the results. Instead, I broke out my water colors and used a sepia colored liquid ink. I like the effect best if I pre-wet the card edges, then carefully apply the diluted water color to the edge, so capillary action spreads the color in a pleasing way.
“Ironing” with a hot laminator
Finally, all that wetness added to do embossing and edge aging makes the cards a little warped. I found that it was easy and effective to run the cards through my hot lamination machine (without a lamination folder).
The cards, with a 100% recycled kraft brown envelope, are available for purchase on my Etsy site. If they are gone, I will make more. I do make sure that the pictures are of the actual item, rather than stating “items may vary” because I think it is important to see pictures of exactly what you are buying.
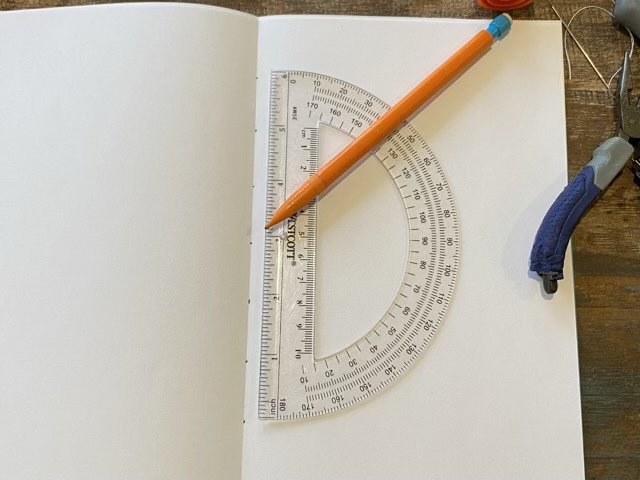
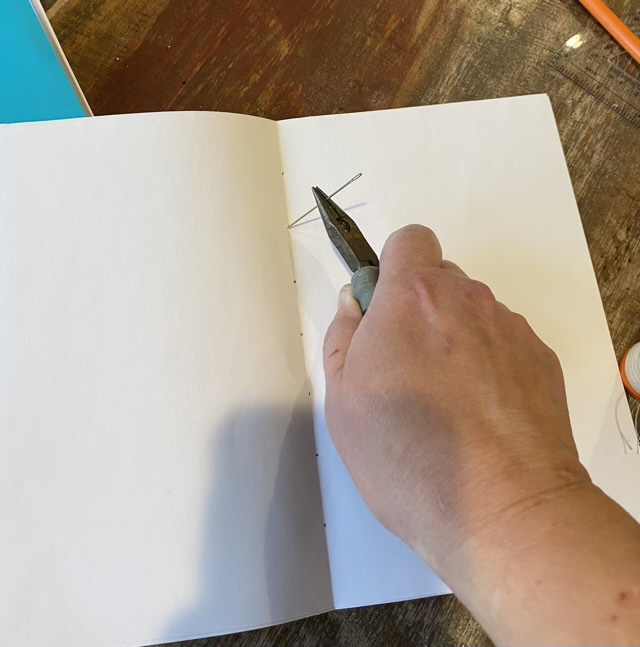
I spend a chunk of money on sketch books, both for me and my kids. I want them to practice their art skills, and they enjoy it, so it is a worthwhile sacrifice of paper. But purchased journals are usually heavy as well as expensive. To help lighten up my youngest’s backpack, I made some simple blank journals from printer paper, card stock, and upholstery thread.
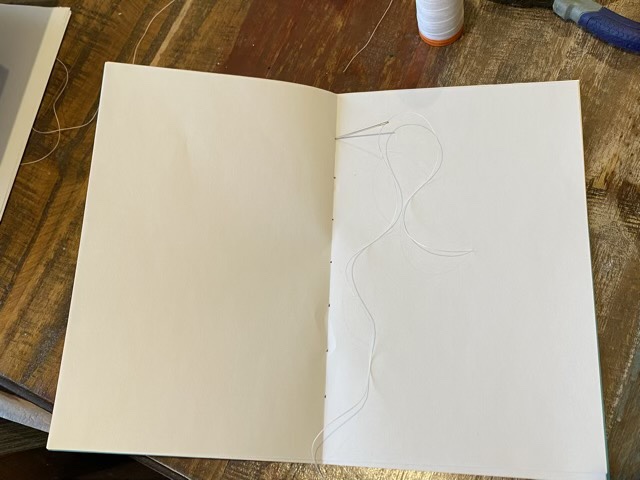
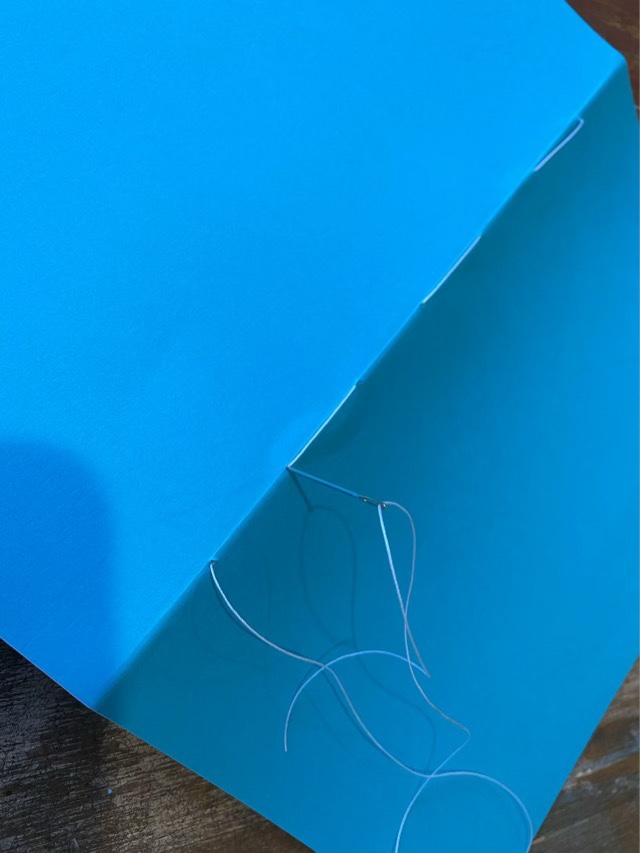
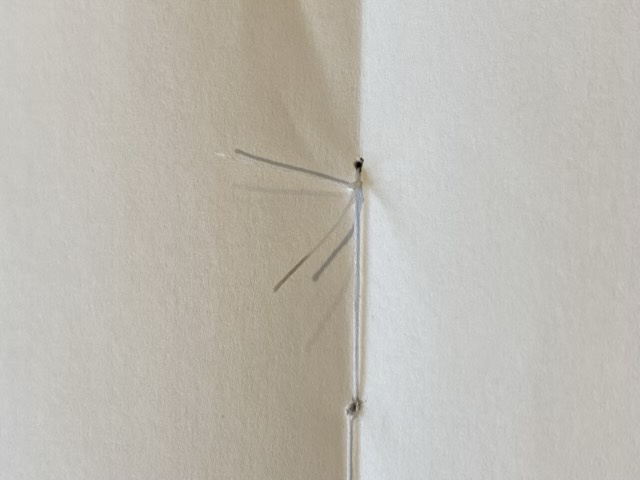
Fold 2-4 pieces of printer paper and one piece of card stock in half, open up, and mark points an inch apart along the inside foldPoke holes through all sheets of paper and cardstock using an awl or needle and pliers (if you’ve broken your awl)Cut a length of upholstery thread three times longer than the fold. Using a threaded needle, start at the top hole from the inside.When you get to the bottom hole, sew back up. This will cover the gaps with thread.On the inside, tie a square knot and trim the ends.You now have a simple, light, blank journal for a fraction of the cost of store bought.