I spend a chunk of money on sketch books, both for me and my kids. I want them to practice their art skills, and they enjoy it, so it is a worthwhile sacrifice of paper. But purchased journals are usually heavy as well as expensive. To help lighten up my youngest’s backpack, I made some simple blank journals from printer paper, card stock, and upholstery thread.
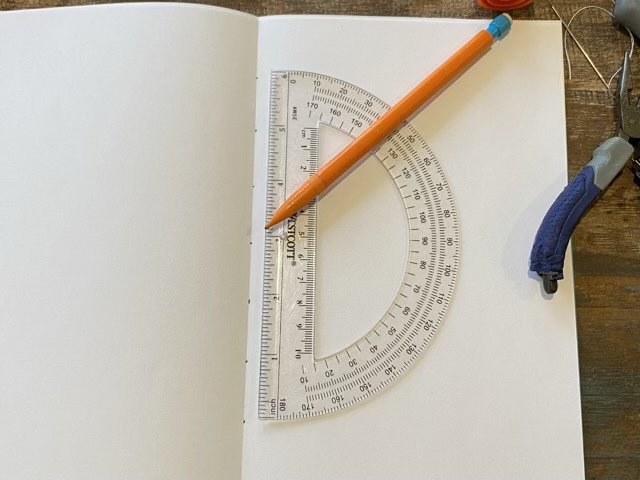
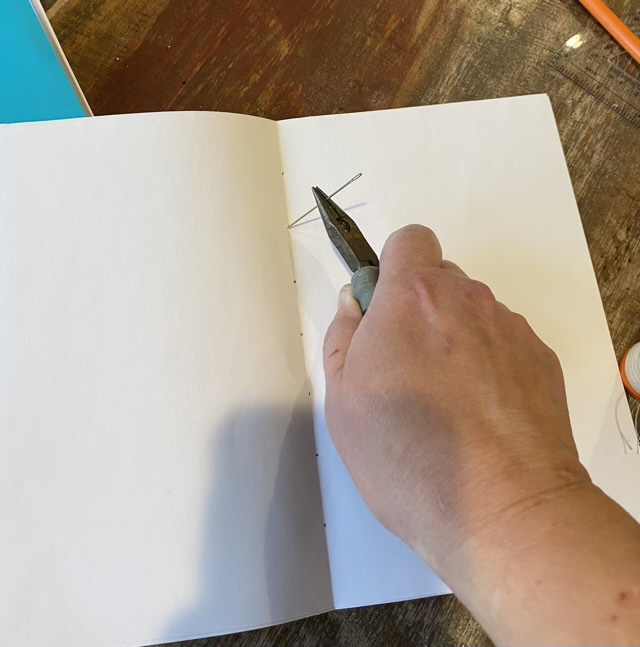
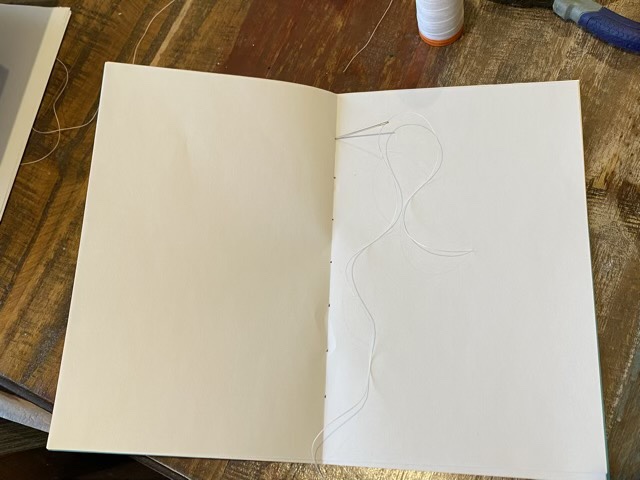
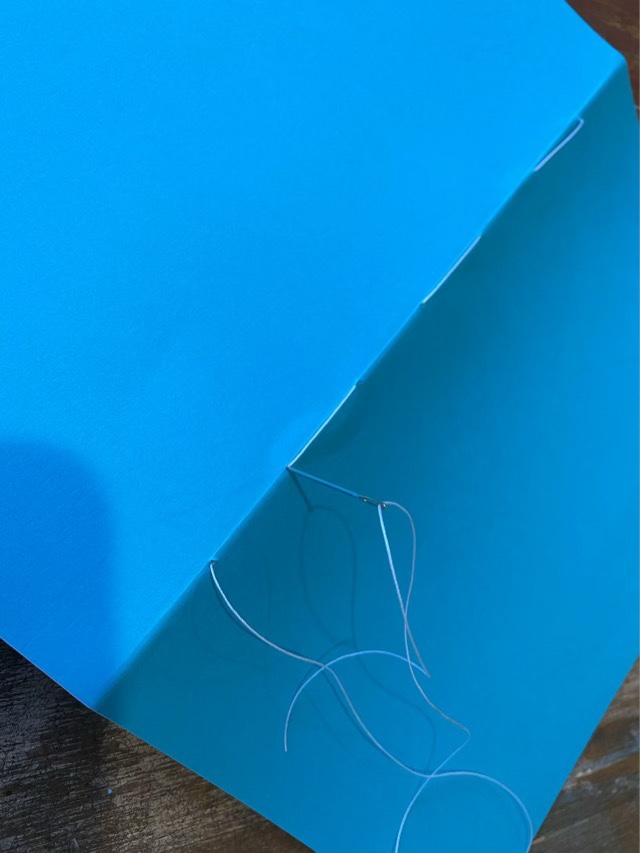
Fold 2-4 pieces of printer paper and one piece of card stock in half, open up, and mark points an inch apart along the inside foldPoke holes through all sheets of paper and cardstock using an awl or needle and pliers (if you’ve broken your awl)Cut a length of upholstery thread three times longer than the fold. Using a threaded needle, start at the top hole from the inside.When you get to the bottom hole, sew back up. This will cover the gaps with thread.On the inside, tie a square knot and trim the ends.You now have a simple, light, blank journal for a fraction of the cost of store bought.
I was feeling weak when I walked through the craft store. I must have been, because a book of origami paper caught my eye and I bought it. A book. Of origami paper. What was I thinking? The pages were glued into the spine, rather than loose as in a package of origami paper, and even though I can bend the spine open to get the pages our relatively cleanly, they aren’t perfectly square. What to do with all this paper that isn’t quite suited for origami as torn? Maybe a wreath?
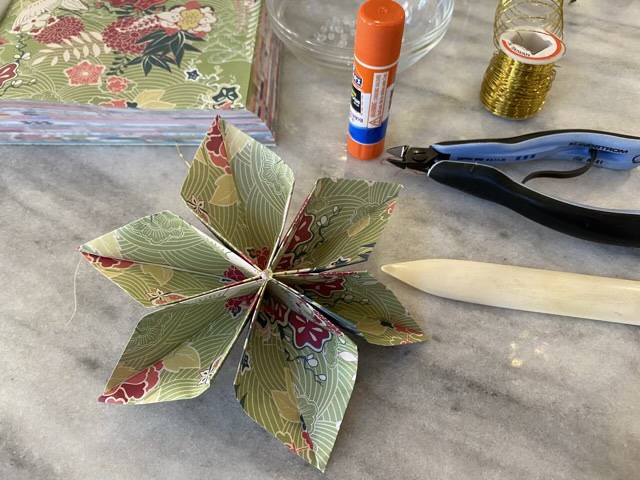
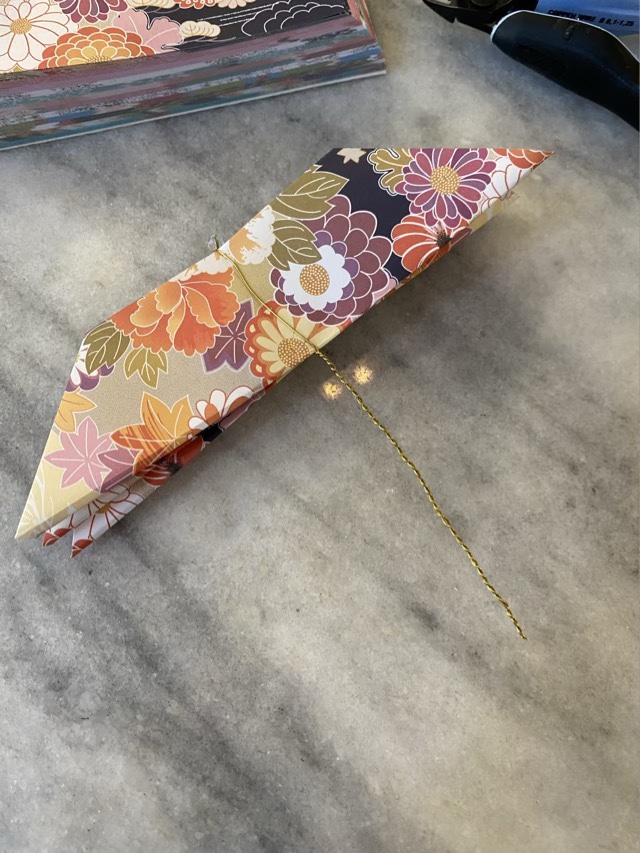
I found instructions for folded paper flowers (I’m not calling it origami, because it involves more than just folding), that uses wire, glue, and beads. I have wire, glue, and beads.
Paper flower
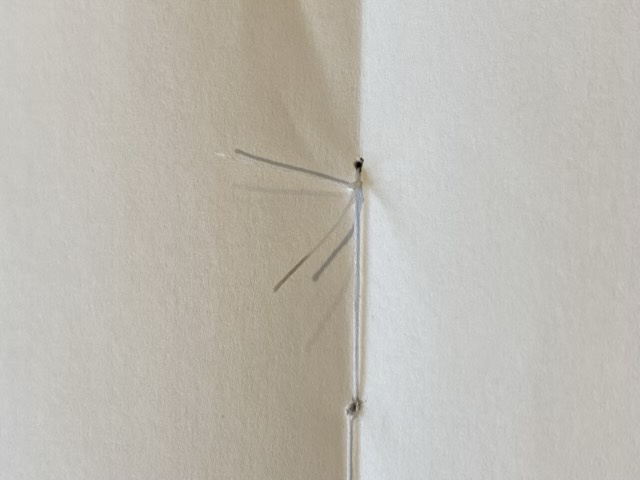
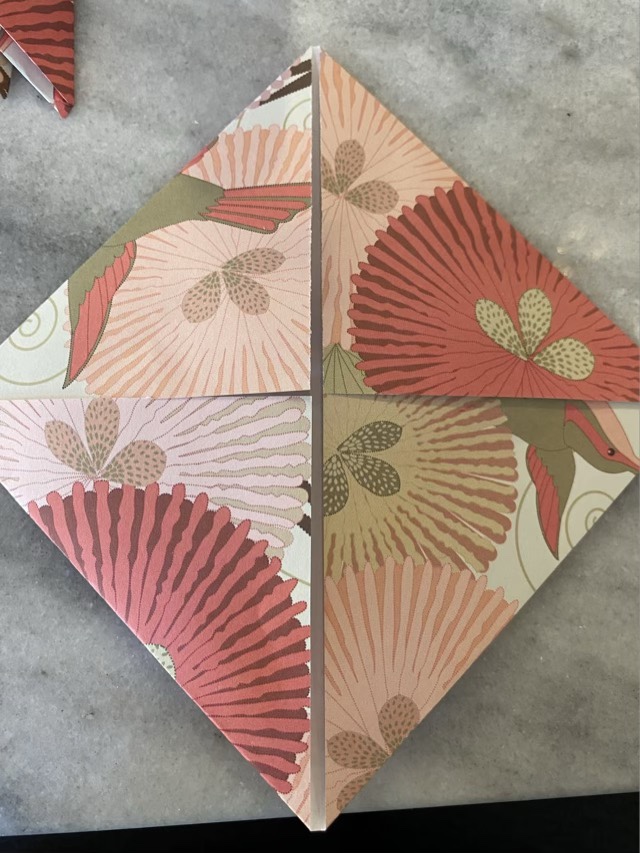
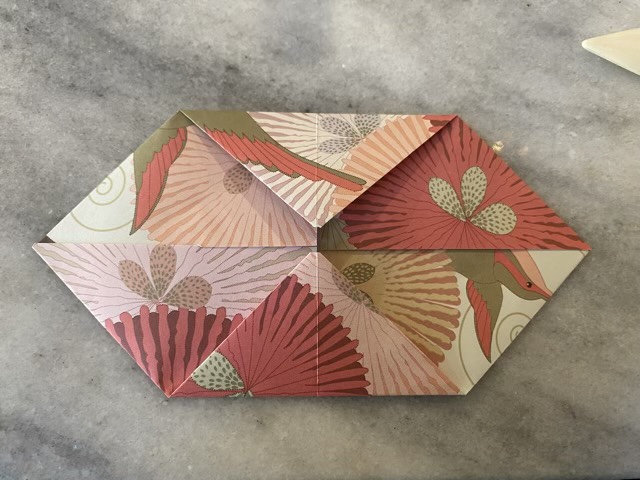
The way the flowers are folded allows me to hide the gaps due to the imprecise paper shape.
Folded paper with gapsGaps hidden in the fold
The way the wire goes around the paper, it makes sense to twist the two sides together to make a pick. Picks make it easier to stick the flower into a wreath form.
Wire twisted around three paper units
I’ll update y’all later on how the wreath comes out.
My eldest needs a journal as a prop for a play. The play is set in the 1920s and we didn’t want bright white crisp paper in the leather bound journal (I’ll get to the assembly of the journal in another post). I searched the internet and only came up with tea and coffee stains (and one that recommended burying the paper in the ground for two weeks). I needed eighteen sheets of paper aged; and the paper won’t hold up to handling when wet (we tried the tea method, no go). We also tried using a flame to slightly singe the paper, which was also time consuming with spotty (literally) results. I remembered a science experiment with invisible ink made from lemon juice. Could that work to slightly brown the paper? Yes, yes it can.
Aged paper folded into signatures (left) versus original paper (far right)
The method I found that worked best was to heat the oven to 350 degrees F, put a large cookie sheet in the oven, lay one piece of paper on the cookie sheet and mist it with a 50/50 mixture of lemon juice and water, and leave it in the oven for 3 minutes. I then flipped the paper over, misted again, and baked for 3 more minutes. An eye cleaner spray bottle works great for mist. The technique also wrinkles up the paper, so I needed to give the sheets a quick iron to get it to lay a little more flat. The results were exactly as I hoped! Now to finish the cover so I can assemble the journal.
It has been cold again. So cold that it is not nice working outside. Being stuck inside all weekend is frustrating; paper craft to the rescue! A nice spring theme activity was in order.
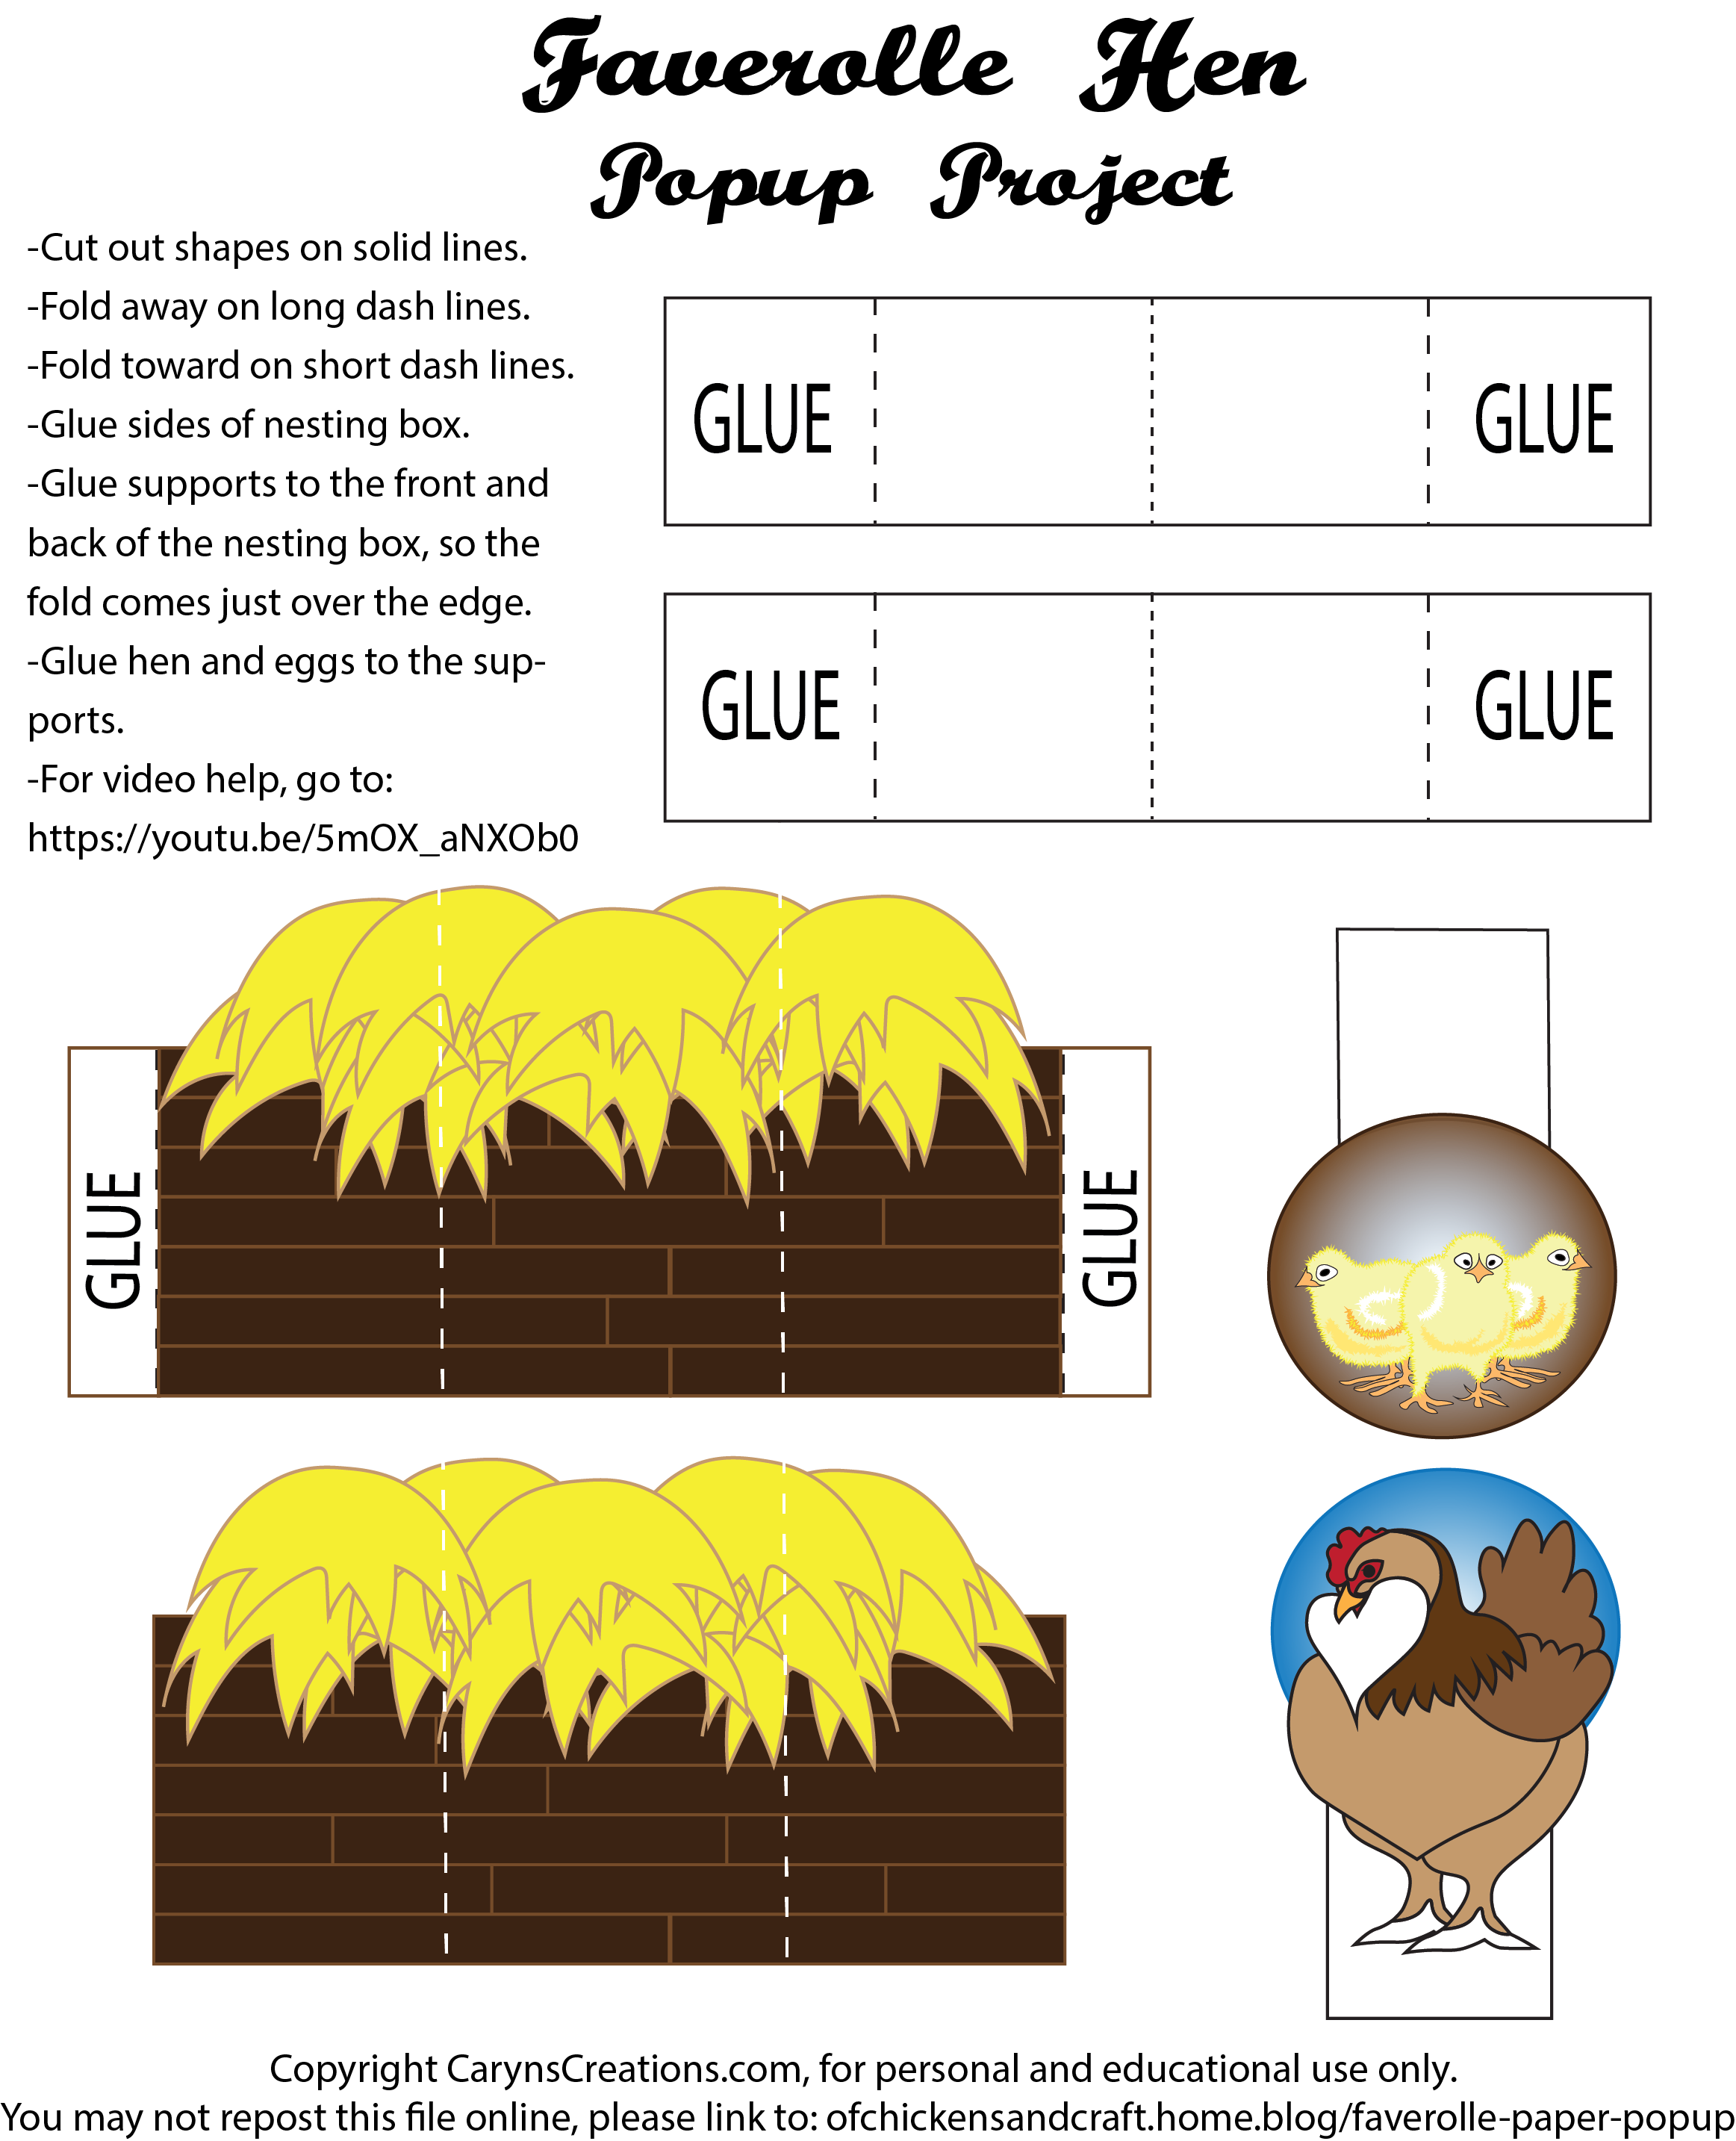
Faverolle hen and chicks paper pop up project
I have shared how much I like paper crafts, so when I saw a new (to me) way to make a popup, I had to make one with chickens! Since we are getting Faverolles, I needed a Faverolle hen and chicks. I made pencil sketches to get started on forms, then used Adobe Illustrator to refine the shapes. I’m quite pleased with the hen, she is a cutie with her beard and feathered feet! I will probably use her in other projects.
I made a video on how to assemble the popup:
And here is the image file. It works best printed on cardstock. Free for personal and educational use. Please link back to this post to share.