My sister brought me some linen towels from the 70s. I liked the prints on them, so decided to use them as decoration. They all had a narrow sleeve at the top, so I cut down wire hangers to make hanging rods.
Photo description: white wire hangers cut with lineman’s pliers and the ends looped with needle nose pliers
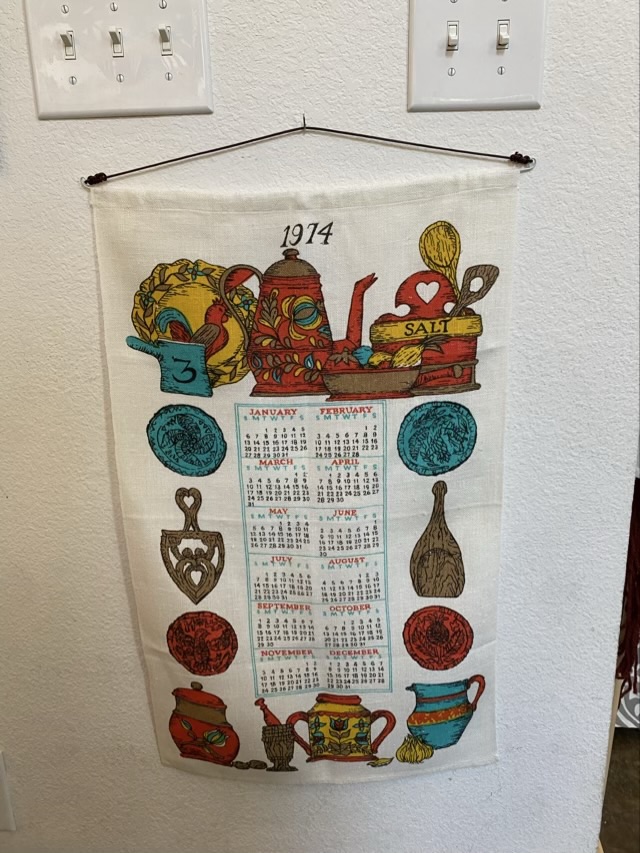
I took leather cordage and tied it to the wire loops.
Photo description: calendar towel from 1974 with wire and leather hanging hardware
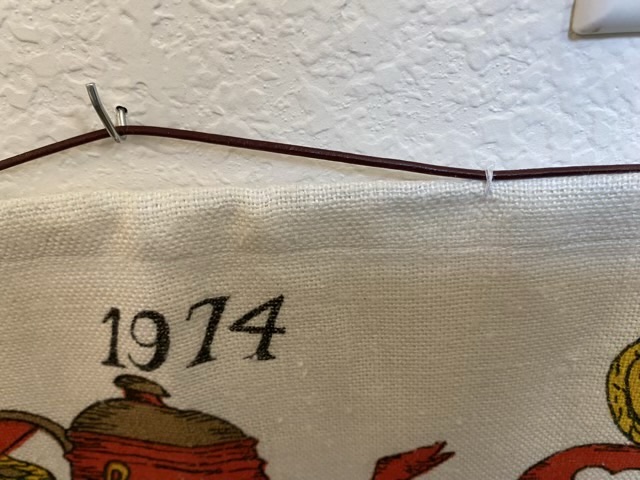
I didn’t like how the wire sagged, so I tacked the linen to the leather about a third of the way in with cotton thread.
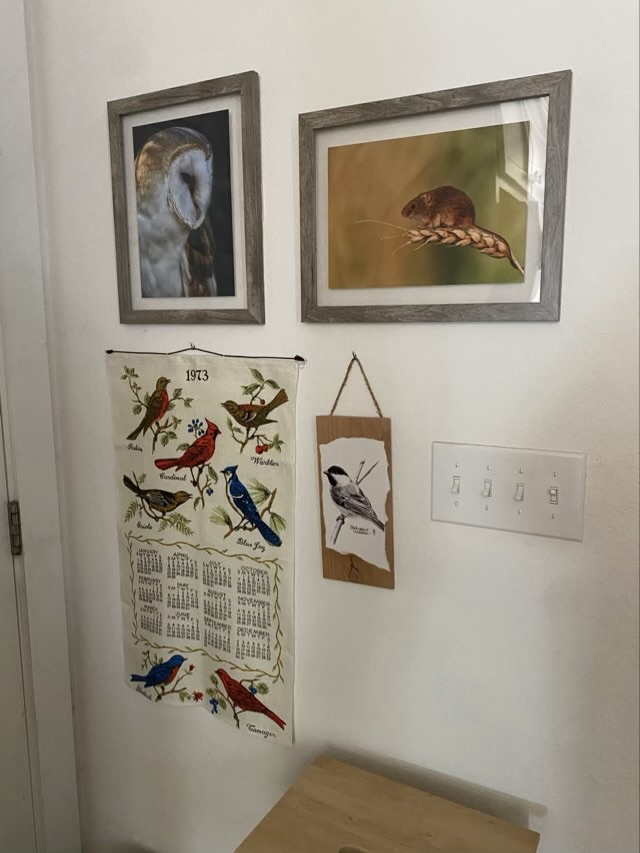
Photo description: closeup of tacked sectionPhoto description: same towel hanging on the wall, but with thread tacks and no sagging, towel has drawings of kitchen implements Photo description: linen calendar towel from 1973 with birds hanging on the wall with new hardware along with chickadee art, and photos of a barn owl and field mouse by Oliver Hellowell
The production of calendar towels began in the 1950s and was an invention of Stevens Linen Works in Dudley, Massachusetts.
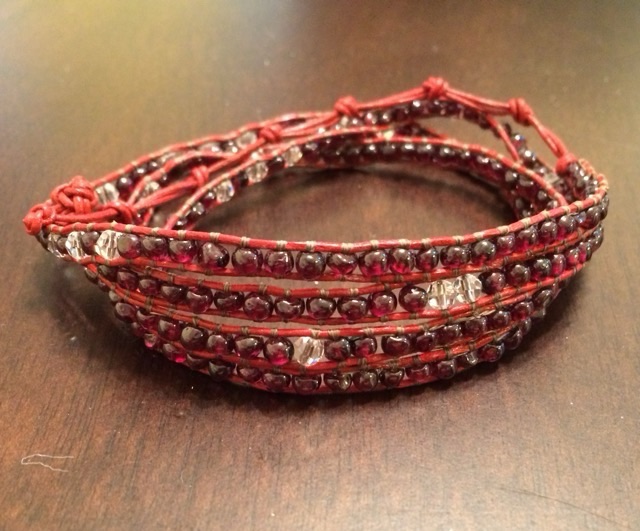
This is a wrap bracelet that I made for my sister in April of 2015. It is made from red leather cord, 4mm garnet and quartz beads, and beading thread. The remarkable thing about it is that it was sitting next to my chair next to the fireplace when the house caught on fire in March of 2015. I had been working on it and it was in a project bag. I needed to give everything a rinse to get rid of the ash, but I was able to complete the bracelet.
Photo description: red wrap bracelet with four wraps of natural garnet and quartz beads sewn between two leather cords
I really missed an opportunity to do a morse code message in the beading.
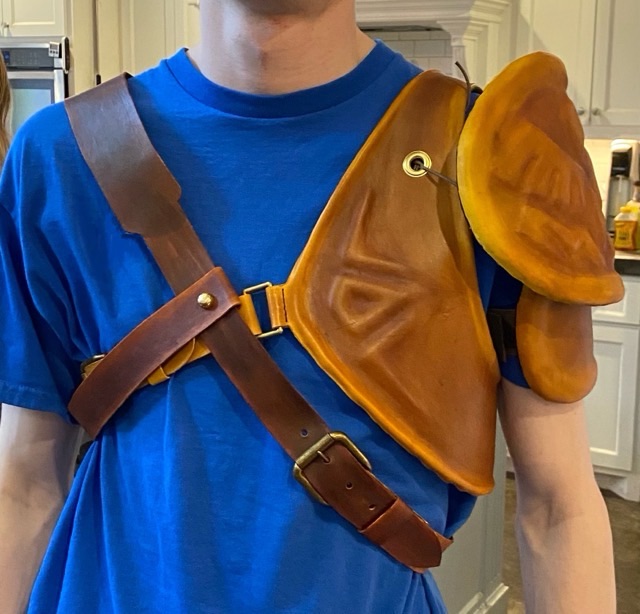
Reveal! Here is a picture of the two leather cosplay pieces I made for a Link costume.
Photo description: leather pauldron, vest, and cross-chest belt made from EVA foam sheet and 3/4 oz tanned leather
I think the pieces came out well, especially for cosplay. I hope that they hold up to use. The sewn areas should be fine, it is traditional construction for leather. It is the foam and hot glue that I worry about.
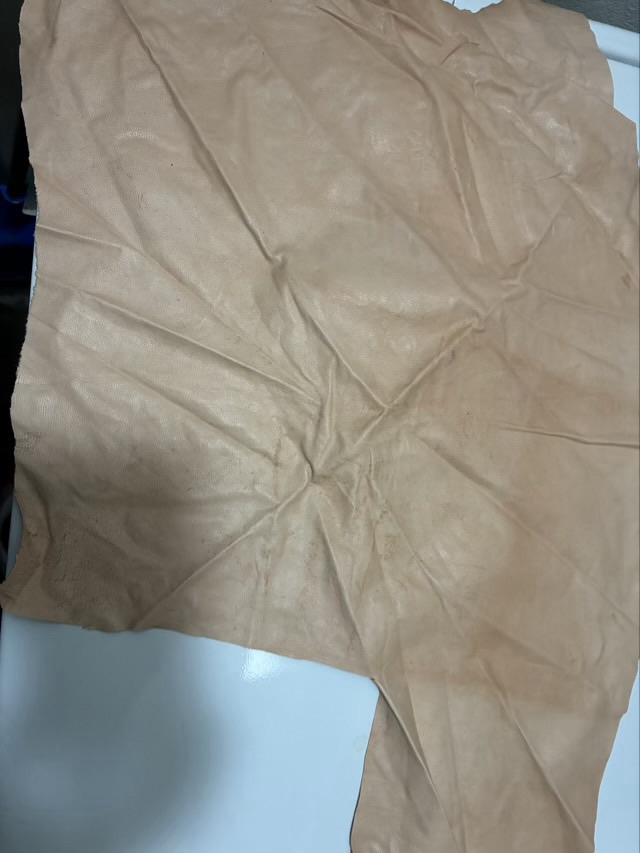
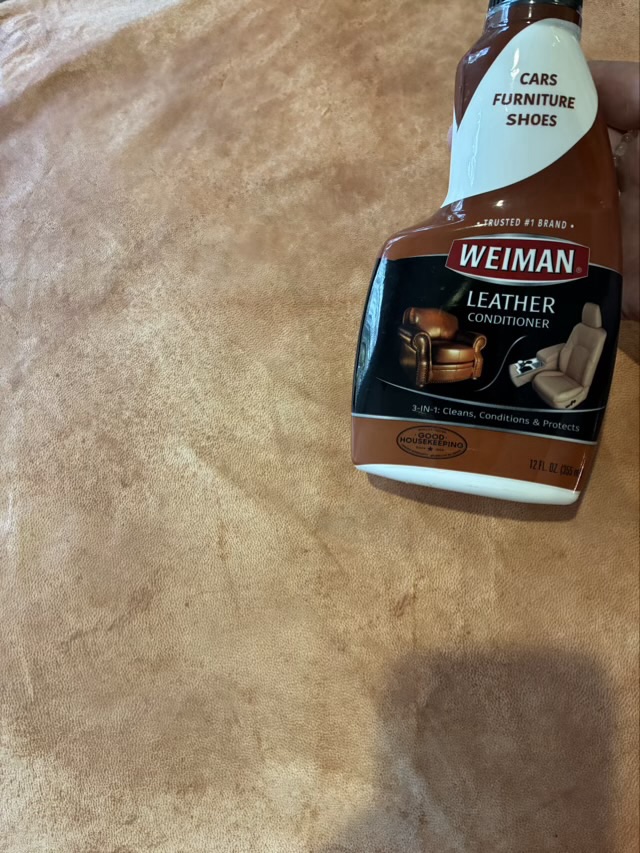
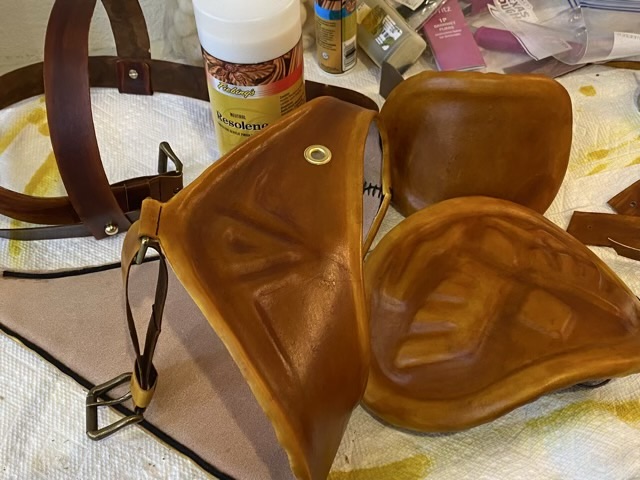
I did put a sealing coat on all the leather to help protect it from accidental spills. It put a nice shine on the leather as well.
Photo description: finished pieces coated with Fiebing’s Resolene
For the finishing touches on the cosplay Link armor, I used leather cement to attach the leather to the EVA foam, so the leather didn’t loose form when worn. To retain the rolled edge, I glued in cotton macrame cord.
Photo description: leather cement used to attach EVA foam and cotton cord to the underside of the vest
I sewed on metal buckles and hardware using a saddle stitch and corset stitch with waxed linen cord.
Photo description: square link sewn into the leather of the vest with a saddle stitchPhoto description: laying out the holes for a belt buckle and leather stayPhoto description: finished leather belt with cross strap attached with brass mushroom screw rivetsPhoto description: inside of the pauldron pieces with the lower one secured with wide elastic, and the upper one with cotton cord ties
For future reference, when placing grommets, make sure your pliers can reach the intended location. I set my grommets in too far, and had to use a vice to attach the metal, which was a pain.
Photo description: useless grommet pliers because I set the hole too deep