Time to dye the leather cosplay armor pieces. Where I am not partial to dying fiber, I don’t mind dying leather. Fiebing’s leather dyes are easy to use, especially with daubers or large wool pads (synthetic works fine too). First, I lightly dampen the leather, not so much that the color changes, but so that it is cool to the touch. Then I apply the color. The method of application effects the final color variation; small circles with a dauber produces a mottled color, large swipes with a pad gives more even color, but without some of the interesting depth. Applying color over existing color produces different looks as well. I always do a color swatch test when color is critical.

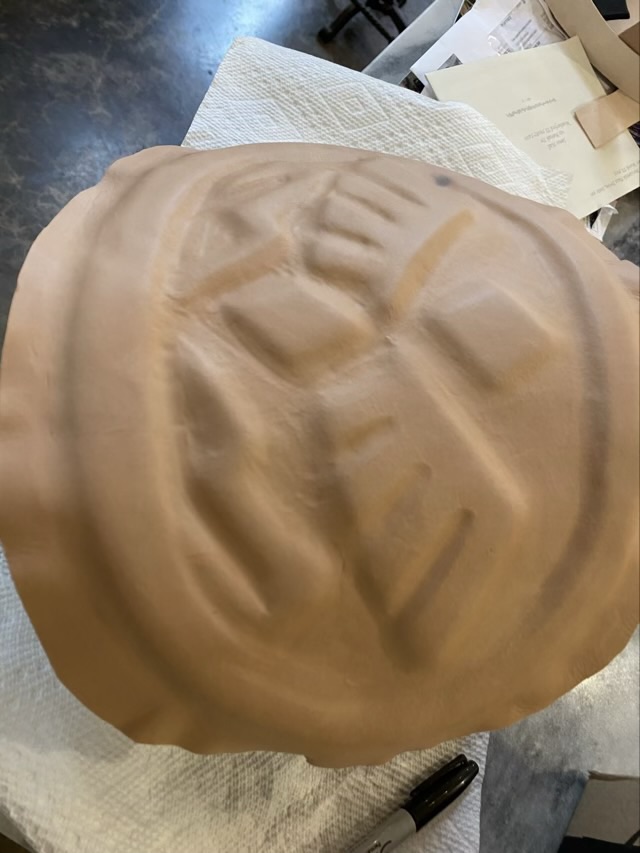
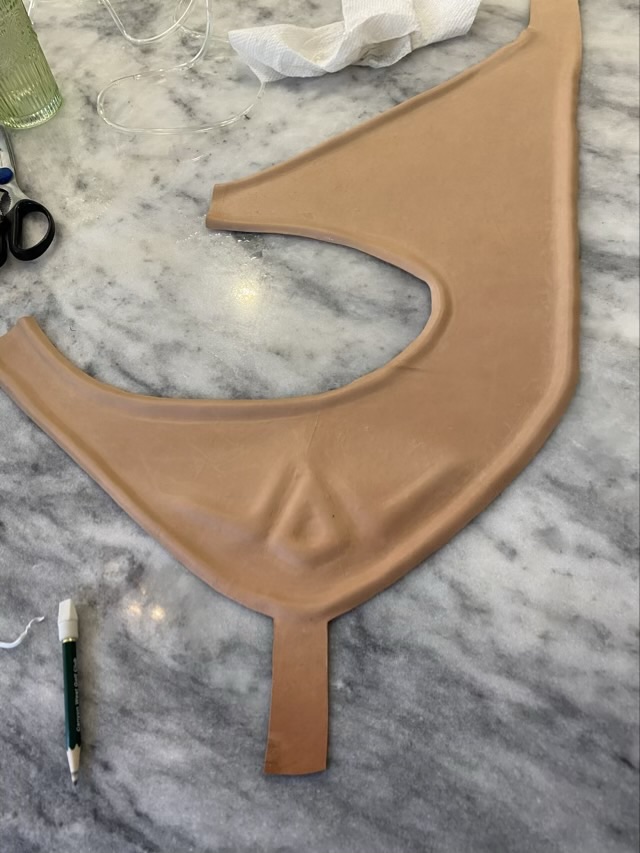
When the leather dried, I had a surprise.
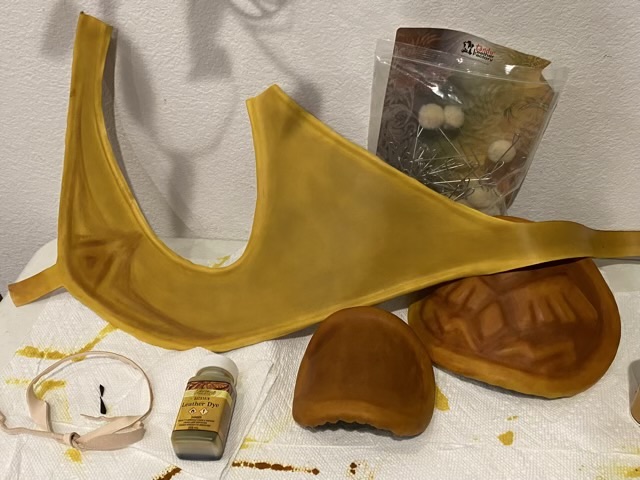
The pauldron was a nice brown, but the vest was yellow, and they should have matched. What happened is that when I dyed the leather, the pauldron pieces were dry, and I rewetted them. The vest was still wet from shaping. They had a similar moisture content by feel, but obviously not a similar dye take up. Rewetting the vest and applying several more coats of dye fixed the issue.
For the straps, I dyed the underside with a dark brown dye, which also changed the surface color. I liked this effect, because Link’s armor is not all one color.