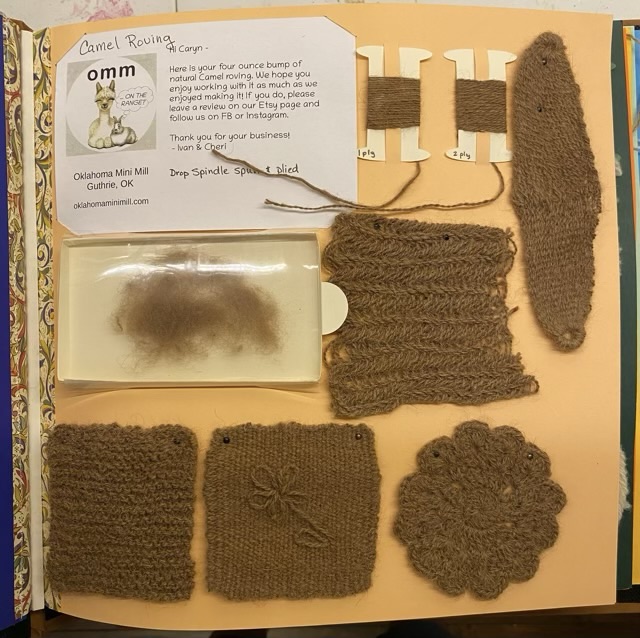
I assembled my camel roving fiber page! I quite like camel fiber; it is nice to spin, and soft. I would definitely work with the fiber again. In fact, I have two and a half balls of 2-ply yarn with which to plan a project. Exciting. I have also decided to add a synopsis of my blog posts about the fiber to the pages, so I can remember how I felt about the fiber. Now to figure out how to attach the printed pages. I tried some washi tape, which surprisingly doesn’t like card stock much. Hm.

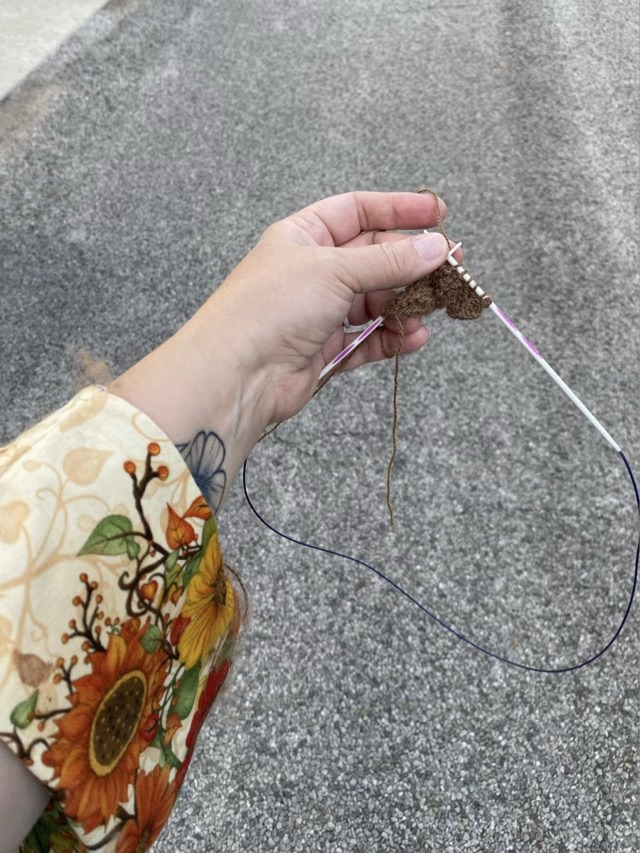
The roving sample isn’t as perfect as it came from the mill; I liked spinning so much I forgot to leave a bit unspun. The fiber in the box was spun, and then I brushed it back open. Oops.