Small for the Great

The Great Wheel I spun with in the basement of the Doss had one accelerator wheel support bearing missing. The previous spinner’s solution was a bit of dowel and a pin, which worked just fine, but I wanted to try to make a replacement bearing.
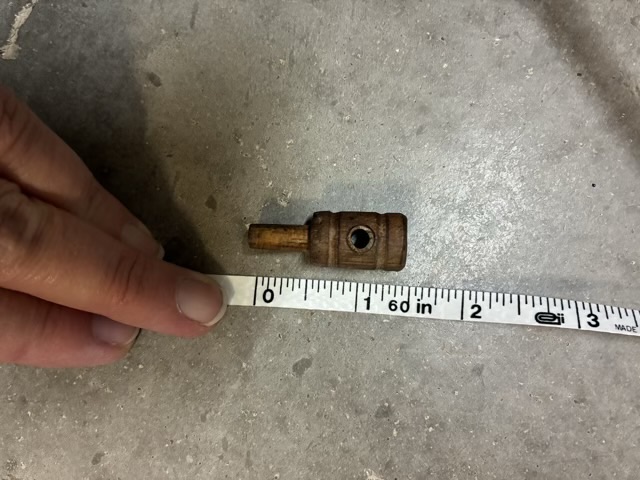
Photo description: original bearing for the accelerator head on a great wheel next to a tape measure

I took a picture of the original bearing next to a tape measure so I had the measurements. Sorting through my stash I found some copper pipe that was about the right internal diameter of the side hole. This is the main point of friction, so having it lined with metal gives it a longer wear time. I drilled a hole through a 1/2” oak dowel and friction fit the copper pipe (hit it until it went through), then sanded the ends flush with the wood. Since carving small bits of wood is difficult, I worked with a long piece of dowel and carved the shaft at the end next.
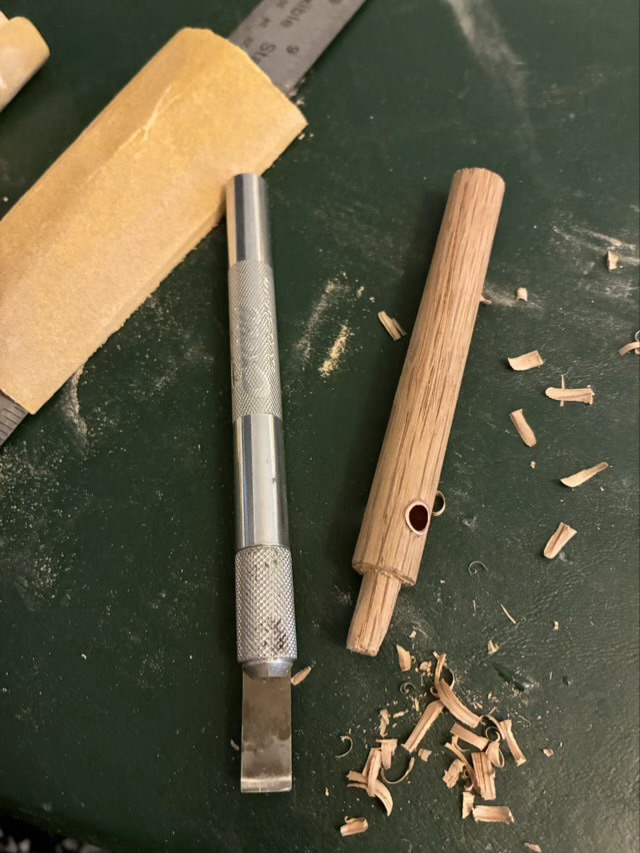
Photo description: end of the dowel carved down to a quarter of an inch using a straight blade on a utility knife

My lathe needs assessment and all the bands broke on my belt sander, so I used a small round file to carve the decorative grooves on the bearing, then a coping saw to cut off the new part from the dowel “handle”.
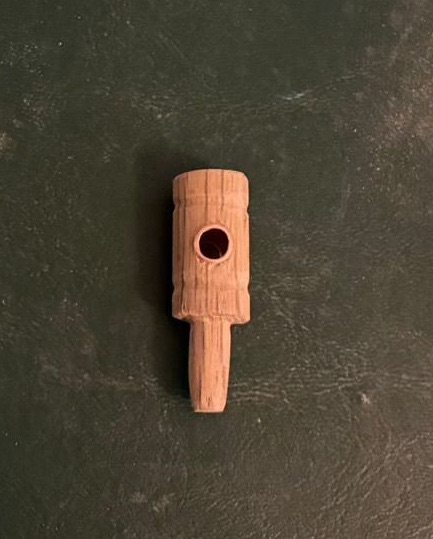
Photo description: roughed in bearing for an accelerator wheel on a great wheel made from oak and copper

I did some more sanding, then stained the part with dark wood stain to get it closer to the color of the other bearing.
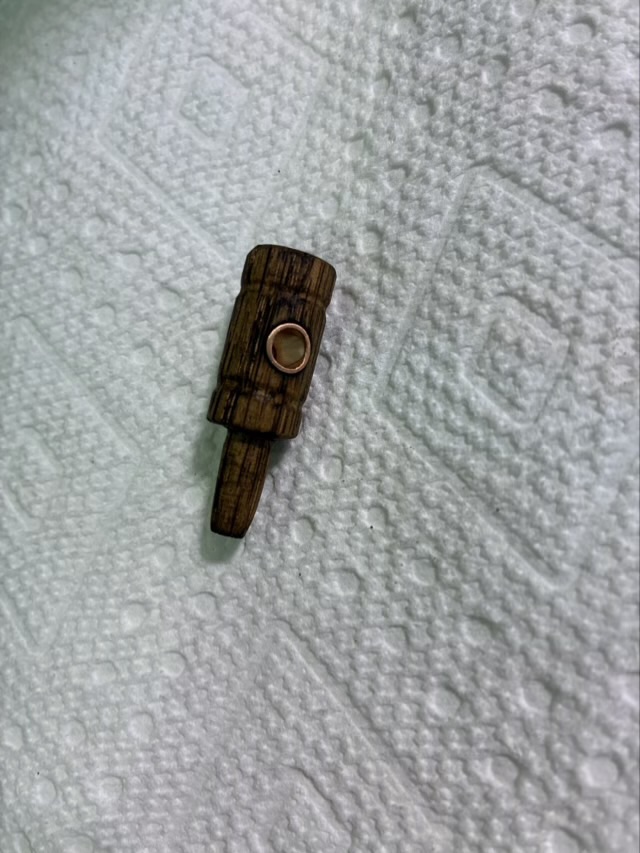
Photo description: stained bearing laying in a white paper towel

Now it is time to line up a meeting with The Doss to see if the part fits and works with the great wheel!

Pre-1982

I found this copper disc lying in my washing machine.

Photo description: copper circle with wear marks

It is an old penny, by the evidence on the other side.

Photo description: badly worn penny

The year is completely worn off, as is Lincoln’s face, but the fact that it is still copper colored and not silvery zinc tells me (according to the internet) that is was made before pennies were only copper plated, around 1982.

I think it was stuck in my washer until it was worn thin enough to escape. I’m keeping it because the wear pattern looks like a tree and roots, very similar to my graphic design logo.

Throwback Thursday: Copper Squirrel

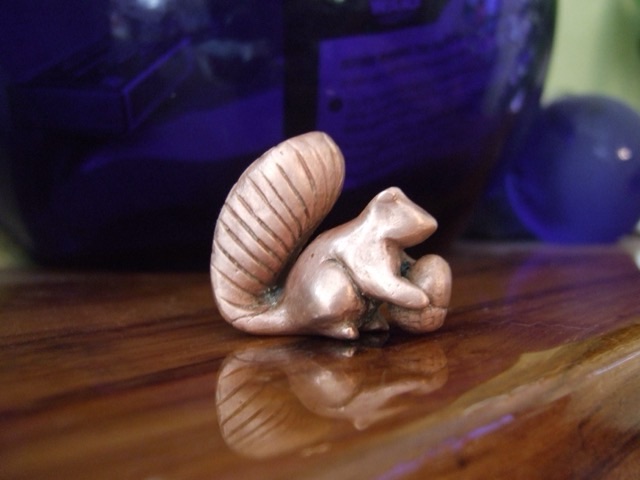
In March of 2011 I was experimenting with copper clay, which is fine particles of copper suspended in a fireable media that shapes like clay. When heated in a kiln, the organics burn away and the copper remains. I made this squirrel for my Dad, and after firing it measures about a half inch tall.

Photo description: copper squirrel sculpture with acorn side view

What I liked about this sculpture is the way I treated the tail. From the side it looks like a full fluffy tail, but the back shows that it is spoon shaped, which reduces the bulk and I feel was a nice design choice.

Photo description: back of the sculpture’s tail showing a spoon shape and lines indicating fur direction

Throwback Thursday: Mixed Media

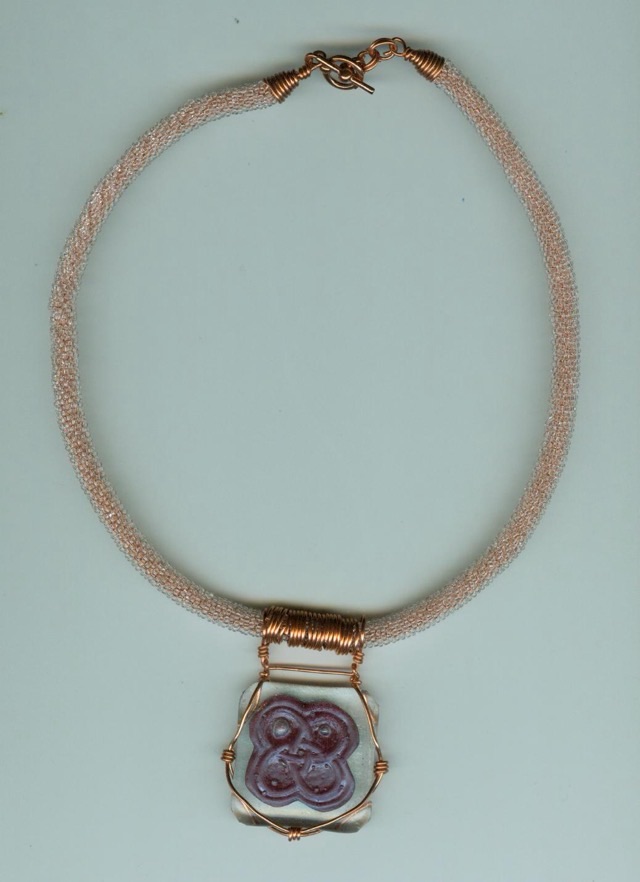
Here is something from July 2008 that reflects most of the crafts I was involved with at the time: crochet, wire work, and glass fusing.

Photo description: copper and glass necklace from 2008

The rope was crocheted with copper lined seed beads (I think, I may have crocheted copper wire with clear seed beads, but the rope looks too even with a nice drape, which tells me I probably used silk cord, rather than wire, and the the copper color may come from a lined seed bead). I finished the rope with hand made wire cones and a purchased copper toggle clasp. The pendant is fused glass with a hand made chased copper inclusion in the shape of a four loop Celtic knot. I was experimenting with fused glass using a small kiln because I could set it up, let it run its program overnight, and check on it in the morning in my own time, very important when dealing with a young child and another on the way.

I attached the glass pendant using copper wire, and added five independent coils of copper around the rope. I must have done this for flexibility reasons, it would have looked better with a single longer coil, but that would have changed the drape.

These seed bead crocheted ropes do make me nostalgic for the times I could wear necklaces. They have a comforting feel in the hand.

Knitting row counter

Here is a different version of a row counter for knitting. I used flat round wood beads and copper wire to make a chain with larger loops to accommodate larger needles. I then used a wood burner to number each bead; it is actually easier to wood burn the assembled chain rather than individual beads. To mark the tens, I used a copper lobster claw clasp with a copper clay leaf (that I made many, many years ago and has been waiting for a project). I find the lobster claw easier to deal with than a melody clip.

Photo description: handmade row counter in the center with handmade copper leaves on the right, then going counter clockwise: purchased copper lobster clasps, bead reamer, pliers, a pile of row counters waiting for their dangle, and a spool of 22 gauge copper wire.