Make it fit

I had the idea to install an under mount sliding keyboard to a buffet table. This poor table has undergone many modifications as its purpose has changed over the years, and not once was it a buffet table. We purchased it new to be a TV stand, then it became a standing desk, then an electronics table, and now it is going back to being a desk. I purchased a clamp-on keyboard tray as there wasn’t much wood under the drawer to mount anything. Unfortunately the clamps wouldn’t fit under the drawer, and there is a gentle curve to the underside support that makes the right side thicker than the left. Hm. So I chiseled out space.
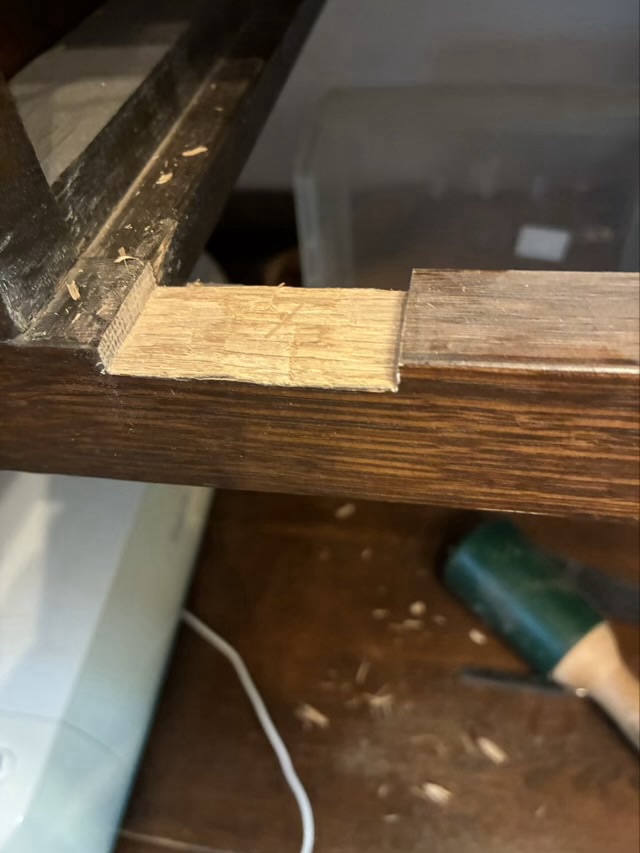
Photo description: dado cut into the frame of a drawer slot

I used a small pull saw to cut across the grain at the ends of the dado, then used a chisel and mallet to remove the wood between the cuts.
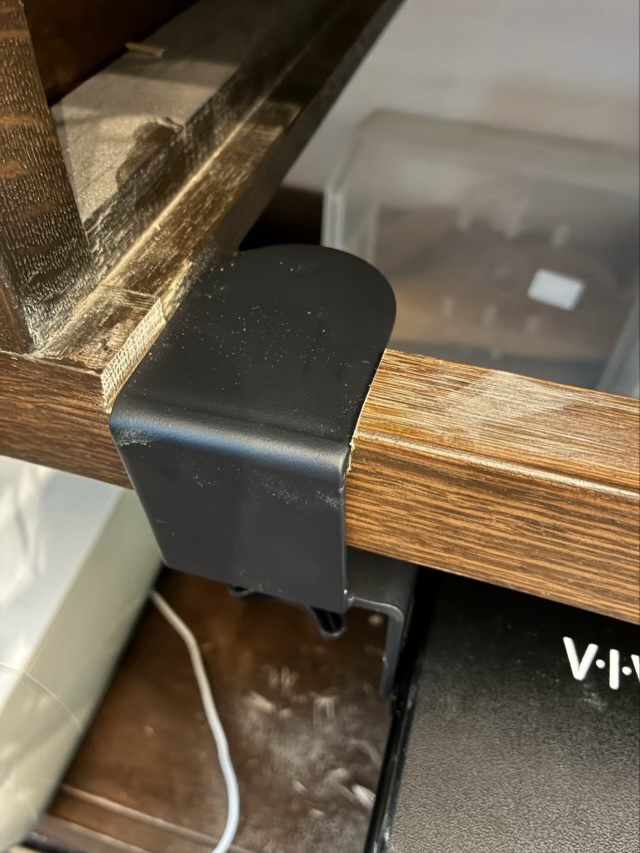
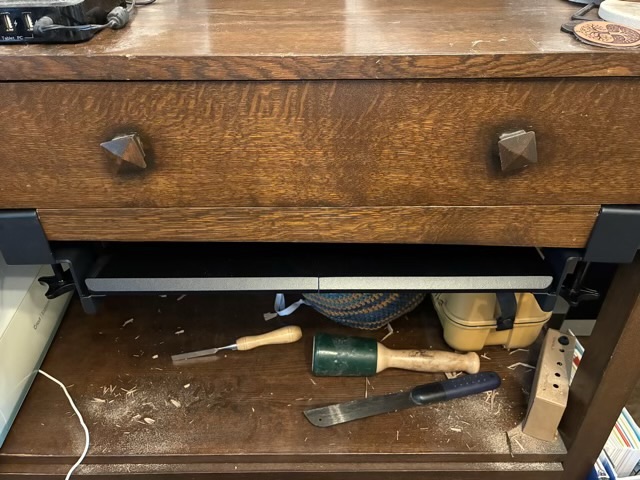
Photo description: clamp for a sliding keyboard in the newly cut dado
Photo description: installed keyboard tray with drawer back in place (tools and sawdust still need to be cleaned up)

I’m pleased with the modification (which is good because there is no going back now). I can sit and use the keyboard at a comfortable height, or move the keyboard up and stand at the desk if I wish, depending on what I’m doing.
Throwback Thursday: lure

In March of 2017 I hand carved and painted a fishing lure for my Dad.

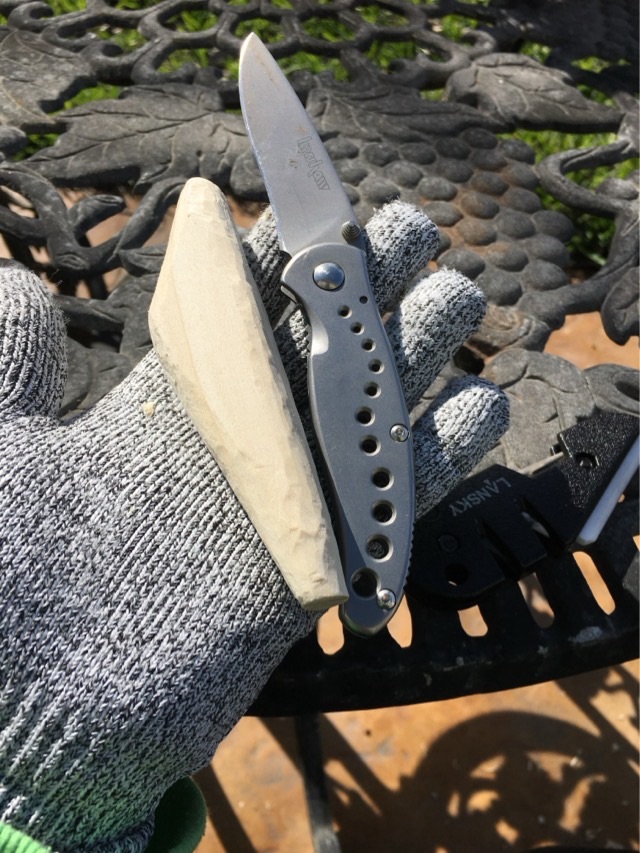
Photo description: carving a basswood lure blank with a pocket knife and cut resistant glove
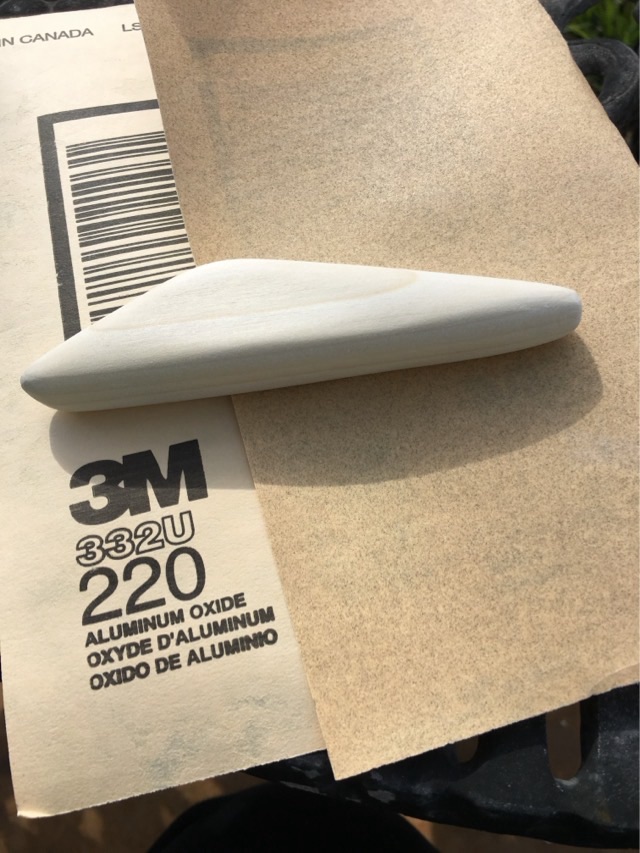
Photo description: sanding down the blank, started with 100 grit, 220 grit shown
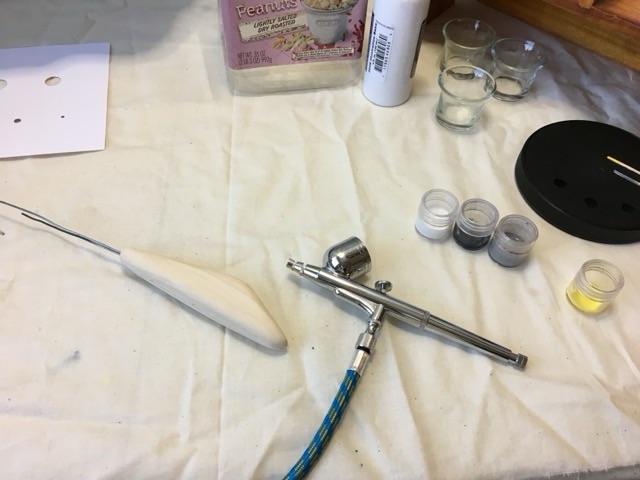
Photo description: air brush setup with lure mounted on a wire for control
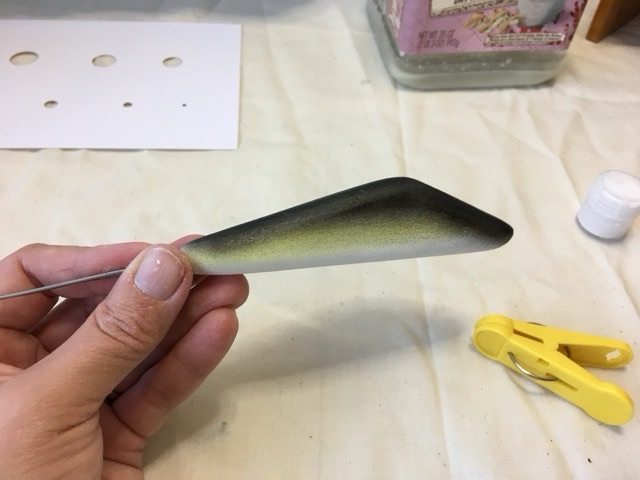
Photo description: base coats of paints applied
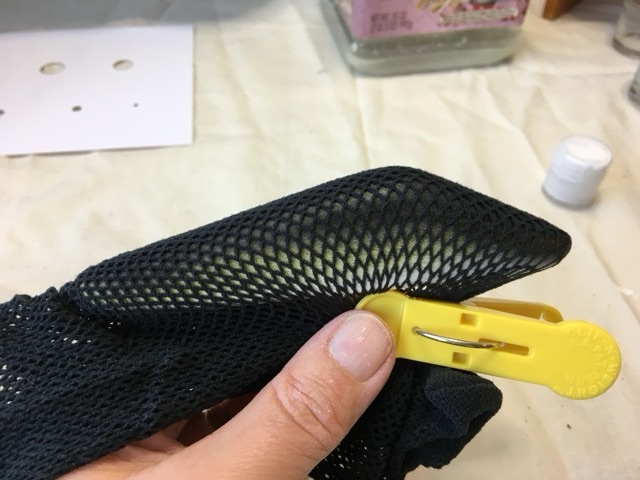
Photo description: fishnet stocking pulled tight over the lure blank to mask for painting scales
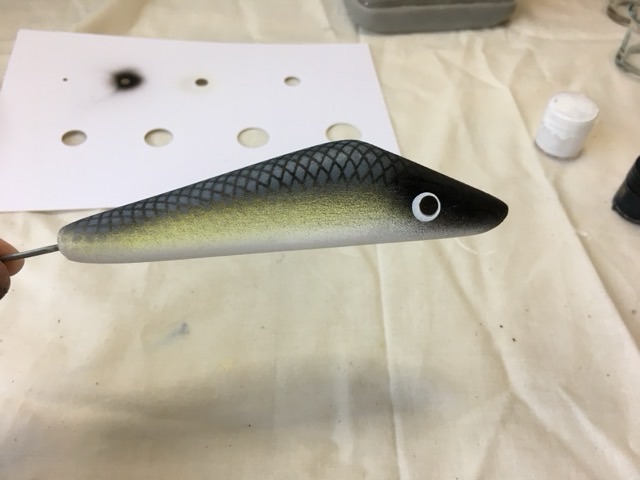
Photo description: finished airbrush painting

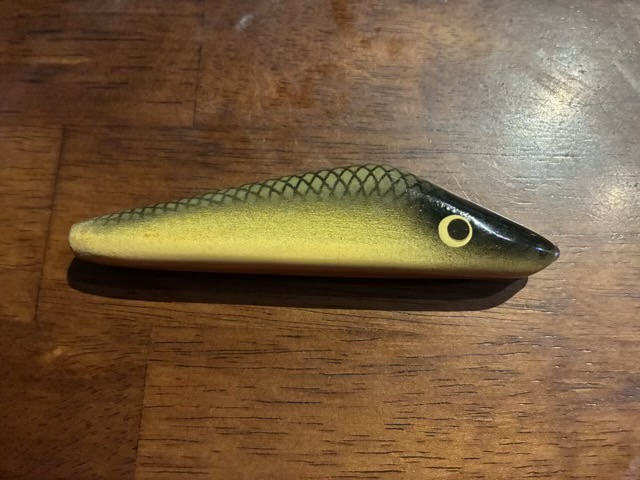
I did coat the lure in a water proof gloss finish, but didn’t take a picture at the time. Below is a picture of the lure in 2026.

Photo description: gloss coated hand carved and painted wood fishing lure, approximately 4” long, 9 years old

Throwback Thursday: rolling pin

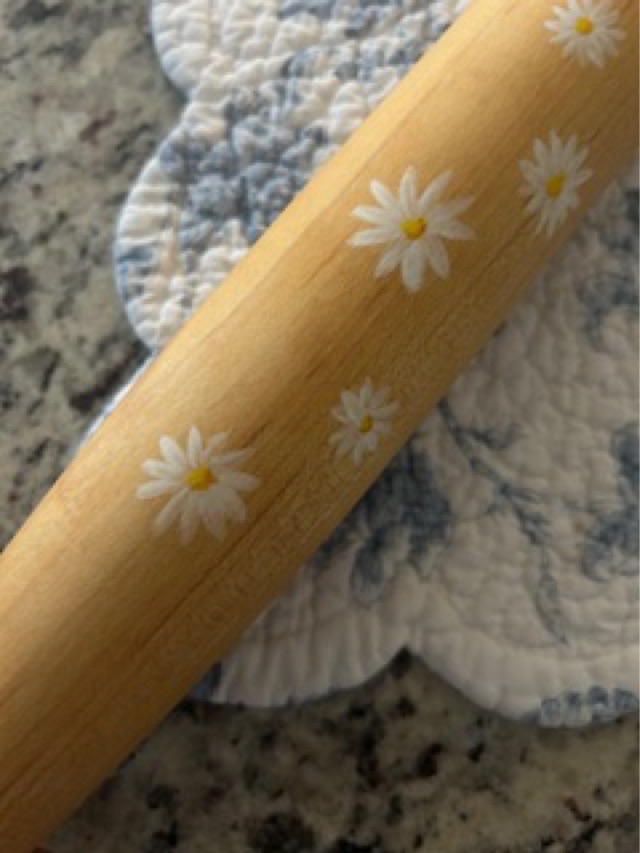
This Throwback Thursday doesn’t go quite so far back, we’re going to December 2021. I made a tapered French style rolling pin for my Mother-in-law and decorated it with painted daisies. I took some in process pictures, but because it was the holidays and I was in a whirlwind, I forgot to take final pictures. My MIL graciously sent me pictures of the rolling pin recently, so now I can share the project on the blog!

Photo description: maple wood tapered end rolling pin fresh off the lathe in 2021
Photo description: recent picture of the rolling pin painted with daisies and finished with a food-safe oil and wax mixture (photo credit to my MIL)
Photo description: closeup picture of the painted daisies, which really do look better close up (photo credit to my MIL)

Throwback Thursday: Frog carving

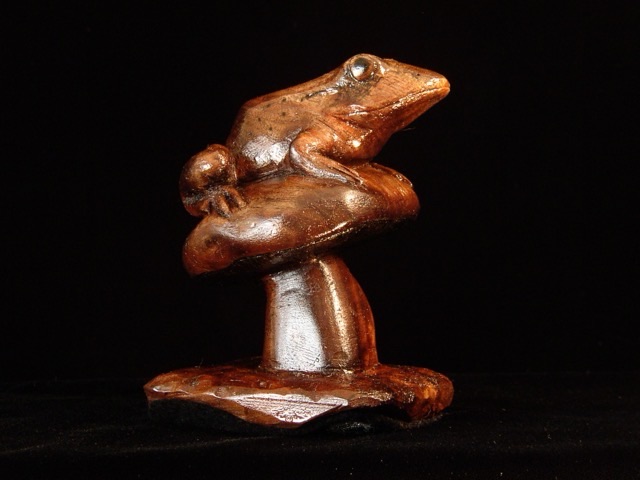
Photo description: hand carved wooden frog sitting on a mushroom

Here is a throwback to August of 2004, when I was getting ambitious with my wood carving. I had made a polymer clay model, then used that as a reference to carve the wood. I don’t remember which wood I used, but it looks like it might be walnut. That would be the time that I realized I was not only allergic to walnuts, but to walnut wood and oils as well (makes sense now, was quite devastating then). I like clear coats, and have steered away from wood stain for many years, so the dark surface of the wood is likely not stained. The darkened eye and frog skin markings were pyrography done with an old soldering iron.

Rubber stamp carving

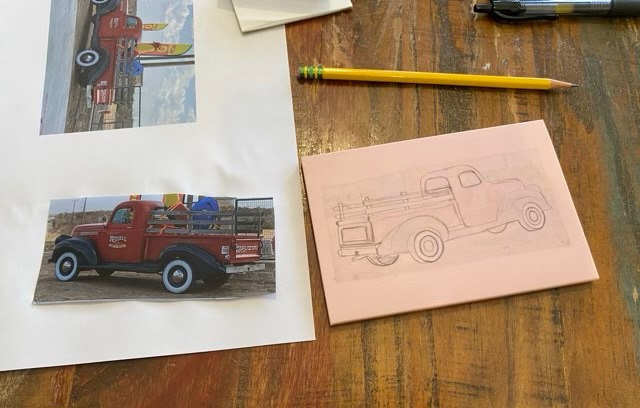
Pinterest strikes again. I’ve been pinning linocuts and woodcuts because I like the results and I saw that there are slabs of rubber that can be carved to create flexible stamps. Color me intrigued. I bought a set, and I already have micro wood cutting tools, so I gave it a go.

Photo description: my picture of an old farm truck printed on white paper, and a 4×6 slab of pink rubber. I transferred the inkjet image to the rubber with a steam iron, then went over the lines in pencil.
Photo description: rubber carved with a single edge razor and micro carving tools and the excess edge cut away with scissors.
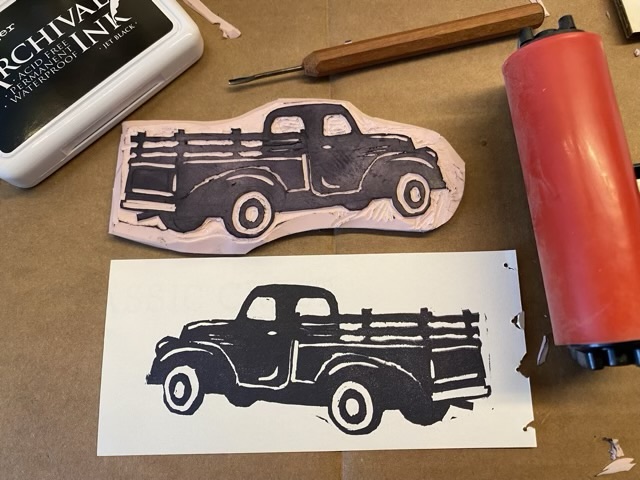
Photo description: test print with scrap paper and black ink and a roller to press the paper to the stamp.

So this was fun. My lessons learned include making sure the carving tools are all very sharp. My gouge was not and left micro tears at the edge of the lines which filled with ink and printed a fuzzy mess. Putting the paper on top of the inked stamp then using a roller to press the paper to the stamp worked much better than pressing a stamp down on the paper. The process definitely has a learning curve, but the rubber is relatively easy to carve and it opens up worlds of possibilities.