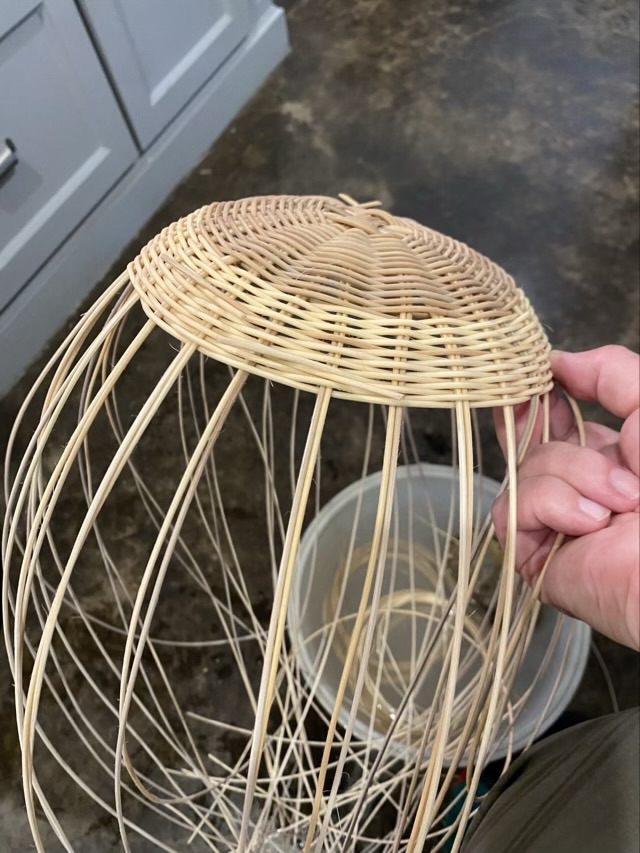
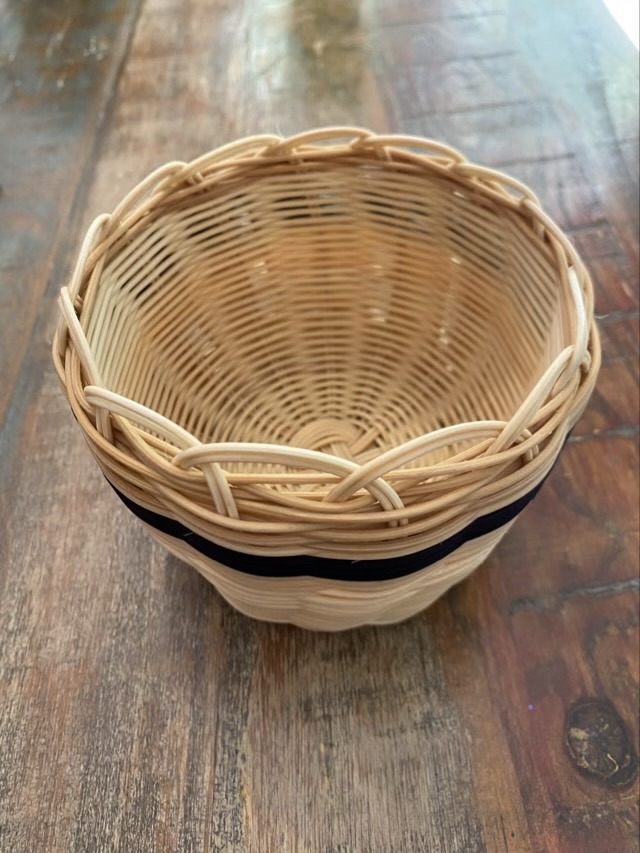
I saw a Josephine knot based basket as I scrolled Pinterest and was immediately captivated. The construction made sense and I loved the look of the starting knot. I still had #2 reed, so I gave it a go.
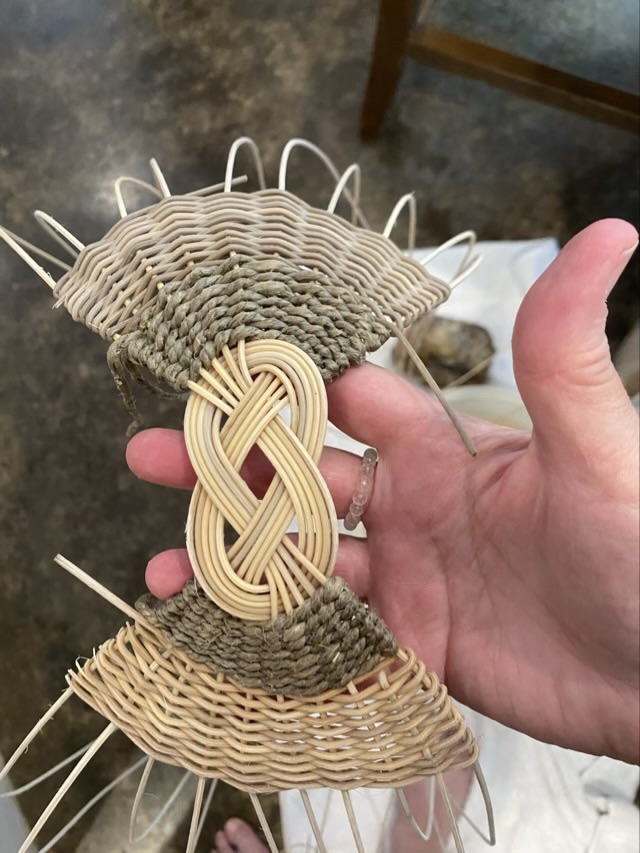
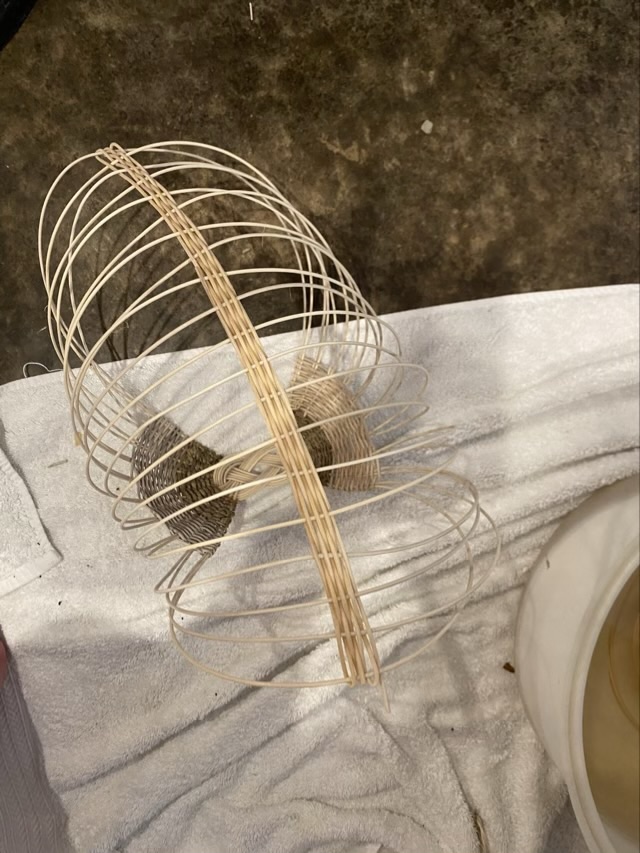
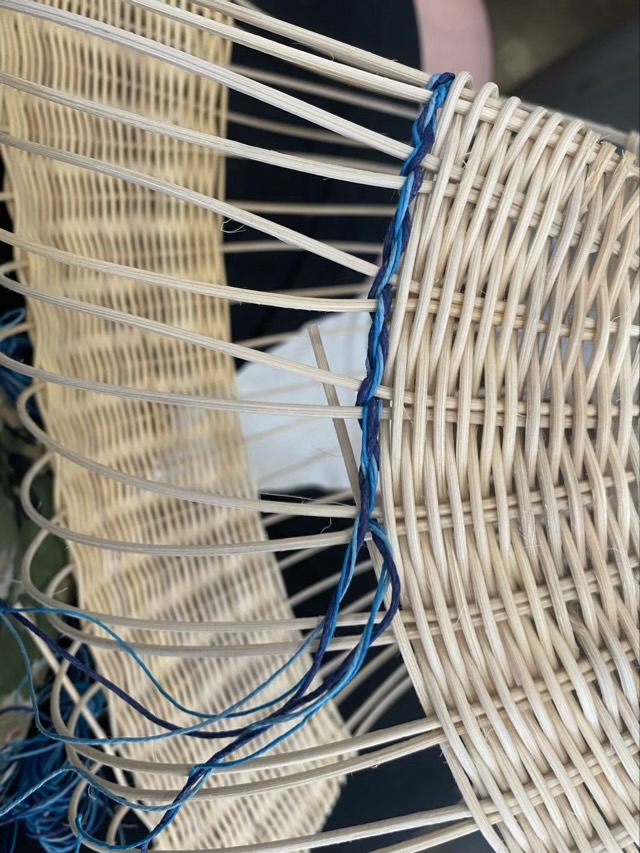
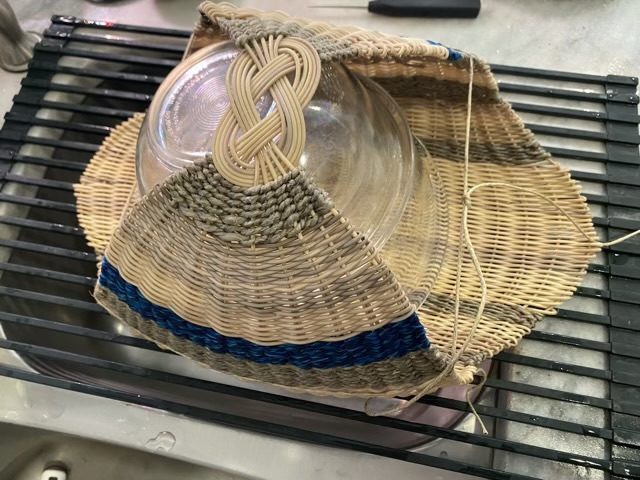
My Josephine knot basket starts with ten reeds divided into two groups and woven together in a figure 8, then the stakes are woven with hemp rope and more reed.I took the reed from each side and tucked them into the woven sections on the opposite side. I used a rolled mat as a form to get the cylinder even. I still had to adjust the staves as I wove.Once the staves were set, I started weaving from the bottom of the basket to get the spacing set.When the bottom section of the basket base woven, I then switched back to weaving down from the sides, which I wouldn’t do again. I think the edge of the basket would arch nicer if I had continued to work from the base up.I added some blue colored hemp cord. The cord was thin, so I combined three shades and twisted them together as I twined the two halves around the basket staves.Where the bottom weaving met the side weaving was a little tricky because there wasn’t much space. I used more hemp rope because it was flexible enough to take tight turns and fill in the gaps.I soaked the completed basket in water, weighed down with a bowl to keep it submerged.I used bowls and twine to shape the basket as it dried.The finished, dried basket maintained the shape, and had a flat bottom which makes it stable on a table. I was pleasantly surprised that I could block the basket as I do with cloth.
When I do another of these baskets, I want to use a larger reed for the knot and staves, but still do a combination of #2 reed and cord for weaving the sides. Once I have the knot secure, I would weave from the bottom up. This basket took me a few days of interrupted time to complete.
This is my third double walled basket and I can definitely see my skill improvement. I wanted a larger, concave shape, and I was able to achieve the shape I wanted.
Photo description: starting the inner wall of the basket with added stakes, my next weavers soaking in a bin of water at my feetPhoto description; the stakes turned and weaving the second wall, again I chose to take the spokes at an anglePhoto description: finished double walled #2 round reed basketPhoto description: bottom edge with each stake woven behind, over, behind in a continuous braid, my best finish yet
I love these baskets. Now I want to experiment with different materials.
I’ve made my second double walled basket, this time on my own. I had most of the tools necessary, except clothes pins. I was rather shocked that I didn’t have any clothes pins squirreled away. (I have them now.)
Photo description: soaking a round reed basket mid-weave, I like the way the spokes spiral
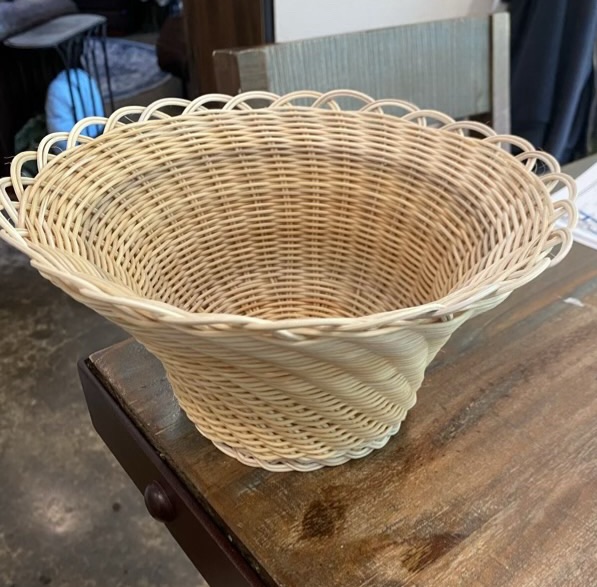
I wanted to make a larger basket, so added in more stakes, but the base was curving up too fast, so I switched to weaving from the inside, letting the spokes flair out, and it gave me a lovely convex curve on the sides of the basket.
Photo description: weaving the outer wall close to the inner wallPhoto description: finished basket made of #2 round reed (rattan palm)
This time around I followed the curve of the reed on the outer wall, rather than adhering to the grooves of the inner wall, which resulted in a spiral effect on the outside that I quite like. These baskets take me a full day to make, and once I start I don’t want to stop, so I have to plan my time carefully.
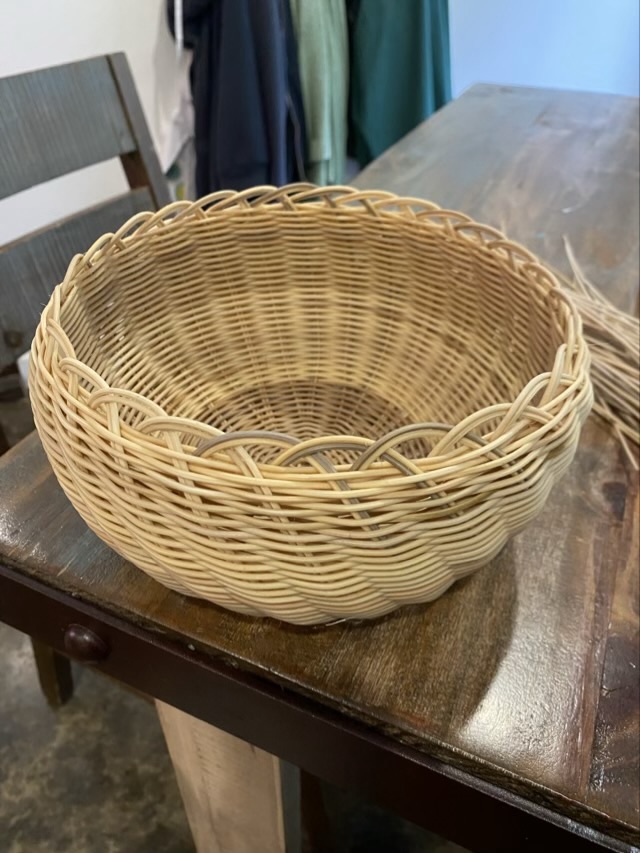
I attended a double-walled basket class taught by my wonderful weaving neighbor. I spent a morning winding #2 reed round and round, happily seeing how to turn at the top, and finish off the bottom. It is my first double walled basket, but I have ideas on how I would do different shaping. One of the other students had a beautiful curve to the sides of her basket!
Photo description: the side of a double walled basket with accent stripePhoto description: same basket viewed from a top anglePhoto description: same basket, bottom view, showing the two walls