Inkle Loom part 2

I’ve broken this post into several sections because of the length of the explanations. Yesterday was part one, laying out and cutting of the body of the loom.

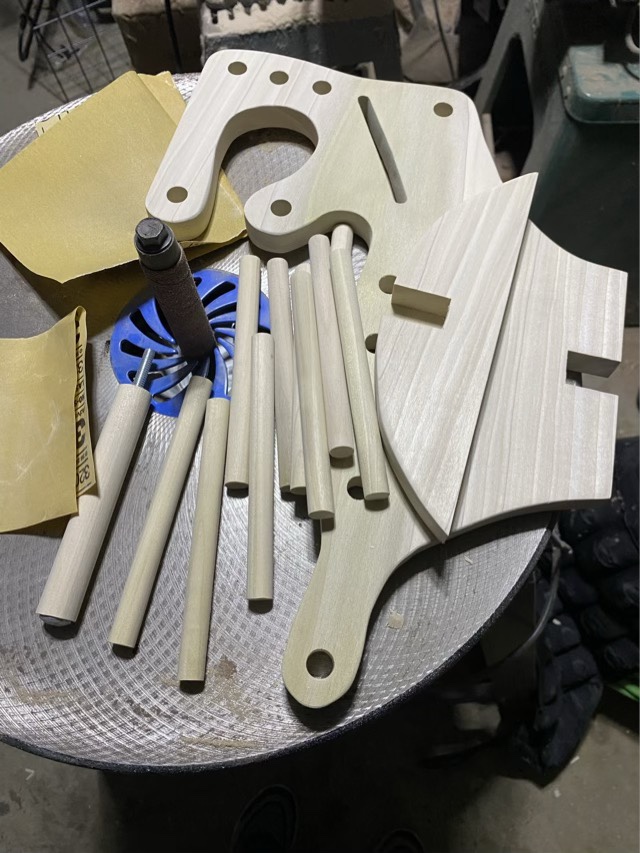
Body of the loom
Parts assembled and sanded

For the posts, my limiting factor was the length of the carriage bolt. I could make the 1/2” posts 6” long, but the 3/4” tension rod needed the carriage bolt to be accessible on the back of the loom. So the rods had to be 5 3/4”. I drilled a quarter inch hole through the 3/4” dowel, and threaded in the carriage bolt, pounding in the last bit to lock it in. All the parts were sanded down successively to 320 grit.
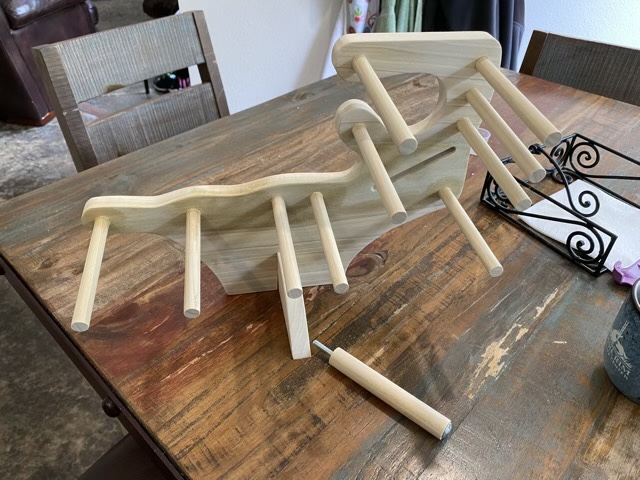
Assembled loom with rods

To secure the rods into the loom body, I applied a thin layer of wood glue at the bottom, and used a rubber mallet to pound the dowels into the holes until they were flush with the back. Before the glue dried, I wiped the whole loom down with a wet cloth to both remove the excess glue, and raise the wood grain. When the water dried, I sanded everything down again with 320 grit.

Finishing with tung oil

To give the loom a light stain-resistant finish, I rubbed in a 50/50 mixture of tung oil and mineral spirits to soak into the wood, then when that was dry, rubbed a light coat of pure tung oil over the surface.

To be continued.

Inkle Loom part 1

I’ve been looking at Inkle looms on the internet since I made my first tablet woven strap. I was certain I could make one, but wasn’t sure if I would have the time. I found myself at the hardware store for sandpaper for a different project, so thought I would look around for Inkle loom parts. I walked out with a 1x12x24” poplar project board, 1/2” and 3/4” poplar dowels, a 6” carriage bolt, washers and wings nuts, oh, and the sandpaper.

Planning the design with pencil and string

I laid out the design by clasping the board between my knees and sketching with a pencil where the outer posts could go. I wanted a lap loom and thought it would be more stable with something to hold onto. I taped string where the warp threads would go to avoid interference between posts. Even though I intend on using it for tablet weaving, I included the heddle post in case I want to weave something that needs it. The outer edge I wanted to be wavy with an organic feel, rather than a straight lumber look.

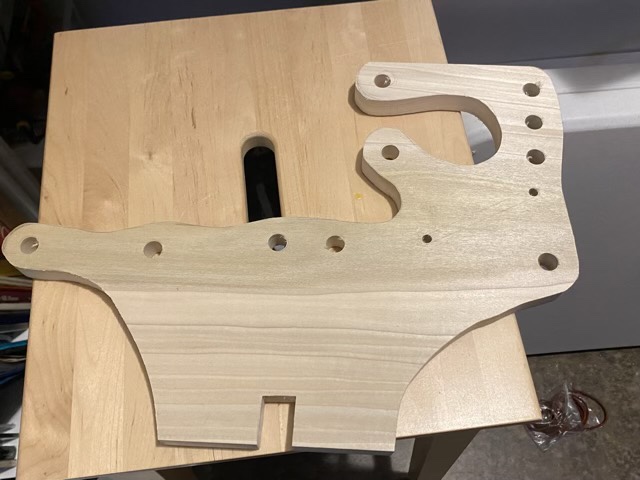
Loom cut out

I cut the loom out using a bandsaw with a 1/4” blade. I made a base piece so I could stand the loom up on a table if I wished. I sanded all the edges with an orbital spindle sander to smooth out the saw blade cuts.

Holes drilled in the loom body

Using a drill press, I drilled 1/2” holes for the posts, and 1/4” starter holes for the slot for the tension post.

Sanding the tension slot

I cut the slot with a coping saw, but was conservative on the guidelines, and needed to do quite a bit of sanding so the carriage bolt would slide easily along the track. I rounded all the edges by hand with sandpaper as well.

To be continued.

Foxy

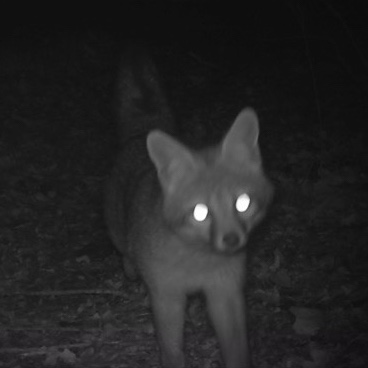
Gray fox

I checked the trail cam again and saw the usual complement of possum, raccoon, bird, and cat pictures. The bonus shot was of the resident gray fox. Of the cat pictures, there were two with un-tipped ears. Sigh.

Petals fall

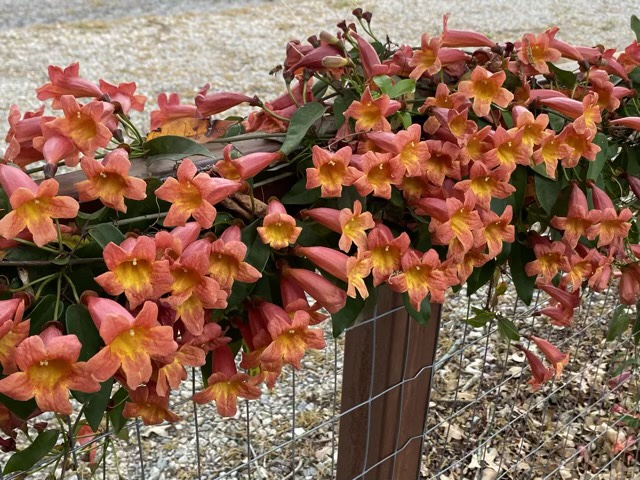
The crossvine flowers are starting to fall away. The profusion of blooms was truly spectacular this Spring. Unlike azaleas, the crossvine will bloom again, several times, before next Winter.

Crossvine flowers fallen to the ground
Crossvine in bloom
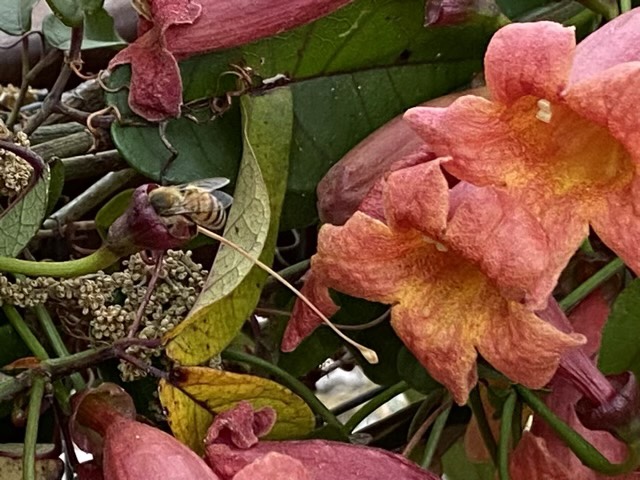
Bee visiting the stem after the bloom has fallen

WIPs

Oh dear. I decided to see what my WIP (work in progress) count was up to. Hm. I’ll share them here as a kind of accountability, although I’m not counting the ball of napkin twine in the glove compartment of my car that is for emergency craft use (that project doesn’t need an end). Nor am I including the fiber survey that also ongoing.

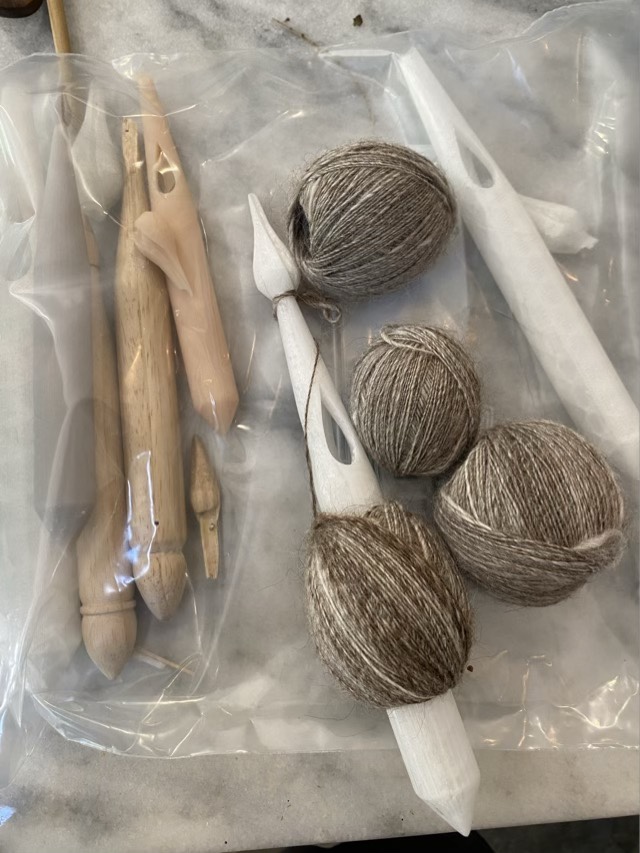
Spindle development

Developing a 3D printed spindle is my oldest WIP. I’m still working on the head breaking issue, but with the help of the printer, I feel we are nearer the end than to the beginning of this project.

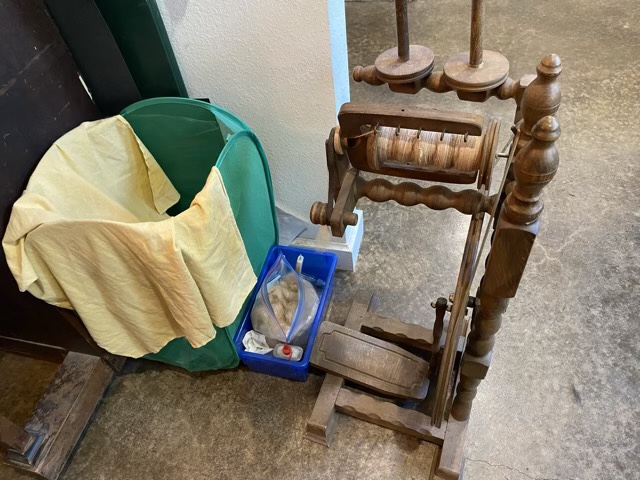
Spinning alpaca fleece on a Befra Wily spinning wheel

My sit and spin project on my vintage wheel is also nearing completion. I have a few hours worth of alpaca fiber left in the basket (the fiber in the blue bin is waste from combing). I have another portion of washed alpaca in queue.

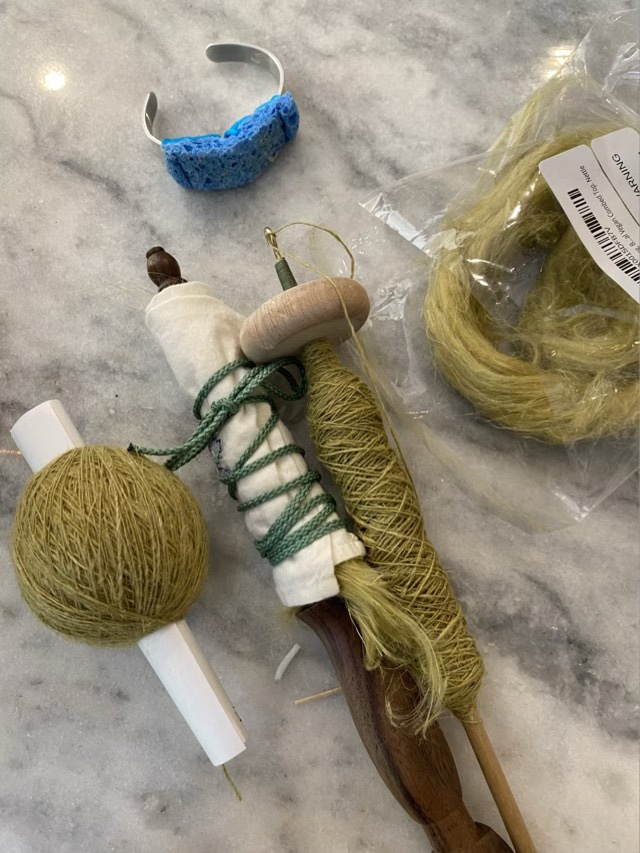
Spinning flax roving

My walking spinning project involves my first taste of flax spinning. The roving preparation is an odd one, but I’m finally getting the trick of it. I maybe have two or three walks left to finish the singles, then I still need to ply and finish the yarn.

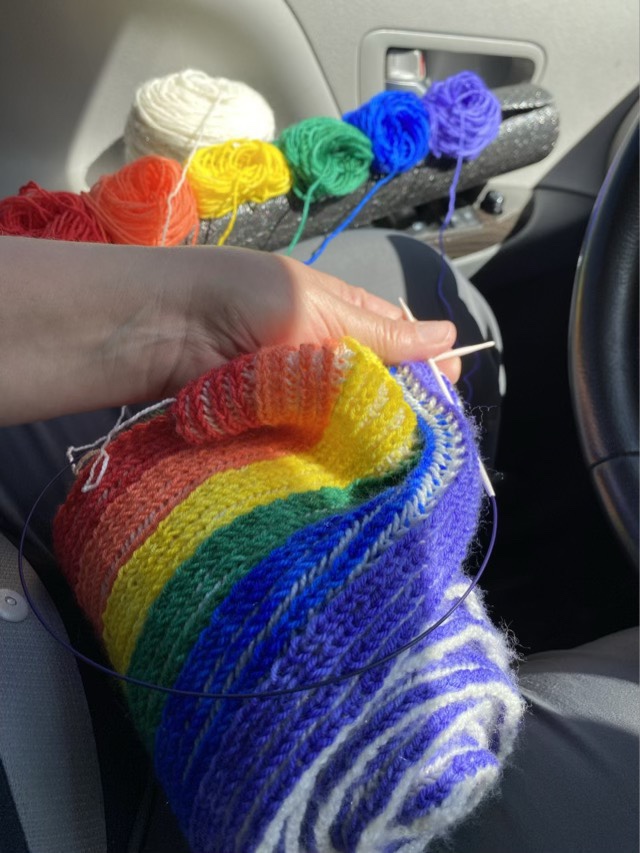
Brioche rainbow scarf

My rainbow scarf knitted with the Brioche method became a car project a while back. This was the best thing for this work, as I regularly knit for about an hour on it many times a week as I sit in the car rider line. I still have many hours left to go.

Newly cast on cardigan project

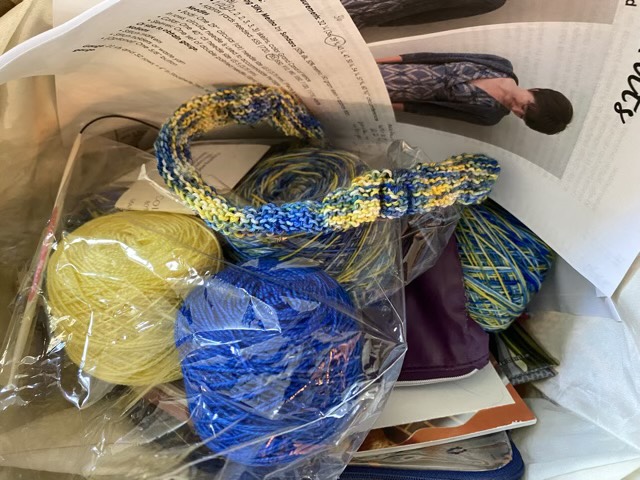
My newest WIP is a blue and yellow light-weight cardigan. This is a big step for me in knitting. I have made a couple of sleeved garments (as opposed to vests, scarves, hats, and gloves), but not many and they all have had sizing issues. I’m making the attempt again because I have grown as a knitter and am hoping the new skills will help. I have been planning this knit for months, but I hadn’t cast on yet, so it wasn’t an official WIP. It sits next to my chair at home.