One of my neighbors brought my chickens a pumpkin! The surprise in this is that it is a fall pumpkin. It sat on a hearth inside all winter and was in perfect condition, without bleaching or other chemical coatings.
Pumpkin in Spring
I broke it open for the chickens and they tucked in (once they were done begging for grubs).
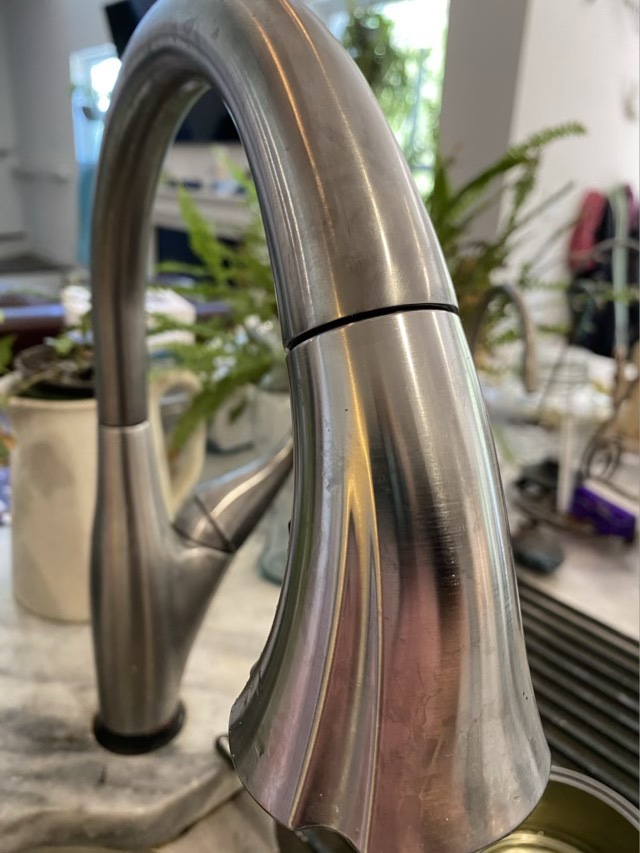
I was cleaning the kitchen faucet when I noticed flakes of rust around the top of the wand (where the sprayer attaches to the neck). I cleaned it up, and kept cleaning, until the rust and chunks where gone. Then I went to put the wand back and it wouldn’t snap back into the neck. Hm. Apparently the part that was the second half of the magnetic clasp rusted completely and I had just wiped it all away. The wand was still magnetized, but the neck wasn’t. Well that’s frustrating. My husband did some research, and we couldn’t get the part that rusted, and couldn’t buy the neck separately, and a new comparable faucet would be around $500. (I’m sure that is not what we paid over four years ago.) I decided to do some experiments.
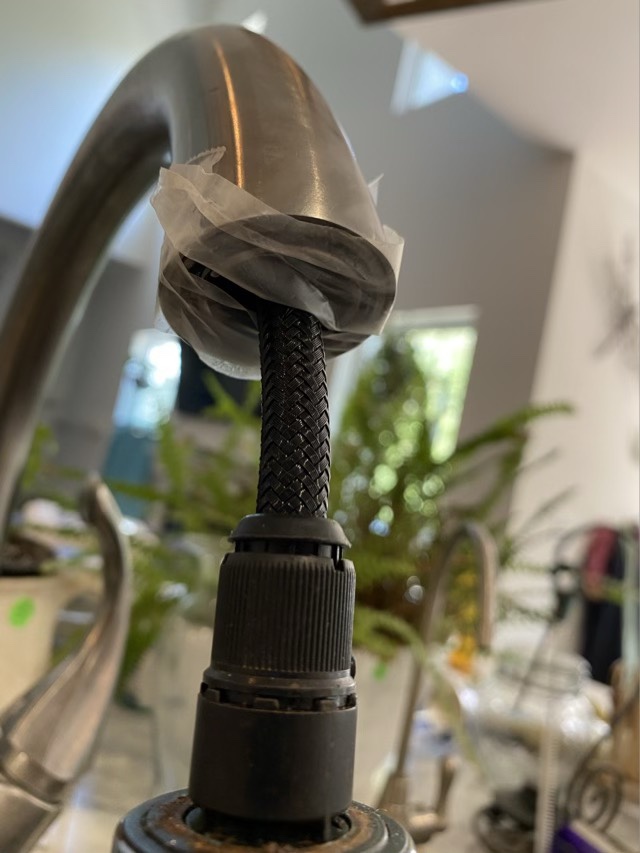
I tried to put a neodymium magnet in the handle, which was not the right shape. I tried using bits from a roll of magnetic tape, but it was too thick and wedged it in. I tried some bare floral wire, which is steel, and had some luck, but couldn’t secure it inside the neck. Then I realized that the recessed indent in the faucet neck was about an inch in diameter. Keychain rings, the split rings made of stainless steel, come in about that size. I raided the junk drawer and found one. I was able to slip it around the wand hose (yay for split rings), and the steel hoop fit perfectly in the recess of the neck. I mixed up some five-minute, two part epoxy and glued the ring in place. Some tape held the ring while the epoxy cured, and kept the hose from gluing in as well.
Split ring taped into the faucet handleSplit ring glued in place
When mixing two part epoxy, I always keep the waste mixture out until it is cured. If the stuff in the cup is cured, then the stuff holding the part is cured. I removed the temporary tape and tested the wand against the neck. Snick. Oh what a wonderful sound! It works! The faucet wand pulls easily away from the neck, but when replacing it, the magnet sticks to the steel keyring and keeps it in place. Neat.
I took a walk around the yard to see what our Spring showers brought us.
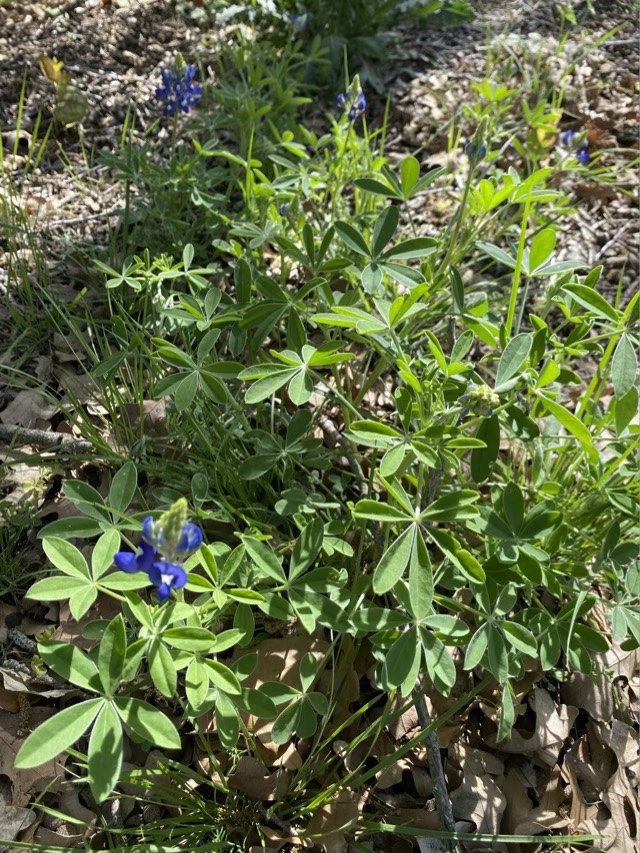
Bluebonnets
We have bluebonnets! Not in a place I expected, tucked up against the trees near the road, but maybe they will spread.
Ironweed
I have three ironweeds sprouting this year! These are in the meadow, and in a place we don’t mow. I only had two last year, but they grew chest height and bloomed purple.
Pumpkin sprouts
The surprise finding was the pumpkin vines poking out around the compost heap. Hm. It will be interesting to see how far they make it, as I don’t water over there and it doesn’t get that much sun. Here is for a pleasantly wet spring.
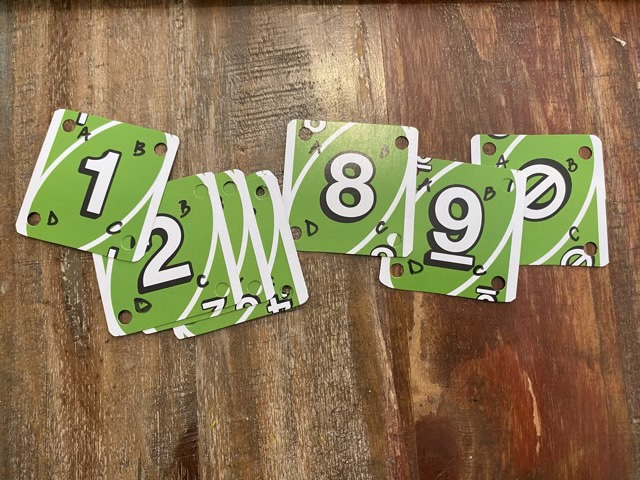
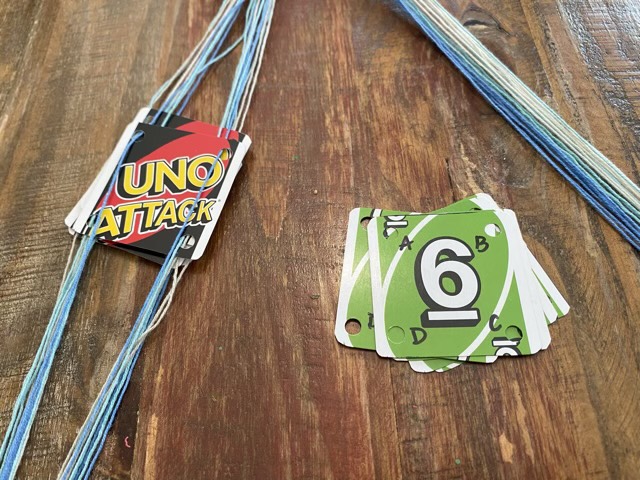
I caved. I’ve been seeing bands made by tablet weaving for years, but didn’t see why I should expend the effort. It makes a strip of fabric, a small thing, what’s the point? Curiosity got the better of me, and I found instructions here to get started without buying anything. I made my “tablet” or cards from old UNO cards (we have SO many different decks), which conveniently are already numbered.
Tablet weaving cards made from an UNO deck
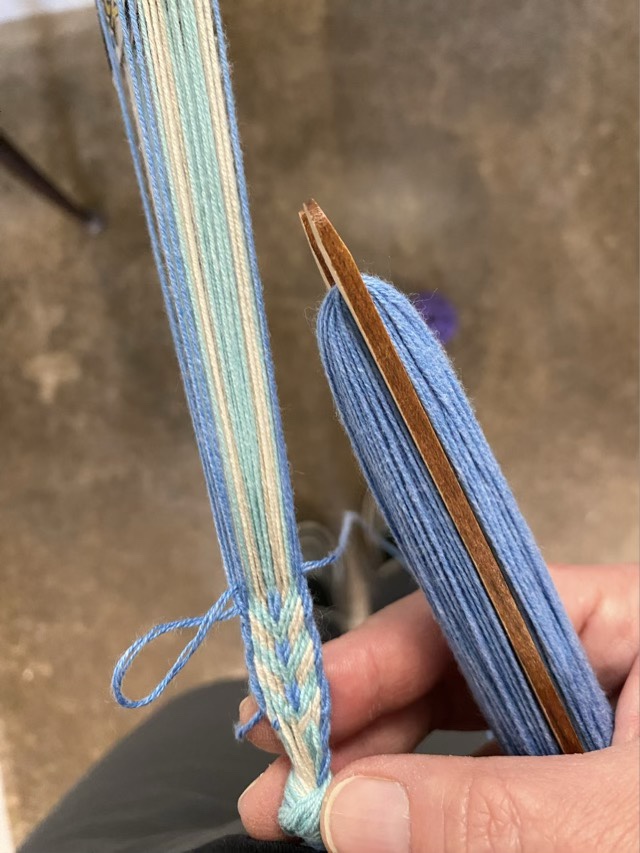
I used thin yarn leftover from several projects and two chairs spaced a distance apart to make the warp threads, knotted the end, then threaded them through the cards according to the directions.
Half of the tablet cards threaded with warp yarn
I used the back-strap method of applying tension to the warp threads, which means I attached one end to my belt, and the other to a stationary object. I experimented with: my toe, a door knob, and my steering wheel (when parked). When not weaving I used a cable needle (like a giant safety pin) through one hole to hold the cards together.
Starting weaving
To change the shed (which threads are on top or bottom), you rotate the cards forward or backward. This is absolutely brilliant, and a kind of weaving I can totally get behind. The possibilities for patterns are immense, the weaving goes quickly, and is done in less time than on a wide piece or a picked pattern. I definitely had learning woes, I thought I was weaving too tight, but I was actually too loose, but it was a worthwhile experiment.
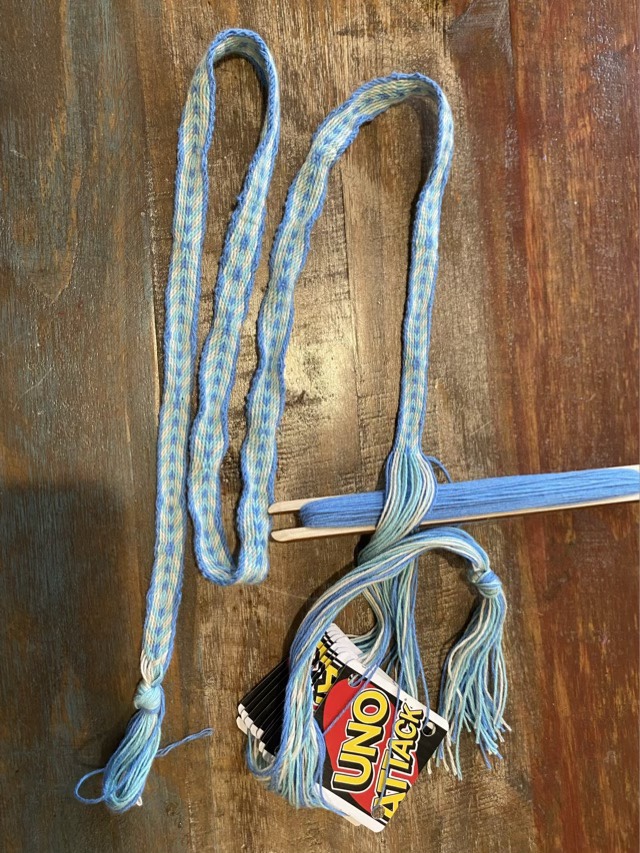
Done weaving.
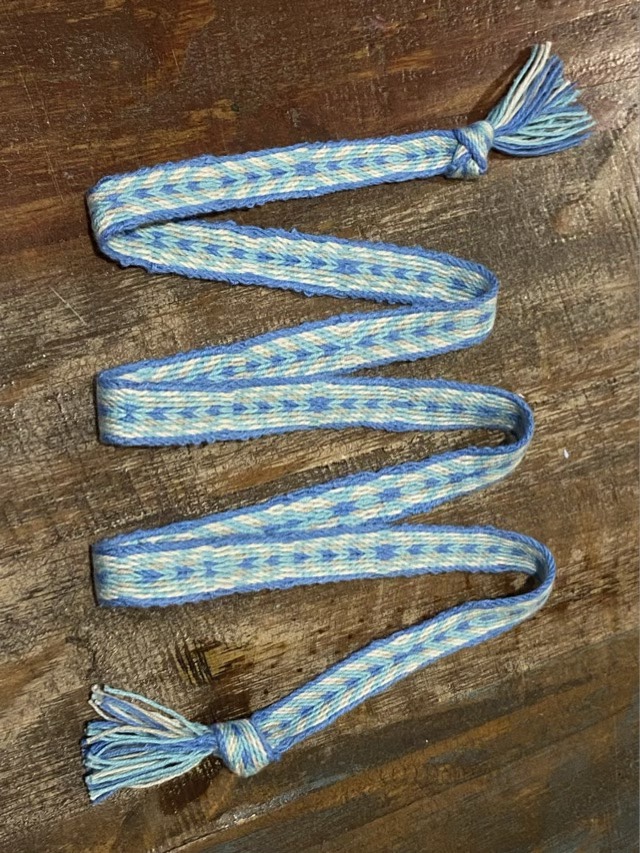
The ripples in my band are because I wasn’t tight enough with my weave. I knotted the ends and cut off the extra warp, then ironed the band. It isn’t perfect, but I want to do more. (I do need a better way of keeping track which way I turn the cards. Squirrel.)
Ironed band showing both sides
I have also added an inkle loom to my wish list, which would enable me to keep tension on the work at all times and not have to go looking for a stationary object.
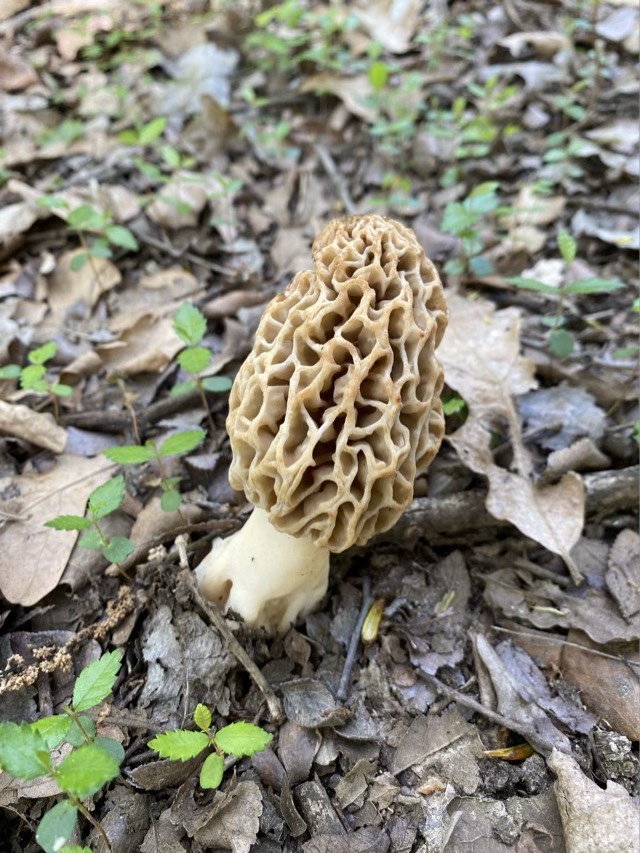
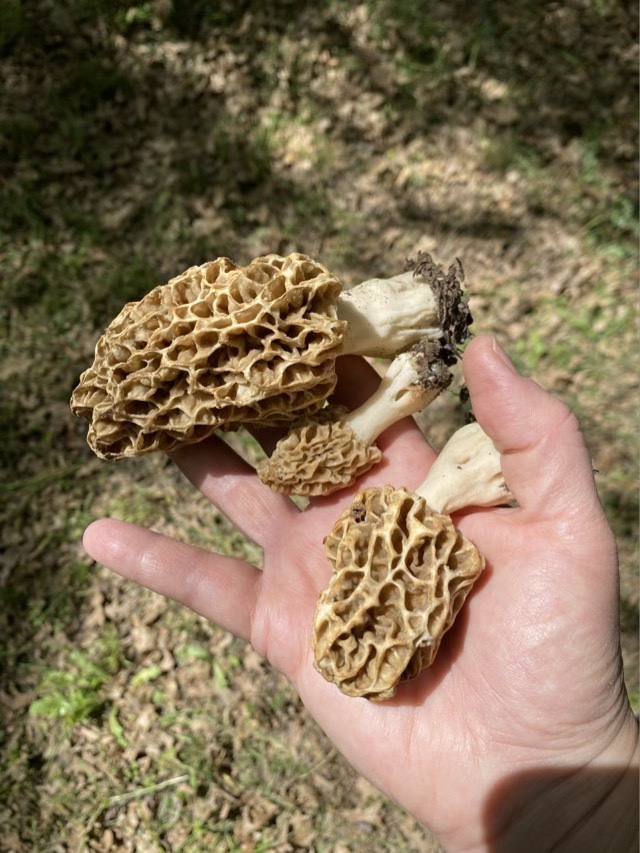
I went to check the trail cam and found morel mushrooms growing in our woods!
Morel mushroomThree more morel mushrooms
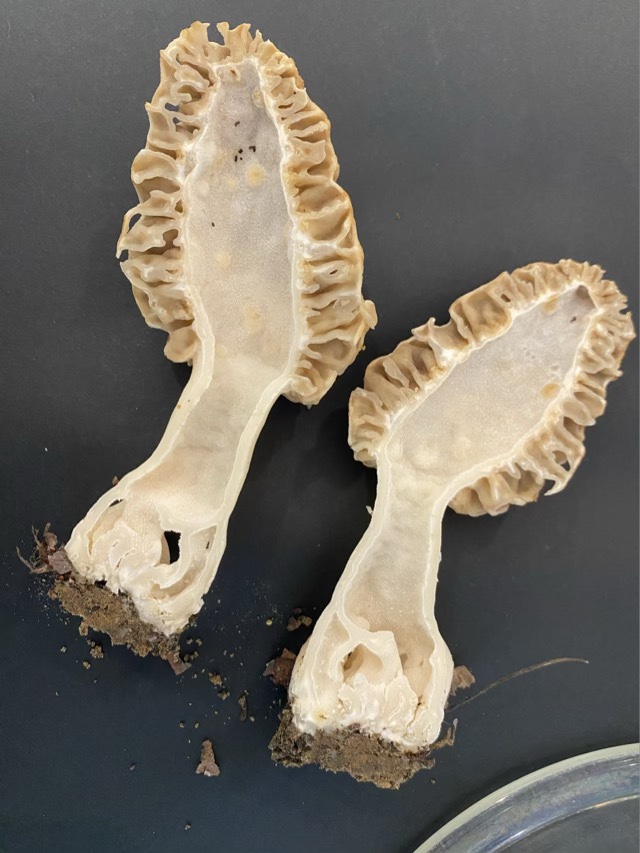
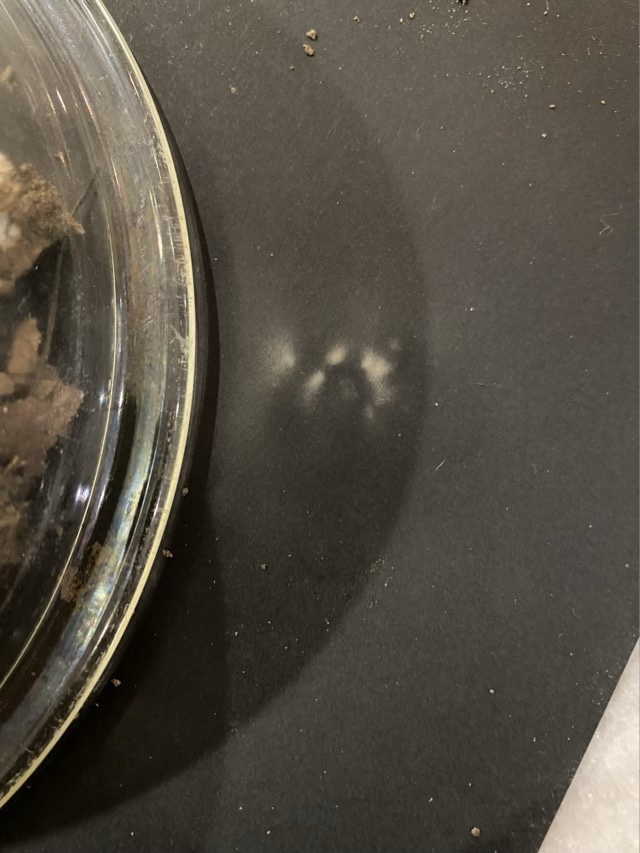
I did a triple verification of identity: I cut one in half length-wise to verify the inside was hollow, I put them on a dark colored sheet of paper to verify the spore was light in color, and I sent a picture to my Dad, who confirmed the identity.
Morel mushrooms are completely hollowSpore from a morel mushroom
Once identified, I washed the mushrooms and sliced them, then sautéed them in olive oil. I read that morels need to be cooked or risk stomach upset.
Sautéed morel mushrooms
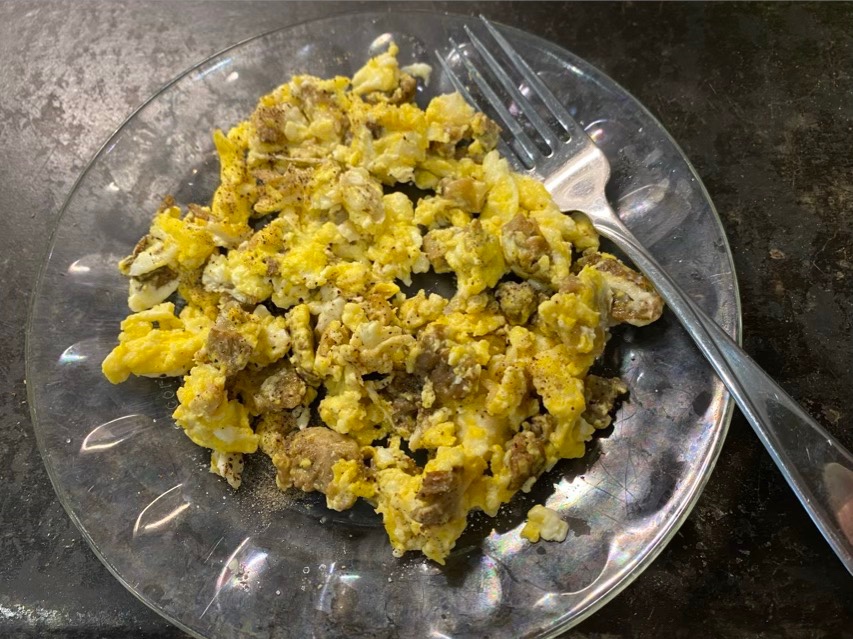
To complete the meal I added eggs from our chickens to make a mushroom scramble. Breakfast was provided by items gathered from the yard, which is always neat.