American Bison page

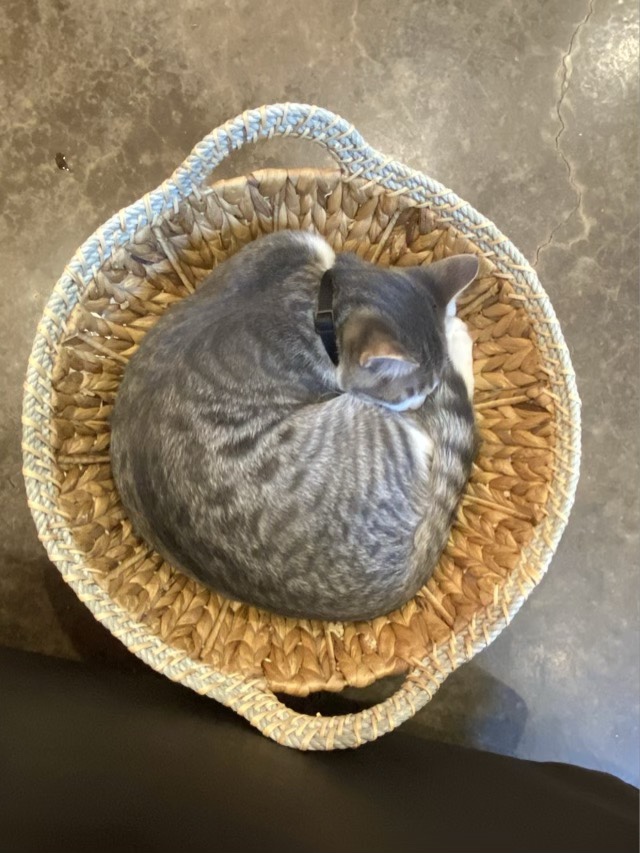
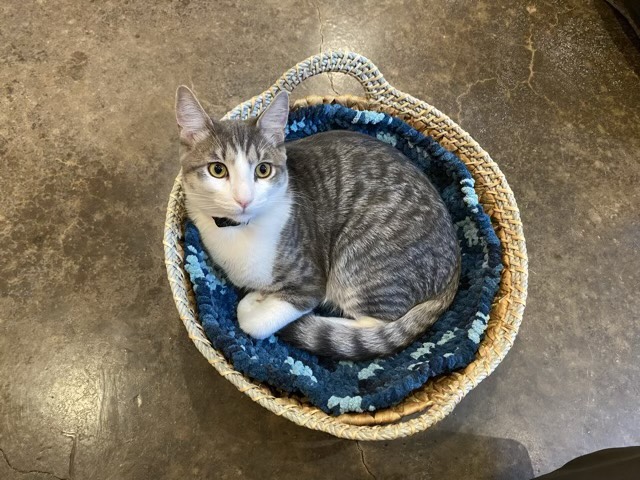
I actually spun this bison fiber before I started my fiber book. I used a tahkli spindle and spun fast and fine, then made a two ply yarn. I experimented with singles spun in both the S and Z directions, then nålbound wrist warmers (blog post here). The second, tighter wrist warmer continued to get tighter as the fibers felted together, until it was uncomfortable to wear. Then the kitten found it and had a hay day. So I dedicated the first piece to the book. I had some leftover yarn so did up a knit swatch and a crocheted lace round. I didn’t save any single spun yarn, so had to deconstruct some plied yarn for the page.

Photo description: Clockwise from top left: “Bison Spinning Fibers” card; single ply yarn; two ply yarn on a paper bobbin; one nålbound wrist warmer; crocheted lace round; knit square; loose bison fiber

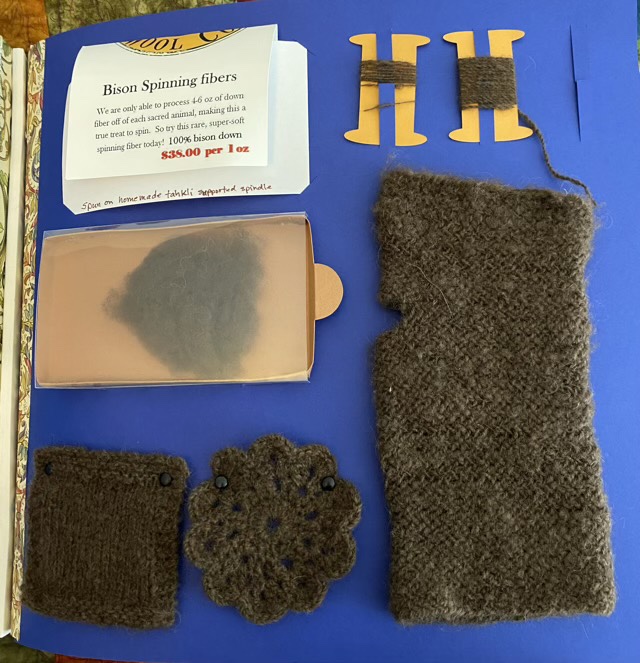
Bison down fiber really is a luxury fiber. It feels like spinning clouds and the yarn is so soft and so very, very warm. It is definitely one of my favorite fibers. (And yes, this is an absolutely shameless plug for my neighbors, The Buffalo Wool Company. Fantastic people, even more fabulous dedication to the preservation of the American Bison.)

In the key of cat flat

Photo description: Gray tabby cat lays on a sheet of music on my lap. Music is partially annotated.

It is hard to write on your music as you are listening to learning tracks when the kitten jumps up and lays on the paper. He wasn’t there to cuddle, he heard the crinkling of paper, which is his second favorite sound after the opening of a can. He was ejected for foul play. I just need to remember that the claw hole is not a breath mark.

Sewing machine update

It is hard to be patient. I have read over and over on posted threads and in books to soak old seized machine parts in oil, let it sit, and eventually the part will unscrew. I have been doing that with sewing machine oil and PB Blaster, and each time I sit down with the machine something new comes loose, one or two on a lucky day. Don’t ever wish for patience.

I did discover that the balance wheel I was trying to unscrew was actually friction fit. Huh. Bob Fower has a video on taking apart a 127 Singer sewing machine where he uses a harmonic puller to remove the wheel. I picked one up at an auto store, but I didn’t notice that the kind I grabbed needed screw sockets on the wheel to be removed. Blast. So I jury rigged it by looping heavy duty cable ties to the holes of the puller. It worked. (Cable ties outrank duct tape in my book.)

Photo description: Side view of a model 27 Singer sewing machine with large black cable ties holding a piece of metal with four holes to the balance wheel. A long screw sticks out of the center of the piece of metal.

As I wait for the oil to do its magic. I’ve been picking off layers of ancient (literally) dried oil from the parts I can reach. Bamboo sticks are awesome for this. I did a short on YouTube showing what I’m doing. Pack your patience and enjoy 58 seconds of Vocal Spectrum’s “Go the Distance”. Oh the harmony!

Basket lining

I’ve been slowly working away at my recycled yarn cat mats (which I first blogged about here), and decided to line the cats’ favorite basket. I started with a magic circle and used single crochet stitches. It starts as with any flat round crochet work, with increases spaced by single stitches that gradually increase in number, but as it climbed the walls of the round basket I found that I was still adding increases but not increasing the singles. That sounds more complicated than it was, huh. Here are some cat pictures.

Photo description: Gray tabby cat curled up in a round rattan basket.
Photo description: Round crocheted mat inside the same basket.
Photo description: Gray tabby cat on the mat in the basket, looking up.

I didn’t write things down as I went, I was crocheting by feel, but here is the approximate pattern, for those inquiring minds that want to know.

  • Single crochet (sc) 8 into Magic Loop
  • Increase (inc) in each stitch (st)
  • *Sc in st, inc in st* repeat (rp) 8 times (x)
  • *Sc in next 2 st, inc in st* rp 8x
  • *Sc in next 3 st, inc in st* rp 8x
  • *Sc in next 4 st, inc in st* rp 8x
  • *Sc in next 5 st, inc in st* rp 8x
  • *Sc in next 6 st, inc in st* rp 8x
  • *Sc in next 7 st, inc in st* rp 8x
  • *Sc in next 8 st, inc in st* rp 8x
  • Repeat last row to match the slope of the basket sides
  • Sc around for two or three rounds
  • Finish with a row of crab stitch (single crochet going right instead of left) to add structure to the edge.
  • Note: Increase means to make two sc in the same st.

Expanding my fiber book

I’ve been quite frustrated with options for expanding my fiber book. The longest binding post screws I could find were not long enough, and the “extenders” had multiple reviews that that the threads didn’t fit, and I couldn’t find extenders that came with the caps. Bah. Time for a trip to the hardware store, specialty fasteners to the rescue. I found 5 inch threaded rods and some acorn nuts. They aren’t as fancy as a binding post, but they get the job done and I can probably fit another 10 pages in my book. I did have to adjust the cover to accommodate the acorn nuts, but it worked just fine to unfold the edge. A photo book this size would be very heavy and unwieldy, but my fiber pages are light and have thick spacers, so it works. I suppose I could separate up the pages into different books (shocking, right?), but right now I’d rather spend my money on fiber than book covers.

Photo description: Acorn nut on a threaded rod going through the edge of a photo book, sticking up about one inch over the cover, colored pages are spaced with white foam.

It is in my plan to eventually have an elegant external presentation, but I’m still cogitating on how I want that to look. This does the job for now.