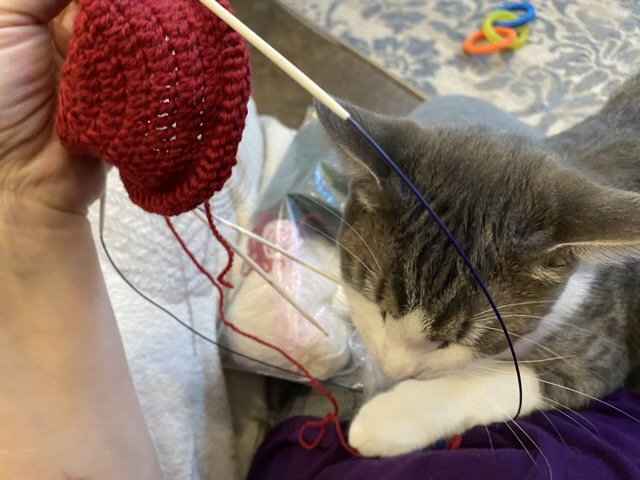
I started making a baby hat in my preferred manner, with double crochet stitches from the crown, and I realized that I could pick up and knit once I had the circumference the right size, and not have to do any knit increases. I knit for while, then switched to a ribbed pattern to give the hat some more elasticity and holding power.
Photo description: Gray tabby kitten biting circular knitting needles. He was removed from my lap after the picture, and is learning that knit time is not play time.
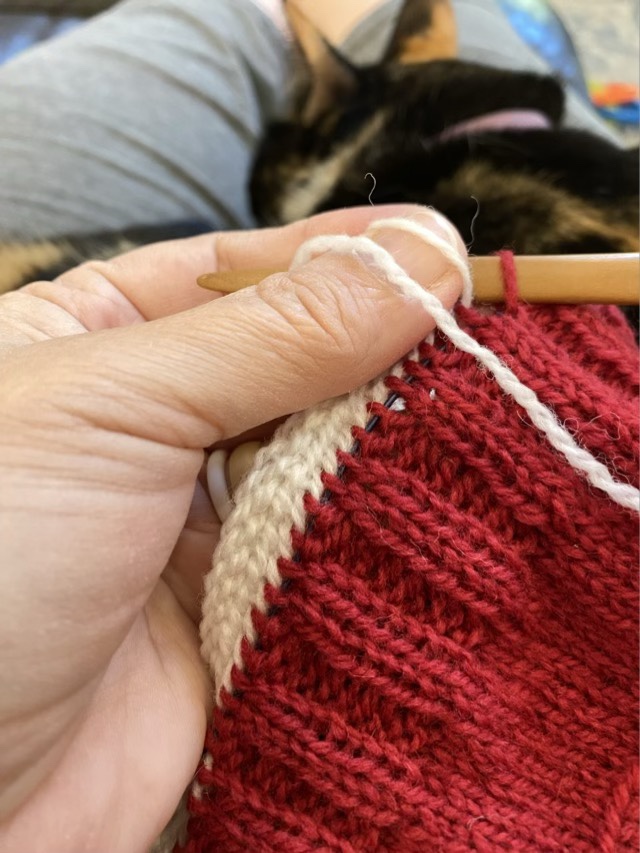
Then came the dreaded bind-off. What if I nålbound the live knit stitches? It works and may be my new favorite bind-off.
Photo description: Using the Telemark nålbinding stitch in white to bind off knitting in red sock weight yarn. Nal in hand, sleepy cat in the background.
I do need to spend some quality time with the nålbinding join to make it neat, and it would be easier in a less complicated stitch than Telemark, but I like the woven look of the stitch.
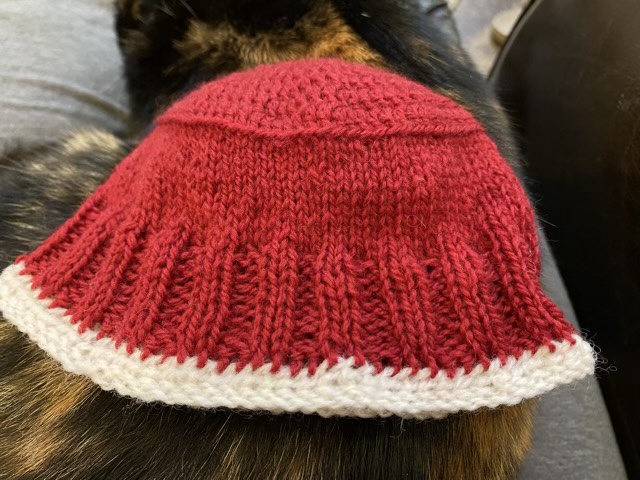
Photo description: Rec and white baby hat done with crochet, knitting, and nålbinding. Calico cat as the background.
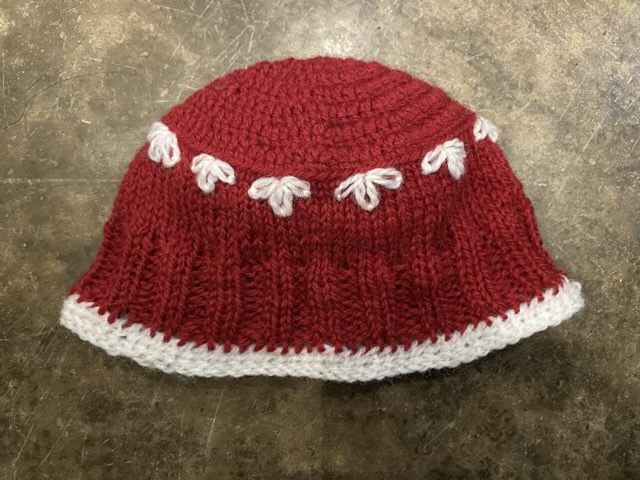
Then, to add a little pizazz, I did some simple lazy daisy stitches around the crown in white.
Photo description: Baby hat in red and white merino super-wash fingering weight yarn with crocheted crown, knit sides, nålbound brim, and embroidery.
I really wanted bell sleeves on my tie-dyed t-shirt. My first attempt did not please me, so I ripped it out and tried again. I tried some crocheted lace with worsted yarn, but it was too thick and stiff. So I fell back on a crochet standard: number 10 cotton. This cotton is in every craft store, and nearly always comes in at least white, black, and rainbow. It is great for crocheting lace. I sewed a chain stitch to the inside of the sleeve hem, then crocheted in the round a simple alternating shell pattern.
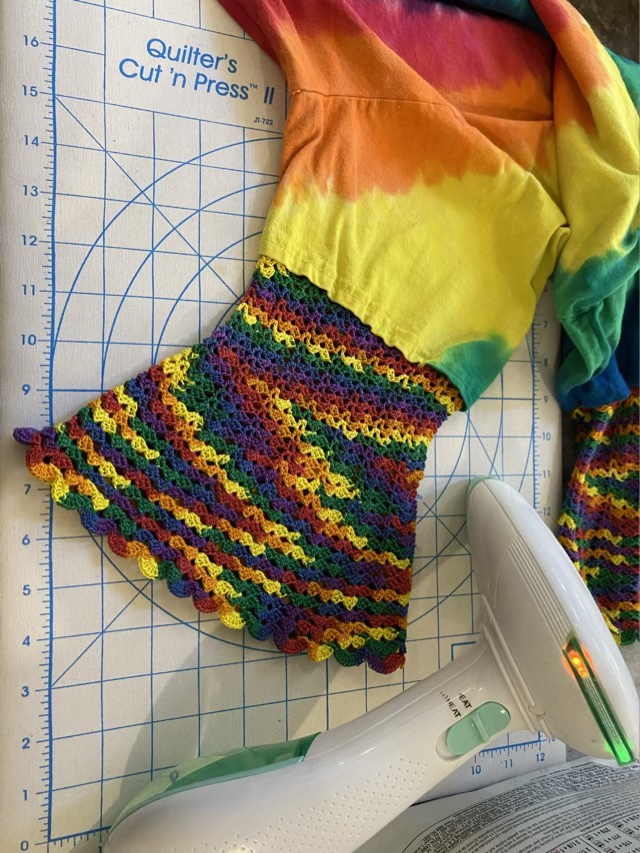
Photo description: Rainbow colored fabric, with a rainbow colored cotton thread sewn as a chain stitch, showing the needle mid-stitch.Photo description: Rainbow colored crocheted lace bell sleeves on an ironing board with steamer at the ready.
When the sleeves were done, I steamed them, which worked brilliantly to even out the stitches. The rainbow thread made serendipitous color pooling as the stitch pattern changed, which goes along with the tie-dye nicely.
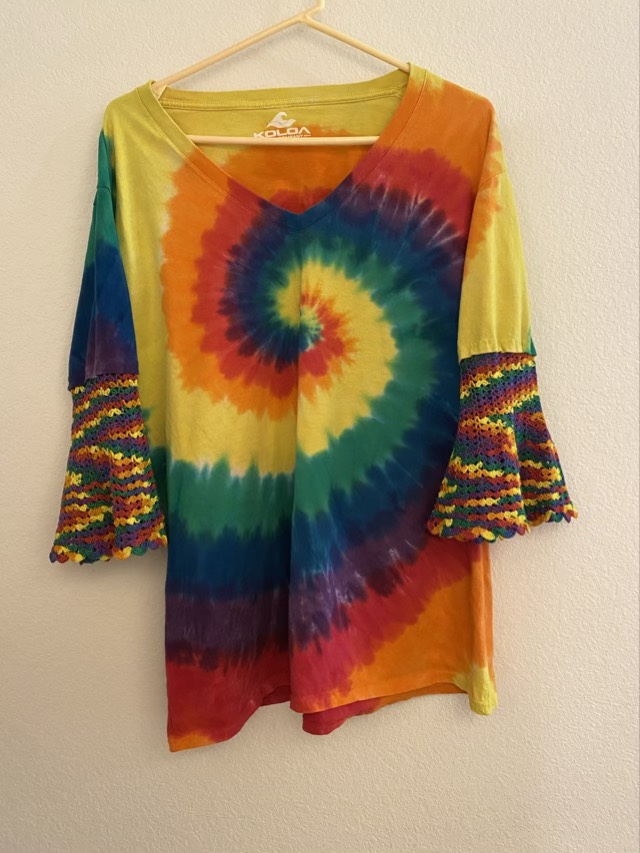
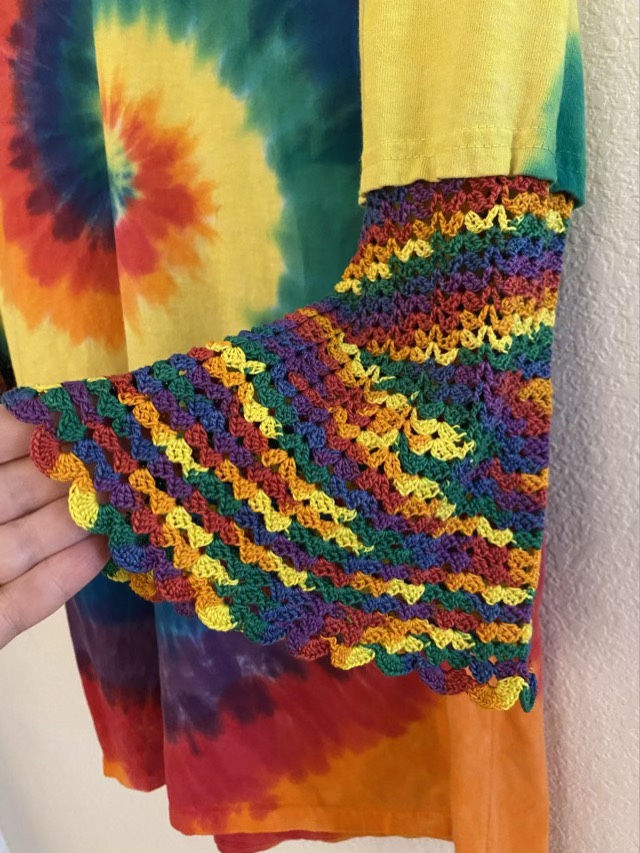
Photo description: Rainbow tie-dyed spiral t-shirt with crocheted lace bell sleeves.Photo description: Close-up of bell sleeve being held open.
So here comes the crochet pattern and math, for those that are interested.
With needle and crochet thread, make an embroidered chain stitch around the inside hem of the sleeve. The size of the stitches should be slightly larger than a crocheted chain done with a size 0 hook.
Row A: With a size 0 crochet hook (2mm), join the thread to the first chain, chain (ch 3), double crochet (dc) into the same chain, ch 2, 2 dc in same chain. Skip 2 chains, (dc, ch 1, dc) in same chain. *Skip 2 chains, (2dc, ch2, 2dc), skip two chains, (dc, ch1, dc). Repeat from * around. At this point you can tell if the work is bunching up the fabric, or ruffling out, depending on how long the embroidered stitches were. If it is not to your liking, rip out and use a different number of skipped chains. This is the only place it will matter, just note how many shell sequences you make, so you can match it on the second sleeve. For instance, if you have 72 chains and 12 shell sets, each shell set will span 6 chains, so you’ll skip two chains between shells. A shell set consists of a shell stitch and a v-stitch.
Row B: Slip stitch (sl st) into the center of the first shell, (ch3, dc, ch2, 2dc) into same shell, (dc, ch1, dc) in next V-stitch, *(2dc, ch2, 2dc) in next shell, (dc, ch1, dc) in next v-stitch. Repeat from * around.
Repeat row B, 8 more times, or until the straight part of the sleeve is the length you want. Now we will start the bell.
Row C: Sl st into the center of the first shell, (ch3, 2dc, ch2, 3dc) into same shell, (dc, ch1, dc) in next V-stitch, *(3dc, ch2, 3dc) in next shell, (dc, ch1, dc) in next v-stitch. Repeat from * around.
Repeat row C, 4 more times.
Row D: Sl st into the center of the first shell, (ch3, 2dc, ch2, 3dc) into same shell, (2dc, ch2, 2dc) in next V-stitch, *(3dc, ch2, 3dc) in next shell, (2dc, ch2, 2dc) in next v-stitch. Repeat from * around.
Repeat row D, 4 more times.
Row E: Sl st into the center of the first shell, (ch3, 2dc, ch2, 3dc) into same shell, (3dc, ch2, 3dc) in each shell all the way around.
Repeat row E, 4 more times.
Row F: Sl st into the center of the first shell, (ch3, 3dc, ch3, 4dc) into same shell, (4dc, ch3, 4dc) in each shell all the way around.
Row G: Sl st into the center of the first shell, (ch3, 12dc) into same shell, (13dc) in each shell all the way around.
Join first shell, weave in ends, steam.
It writes up much more complicated than it works up.
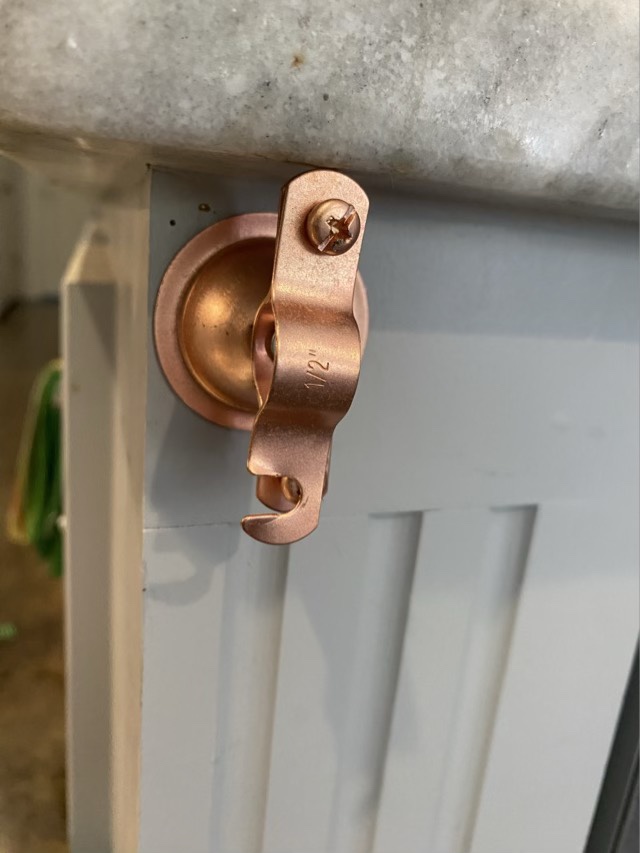
Did you know that microwaves and wifi use a similar radio frequency? I do now. The way our house is set up, the microwave faces the point of entry for our internet connection, which is where the router lives. Not always, but enough to be irritating, when we run the microwave, the wifi glitches. Moving either is not an option. The router has a dual channel at 5Ghz, and we still experience interference (this is in response to articles like this one that suggesting moving or upgrading.) I have been experimenting with options for awhile. A cookie sheet put in front of the microwave isn’t very effective, by the way. We had the idea of using a fireplace curtain as a kind of Faraday cage, or really a wall. It is an awkward space, so a trip to the hardware store was in order to source parts for a rod, since a traditional rod for fireplaces wouldn’t work. I found pretty copper bell pipe clamps!
Photo description: Copper bell pipe clamp mounted to the underside of the countertop
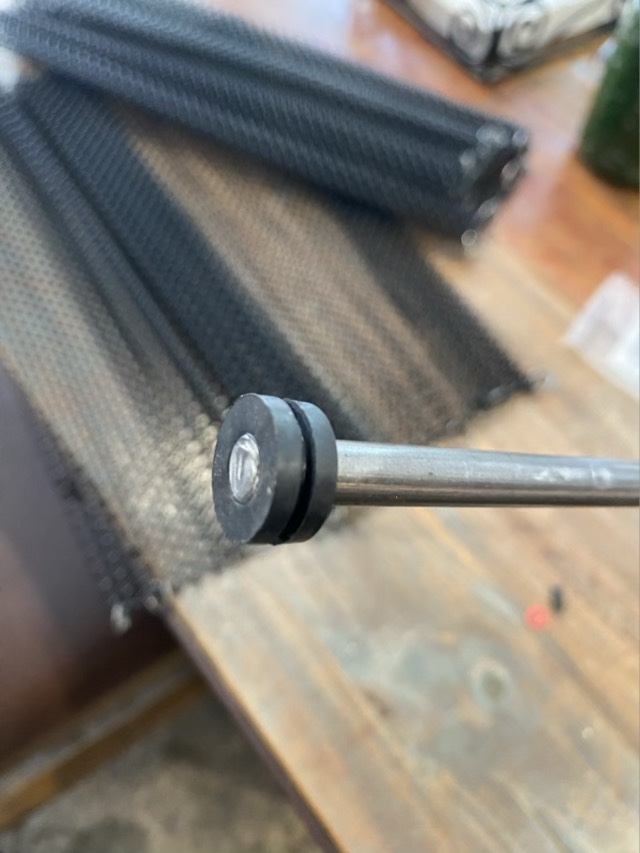
I also found steel rod. Unfortunately the smallest pipe clamp was 1/2” and the rod is 5/16”. Rubber spacers to the rescue.
Photo description: In the foreground, a rubber ring wedged onto the end of a steel rod.
I started with just one curtain, since it would fit nicely to the side of the microwave when not in use. I tested, but at home alone in the morning, I couldn’t replicate the conditions (TV worked fine, even live streaming).
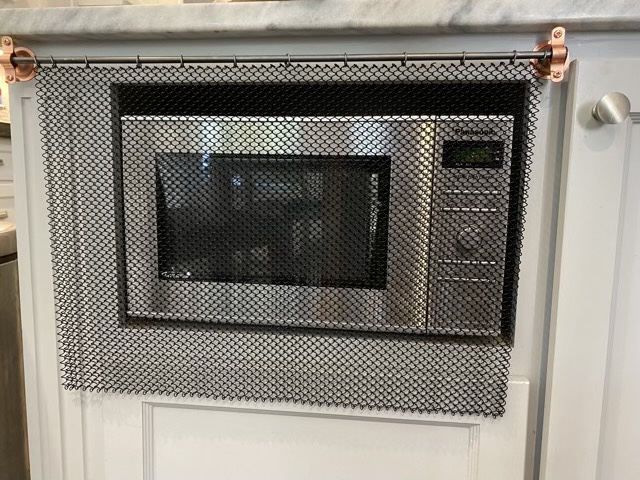
Photo description: fireplace curtain mounted in front of our microwave in a dedicated alcove built in to the base cupboards.
When it was evening, and everyone was drawing bandwidth and the football game was on the main screen, I did another test. Bingo. No loss of signal for the game. However, my youngest still reported her iPad and hearing aids, which connect with Bluetooth, glitched. I installed the second curtain, which makes the setup more bulky, but effectively makes the mesh holes smaller since they aren’t fully open. That did the trick.
Photo description: Two fireplace curtains mounted on the same rod.
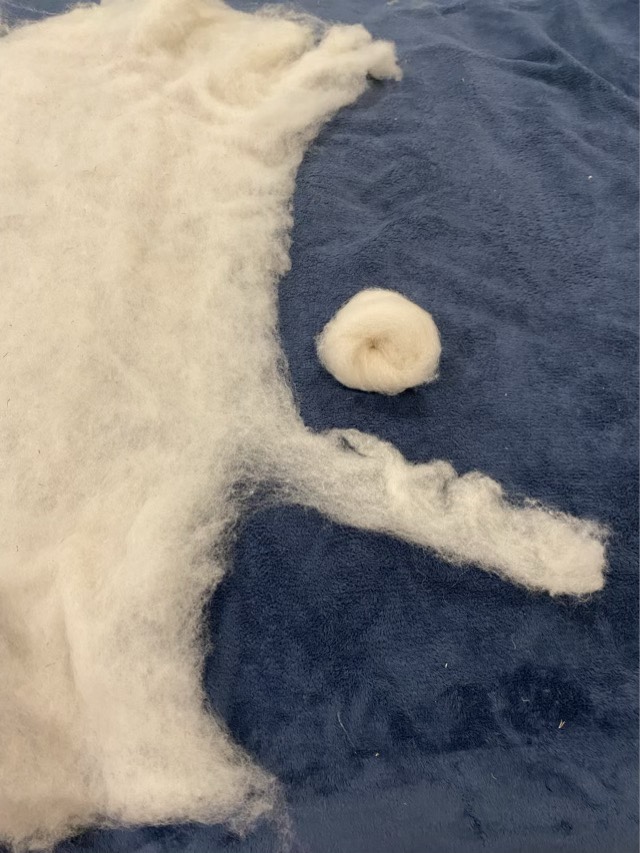
I have some Baize Shetland wool that came as large batts. I’ve been tearing off strips to spin, but decided that it was inefficient to unroll the batts every time, so separated all of the batts into strips and wound them into loose “nests”.
Photo description: Separating a strip of near white Shetland wool from a batt, showing the approximately two inch strip coming away from the main batt, with a hand wrapped nest above.
To wrap the nest, I loosely wrap the wool strip around four fingers, then tuck the end in the middle. The nests stay together, and are easy to grab when it is time to spin.
Photo description: Eleven visible wool nests in a pile.