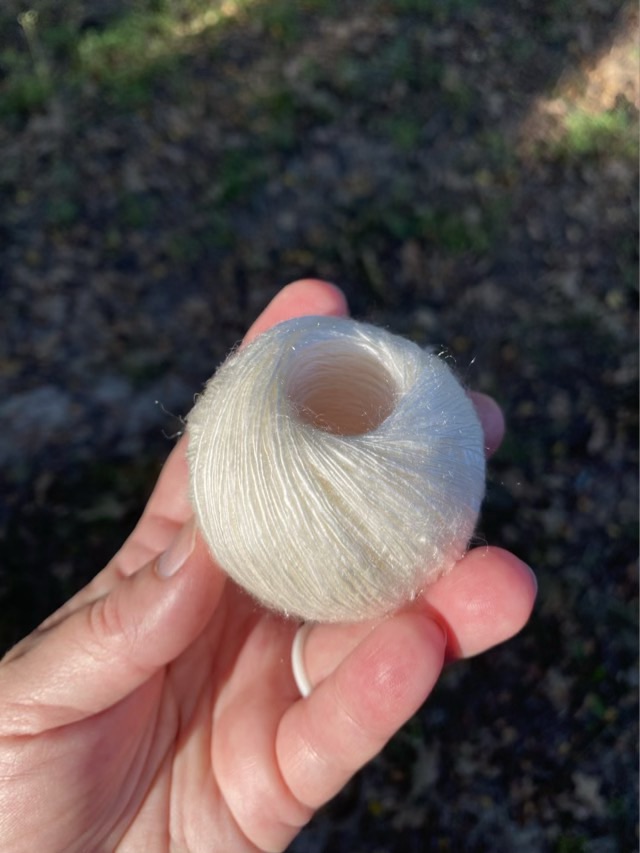
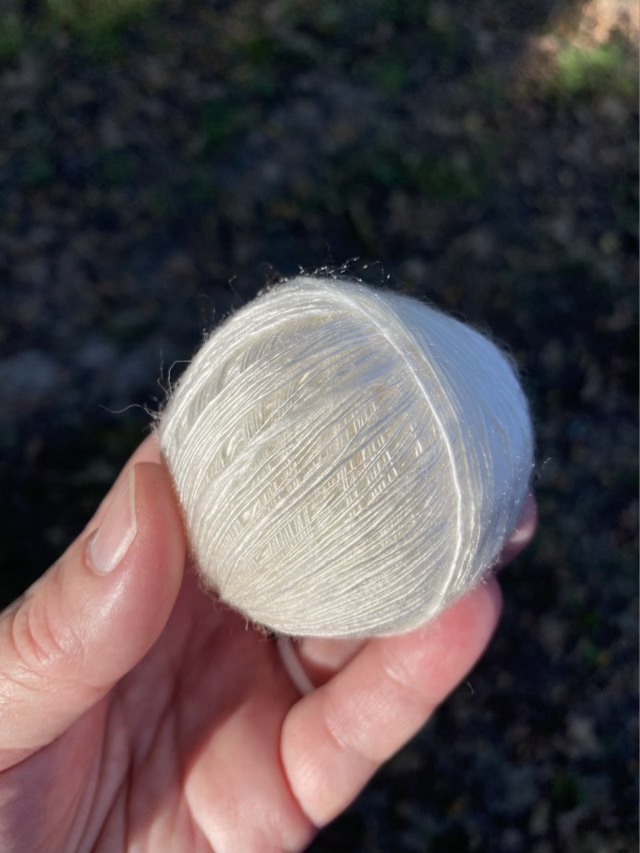
It is shiny, sleek, and has a little sparkle, but I had a rough time spinning the Tencel fiber sample. I think I dropped my spindle more than with any other fiber. The fibers like to clump, but did not like to evenly draft, and my single spun yarn came out uneven with thin and thick randomly spaced.
Photo description: single spun Tencel fiber on a wood drop spindle in the sunlight, asphalt in the backgroundPhoto description: notepinne style wound ball held in my hand in the sunlight to show the luminosity Photo description: the side of the ball of single spun yarn held in the sunlight to show the shine
I chain plied the single from the center of the ball and added twist using my Ashford Traveller spinning wheel.
Photo description: chain plied Tencel yarn on a wood bobbinPhoto description: three ply Tencel yarn on a PVC niddy noddy, which really shows the unevenness of the spin
As much as I love the idea of using fiber made from waste tree products, I would not choose to spin Tencel again, the frustration wasn’t worth it. I was glad it was a 25 gram sample.
I stopped knitting and bound off my rainbow brioche scarf months ago, but there were errors at the beginning when I was still getting used to the brioche knitting with multiple colors techniques. I thought I needed to rip out the first few inches and rebind, which is daunting, so I stuck the project in a bag and tucked it into the back of the closet until I was ready.
Months later, when I was on a finishing kick (see yesterday’s post), I figured I was ready to work on the scarf again. I pulled it out of the bag, in all its squishy soft amazing length, and couldn’t find the spots that bothered me before. I looked again and did eventually spot the small errors, but it definitely took over 10 seconds. I have a 10 second rule, that if you can’t see the mistake in 10 seconds, the item passes. If someone else wants to examine an item that closely, they deserve to find something.
I wet the scarf to block it, and noticed that the colors bled.
Photo description: rainbow scarf in blue tinted water in the sink
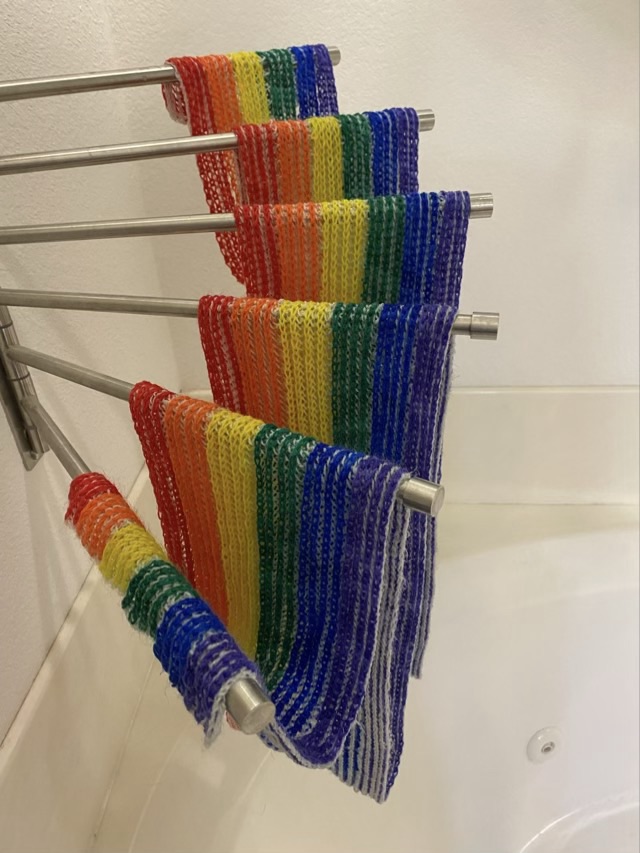
I rinsed the scarf until I could not see any dye in the water, and hung it up to dry.
Photo description: rainbow brioche scarf hanging from multiple towel racks
The dye colors were taken up by the white yarn as the scarf dried, but it doesn’t distract from the piece. I’m glad I didn’t add fluffy clouds to the ends, they would not have stayed white.
Photo description: finished scarf laying artfully on a leather chair
The scarf now has a happy home, two years after I started it.
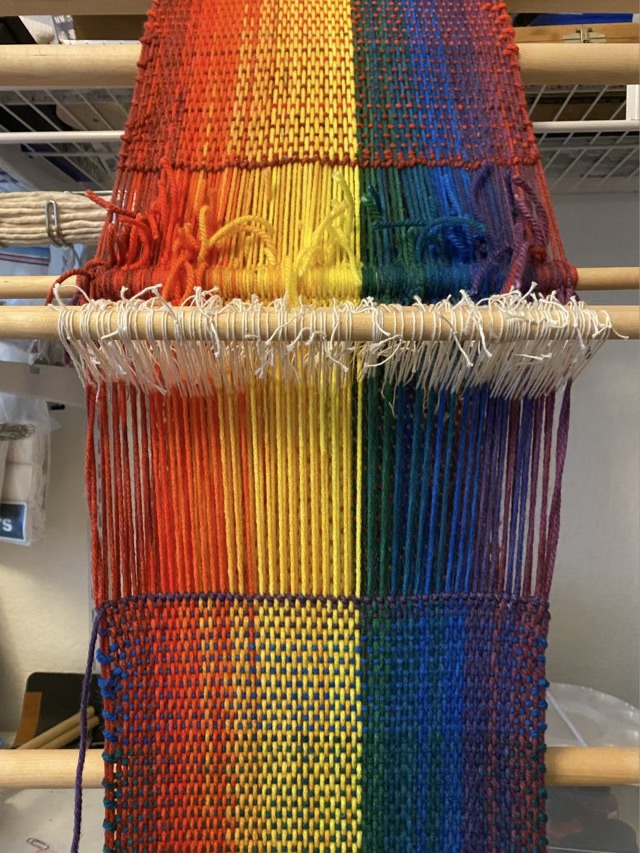
The warp I prepared for a local kid’s event has been on my tapestry loom for awhile. I did get to use it as a demonstration, and was hoping to use it again, but it didn’t happen this summer, and I want to use the loom for something else, so I finished it.
Photo description: weaving finished on a tabletop tapestry loom showing the string heddles and twined first and last row
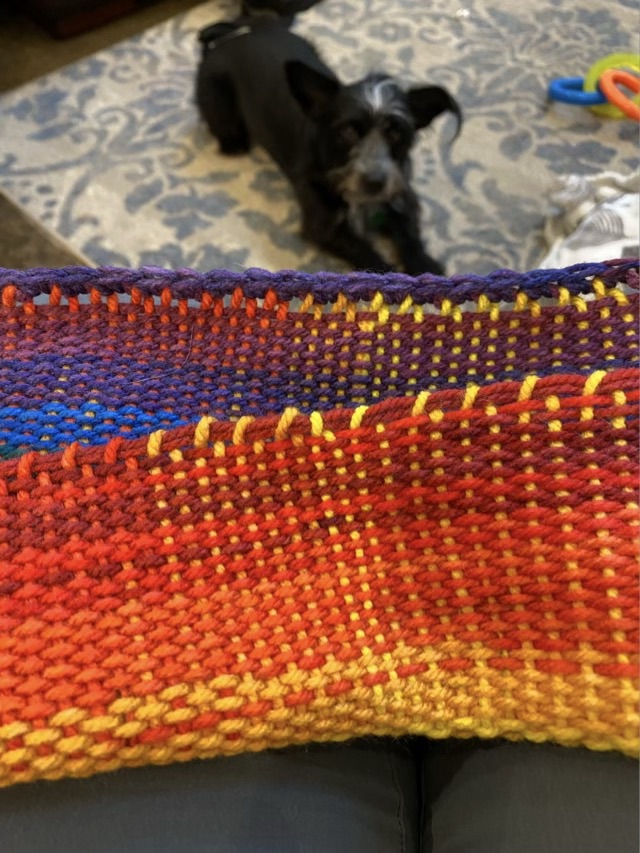
The edges were wonky, so I decided to run a row of coordinating crochet stitches along the outer double warp. It helped hide the contrasting weft and gave it a nicer finish.
Photo description: top edge finished with a row of single crochet stitches, bottom edge unfinished. Missy the dog in the background.Photo description: finished scarf with knotted fringe and crocheted edgesPhoto description: entire scarf laid out on the floor showing the strong warp color and a much more subtle weft color shift
I think it is interesting that even though the warp and the weft are visible in the weave, the warp color shift is much more prominent, I was hoping for an even split.
This throwback goes to September 2009, and makes me a little sad. I was fusing images into glass using fusible film printed with a laser printer. The film would burn off leaving the image in a sepia tone. The method only works with high iron oxide content toner, which of course is getting rare. I had to resource the transfer paper I was using twice, retesting each time the previous brand stopped making it. Then when I invested in a large stack of paper that worked, my printer died. I found a backup printer at a garage sale, but the print quality was poor. Investing in a printer that may or may not work was risky, and I wasn’t getting enough orders to justify the expense. So production stopped. The photo below is line art that I produced a batch of for my grandmother for a reunion. I also did portraits and sketches.
Photo description: wire wrapped glass pendants with iron oxide fused image on silicone cords in multicolored mesh bags
I did say that I have a boat load of acrylic yarn and am on a hat kick, right? And I mentioned that this an experimentation time, since I can’t do the same thing more than twice? Oh good, that established, here are more hats.
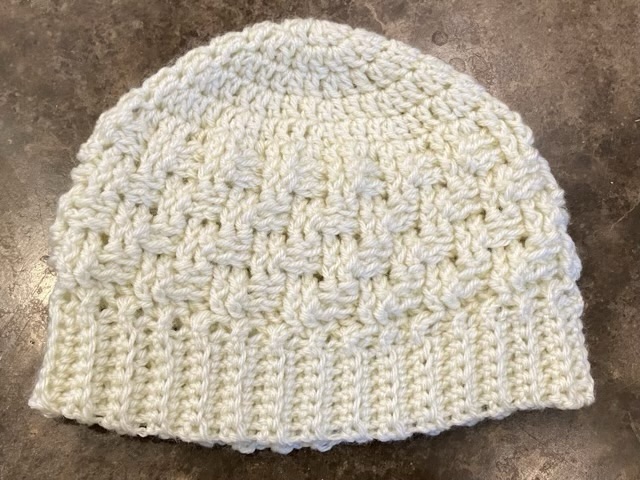
Photo description: white crocheted hat with woven band and ribbed edge
I tried the new-to-me crocheted ribbing technique combined with one of my favorite crochet textures: a woven stitch.
Technical summary: (American notation) Double crochet (dc) 12 into a magic circle. Increase 12 each row until diameter matches desired hat size. Switch to waffle pattern which is two front post crochet and two back post crochet for two rows. Offset the waffle pattern by two for the next two rows. Continue until the hat reaches the top of the ears. Chain 8, make single crochet back loop ribbing around the edge.
Photo description: white acrylic hat with diamond pattern from crown and ribbed edge
I may be able to make an exception to the “only two” distractibility rule by interspersing different hats between making the diamond hat pattern. I like it that much.