
My love triangle: I love yarn projects, and I love cats, and cats love yarn. Sigh.

My love triangle: I love yarn projects, and I love cats, and cats love yarn. Sigh.
I was tasked with making a trophy for a duct tape contest back in December of 2009. I found a block of wood from my stash, imbedded several hanger wires, then shaped them into a chalice.
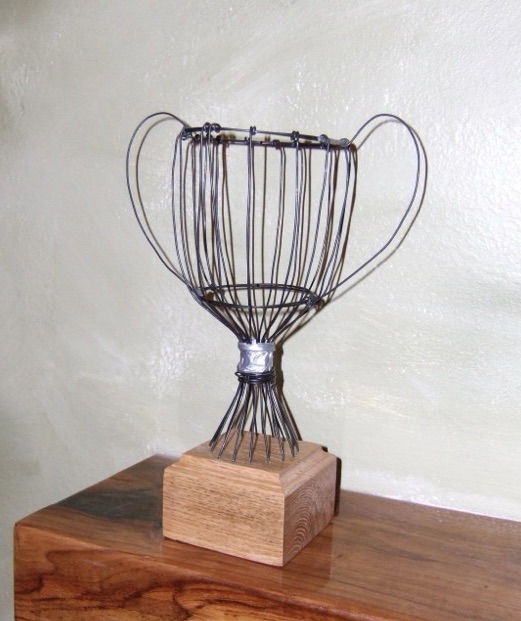
I covered the whole thing in strips of standard duct tape, then forgot to take a final picture. Hm. When it was presented, though, it was deemed way fancier than the requester envisioned. That’s what happens when a crafter gets their hands on duct tape.
I wanted to make a macrame twisted rope with precut pieces. My center strands were long enough, but the decorative outside strands ran out after about a foot of knotting. I found that laying new strands into a knot in the same direction as the old strands then tightening the knot, trimming, and sealing with white glue made a near invisible join.
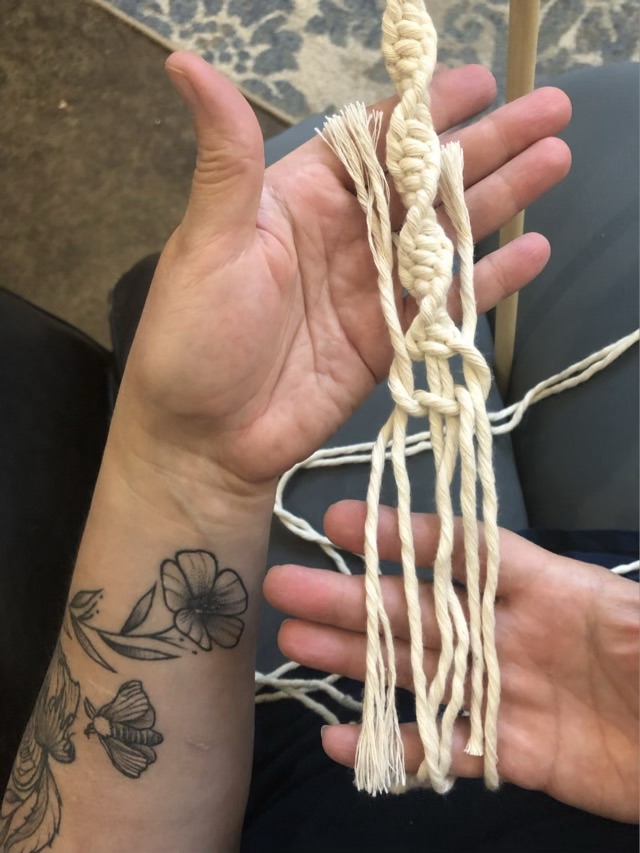
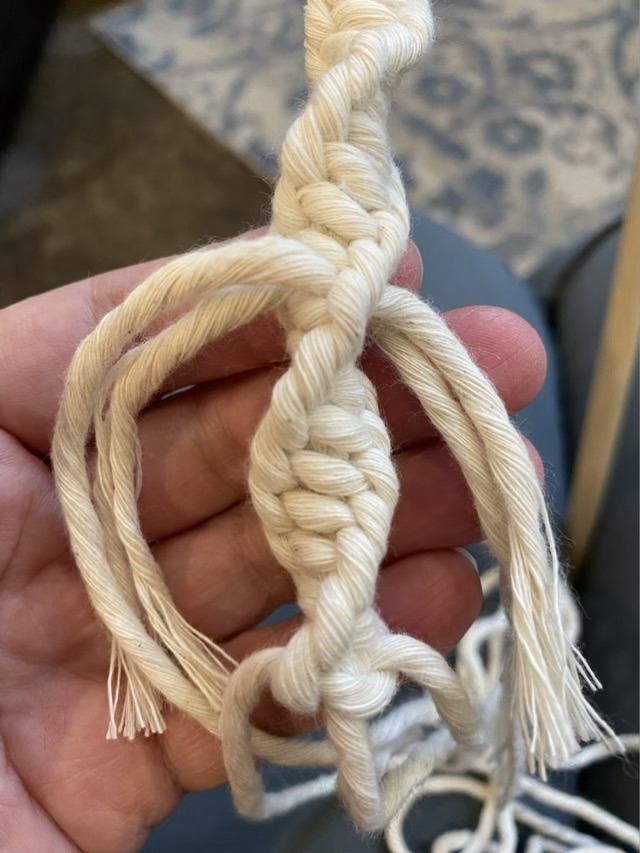
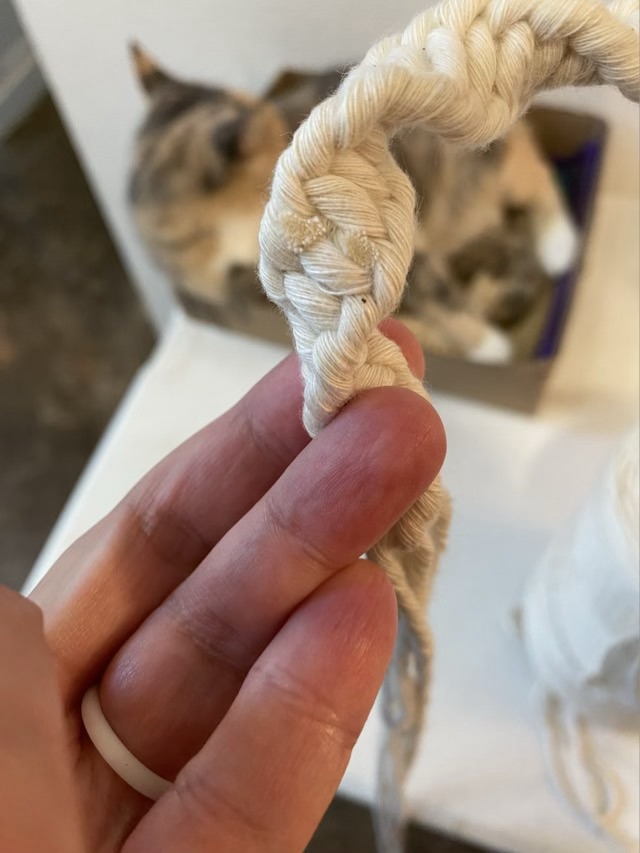
Since the knots are decorative and the un-spliced center strands bear the weight applied to the rope, I’m not concerned about the ends unraveling.
When picking a new fiber to spin as I walk, I wanted something easier to spin than Tencel. I had a “Mint Top” sample in my stash, gifted to me by my sister that looked like it had some nice texture. I started spinning it on a drop spindle and it is dreamy, and the descriptive word “toothy” keeps coming into my head. The fibers grab each other with the help of the twist, but don’t clump up, and it drafts nicely.
Paradise Fibers gives it this description:
“A very new Biodegradable cellulose fiber which is infused with Mint powder extracted from Peppermint Leaves. Contains natural cooling and antibacterial properties. This is a very soft and lustrous fiber that is a natural off-white/golden color. The fiber gives a natural smooth and cooling feeling with excellent moisture absorption.”
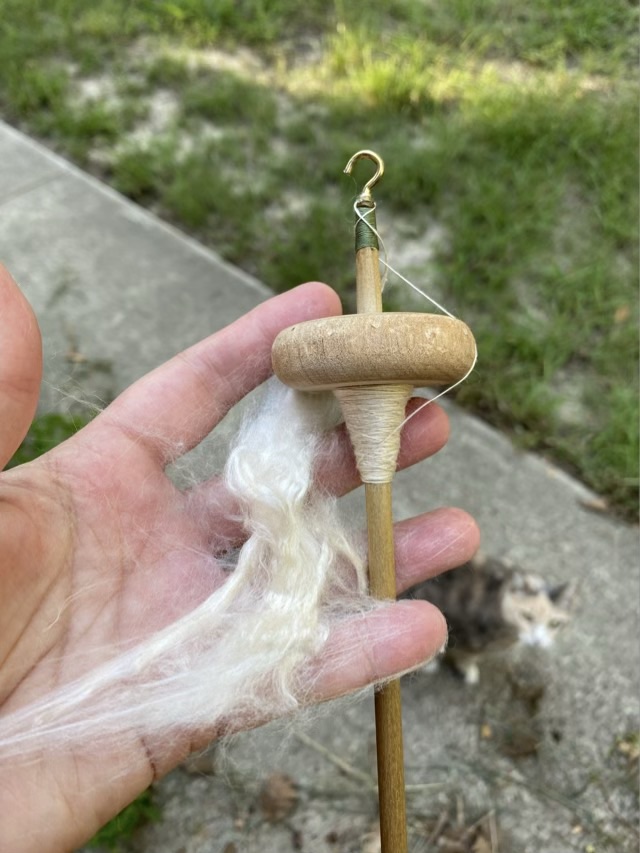
It doesn’t smell minty to me. It will be interesting to see if the products made with the yarn feel cool.
When I switched to the jumbo flyer on my new-to-me Ashford Traveller spinning wheel I noticed the spin was much smoother and quieter, and the flyer fit better. Some further investigation revealed that the socket in the jumbo whorl was different than the socket in the other whorl. Hm. I ordered a high speed whorl that is supposed to fit the Ashford Traveller, and it had the same socket as the jumbo, which leads me to believe that the whorl that was on the spinning wheel when I received it was not original. I ordered a regular whorl, and it fit! I know the previous owner used it as-is, and was frustrated trying to learn to spin on it, and I wonder if the owner before also bought it second hand and gave it up because it was difficult to spin. How many people give up on something they want to learn because the tool is difficult, and because they are beginners, they can’t spot what’s wrong and they think it is their own inability?


I do have to admit that I love spinning for the joy and quiet of it. It is not a fast craft, and there are small moments of immediate gratification (when the fiber takes up the twist), but it is making a supply, rather than a finished wearable or gift-able object. Not everyone loves it. Everyone is different. I’m glad I learned on drop spindles, because it made learning to spin on a wheel easier for me.

