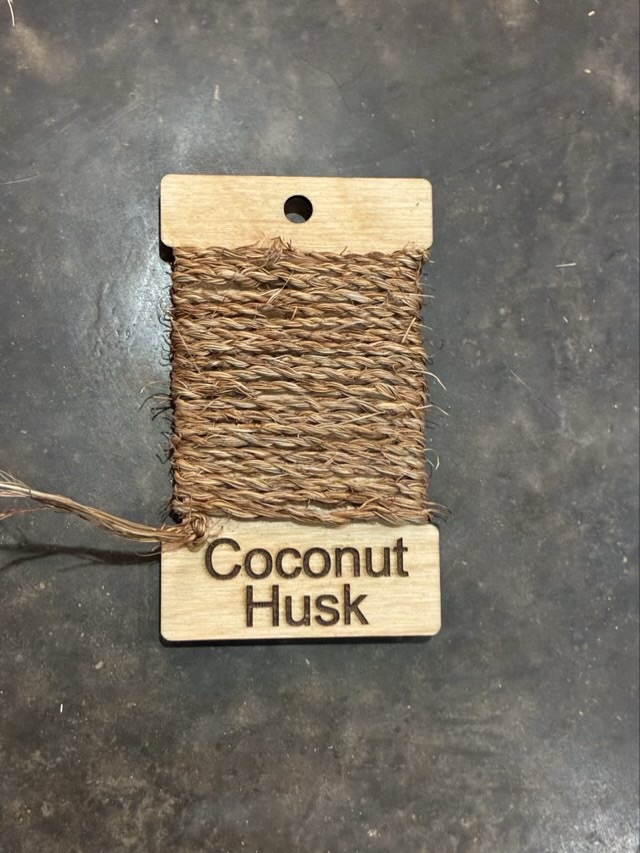
I saw coconuts for sale at the grocery store, with the husk and fibers still attached and had to buy some to experiment. I pulled off and processed the husk, separating the coir fiber from the peat, the began to twine. This is unpleasant fiber to work with. It is rough and short, but it is strong.
Photo description: laser cut flat wooden spool with twine make from coconut husk fibers
I see why the coconut coir fiber is used for thick mats to scrape off shoes, and heavy duty brushes. There are actually many interesting uses for coconut husk, the rest of mine will be used as mulch.
I am putting together a display to showcase a number of different twined fibers. I decided to make the twine holders 3×5 with large print so that they could be read from a distance, and used my laser cutter to cut them from 1/8” plywood. Each card is finished with Howard’s butcher block conditioner before I start twining.
First up is long line flax.
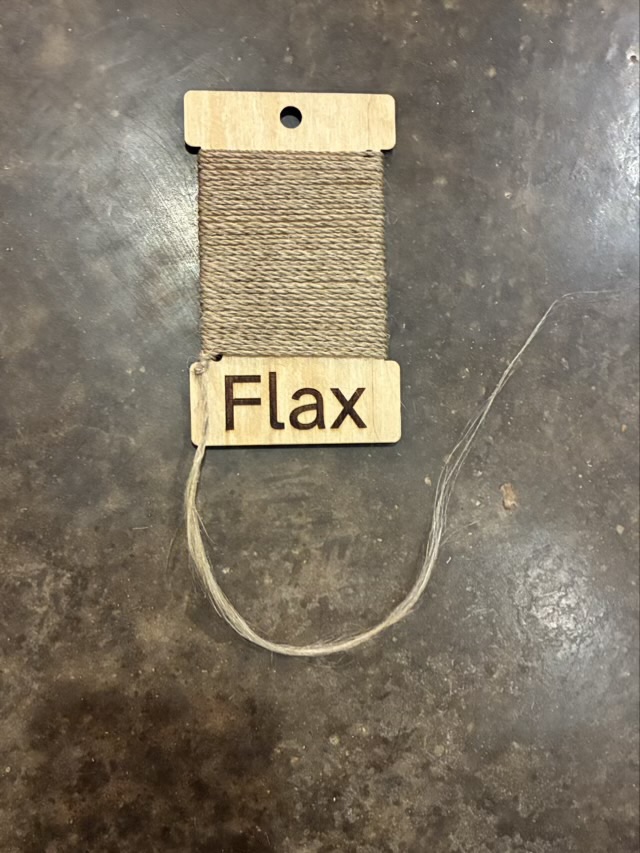
Photo description: twined flax on a 3×5 flat wood “spool” with the word “flax” fill engraved on the bottom, a hole at the top for hanging, and two start and end holes to securely attach the twine to the card
I love long line flax, the ideal product that comes from flax processing. It is easy to twine and very strong, but still soft. I left a tail on the twined example so that people can see what the fiber looks like before it is twined.
Flax has been grown and harvested for thousands of years to produce linen cloth. The fabric softens with washing, and its breathability is superior in hot environments. Long line flax is sold in stricks, a bundle of fiber twisted, then twisted back on itself to form a stable spiral. Tow is shorter lengths of flax left over from the long line processing, and can be carded before being spun. I find touching a damp sponge before twining helps me grip the fibers better. Spinners will keep a small bowl of water at hand to smooth their spinning. Flax needs less twist than cotton or wool when spinning and can be spun extremely fine, using just a few fibers.
Eve Schaub is currently doing a project to grow a dress in her backyard, and is growing and processing flax. She is doing a great job showing the process, bringing in experts to teach aspects of the processing, and doing so in an entertaining way. It is well worth following her journey.
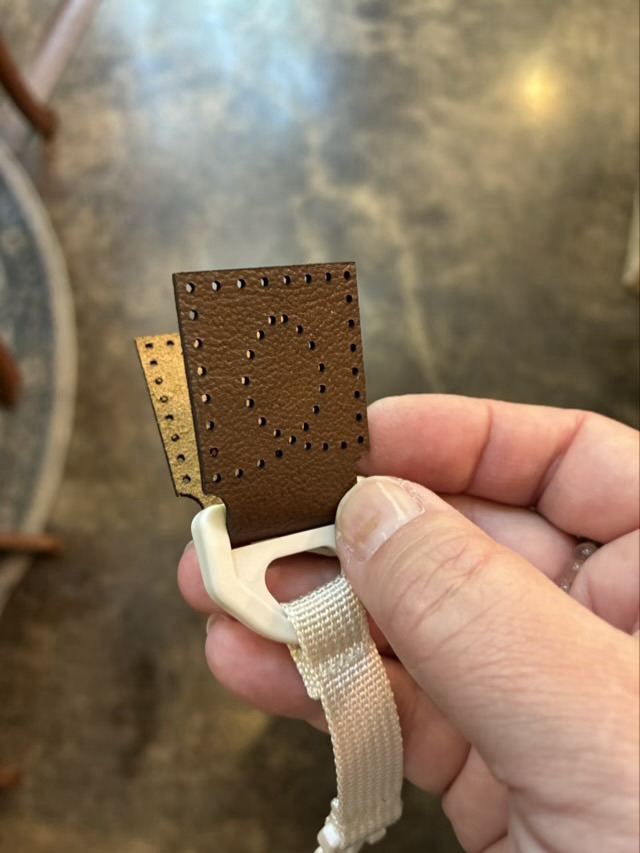
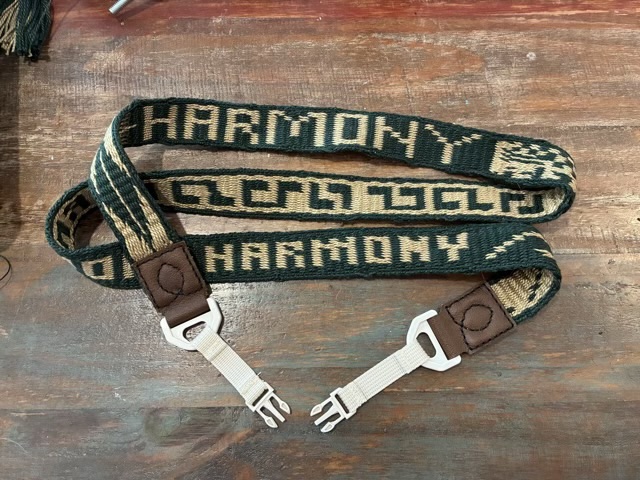
I wanted to use my double-sided sampler strap to replace the generic strap that came with my iPad case. I used the laser cutter to make leather loops with preset holes to fit the existing hardware.
Photo description: laser cut leather loop on a plastic strap holder
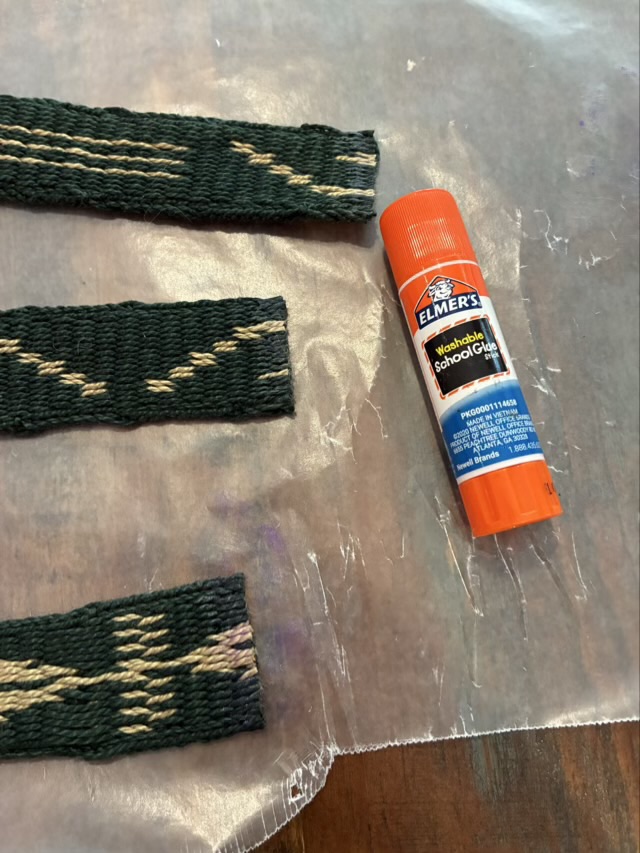
I cut the ends of the woven band and secured the loose threads with glue. Using a glue stick was surprisingly effective.
Photo description: cut ends of a tablet woven band on wax paper secured with glue from a glue stick
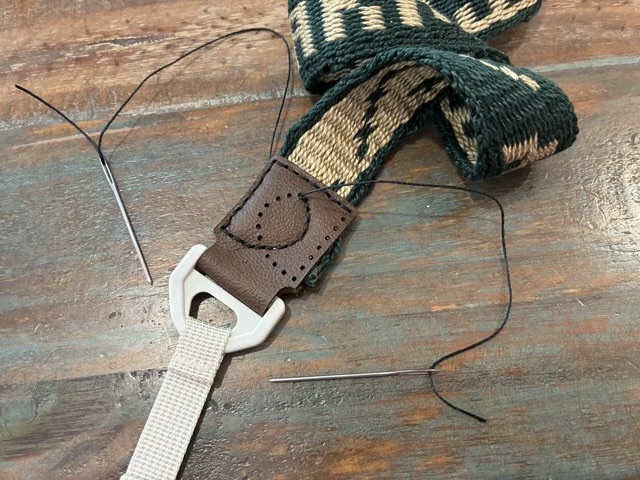
I used waxed nylon cord and two needles to saddle stitch the ends to the band.
Photo description: sewing in progressPhoto description: finished band with hand sewn leather end loops attached to commercial plastic buckles
The band works well and is much more satisfying than the bland ivory band.
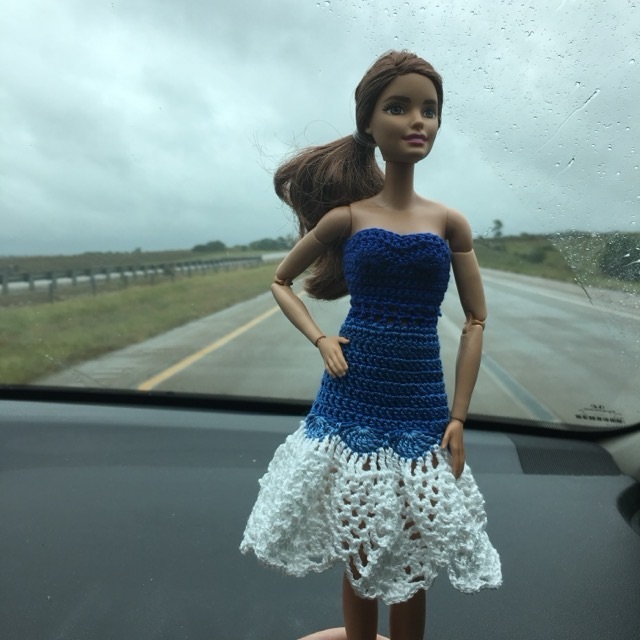
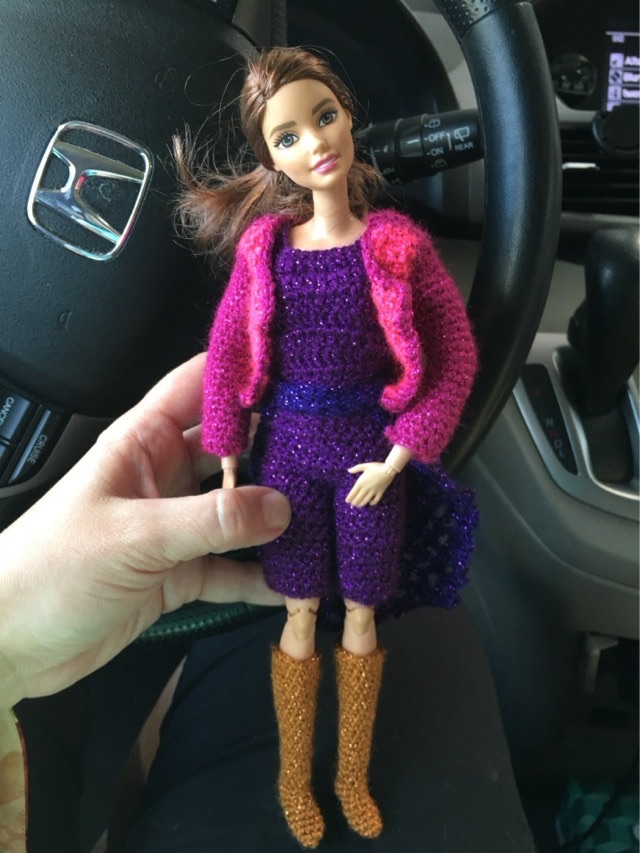
In September 2018 I was experimenting with crocheted doll clothes specifically for the “made to move” series because I thought the articulation in the doll’s limbs was cool. I went about the shaping of the pieces as with an amigurumi project: tight single crochet with increases and decreases for shaping.
Photo description: strapless blue ombre doll dress crocheted with size 5 pearlized cotton on a “made to move” Barbie dollPhoto description: experimental crochet pieces made from fingering weight metallic yarn, gold boots, purple jump suit shorts, pink jacket on a “made to move” Barbie doll
I started crocheting on a trip, and finished waiting in the car-rider line, which is why both photos were taken in the car.
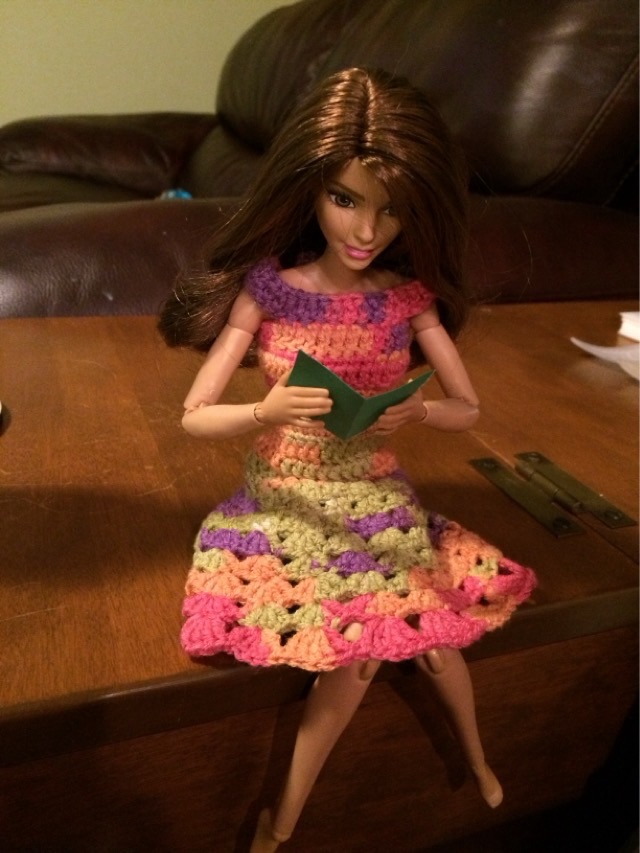
Here is another photo of a different crocheted dress but the same doll from 2016.
Photo description: “Made to Move” brunette Barbie in a crocheted dress using double crochet and shells with variegated yarn, doll posed as if reading a book
I do think the ability to pose these dolls is fun.
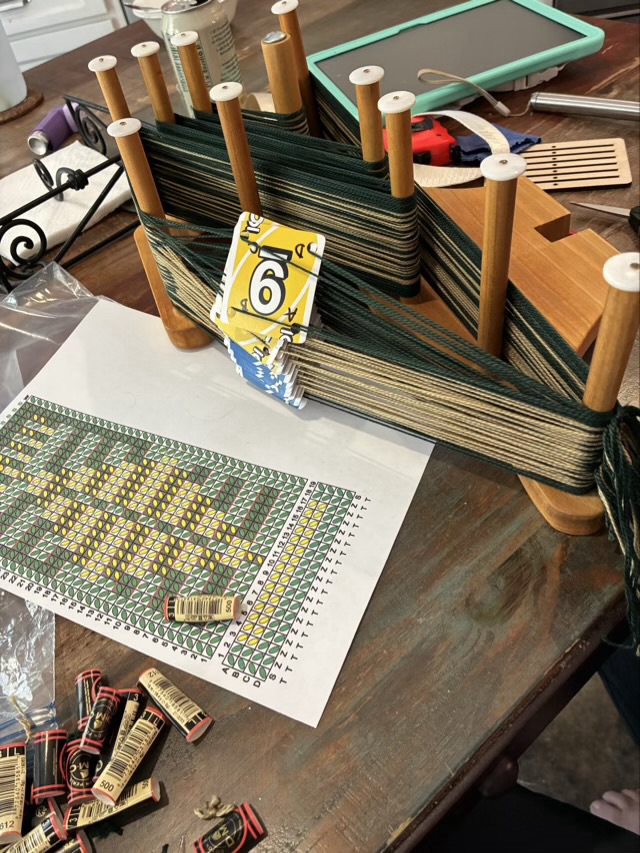
It has been awhile since I pulled out my inkle loom and did some tablet weaving. I wanted to try a double-sided design and use some size 3 pearlized cotton from my stash.
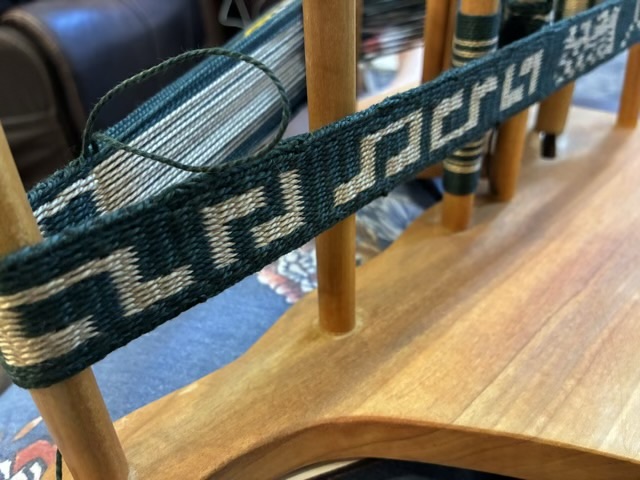
Photo description: inkle loom warped with tan and green pearlized cotton with 19 4-hole tablet cards
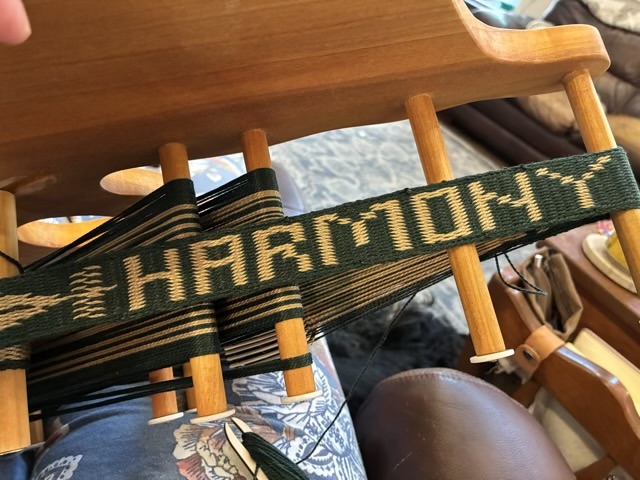
I used the online pattern maker Tablet Weaver Designer App and made several designs as I went. The band ended up being more of a sampler piece as I experimented with letters and music notes.
Photo description: “HARMONY” woven on an inkle loom with 4-hole tablet cards using size 3 pearlized cotton
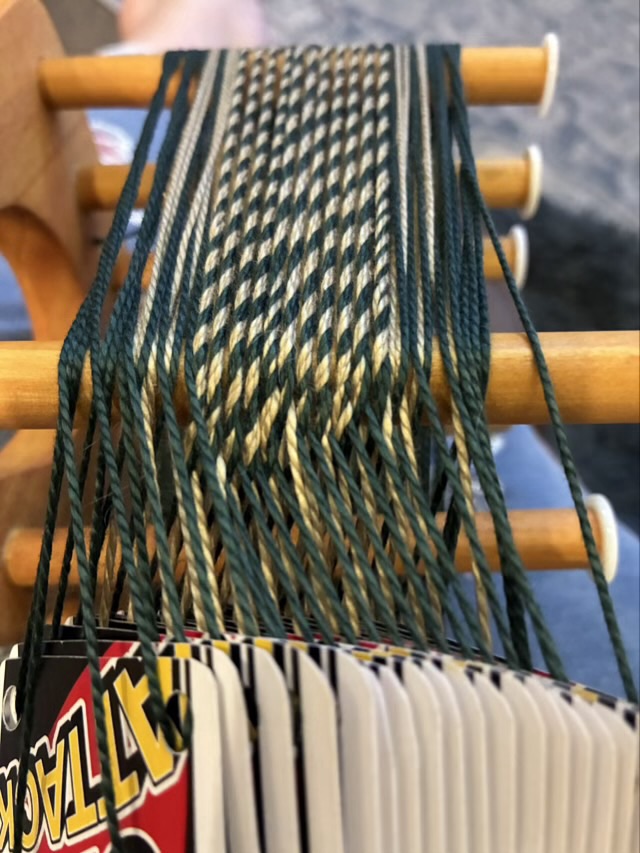
The designer app now also shows if the pattern is balanced— that each card has the same number of forward and backward turns across the pattern. As weaving progresses for tablet weaving, twist builds up in the warp.
Photo description: twist in the warp across the top posts of an inkle loom
There are a number of ways to deal with warp twist, I find making a balanced pattern the easiest. Using the design app I discovered that adding an extra row between two of the same motifs reverses all the forward and backward turns, balancing the pattern in double sided weaving.
Photo description: music notes tablet woven on an inkle loom
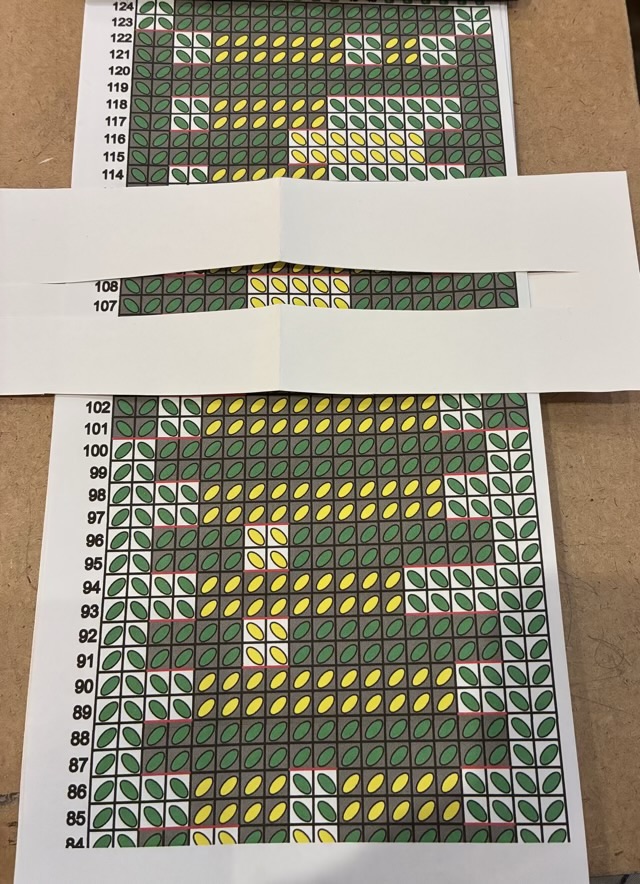
To keep track of rows, I cut two slits in a piece of cardstock and slid it over my printed pattern.
Photo description: paper row tracker
I did keep track of time for this project. It took me 1.5 hours to warp the loom, and I wove for 6 hours and 10 minutes. I used a timer in a knitting app to track the time.
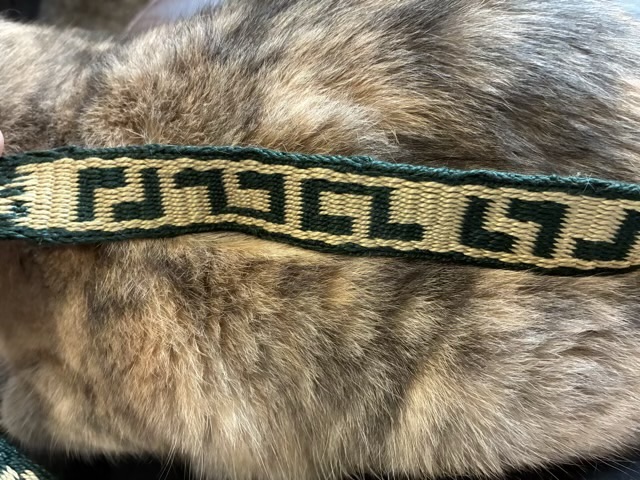
Photo description: band removed from the loom, showing the reverse side of the music notes