The chicks enjoyed their second time outside even more than the first! And they were even more excited about the grass and dirt I put in their inside area; not afraid of it at all, quite the opposite.
Actually perching!
They are also exploring the perch, so I made them another one using some 2x4s.
This year we tried dying our hard boiled eggs with natural dyes! It was an interesting process, and another that definitely has a learning curve.
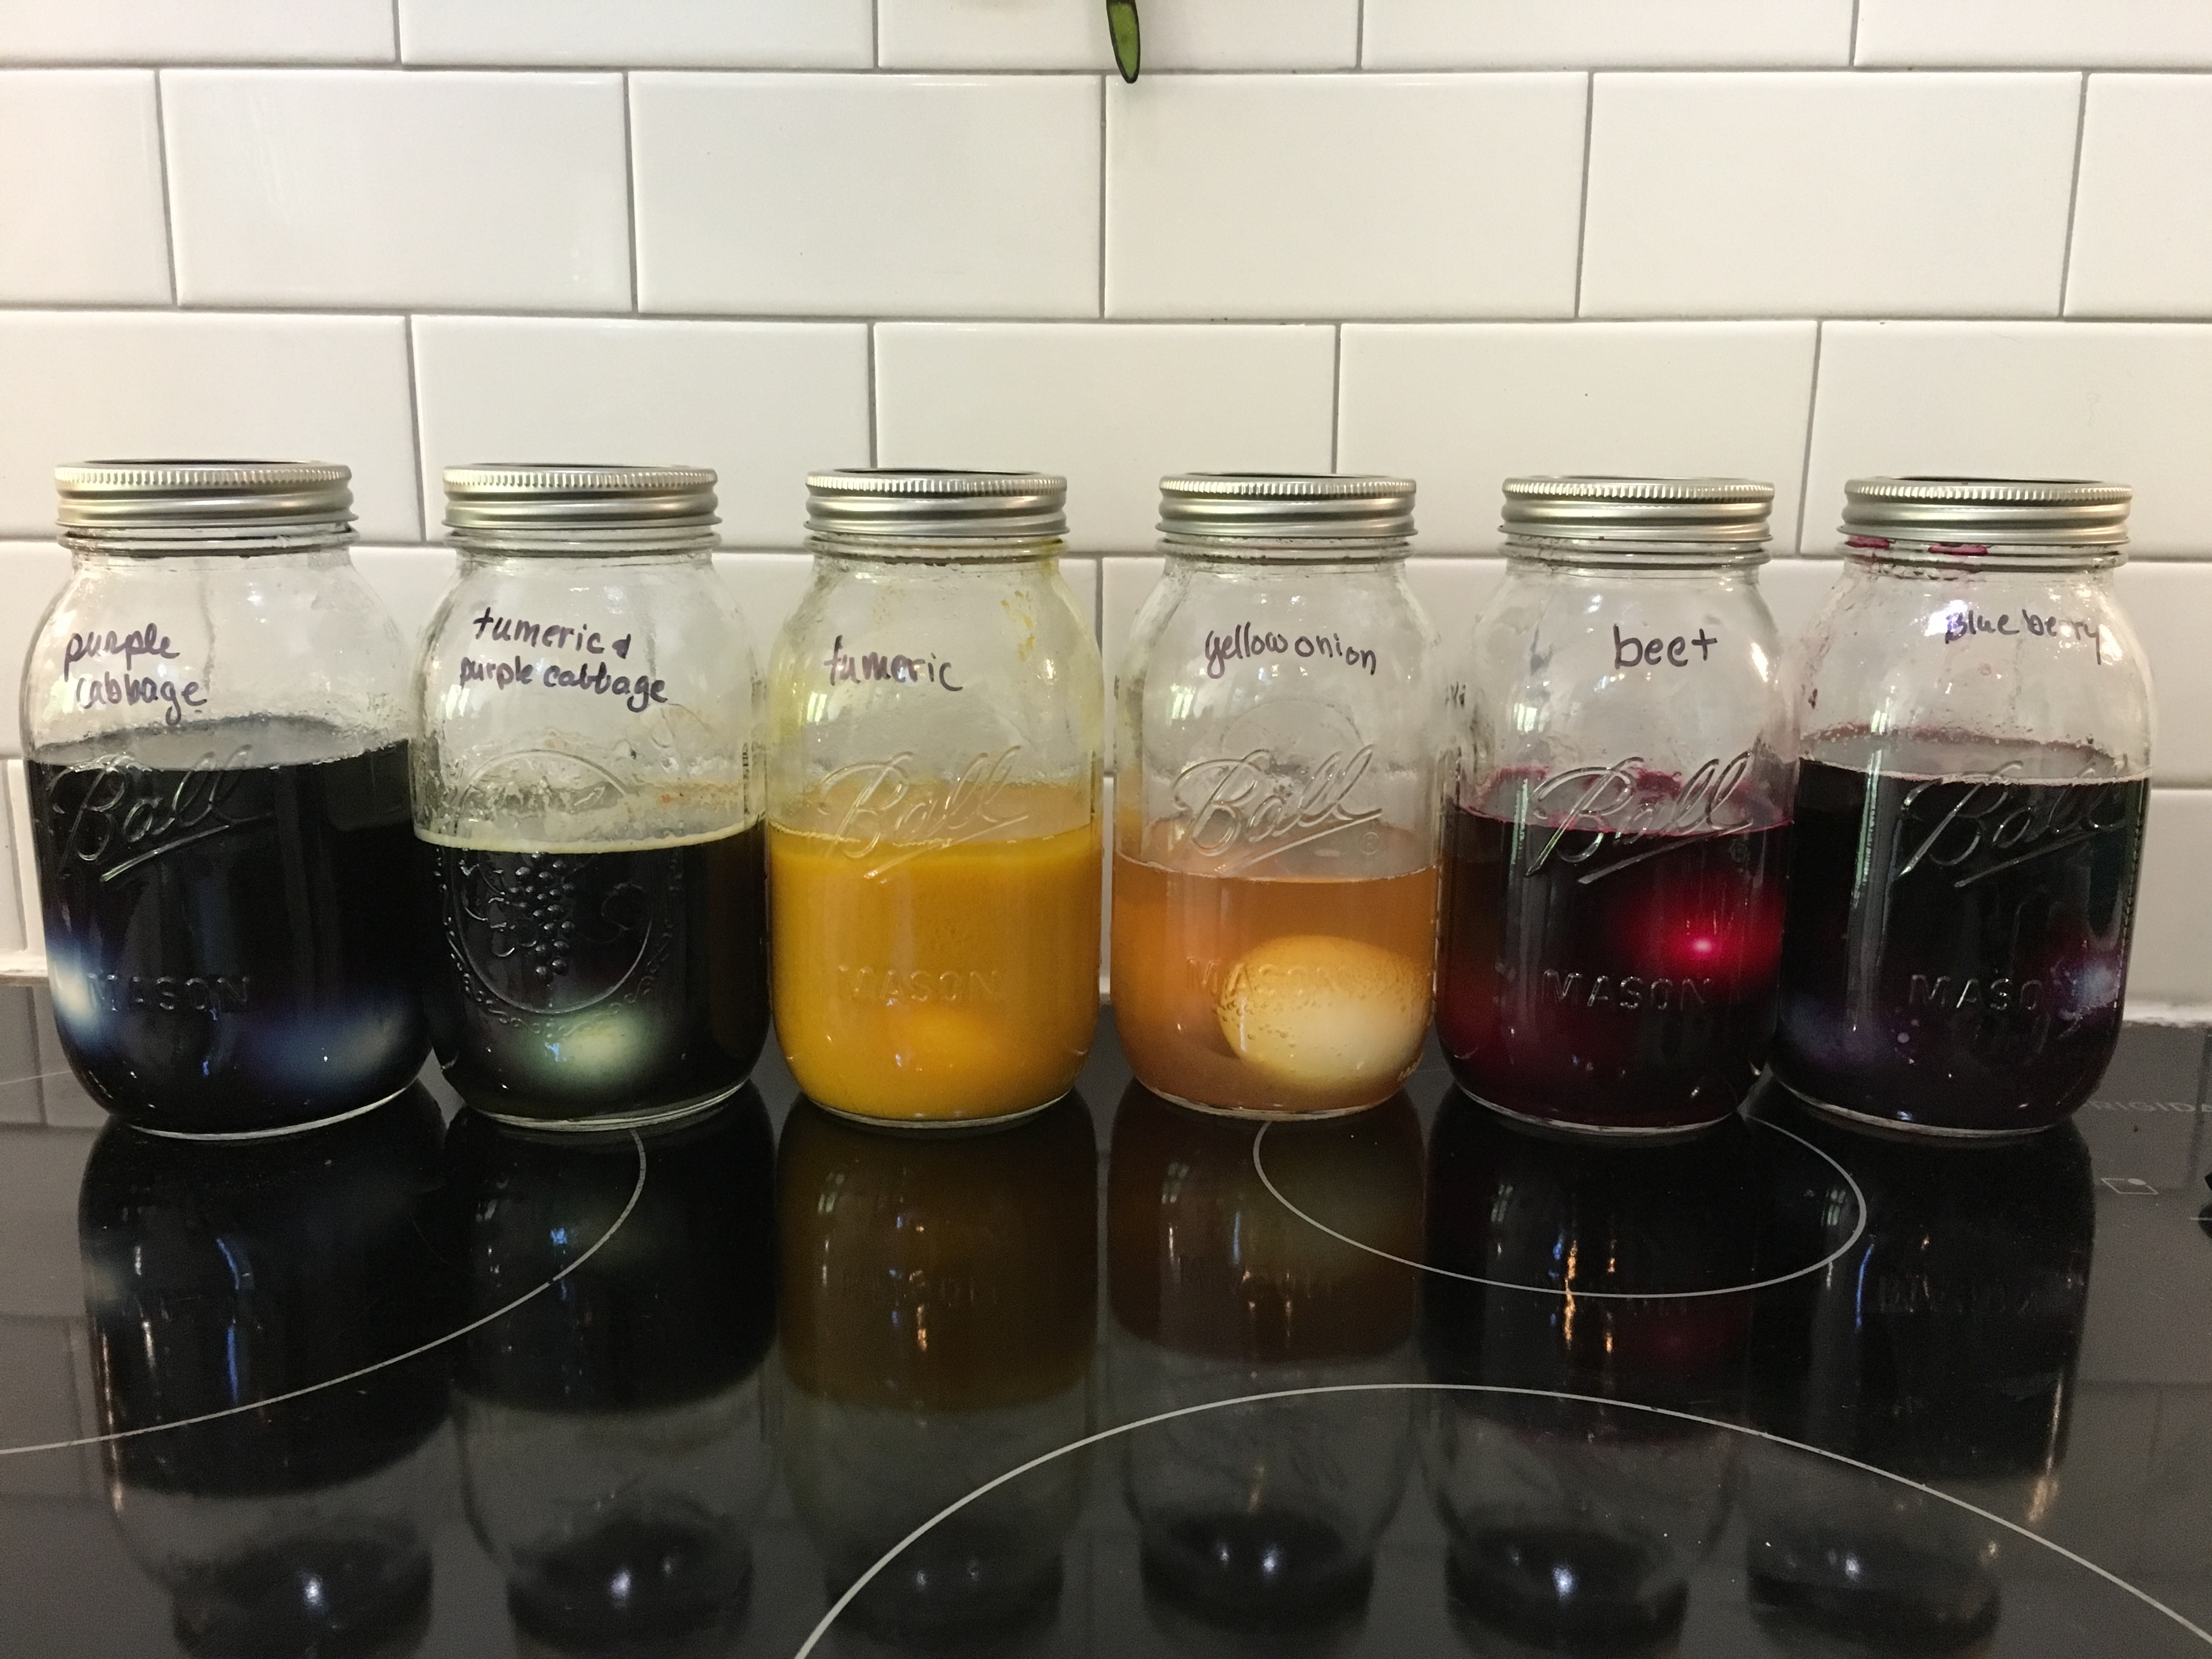
Natural dyes for hard boiled eggs (no vinegar in the purple cabbage solution on the left)
We roughly followed Fresh Egg Daily’s instructions, and bought blueberries, beets, yellow onions, turmeric (buying a small bag of this in the bulk section was less expensive), and purple cabbage. We halved the recipe in most cases, using only 2 cups of water and about 1.5 cups of veggies (or 1 Tbsp turmeric), and added 2 Tbsp vinegar, except for the purple cabbage. Now vinegar in the dye is what helps the dye set on the shell of the egg, but if you make a solution of purple cabbage juice acidic (which is what happens when you add vinegar), the liquid turns pink instead of blue, so I did not add vinegar to that jar. We also tried boiling the turmeric and purple cabbage together for the green color, then boiling them separately and adding about a cup of each liquid together in a different jar. I had already added the vinegar to the turmeric solution, so the “boiled separately” solution was a rusty brown (and I hid it in the pictures, because it was not a pretty color solution).
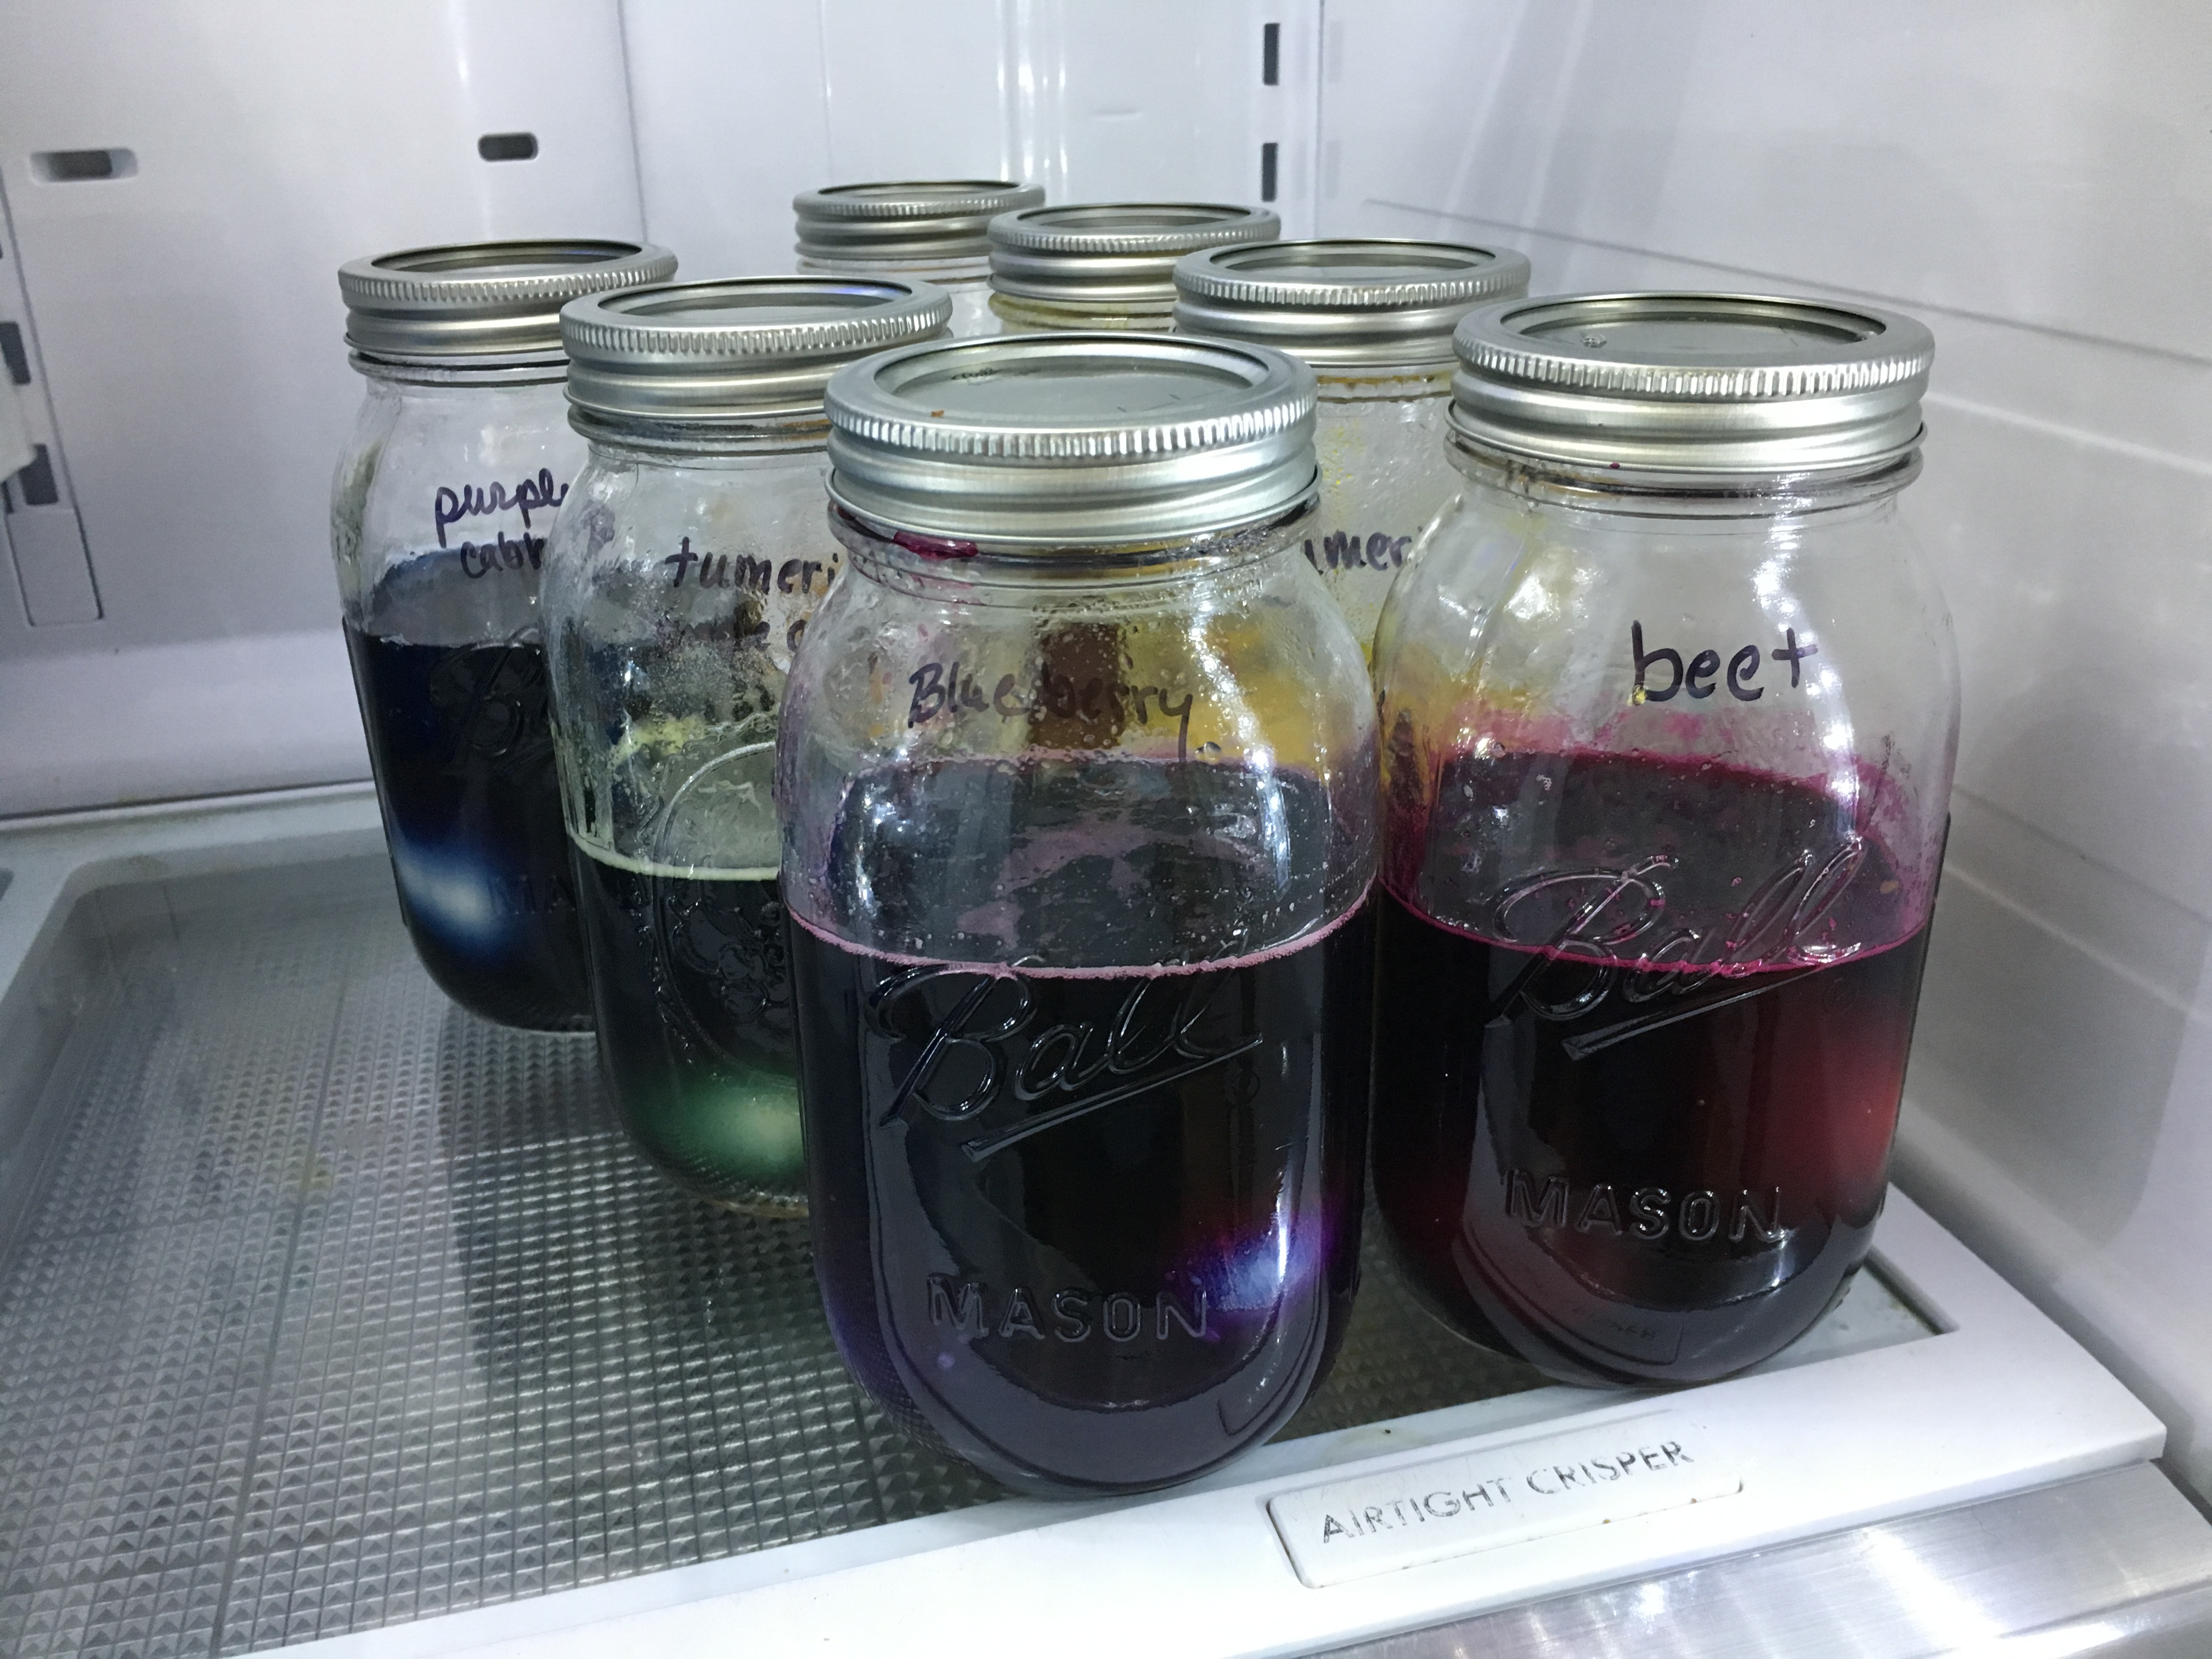
Eggs in solution in the refrigerator
We put hard boiled eggs in each jar and refrigerated them longer than recommended. We pulled the blueberry and beet after 48 hours, and the others after 72 hours.
From left to right: blueberries, purple cabbage (no vinegar), purple cabbage and turmeric, turmeric, yellow onion, beet
Results: I should have taken pictures of the blueberry dye and the beet dye right after I pulled them out of the solution, and then after I rinsed off the particulates. This picture is a day later, and the colors have started to go brown. The most surprising result was that even though the turmeric and purple cabbage solution color was brown, the eggs turned out green. The two darker green eggs had more vinegar in the solution. The purple cabbage solution without vinegar barely colored the eggs, but where there was a crack in the shell, definitely colored the egg white a blue color. I picked off a bit of shell on the beet dyed eggs as well to show the egg white color (no longer white).
Thanks for sticking with the length of this post. Here is a video of chicks learning to perch and fly as your reward.
My primary book reference “Storey’s Guide to Raising Chickens” by Gail Damerow suggests putting feed on pieces of paper for days old chicks, then switching to a shallow tray once they have all figured out what to peck. I have some card stock I’ve been trying to get through (I thought I was ordering bright white, but what I ordered had rainbow flecks, ugh), so I used some of that to make simple little trays. The nice thing about the trays is they can be thrown away when they get poopy. But it will be even nicer when they eat just out of the hanging feeders. Any who, here is the video:
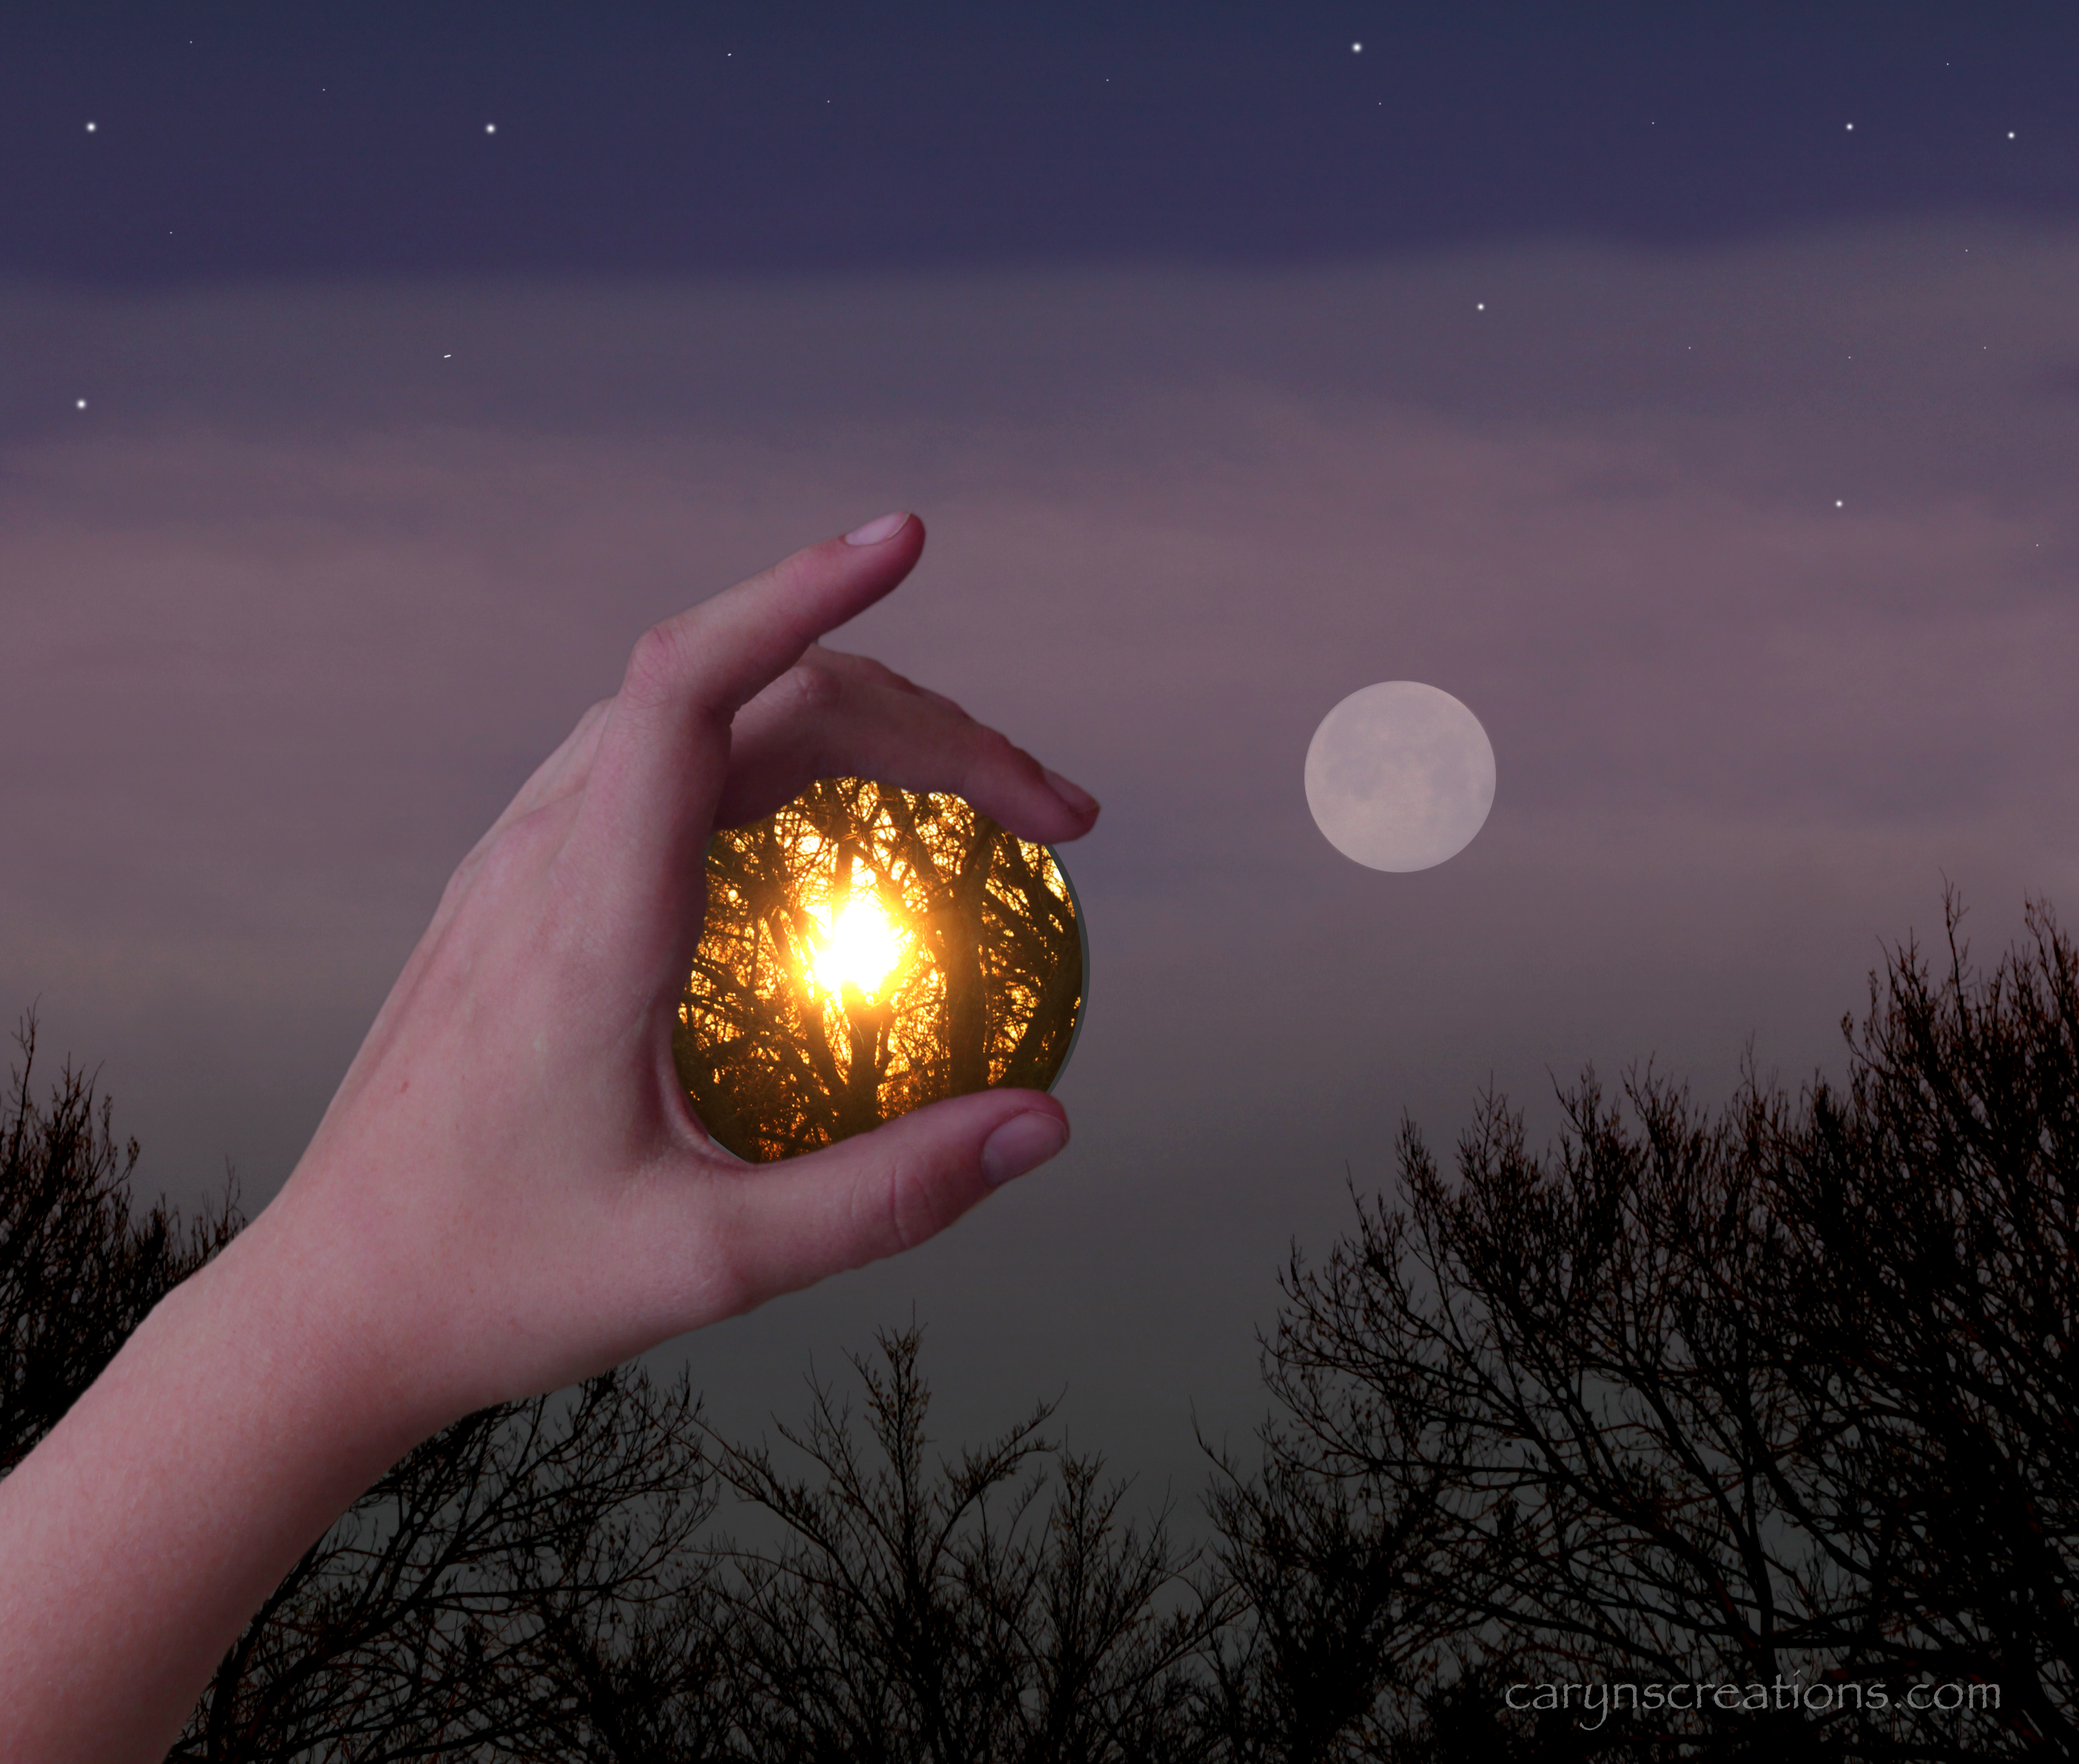
Last week there was a beautiful moon near the horizon and a stunning sunrise, in opposite directions. I couldn’t photograph them in the same shot. I thought that if I had a mirror, I might be able to capture both with some experimentation with angles, but alas, I had no mirror and the minimal focal distance of my lens is longer than my arm. So I put a composite image together in Photoshop. I think it came out nicely, and it was certainly fun to experiment!
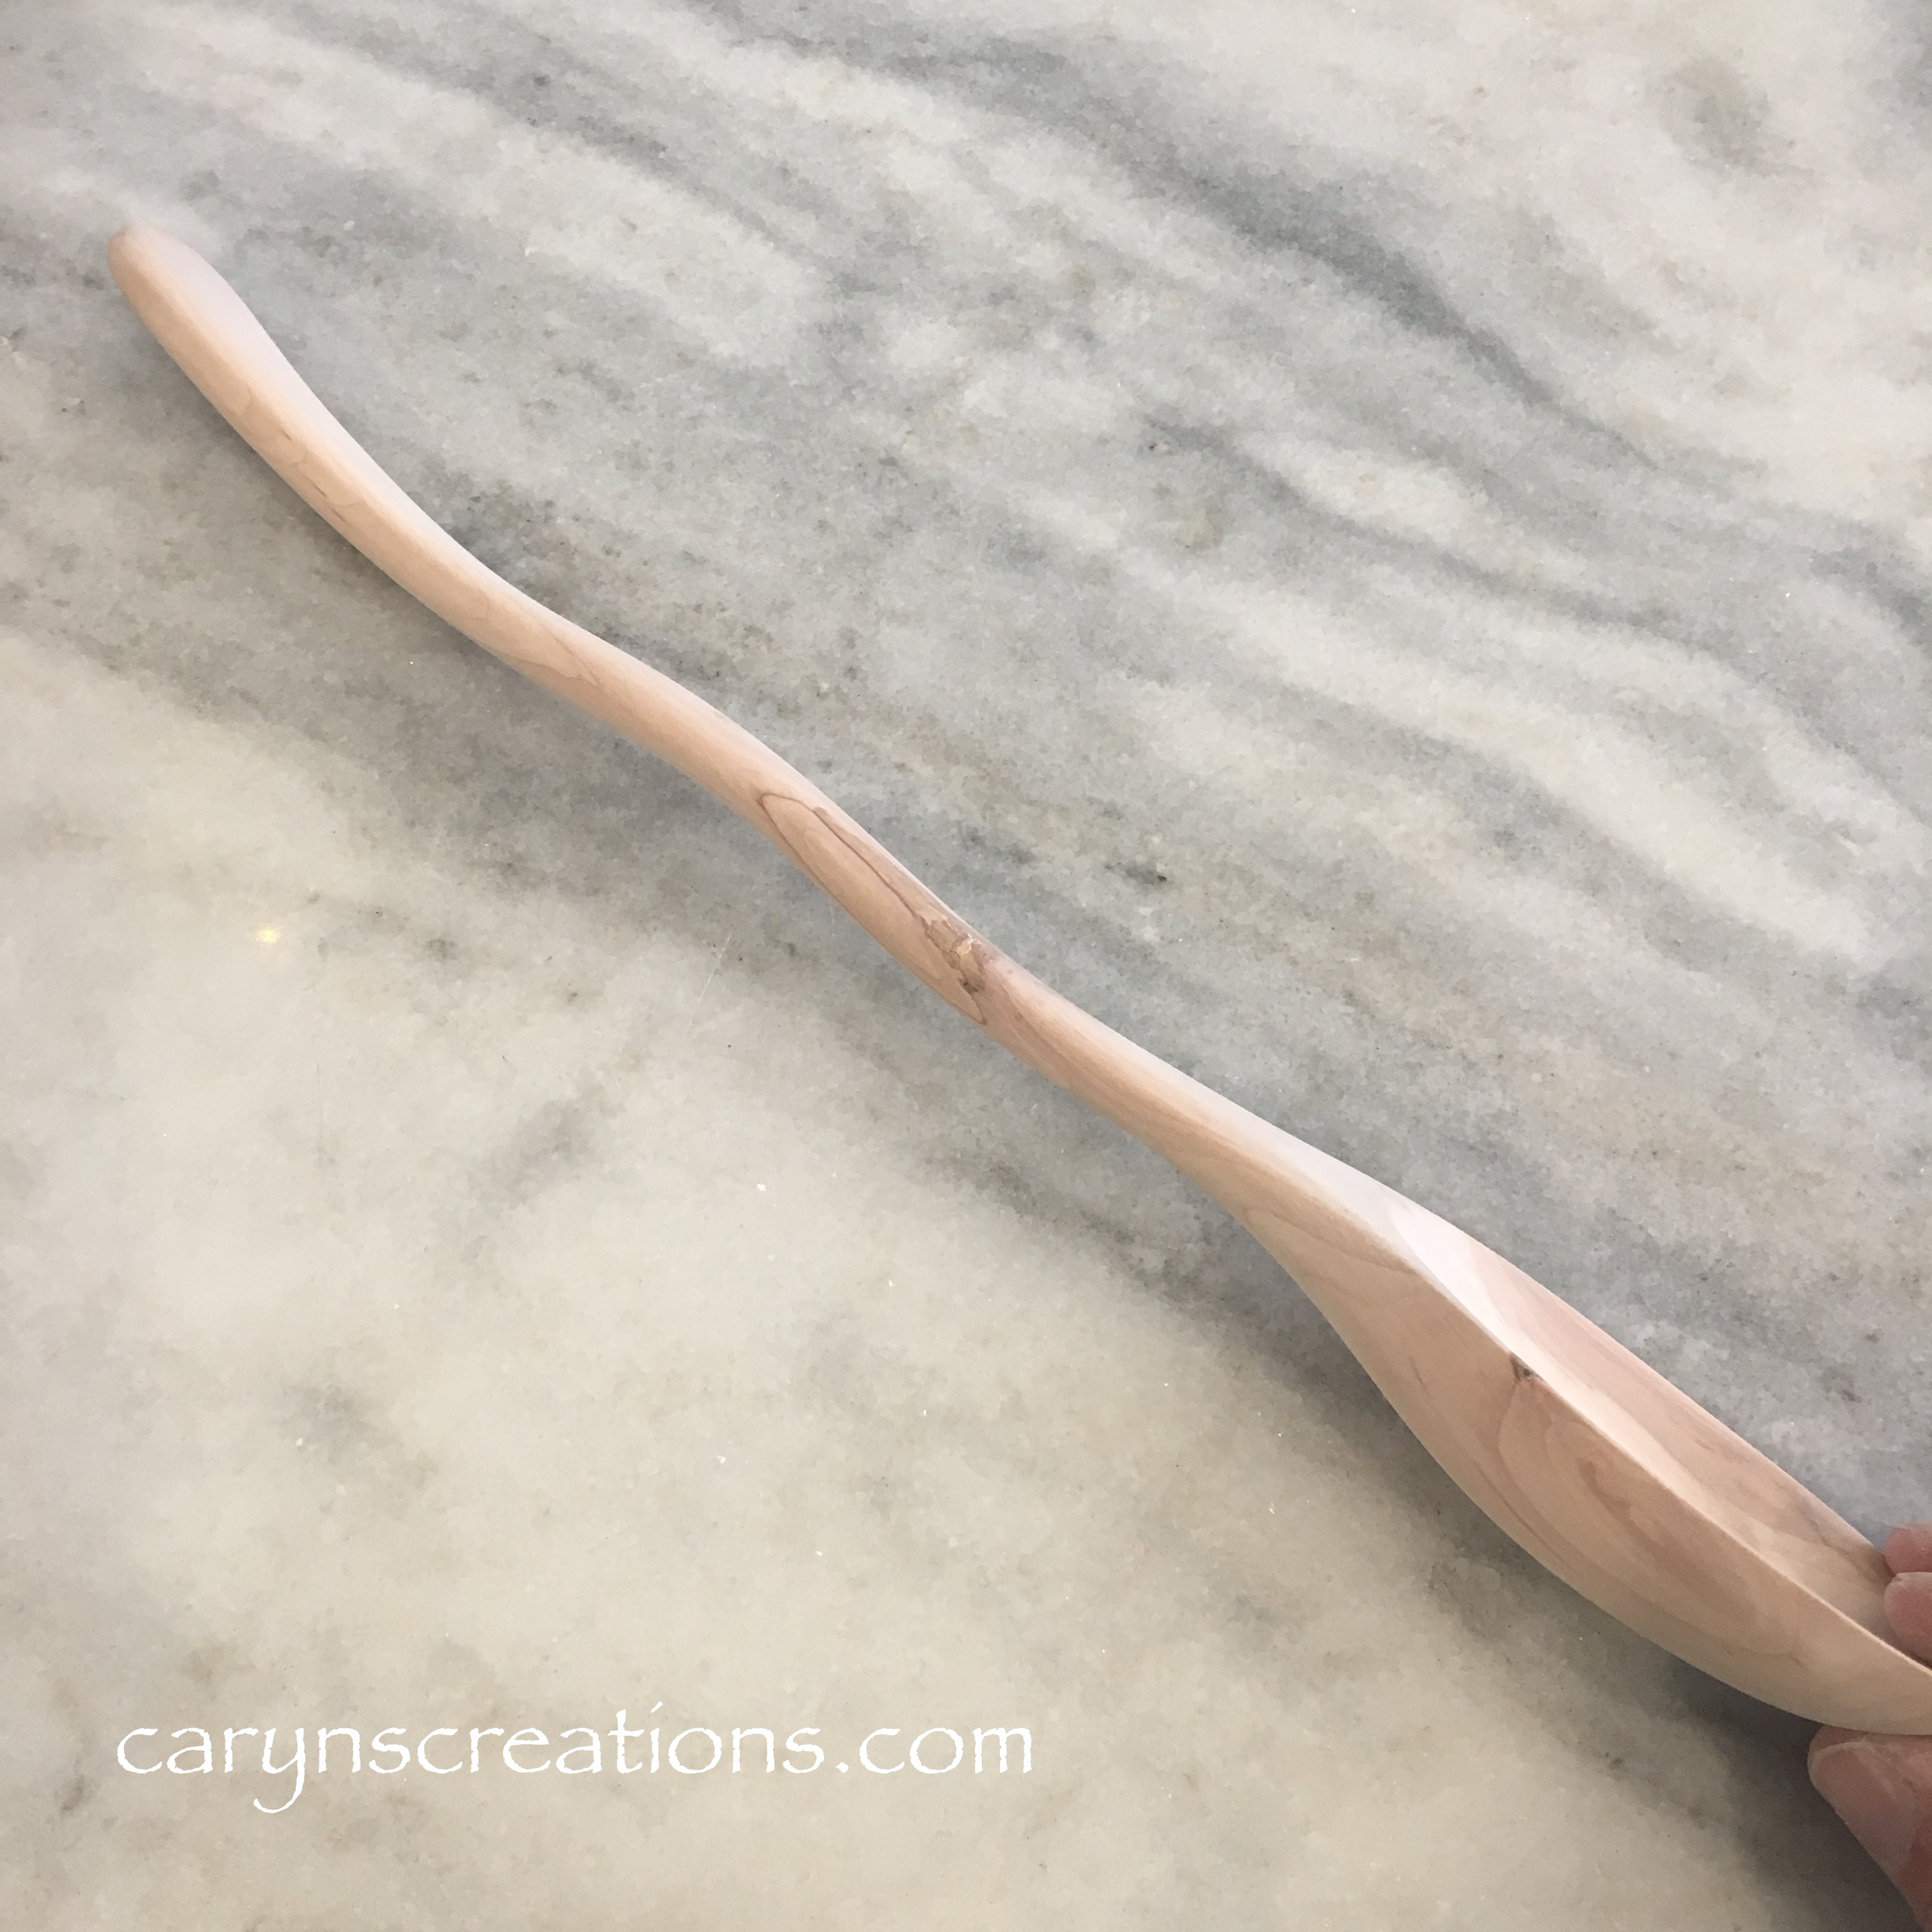
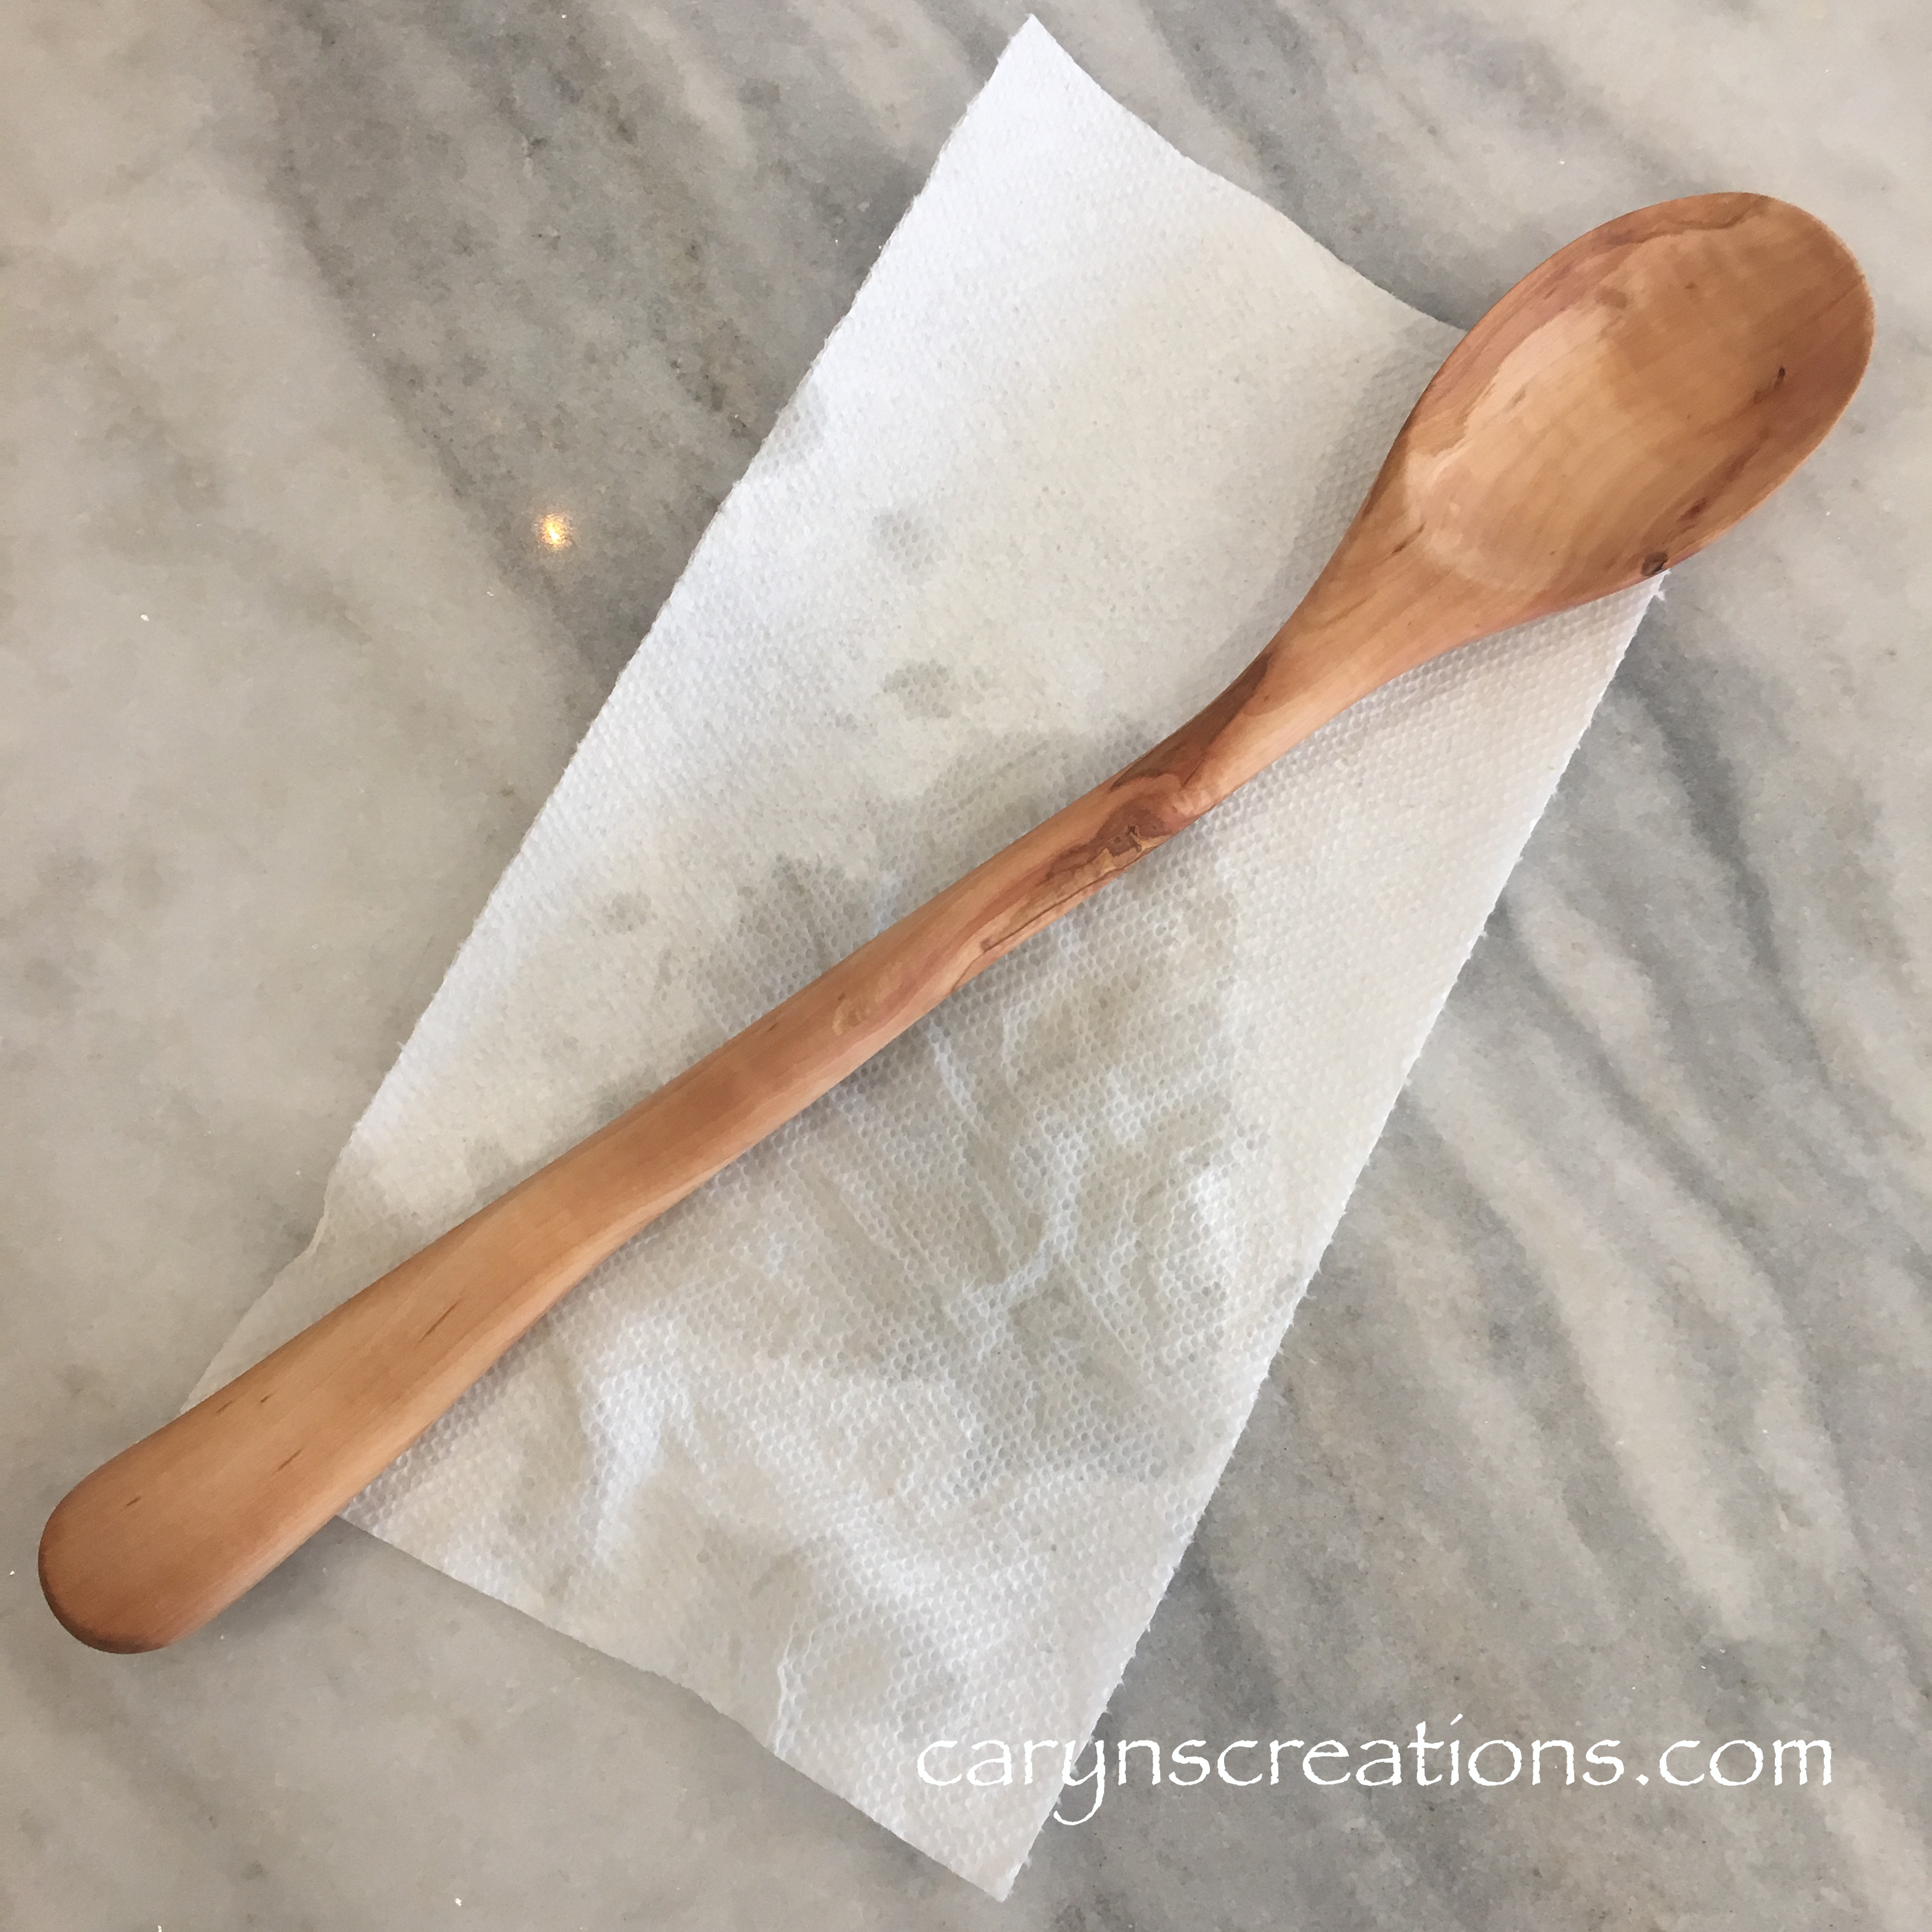
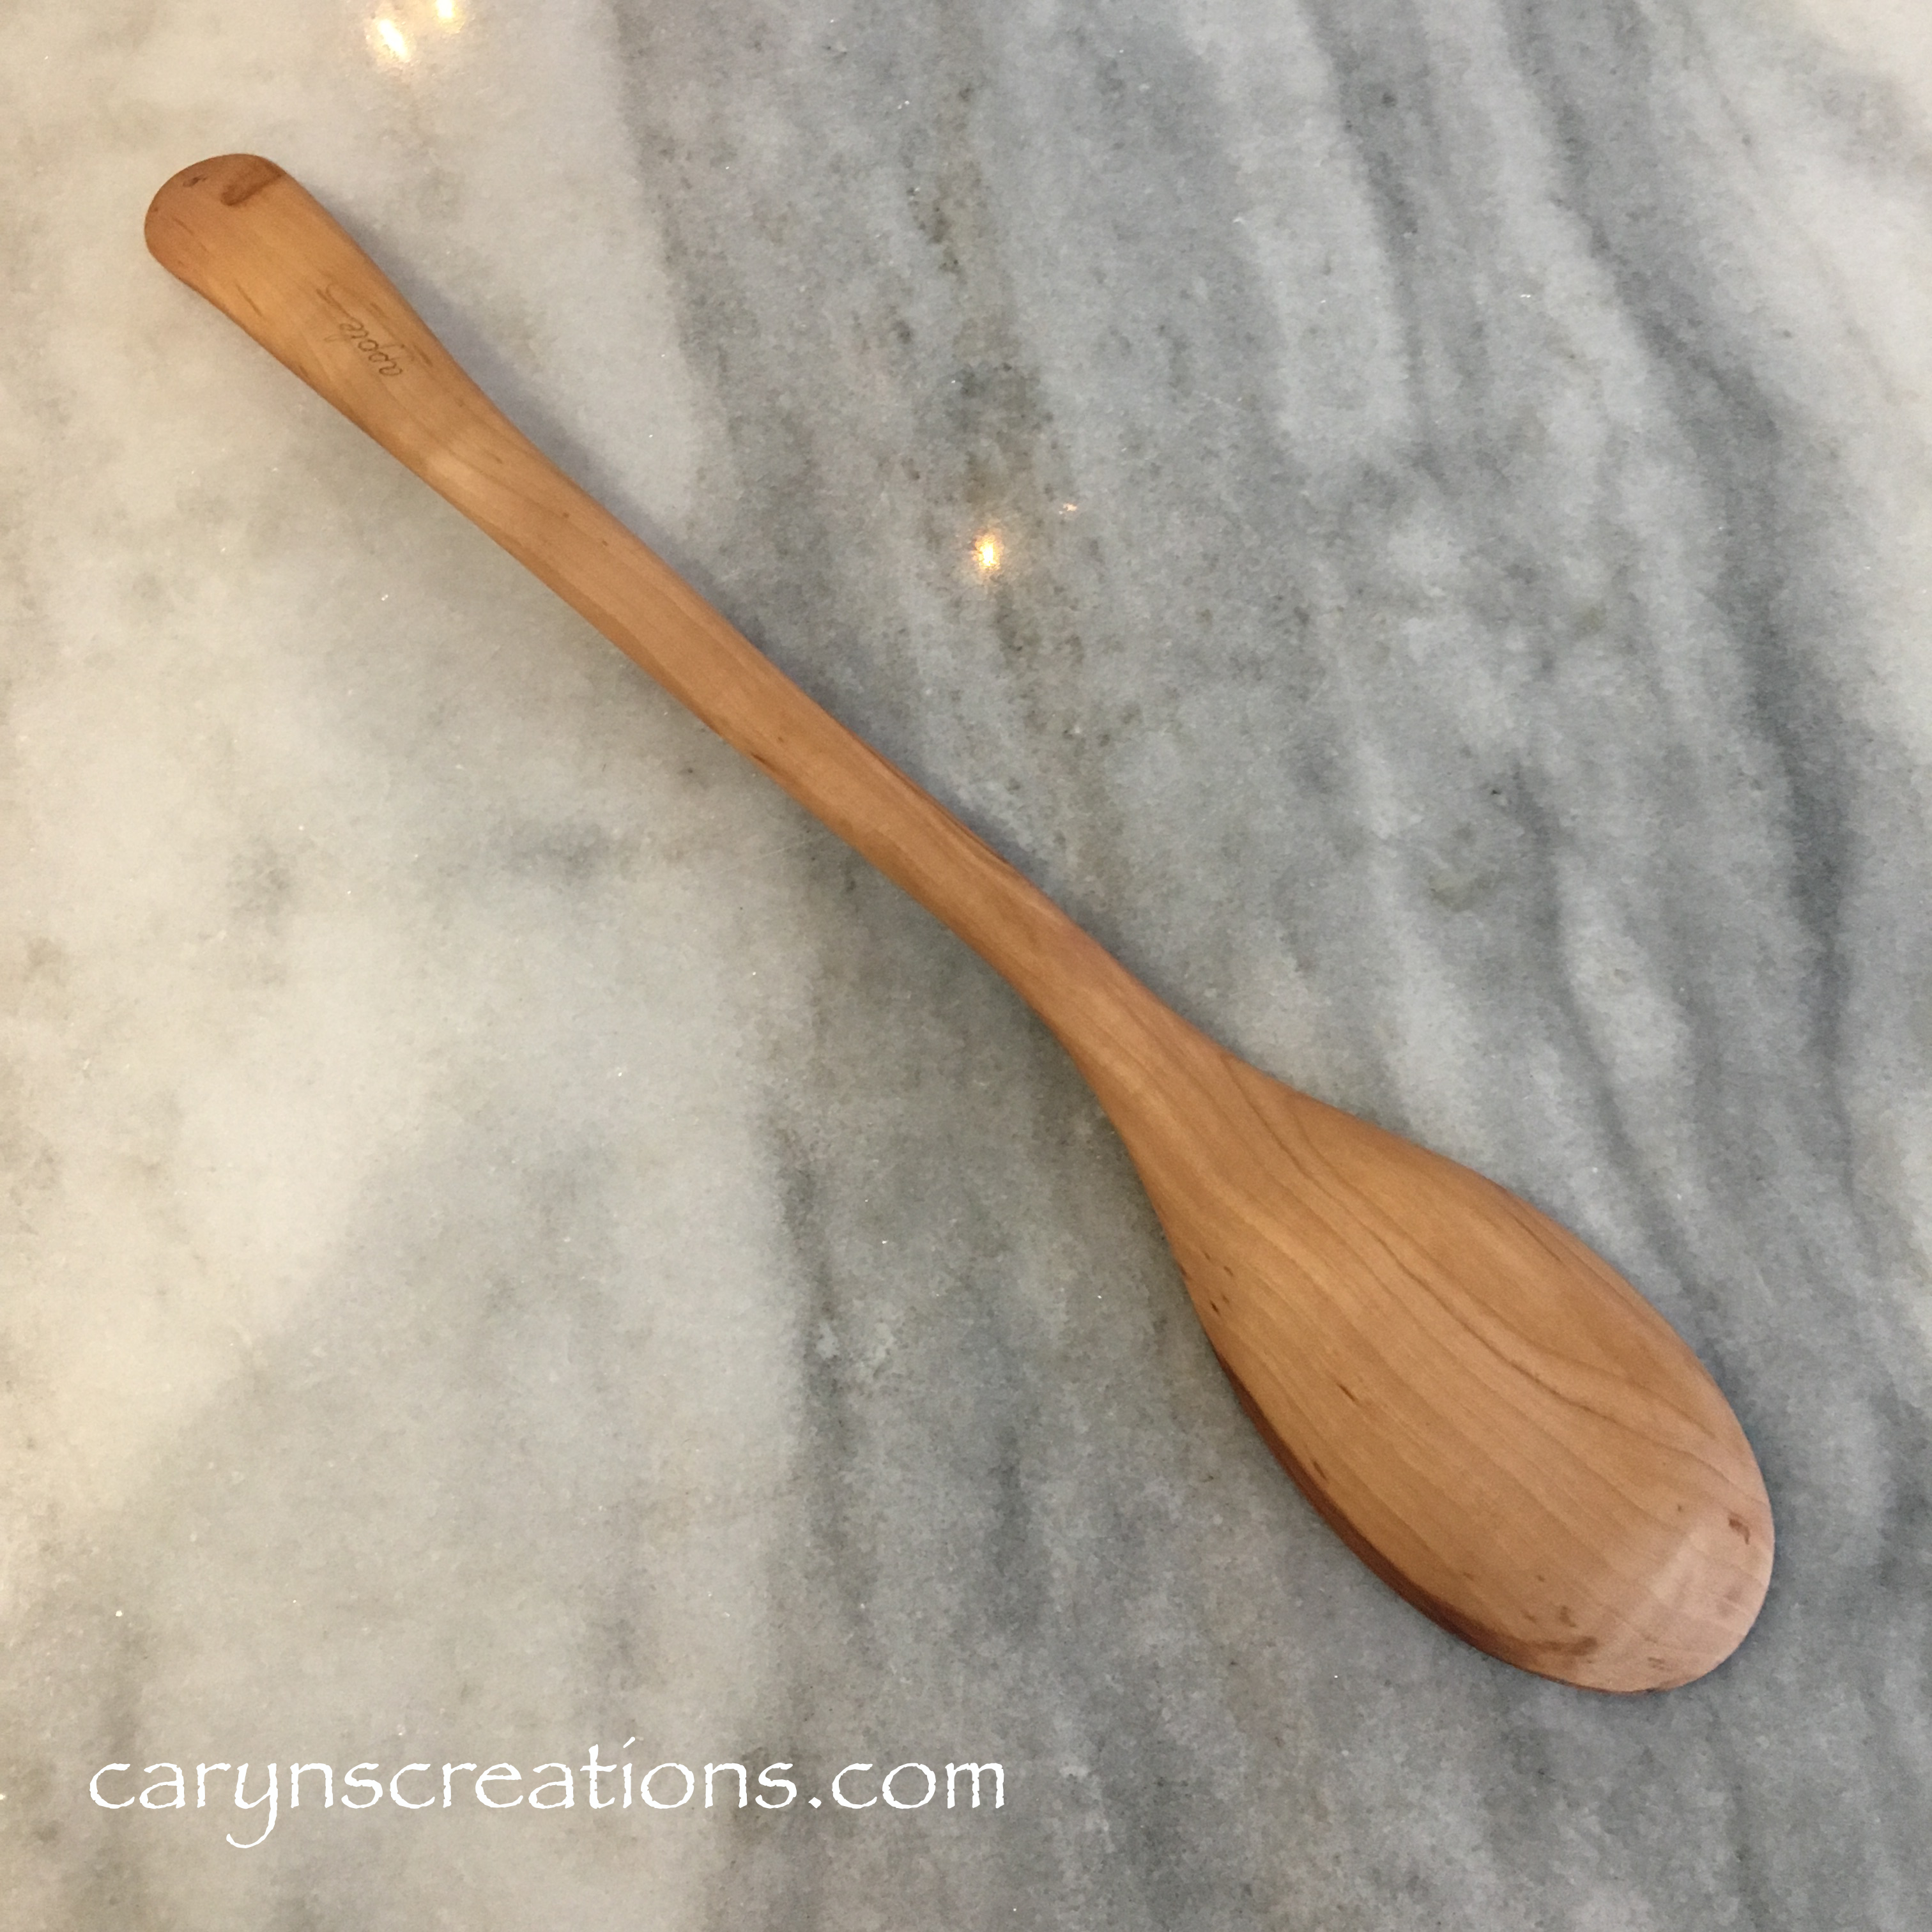
I made another spoon! This time for my sister. I used more of the applewood, and it went a little faster this time (80 grit belts on my belt sander helped).
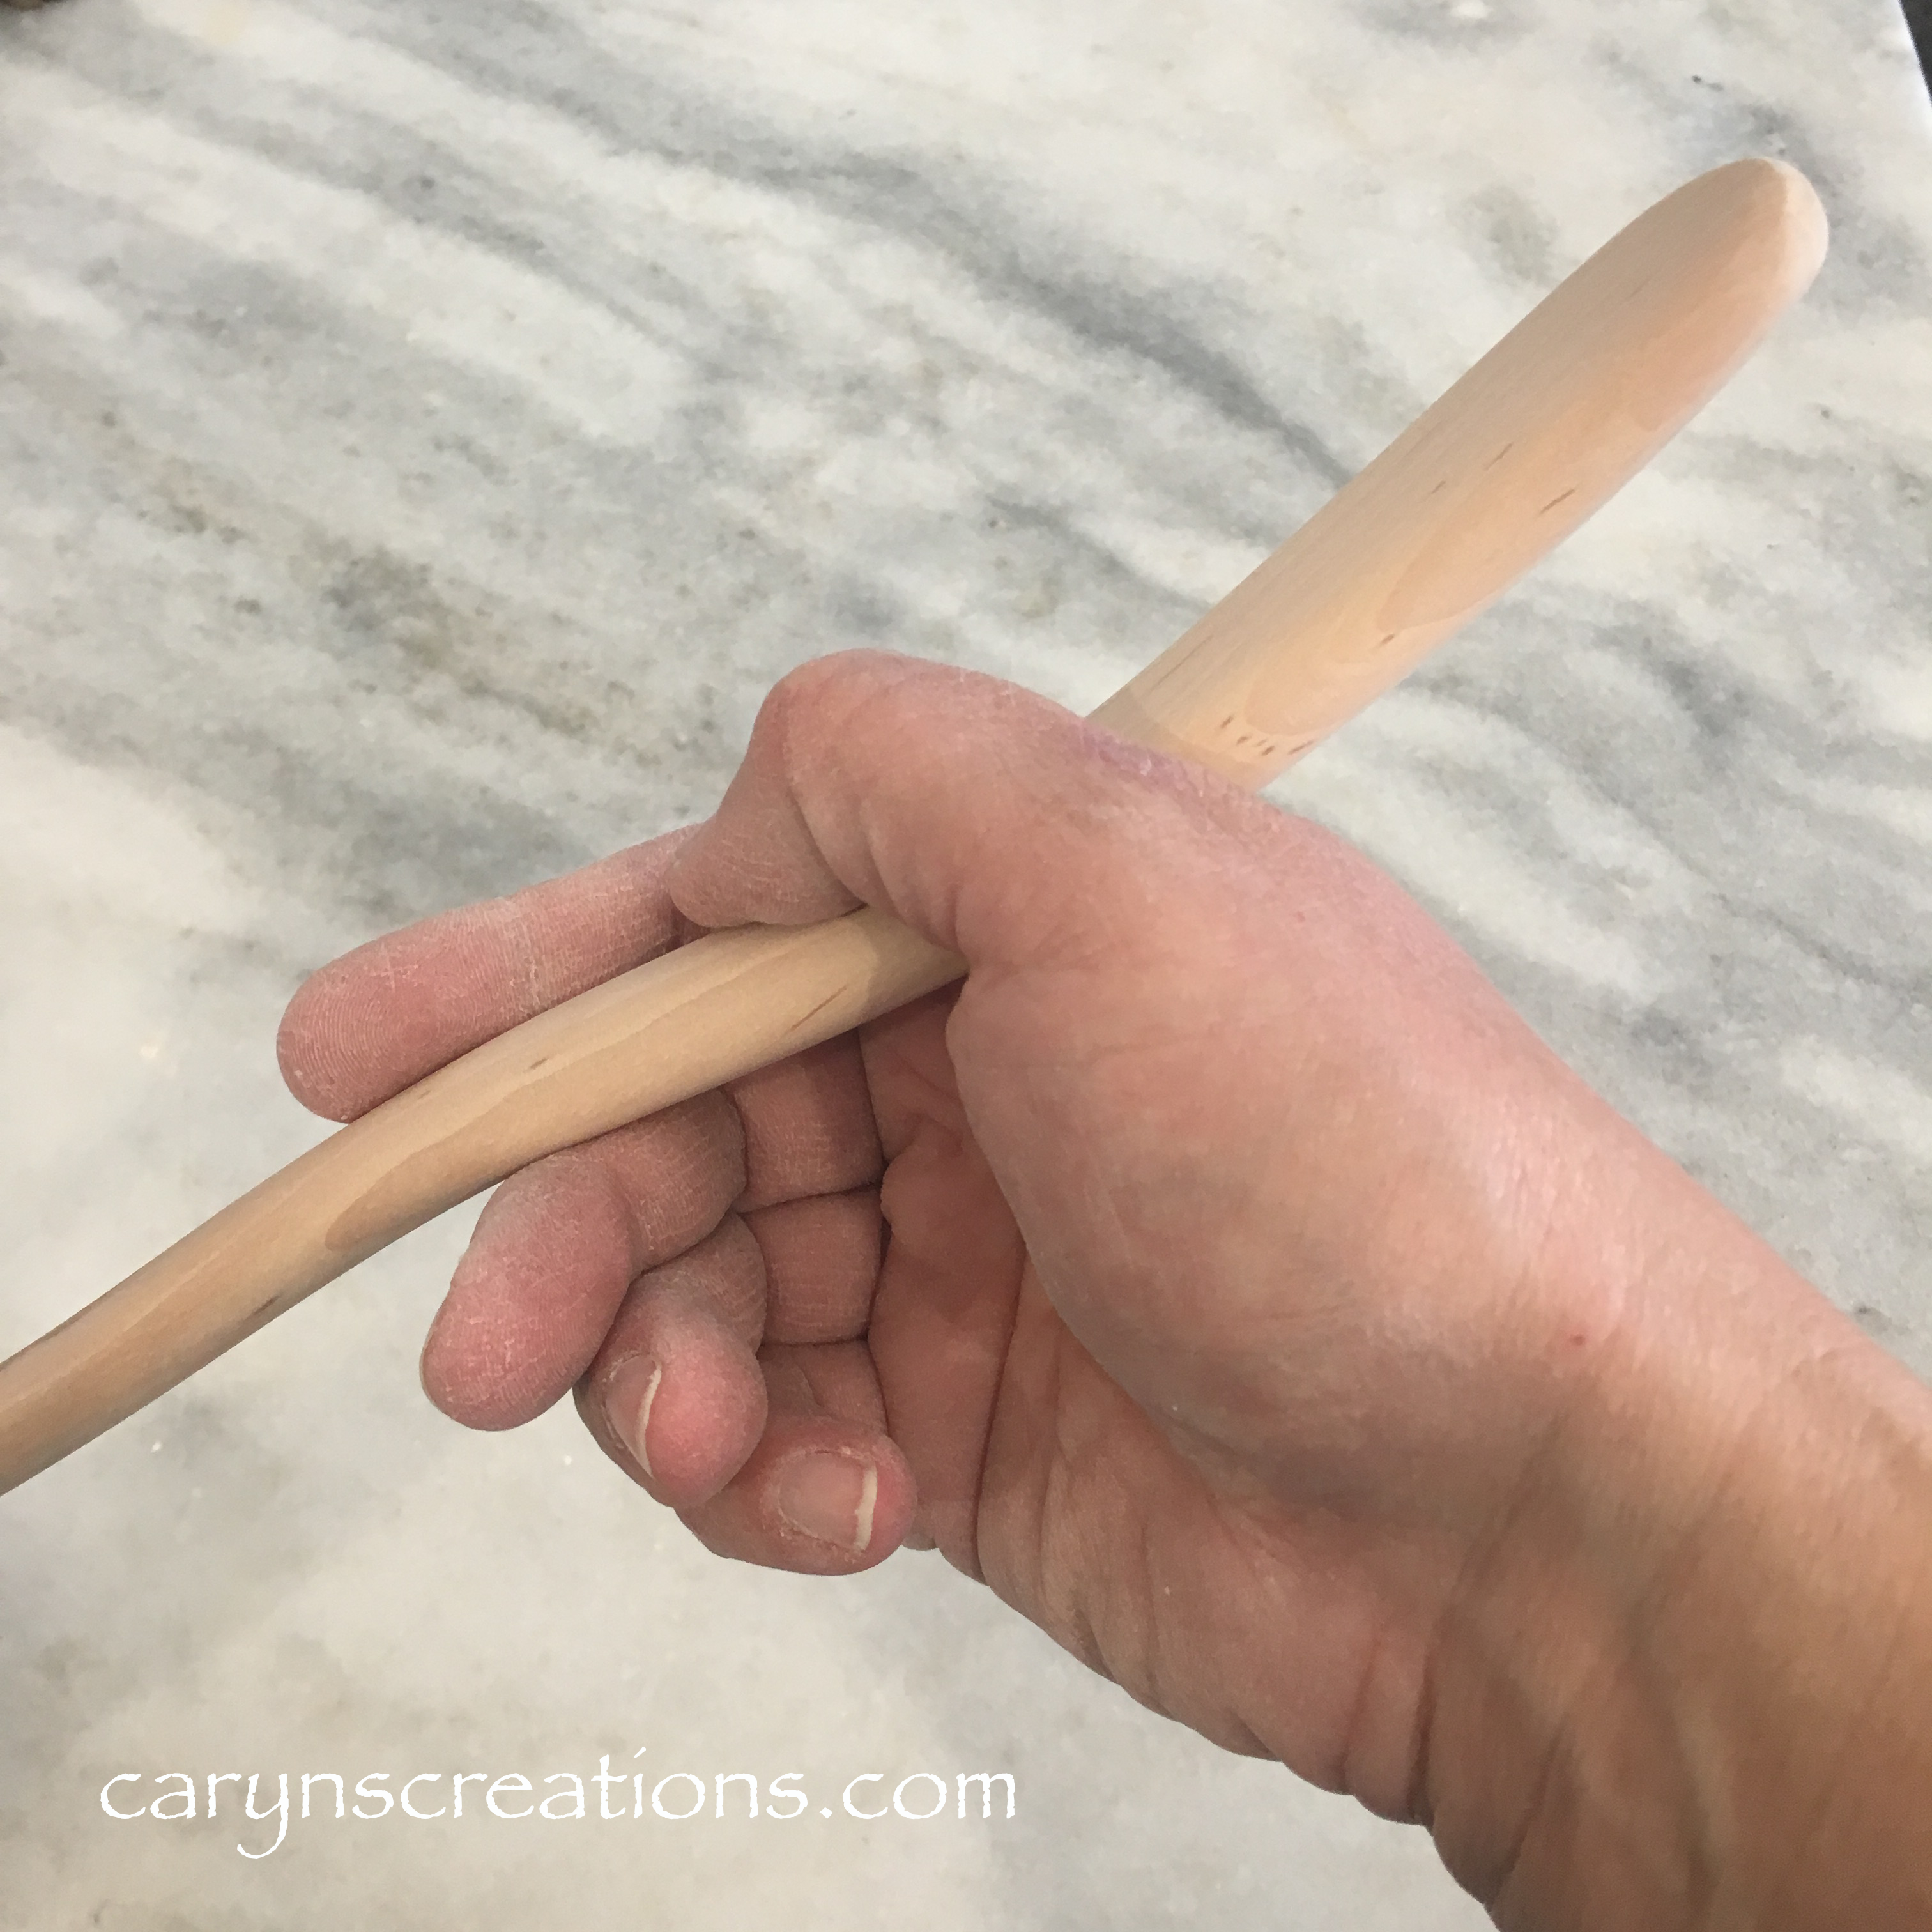
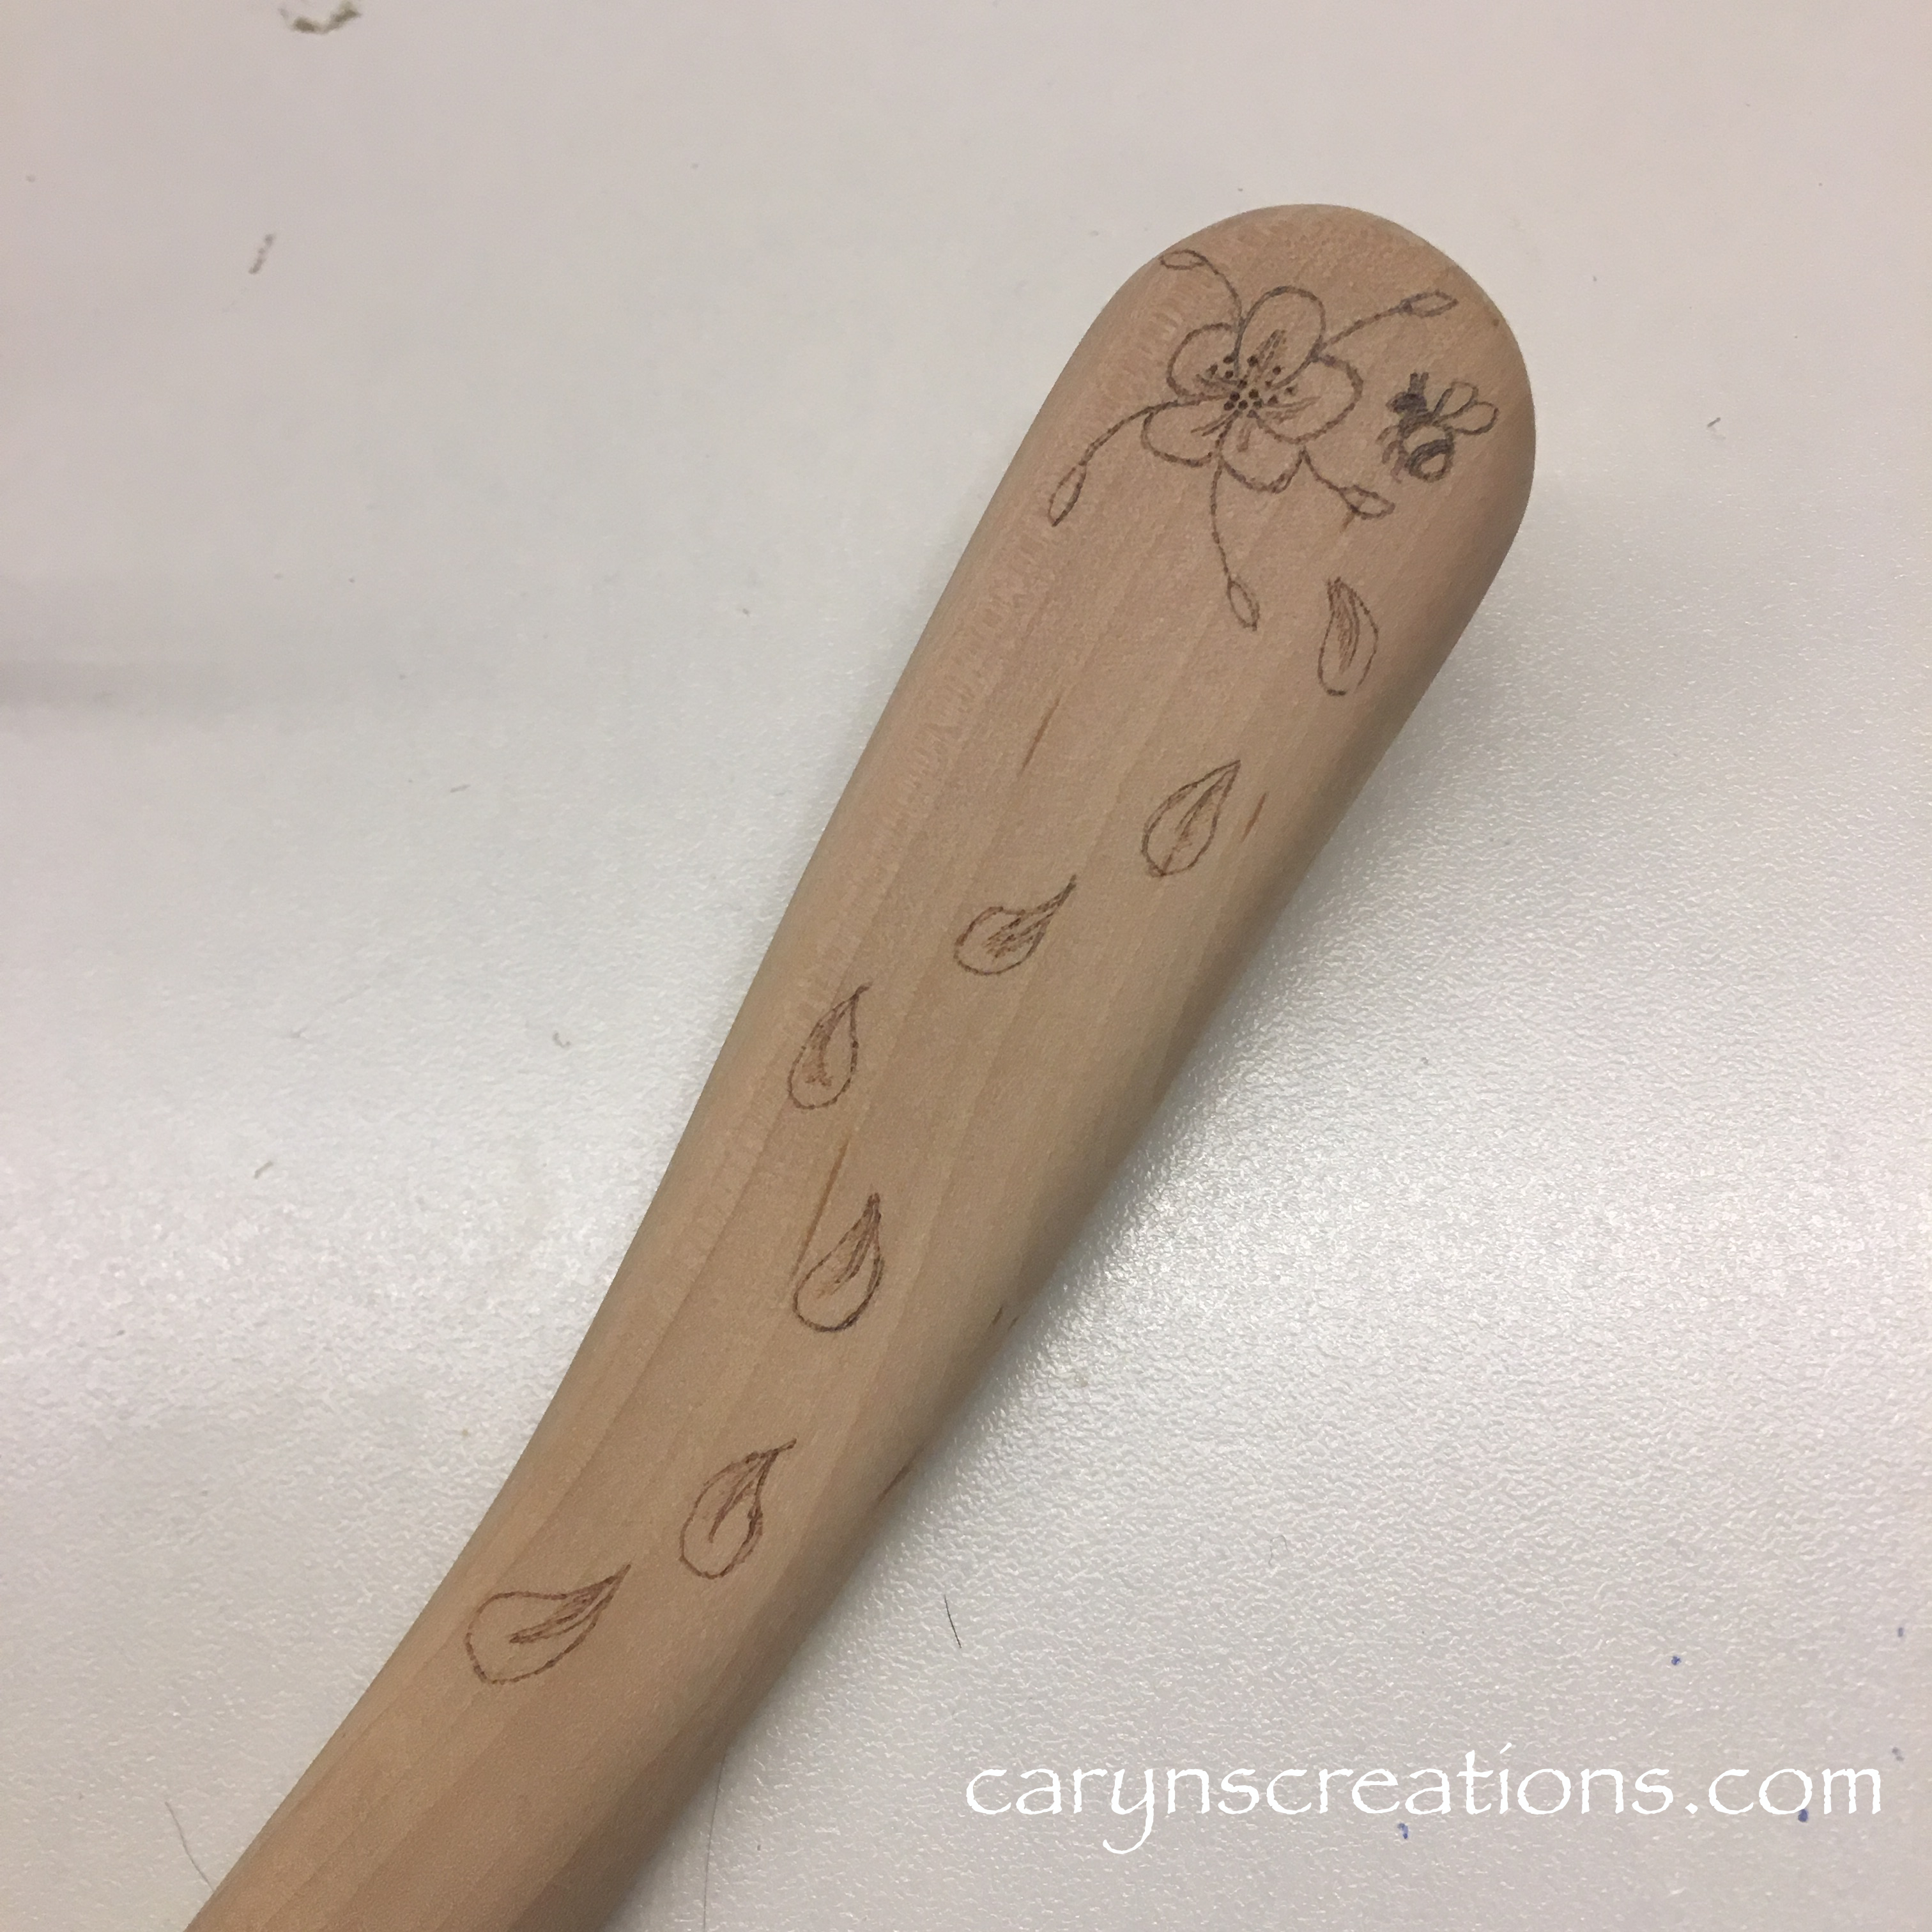
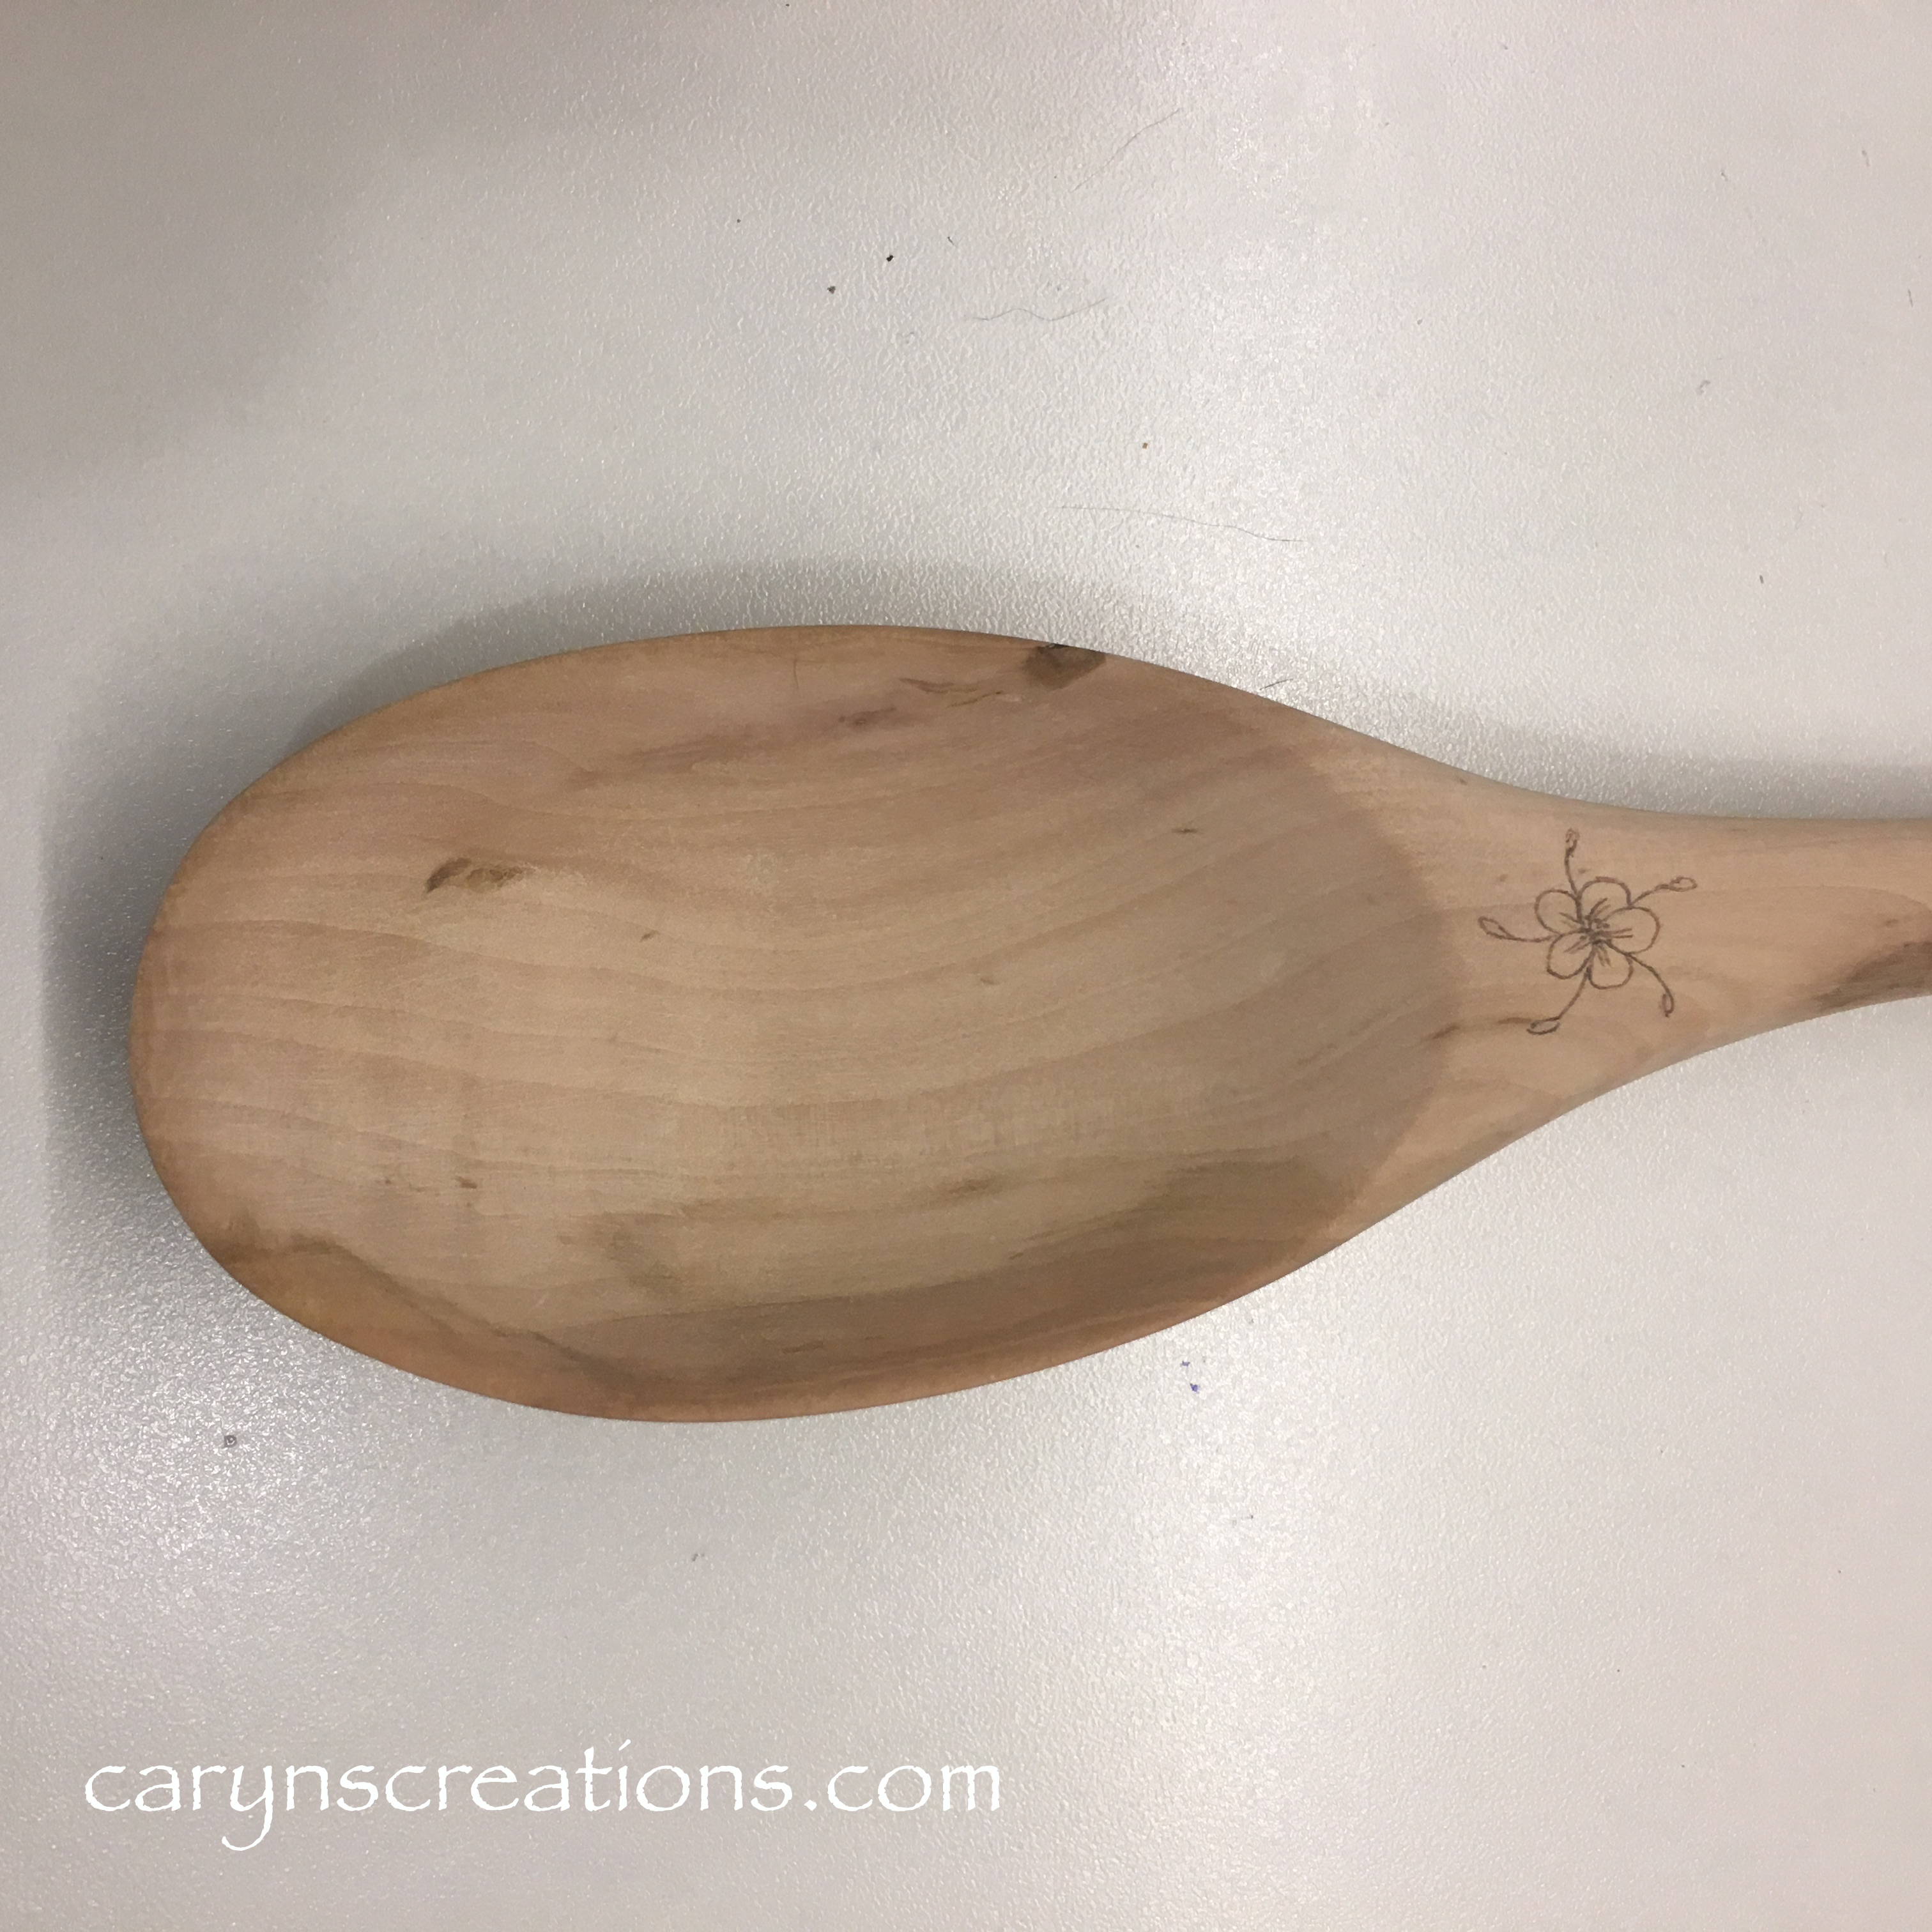
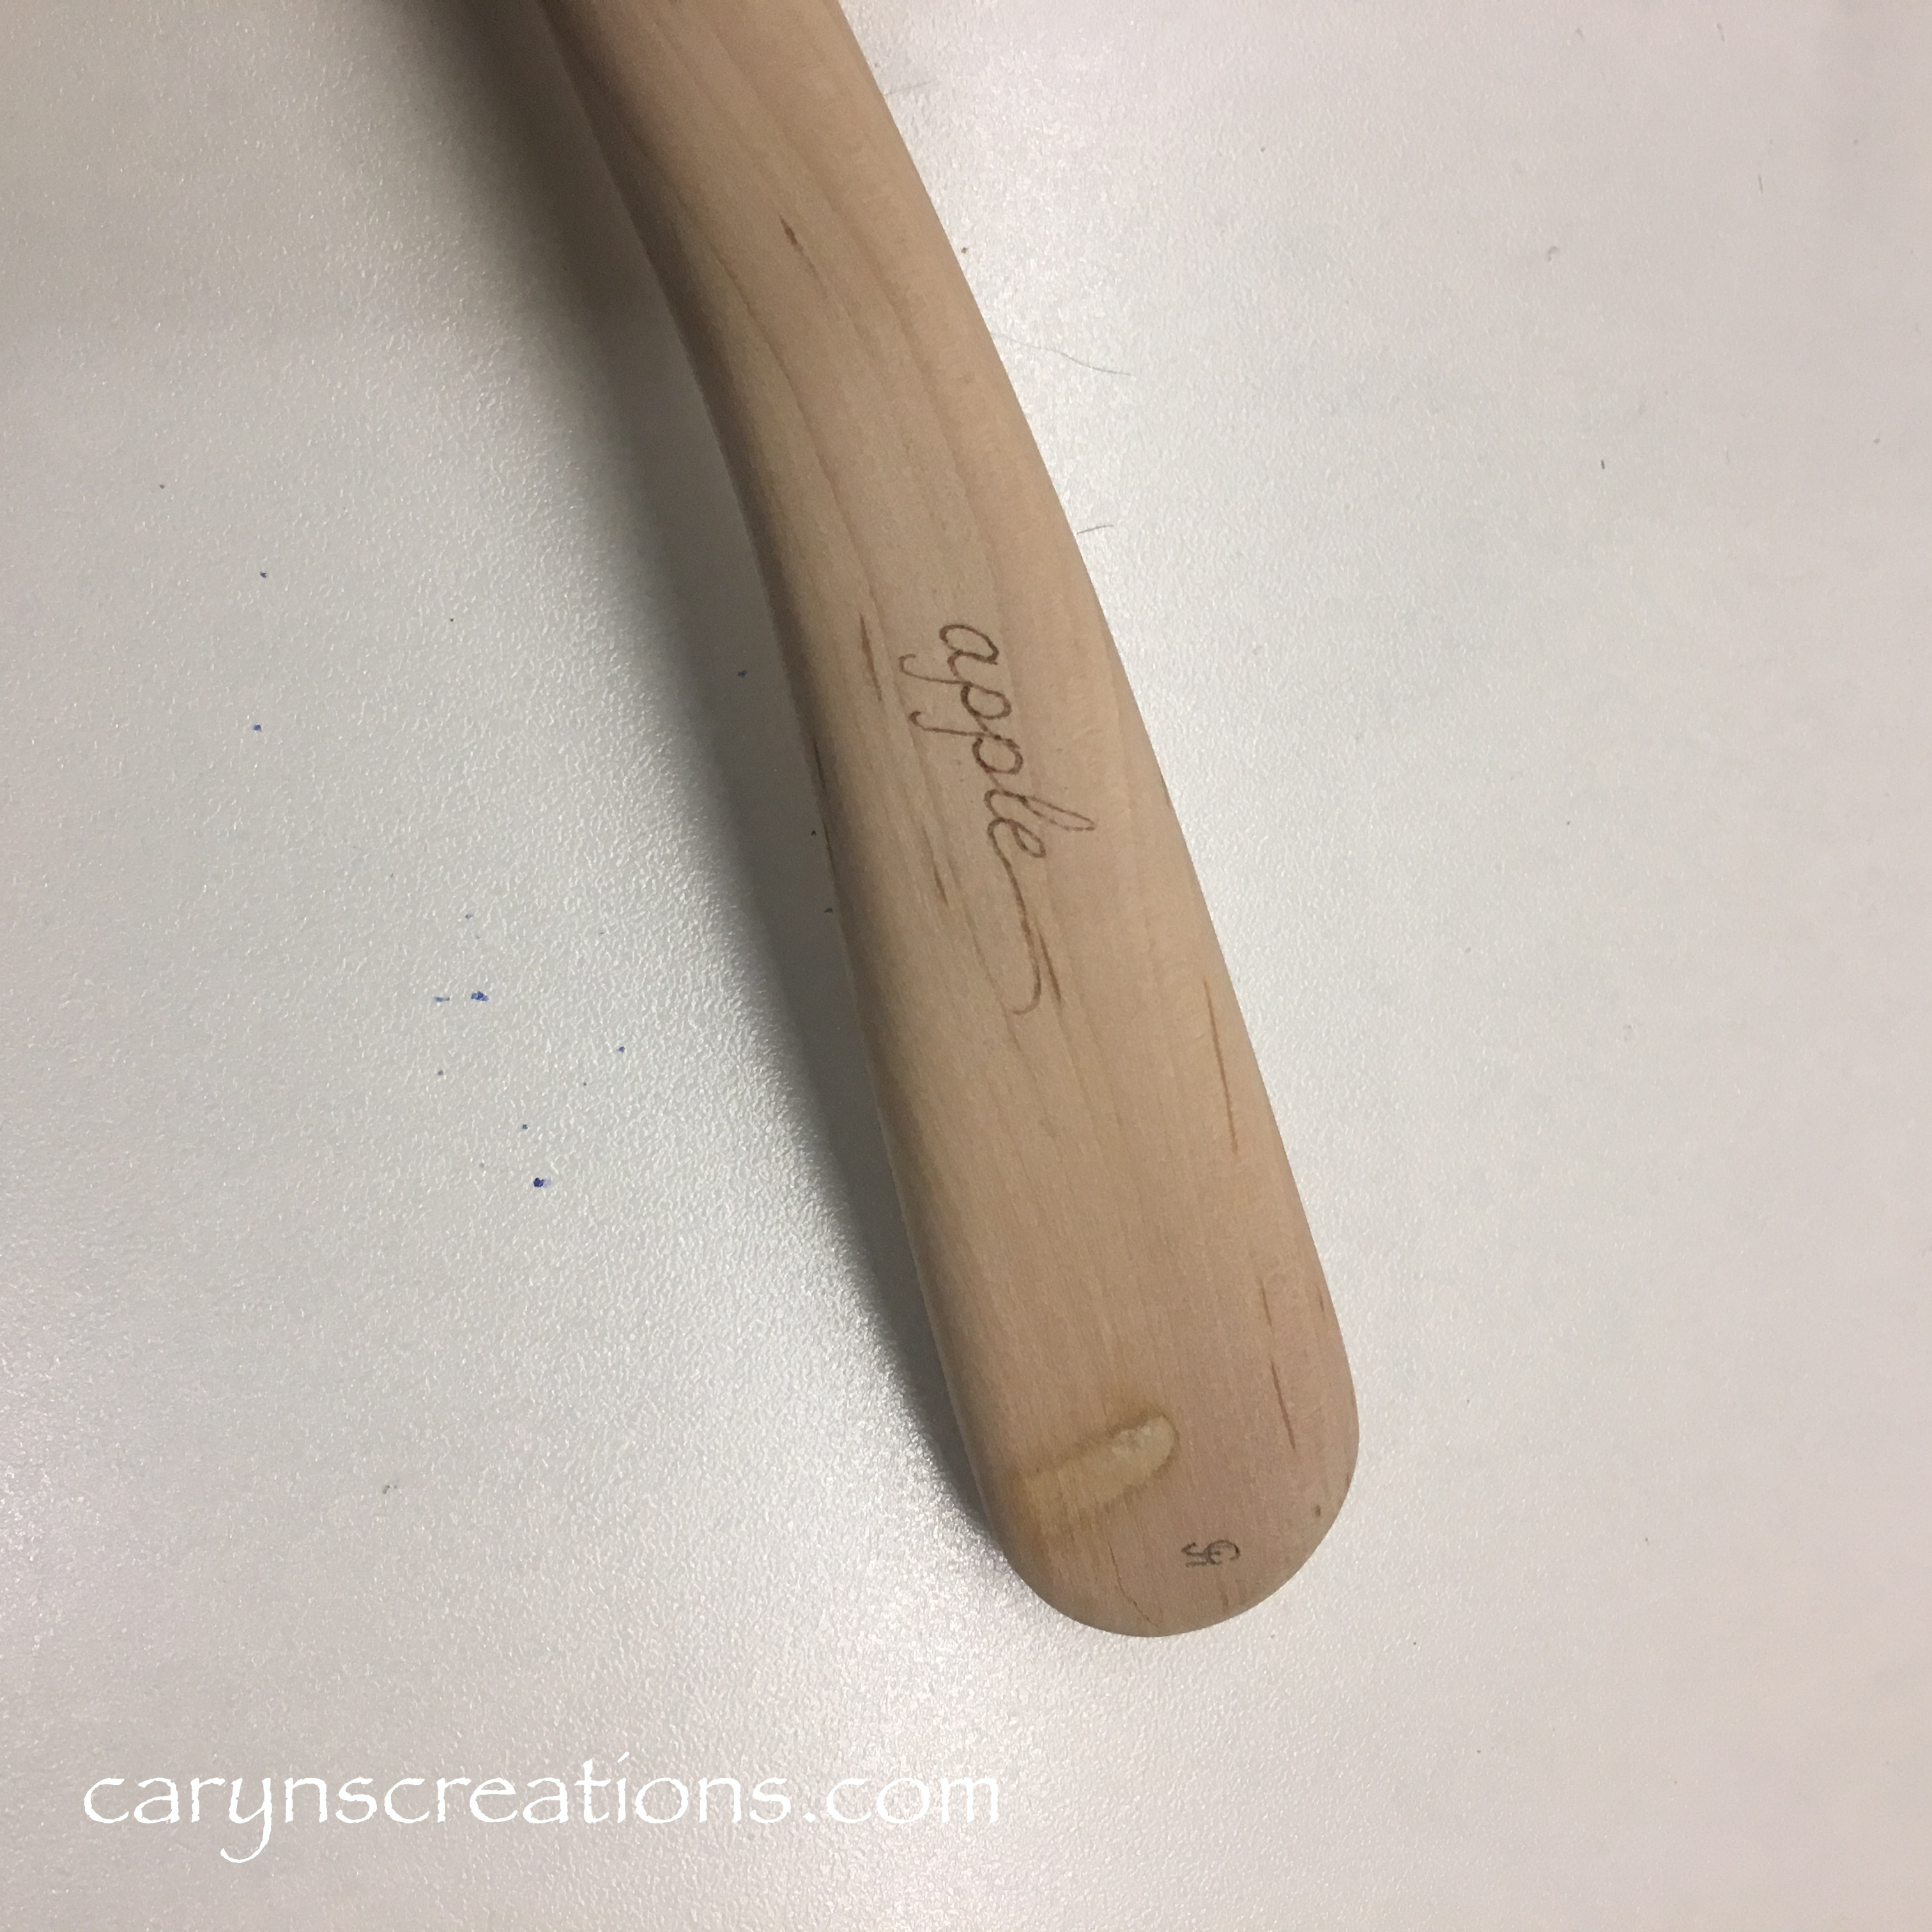
I really like how ergonomic the handle came out!Shaped and sanded spoonSide view of the spoon showing the nice wave After sanding to 320 grit, I wet it with water, let it dry, then sand again.Wood burned designs this time with apple blossoms and a bee!Detail of the woodburning at the spoon neckI also wood burned “apple” on the back since it is made of apple wood.I finished the spoon with three coats of olive oil.