Silly socks

Today is World Down Syndrome Day (3-21, for three copies of the 21st chromosome, also known as trisomy 21). Not only on this day, but on all days we should appreciate what people with Down Syndrome bring to the world. My life has been transformed by my youngest, but not in a bad way. I have discovered new priorities and have re-evaluated what I consider a successful life, for the better.

To bring awareness to Down Syndrome, and go from awareness to acceptance, many people wear silly socks, or mismatched socks on WDSD. Chromosomes look a little sock-like, especially when given false color!

Since this is a craft blog, I want to give a huge shout out to Paper Daisy Creations for her amazing knit along #lotsofsocks fundraiser! I did not finish my socks, but I have learned a lot, have the desire to learn more and improve, and have a beautiful skein of blue and yellow that will eventually be a pair of matched mismatched socks. (What? I have an unfinished project? Yes. Even I sometimes do not make a deadline. Life goes on. There will be time for socks.) For now, here is a picture of my test socks, in progress.

Unfinished test socks

I’m glad I did test socks with yarn on hand first before I use my special yarn. I’ve learned at least three new knitting techniques regarding sock knitting, and there has definitely been a learning curve!
New land art start

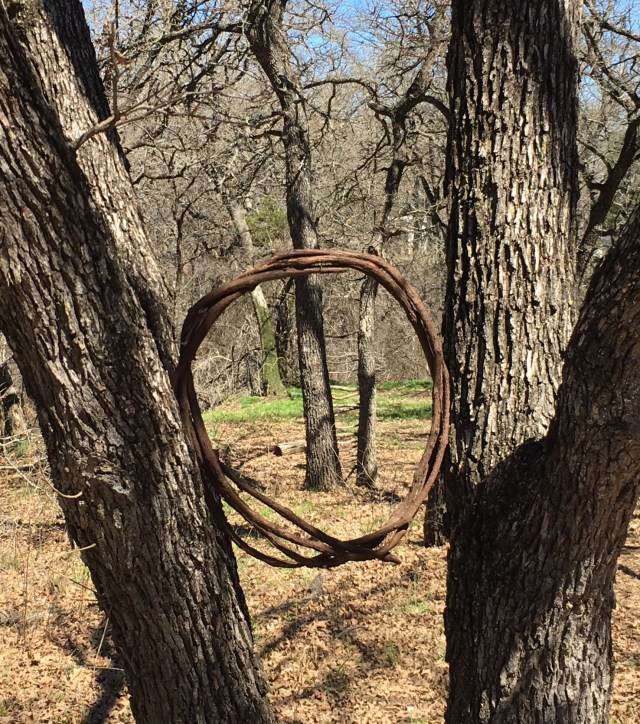
My eldest and I started a new land art project. We took a length of grapevine and twisted it into a wreath and wedged it between two trees. After I took the picture we started to weave bits of twigs and grasses into the wreath. We’ll take more pictures as the art develops.

First land art as seen through the second land art

Spoon!

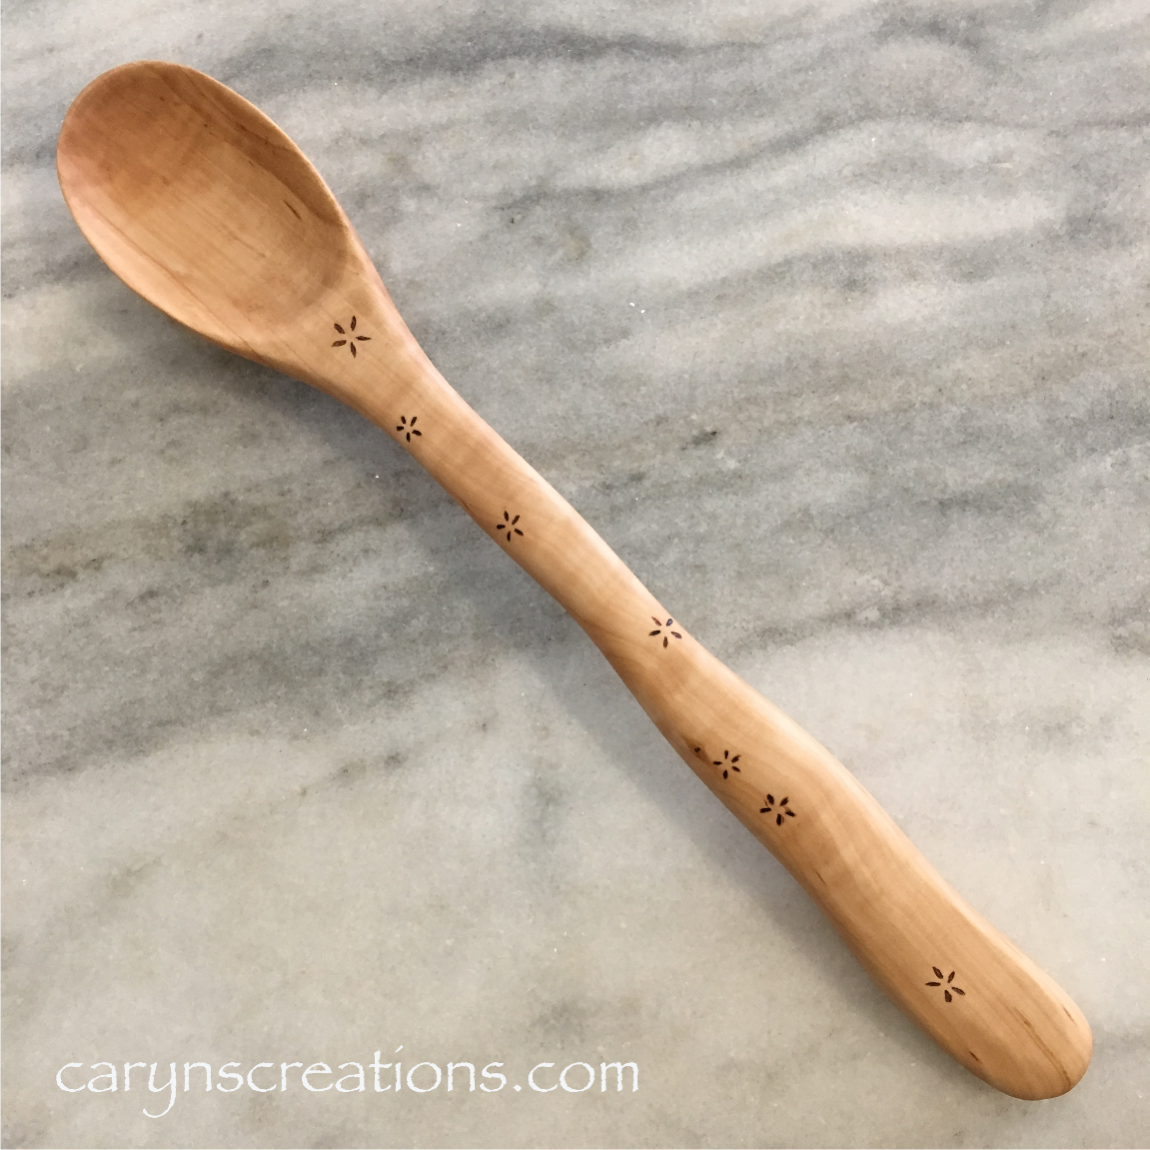
My Dad recently had a birthday, and as he has suggested that I get back into wood working, I decided to make him a spoon.

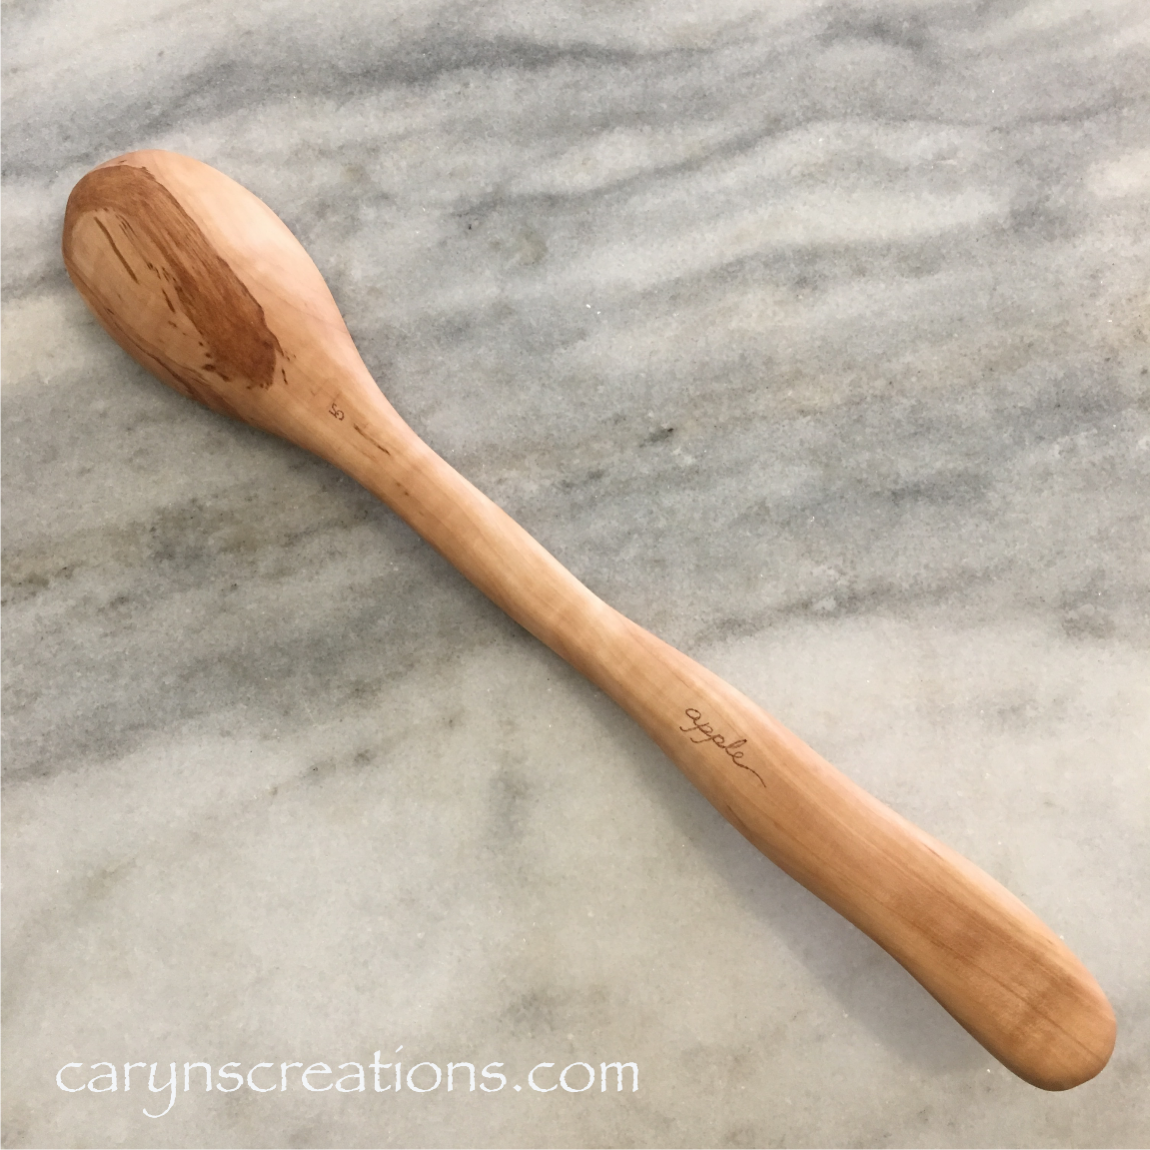
Hand carved apple wood spoon

When I was younger I really enjoyed wood working and carving. Then kids came along and when they were young I needed to keep an eye on them, so I couldn’t disappear into the garage for hours. And bringing sharp objects into the house was a safety hazard (not to mention that the idea of having to clean up saw dust and wood chips inside unthinkable.) So I turned to more child-watching friendly options for creativity: crochet, jewelry making, and other things that could easily and quickly be put down to figure out why it was suddenly quiet upstairs.

The kids have been in school for many years now, but somehow I didn’t really get back into wood working. Turns out I missed it. Picking out a piece of wood and taking chisel and bandsaw and sander to it to turn it into something functional and beautiful is incredibly satisfying. I haven’t tried spoons before, but I will again! I took progress photos to share:

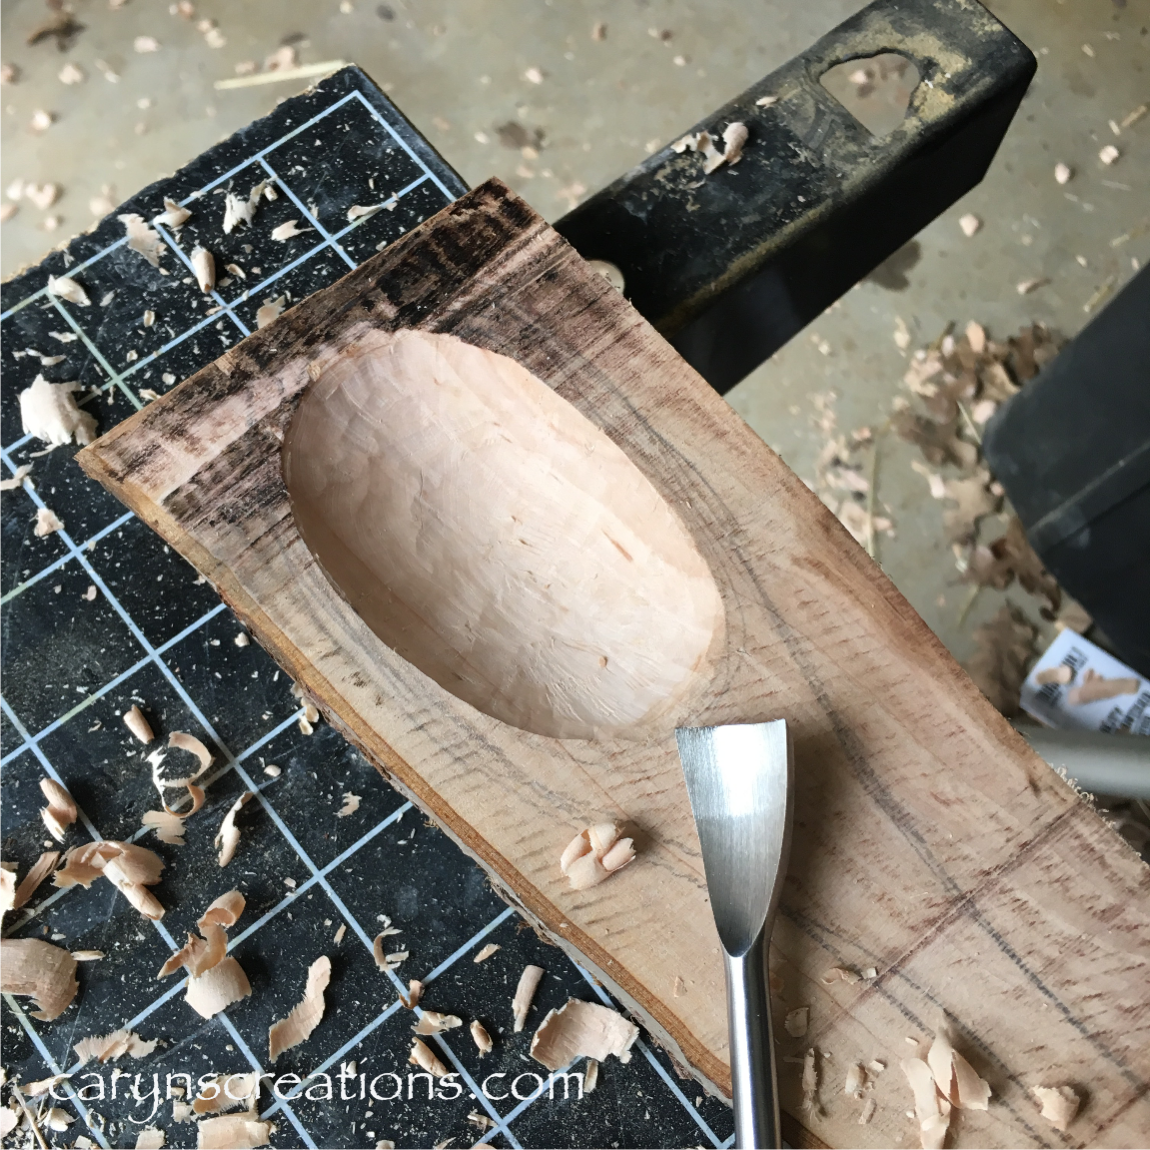
I cut a piece of applewood and used a fishtail gouge to shape the bowl of the spoon

This is after I used the bandsaw to cut away most of the excess. I wanted a flowing wavy shape to the spoon.

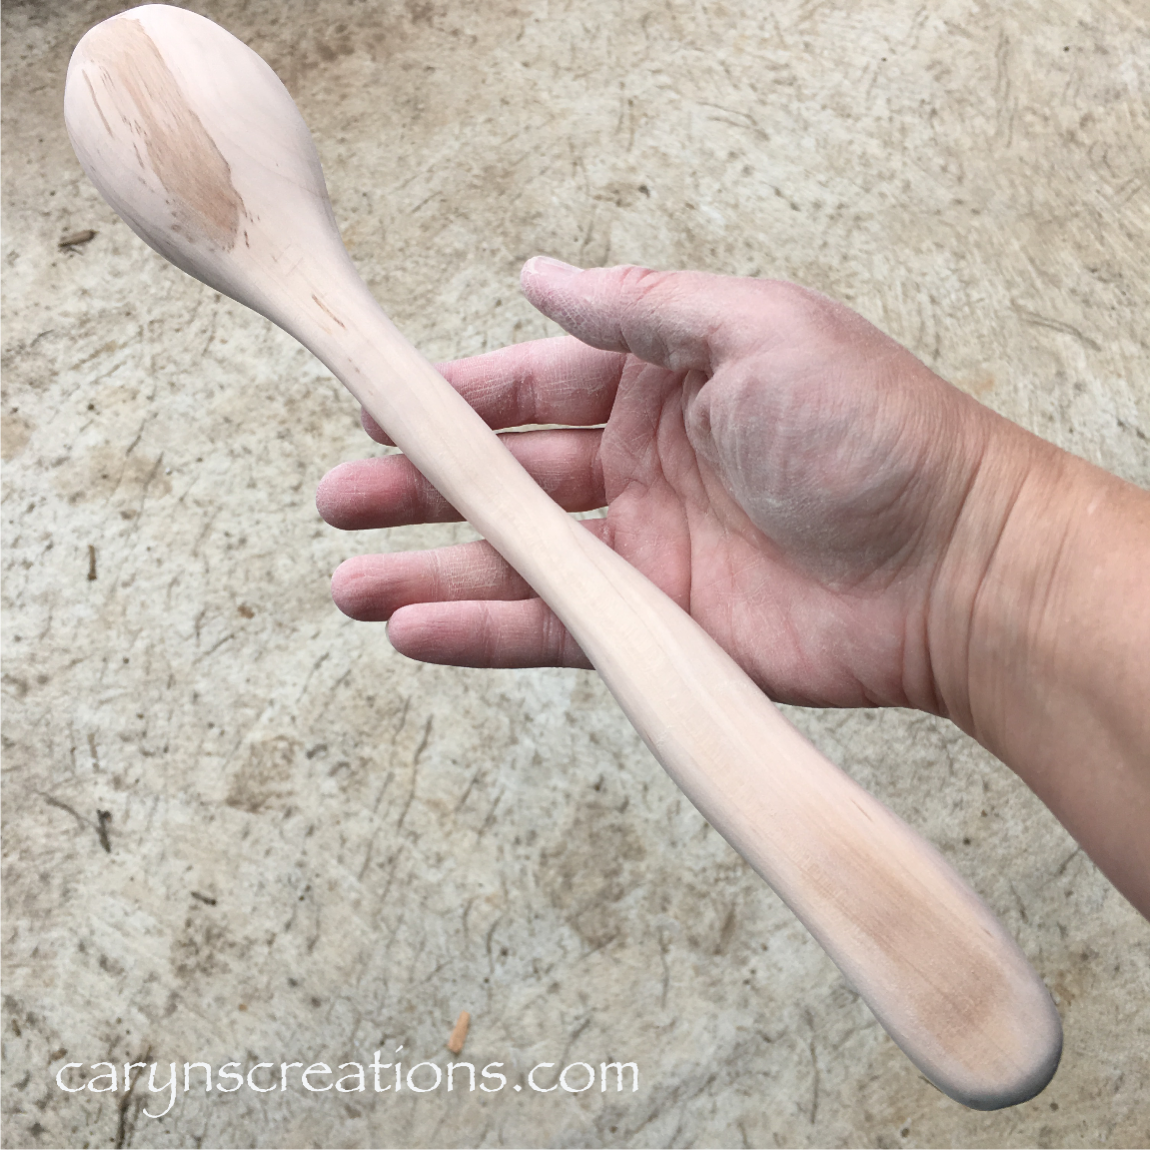
The back of the spoon after some time (and a few belts) on the belt sander.

Front of spoon after using the belt sander and following up with hand sanding.

After sanding down with progressively finer grit sand paper, I wet the spoon with water. The water helps raise the tiny splinters in the wood, and also gives you a good idea of what the final color will be.

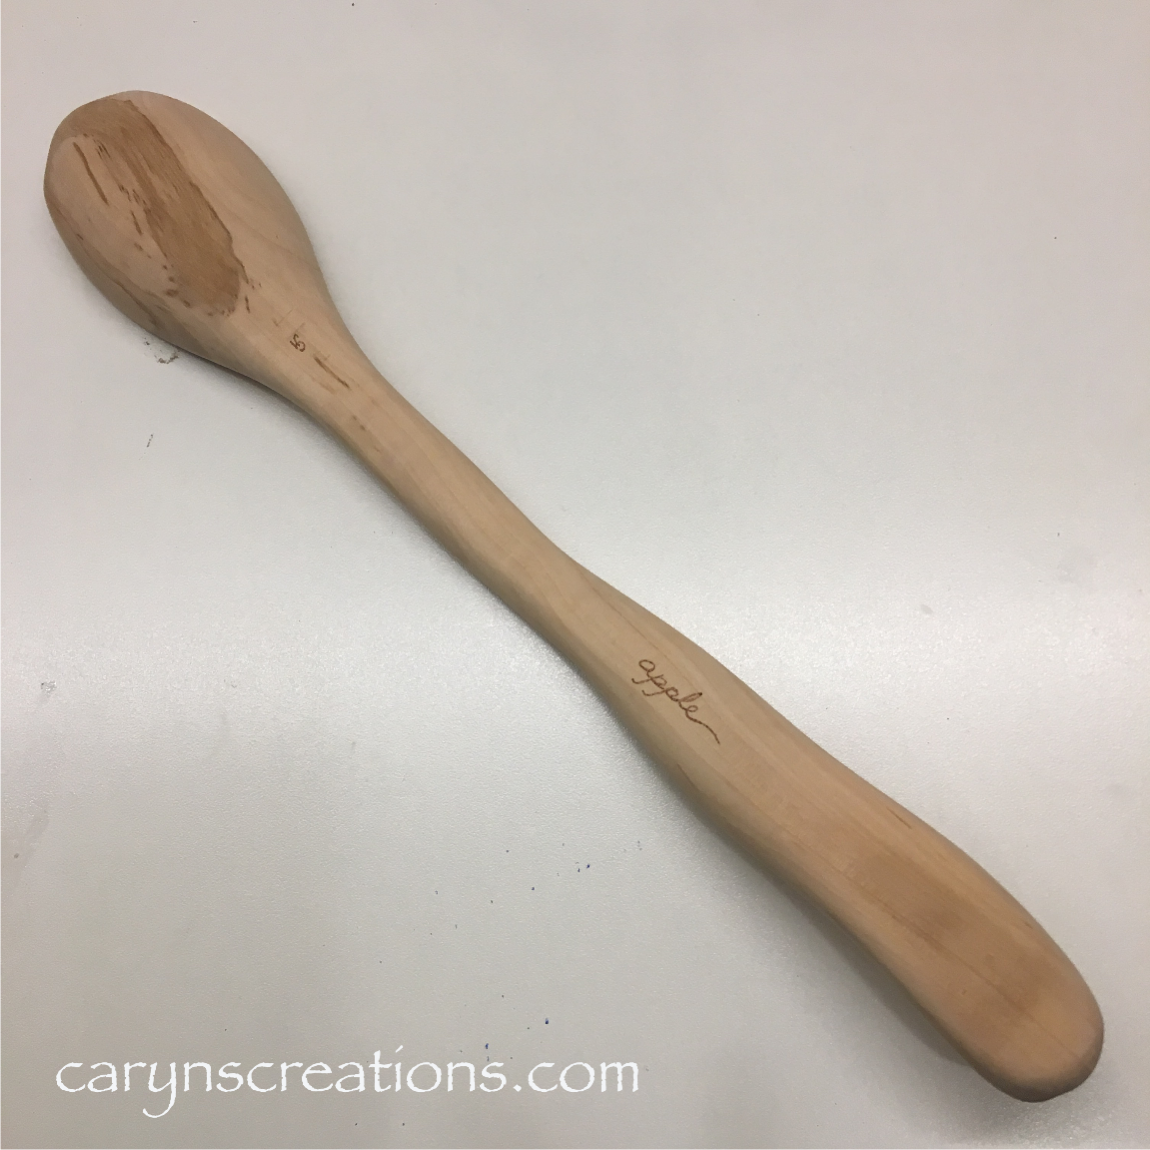
After the spoon dried, I sanded again with 320 grit, I used a wood burner to make apple seed designs.

Back of the spoon with wood burned “apple” and my mark.

To finish the spoon I rubbed it with olive oil once each day for three days. I love the swirl of color in the wood on the back of the spoon bowl!

Faverolle Paper Popup

It has been cold again. So cold that it is not nice working outside. Being stuck inside all weekend is frustrating; paper craft to the rescue! A nice spring theme activity was in order.

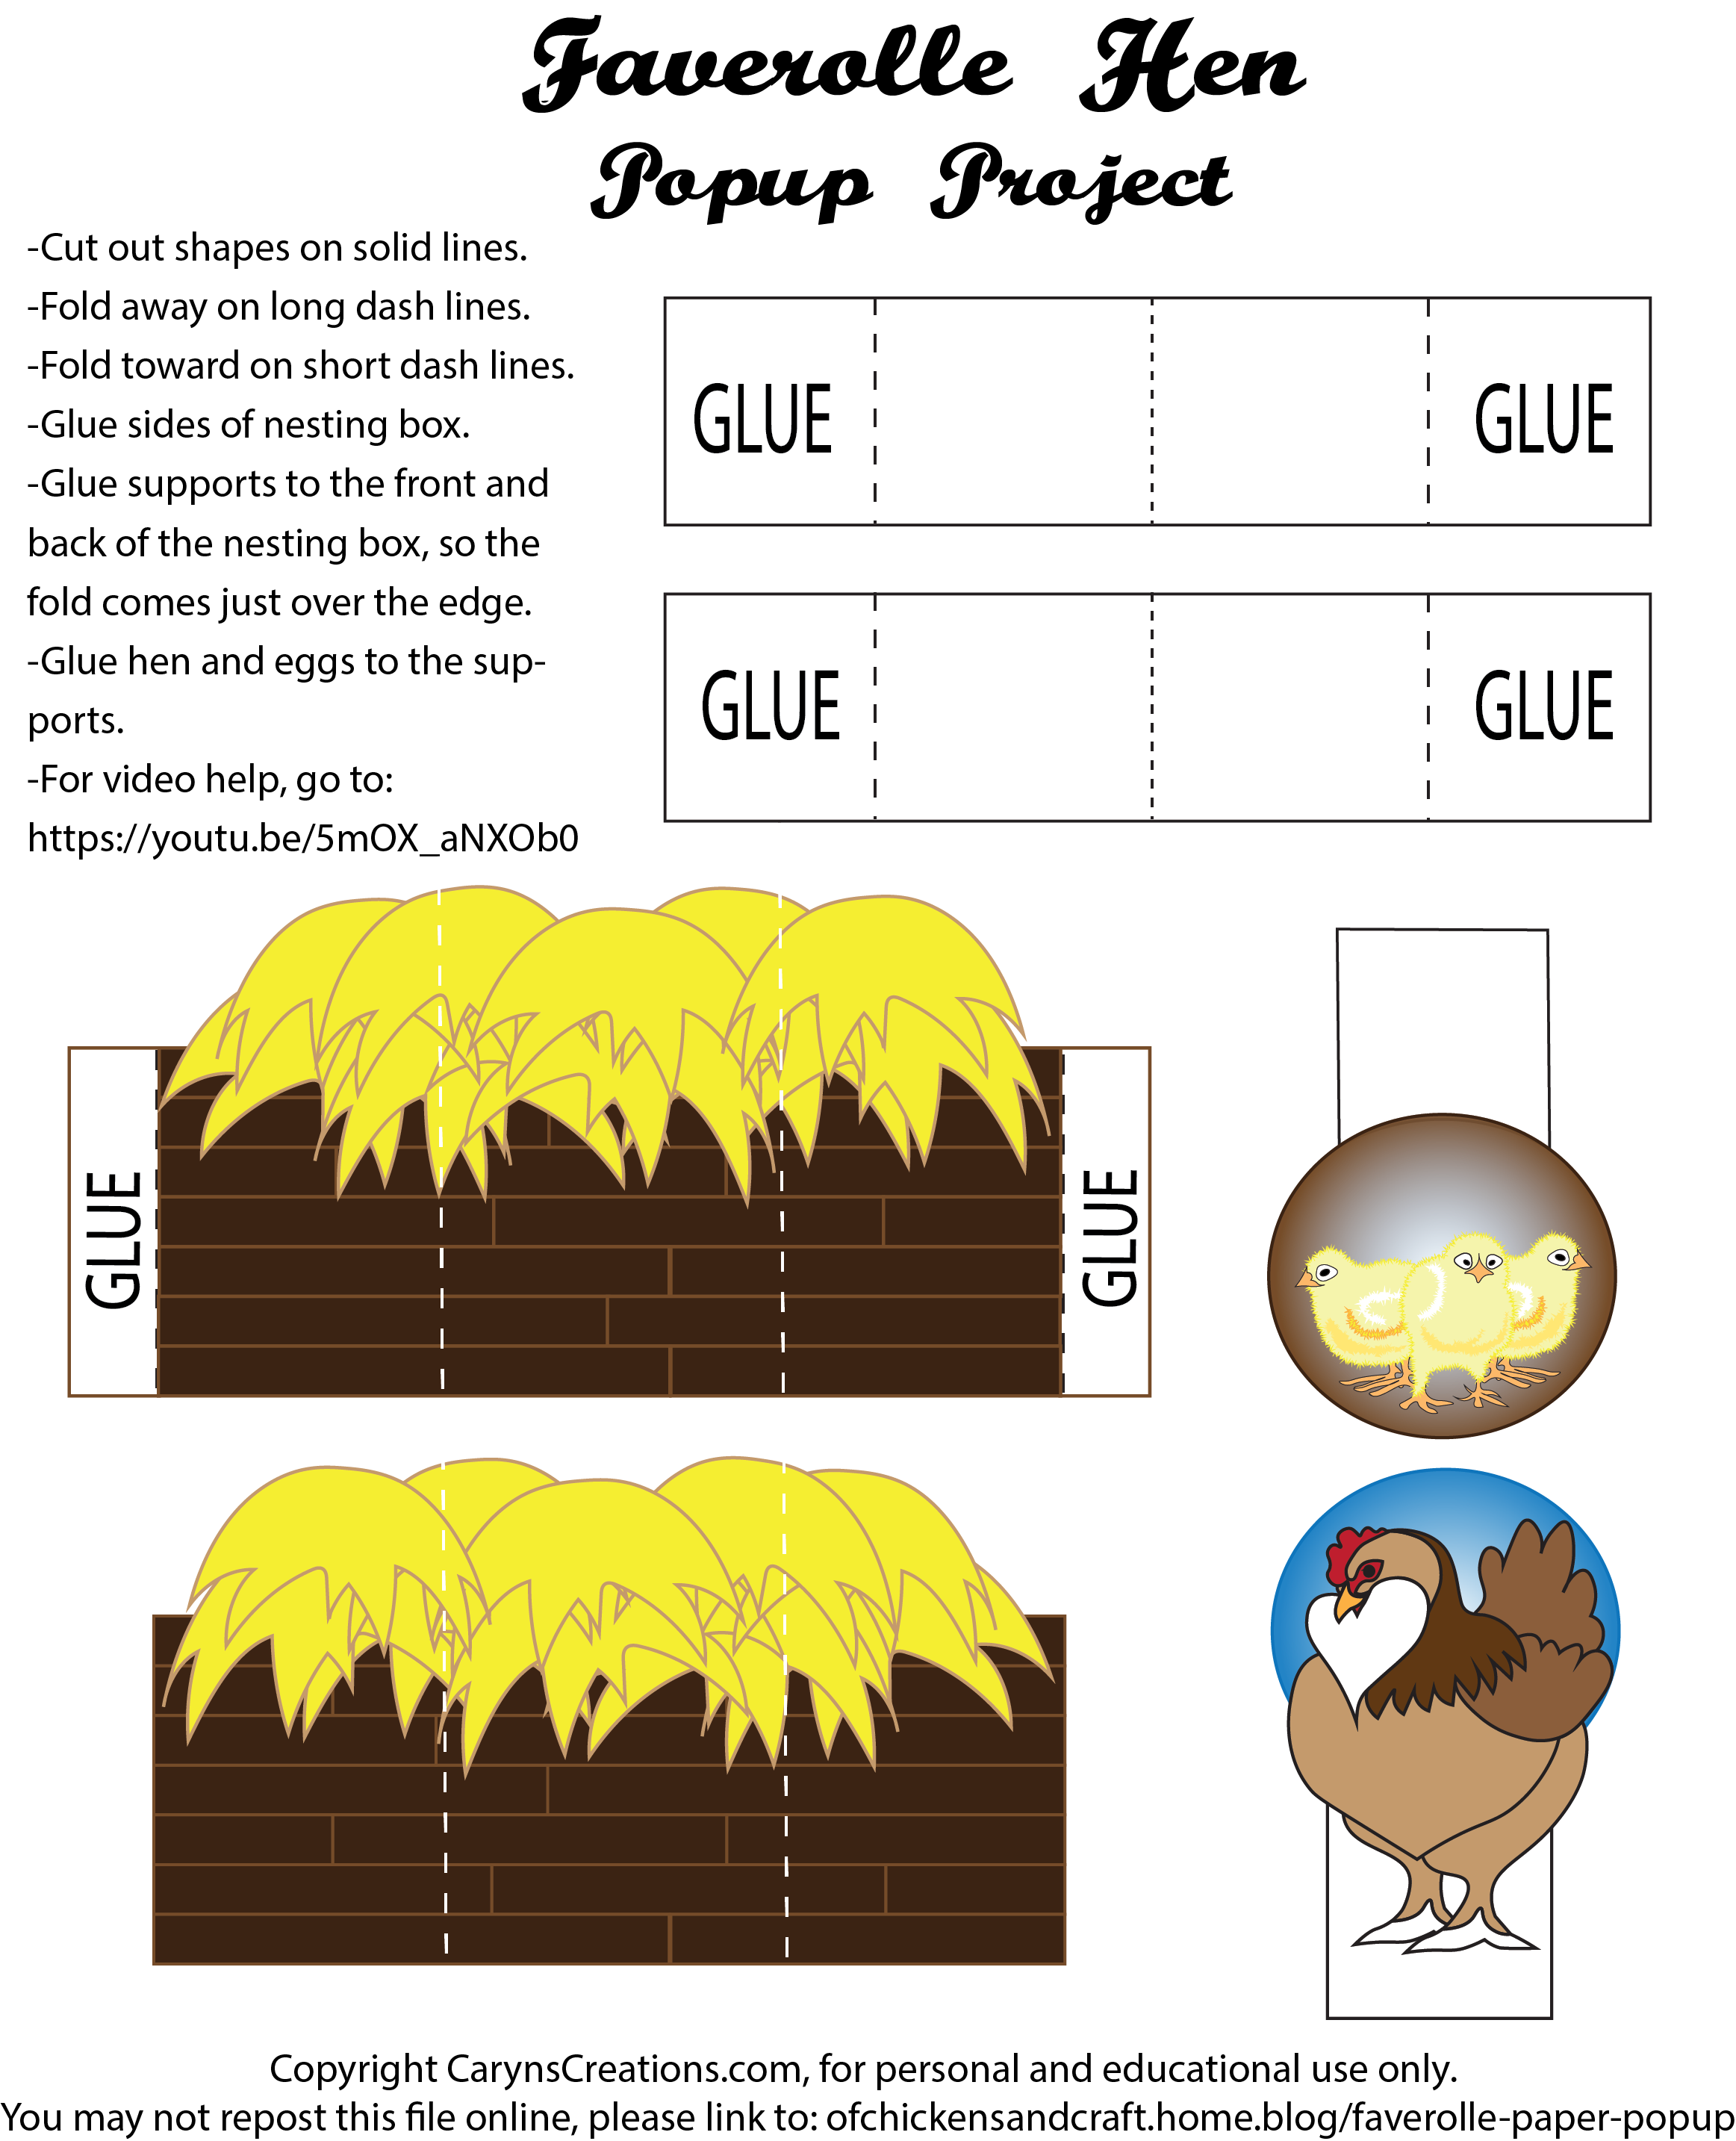
Faverolle hen and chicks paper pop up project

I have shared how much I like paper crafts, so when I saw a new (to me) way to make a popup, I had to make one with chickens! Since we are getting Faverolles, I needed a Faverolle hen and chicks. I made pencil sketches to get started on forms, then used Adobe Illustrator to refine the shapes. I’m quite pleased with the hen, she is a cutie with her beard and feathered feet! I will probably use her in other projects.

I made a video on how to assemble the popup:

And here is the image file. It works best printed on cardstock. Free for personal and educational use. Please link back to this post to share.

Raining again, time for some light

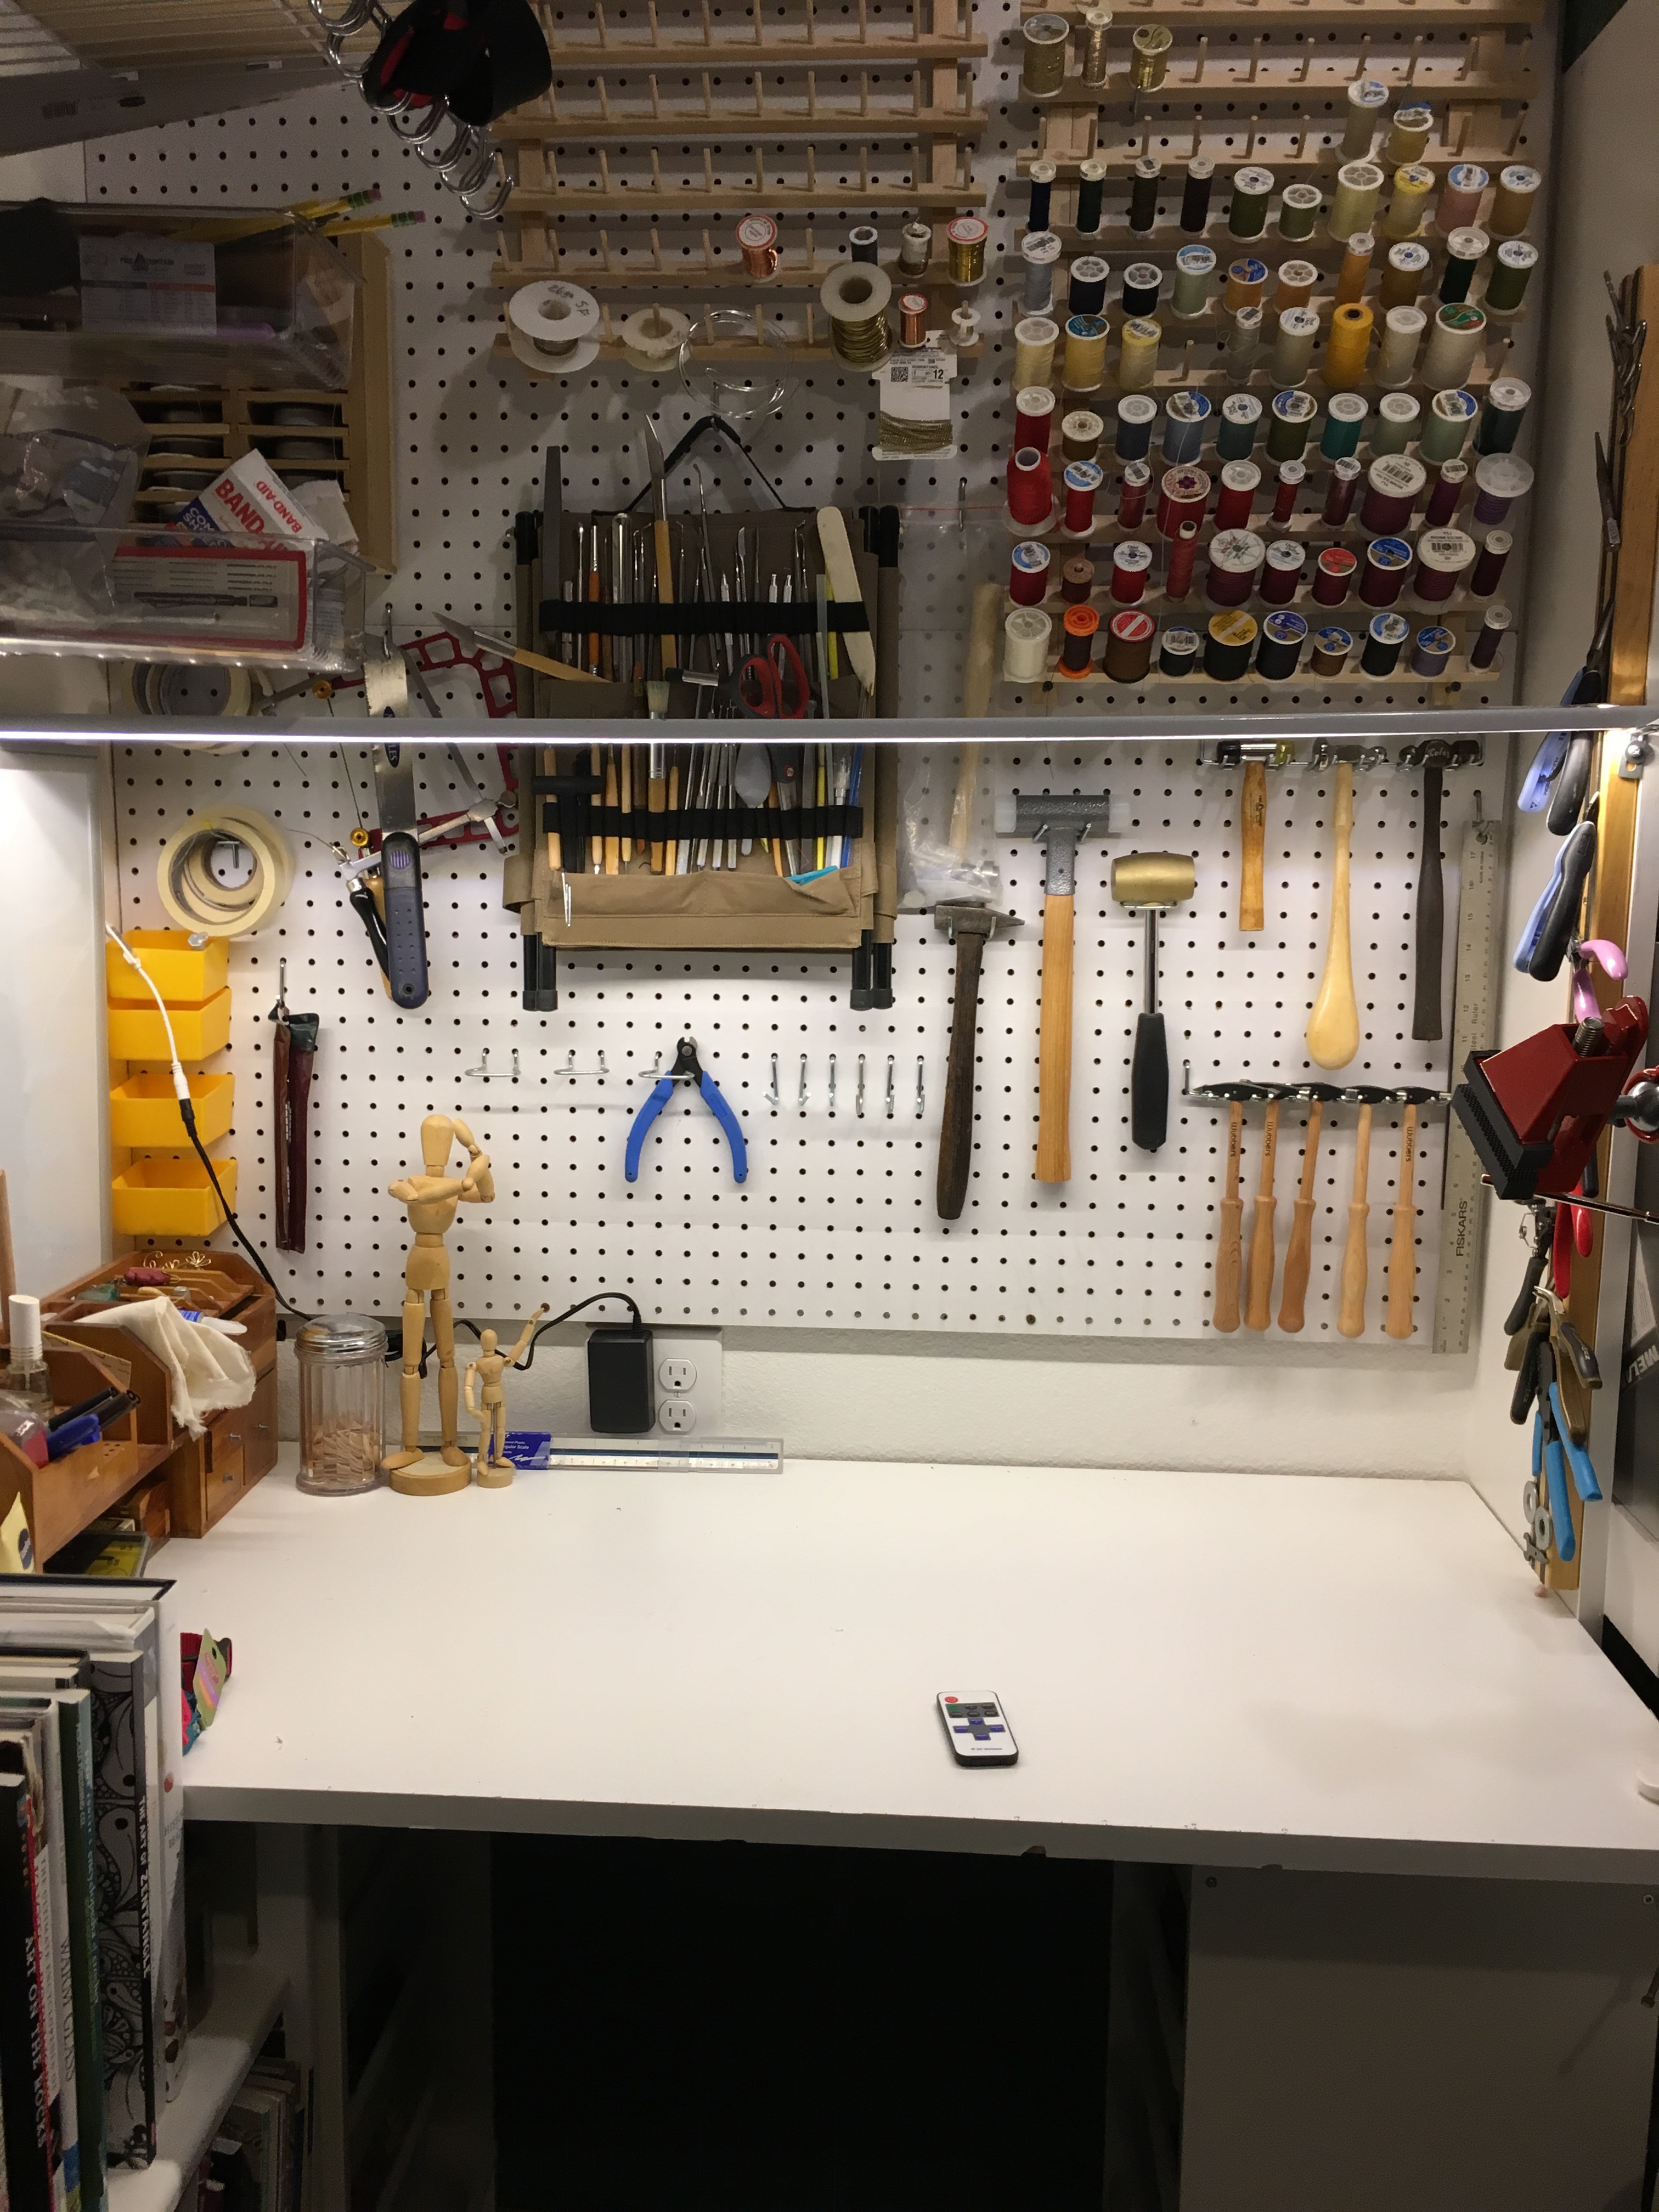
No outside work today; the forecast said rain all day and it was right this time. So I broke down and cleaned up my craft space. It was better than cleaning the rest of the house! (Or folding laundry, ugh.)

I think I mentioned that I am easily distracted? Cleaning the craft area involved quite a bit of “I forgot I started this!” And “How can I fix this?” The wooden model now has a functioning hand again, I rearranged several boxes of supplies so I could get one more box on the shelves, and I found enough bits and bobs to make a new light for the space.

It is this last one that particularly pleases me. I had a shelf standard leftover from the last house (a poor single standard all by its lonesome, aw), and I had leftover LED strip lights and (amazingly) all the parts to make it work, so I lined the inside of the standard with the sticky LED tape, screwed in a bracket for it to sit on, and now I have lovely light all across my standing bench! Hurray! I love LED lighting.

LED strip lighting lining the inside of a shelf standard

Craft area ready with new light!

P.S. Though I love the sticky LED strips, they don’t stick as well as I think they should. After having the tape snake down three times, I finally took some hot glue to the sucker. Love hot glue.