Flame maple

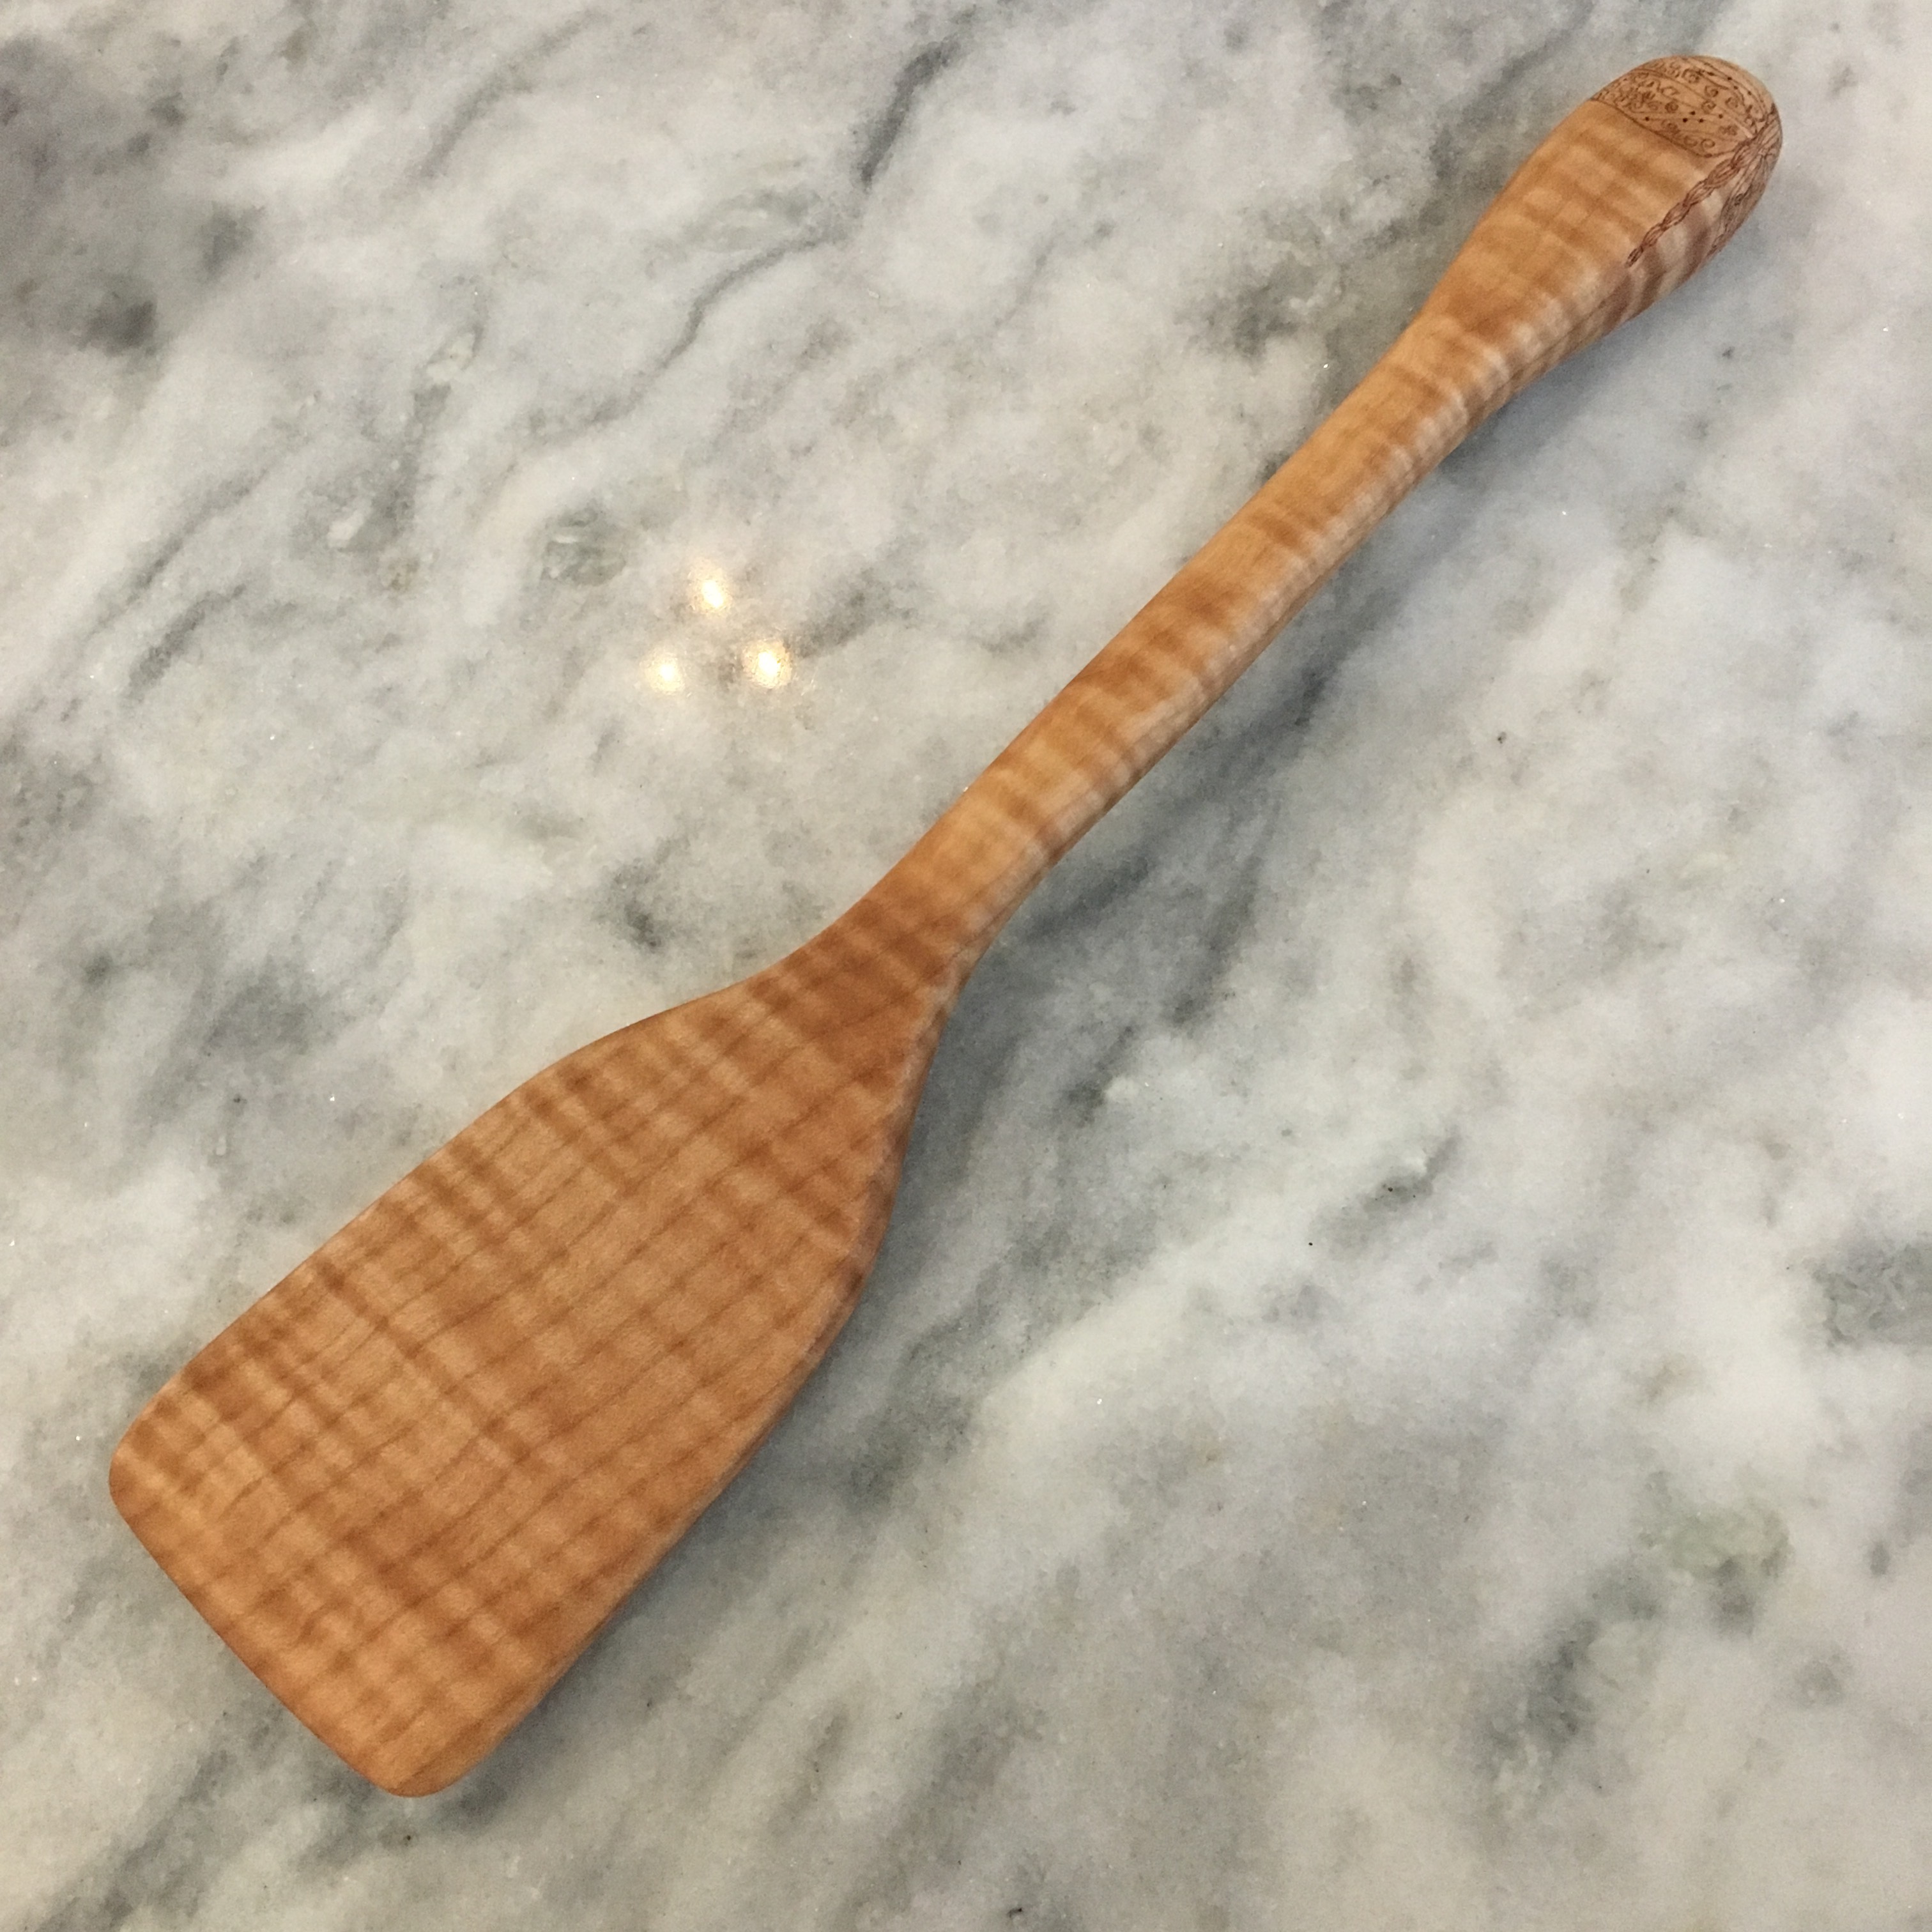
I found a piece of flame maple at a woodworking store and made three utensils: two spoons and a spatula. The “flames” in the wood grain really shine once the utensils are finished!

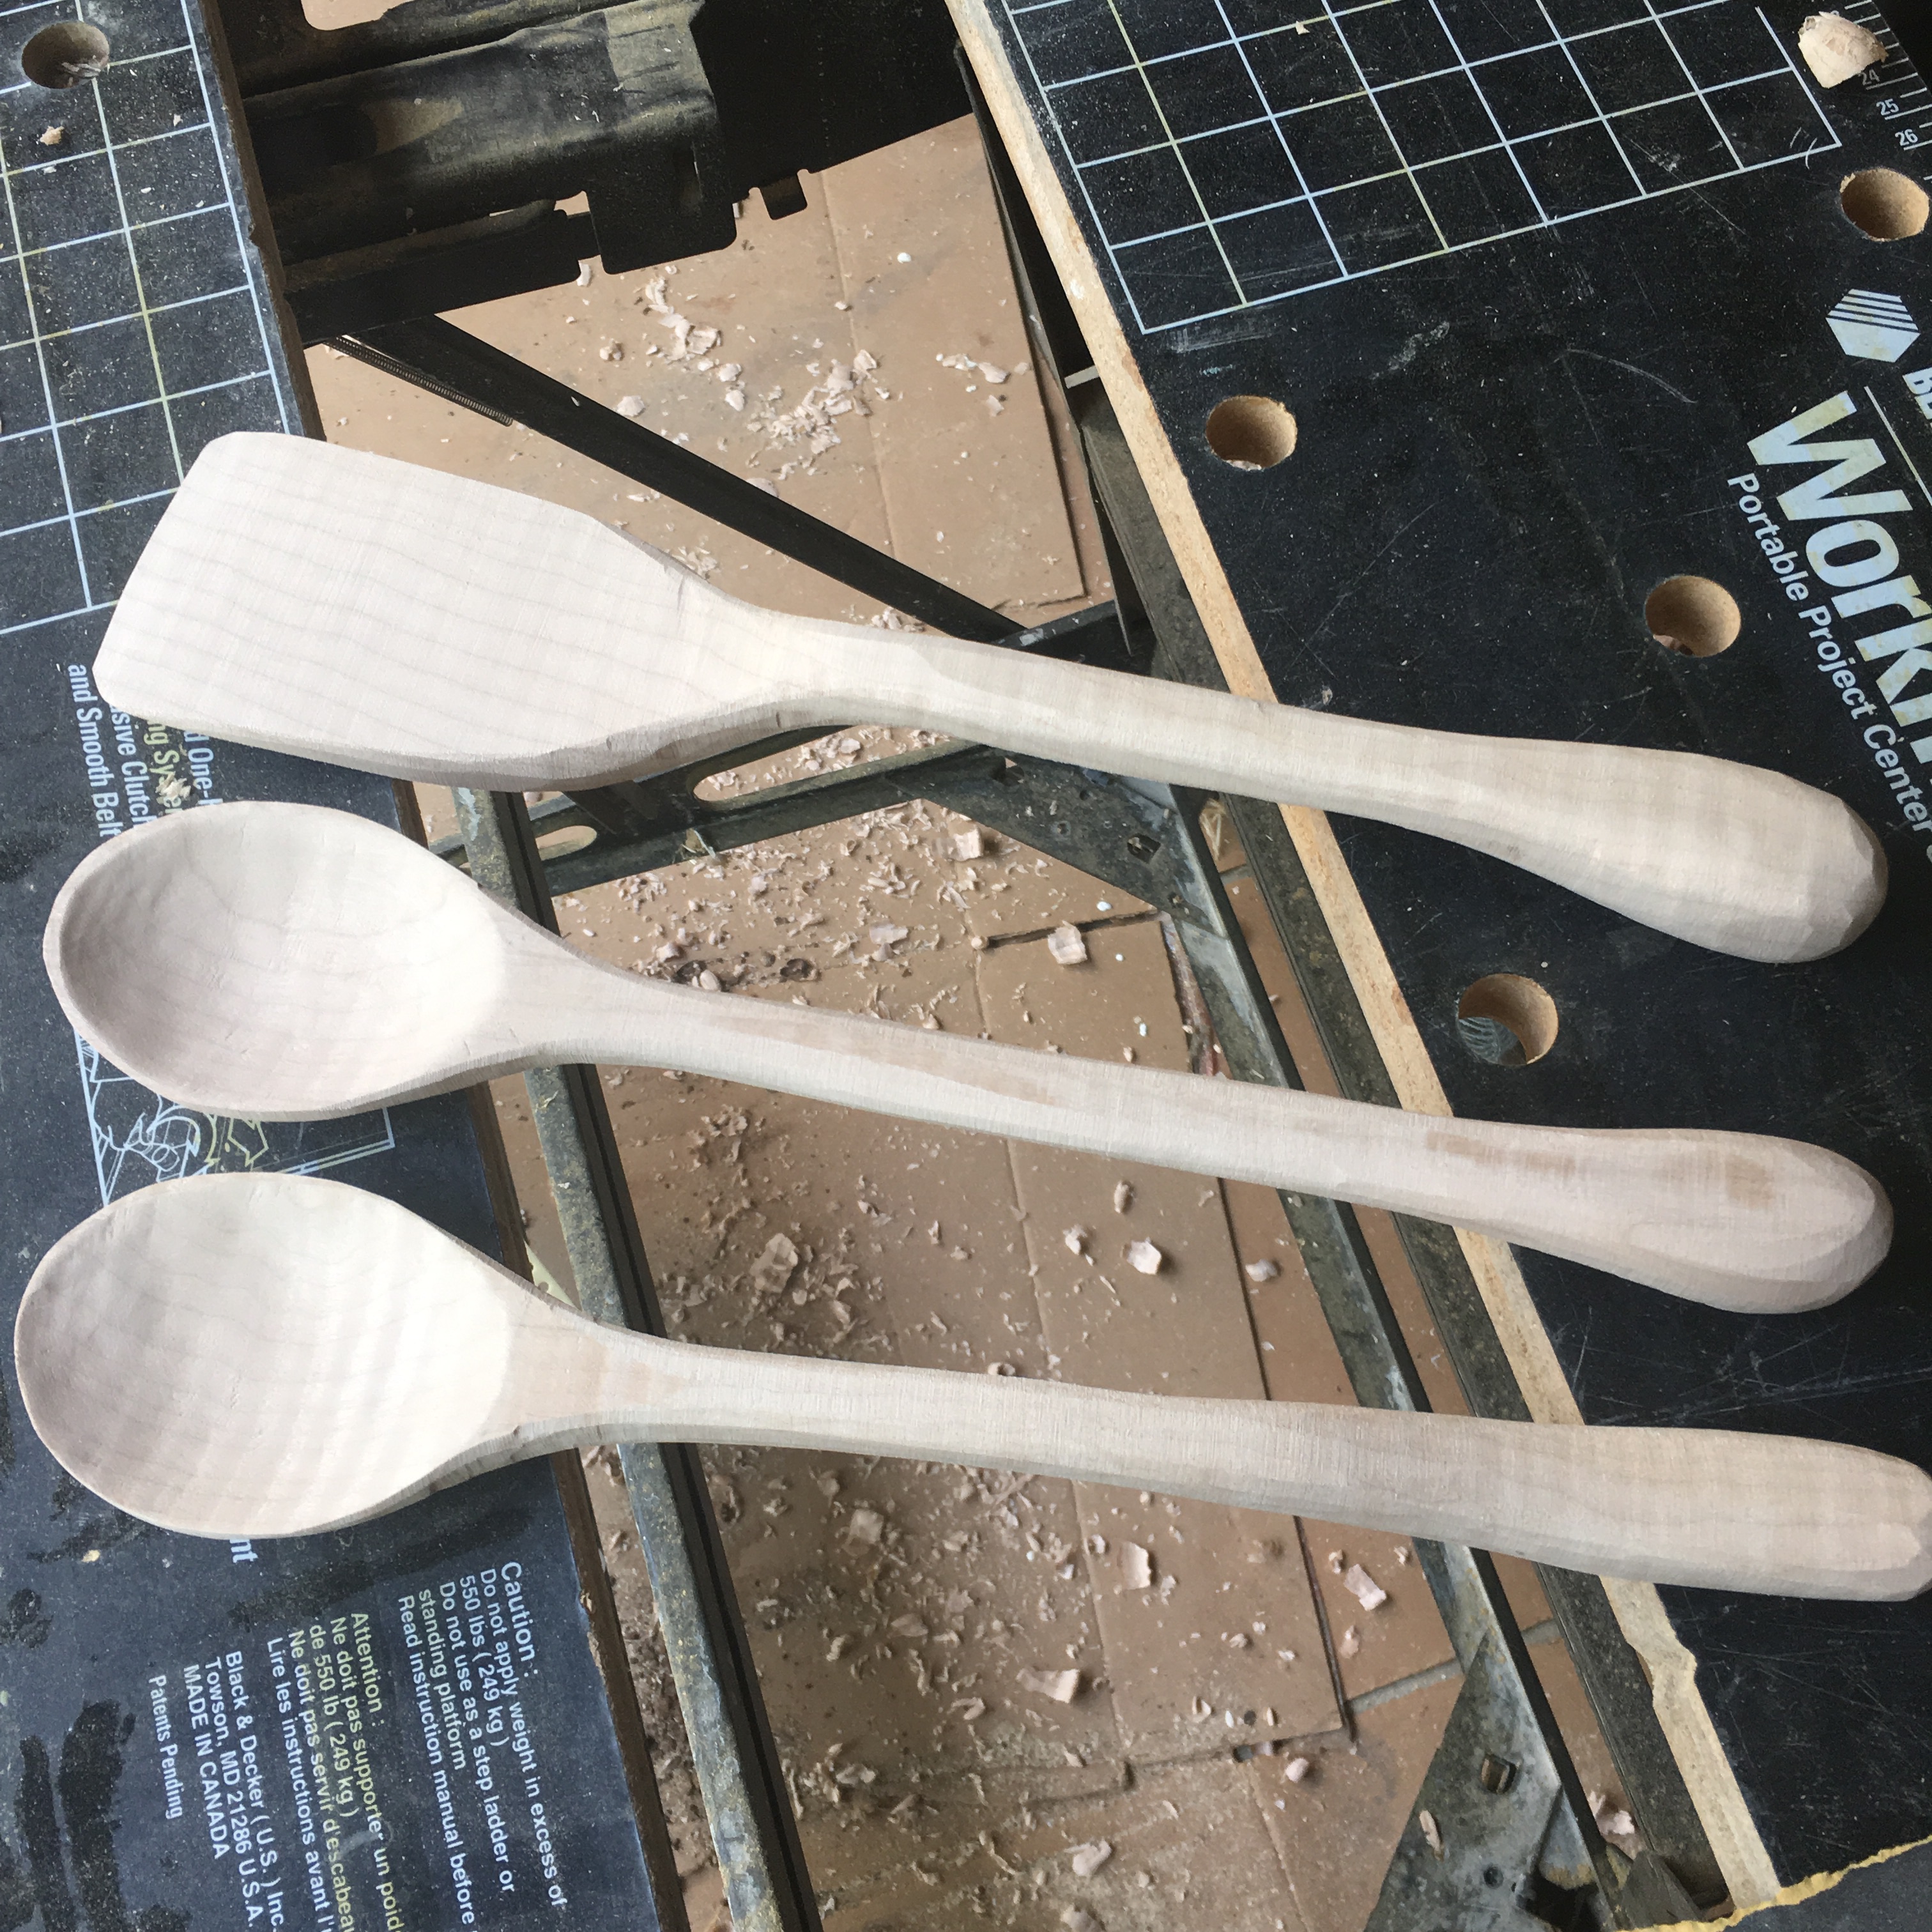
For these I hollowed put the bowls of the spoons first, then used the bandsaw to cut out the rough shapes. Then on to the band sander to get to the final shape. I used 120 grit sandpaper to remove the sander marks by hand, then smoothed with 220, then 400 grit. I wetted the utensils and let them dry, then sanded again with 400 grit. I then used a pencil to draw in maple leaves on the spoons and a dragonfly on the handle of the spatula, which provided guidelines for wood burning the images. Finally, I finished with four applications of food-grade mineral oil. I did not use olive oil because I read that olive oil can go rancid and effect the taste and smell of the food.

The spoons were Mother’s Day gifts (yup, this was awhile ago), but I am keeping the spatula!
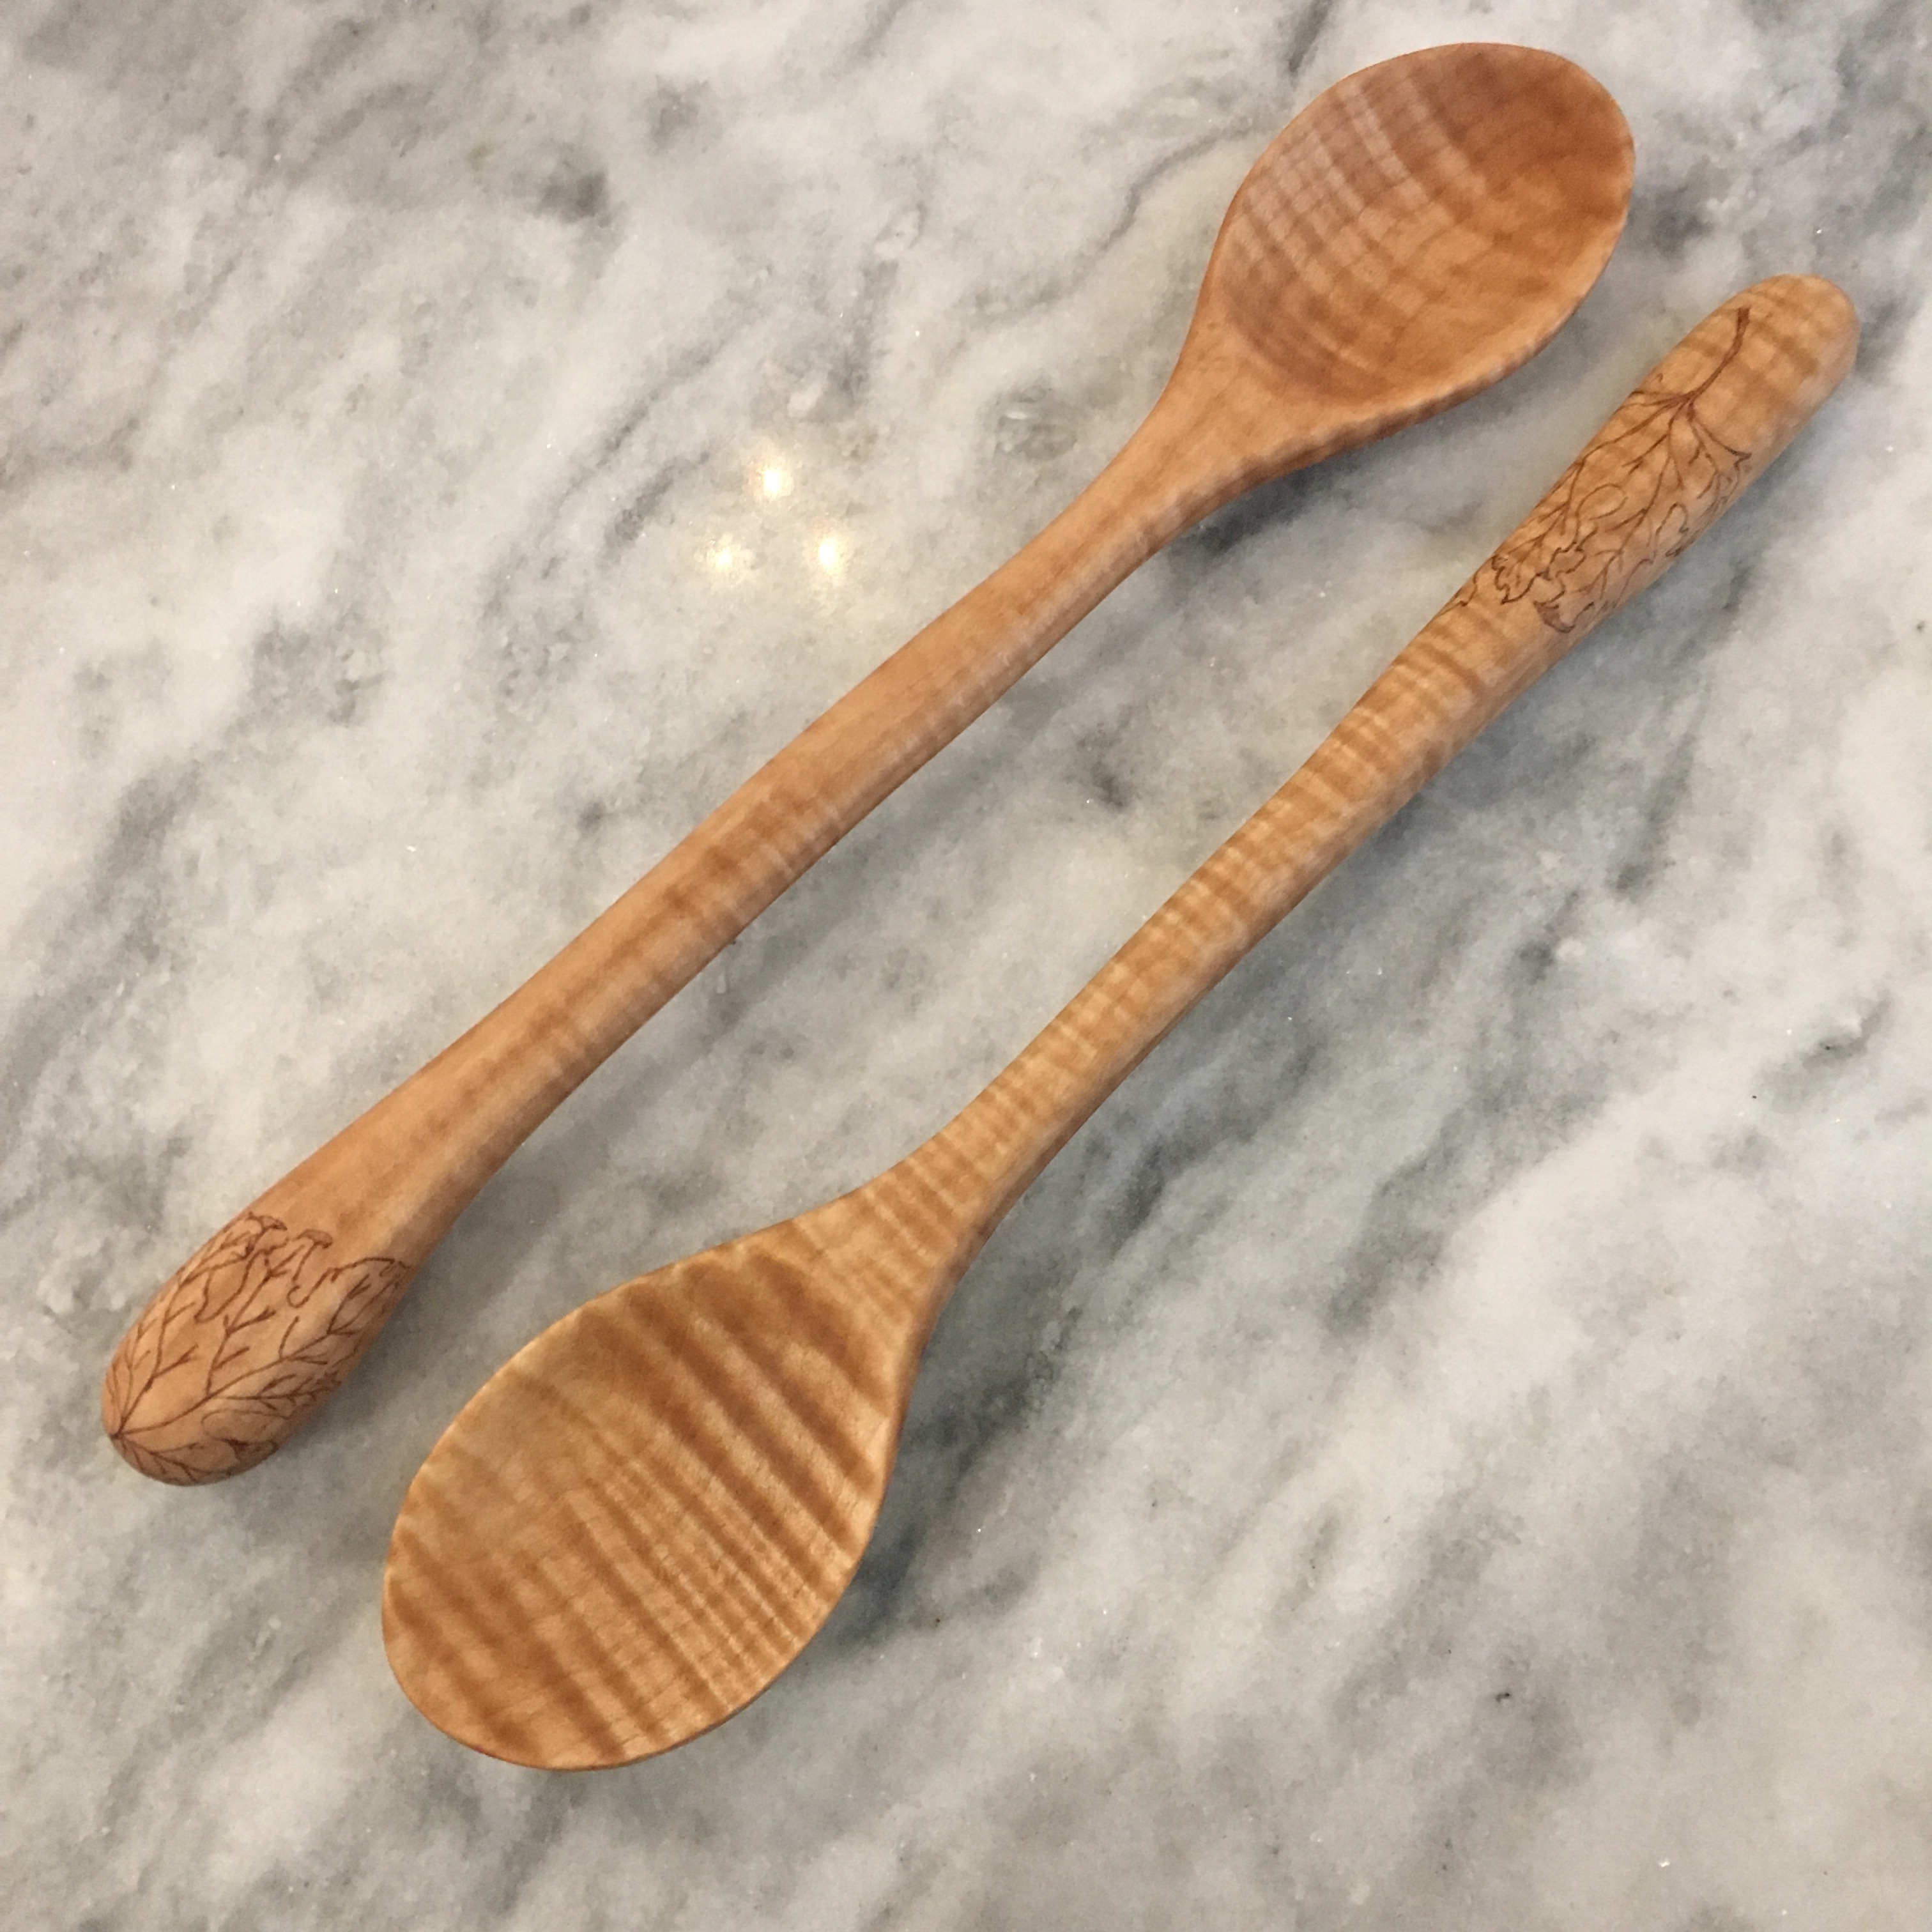
Finished flame maple spoons
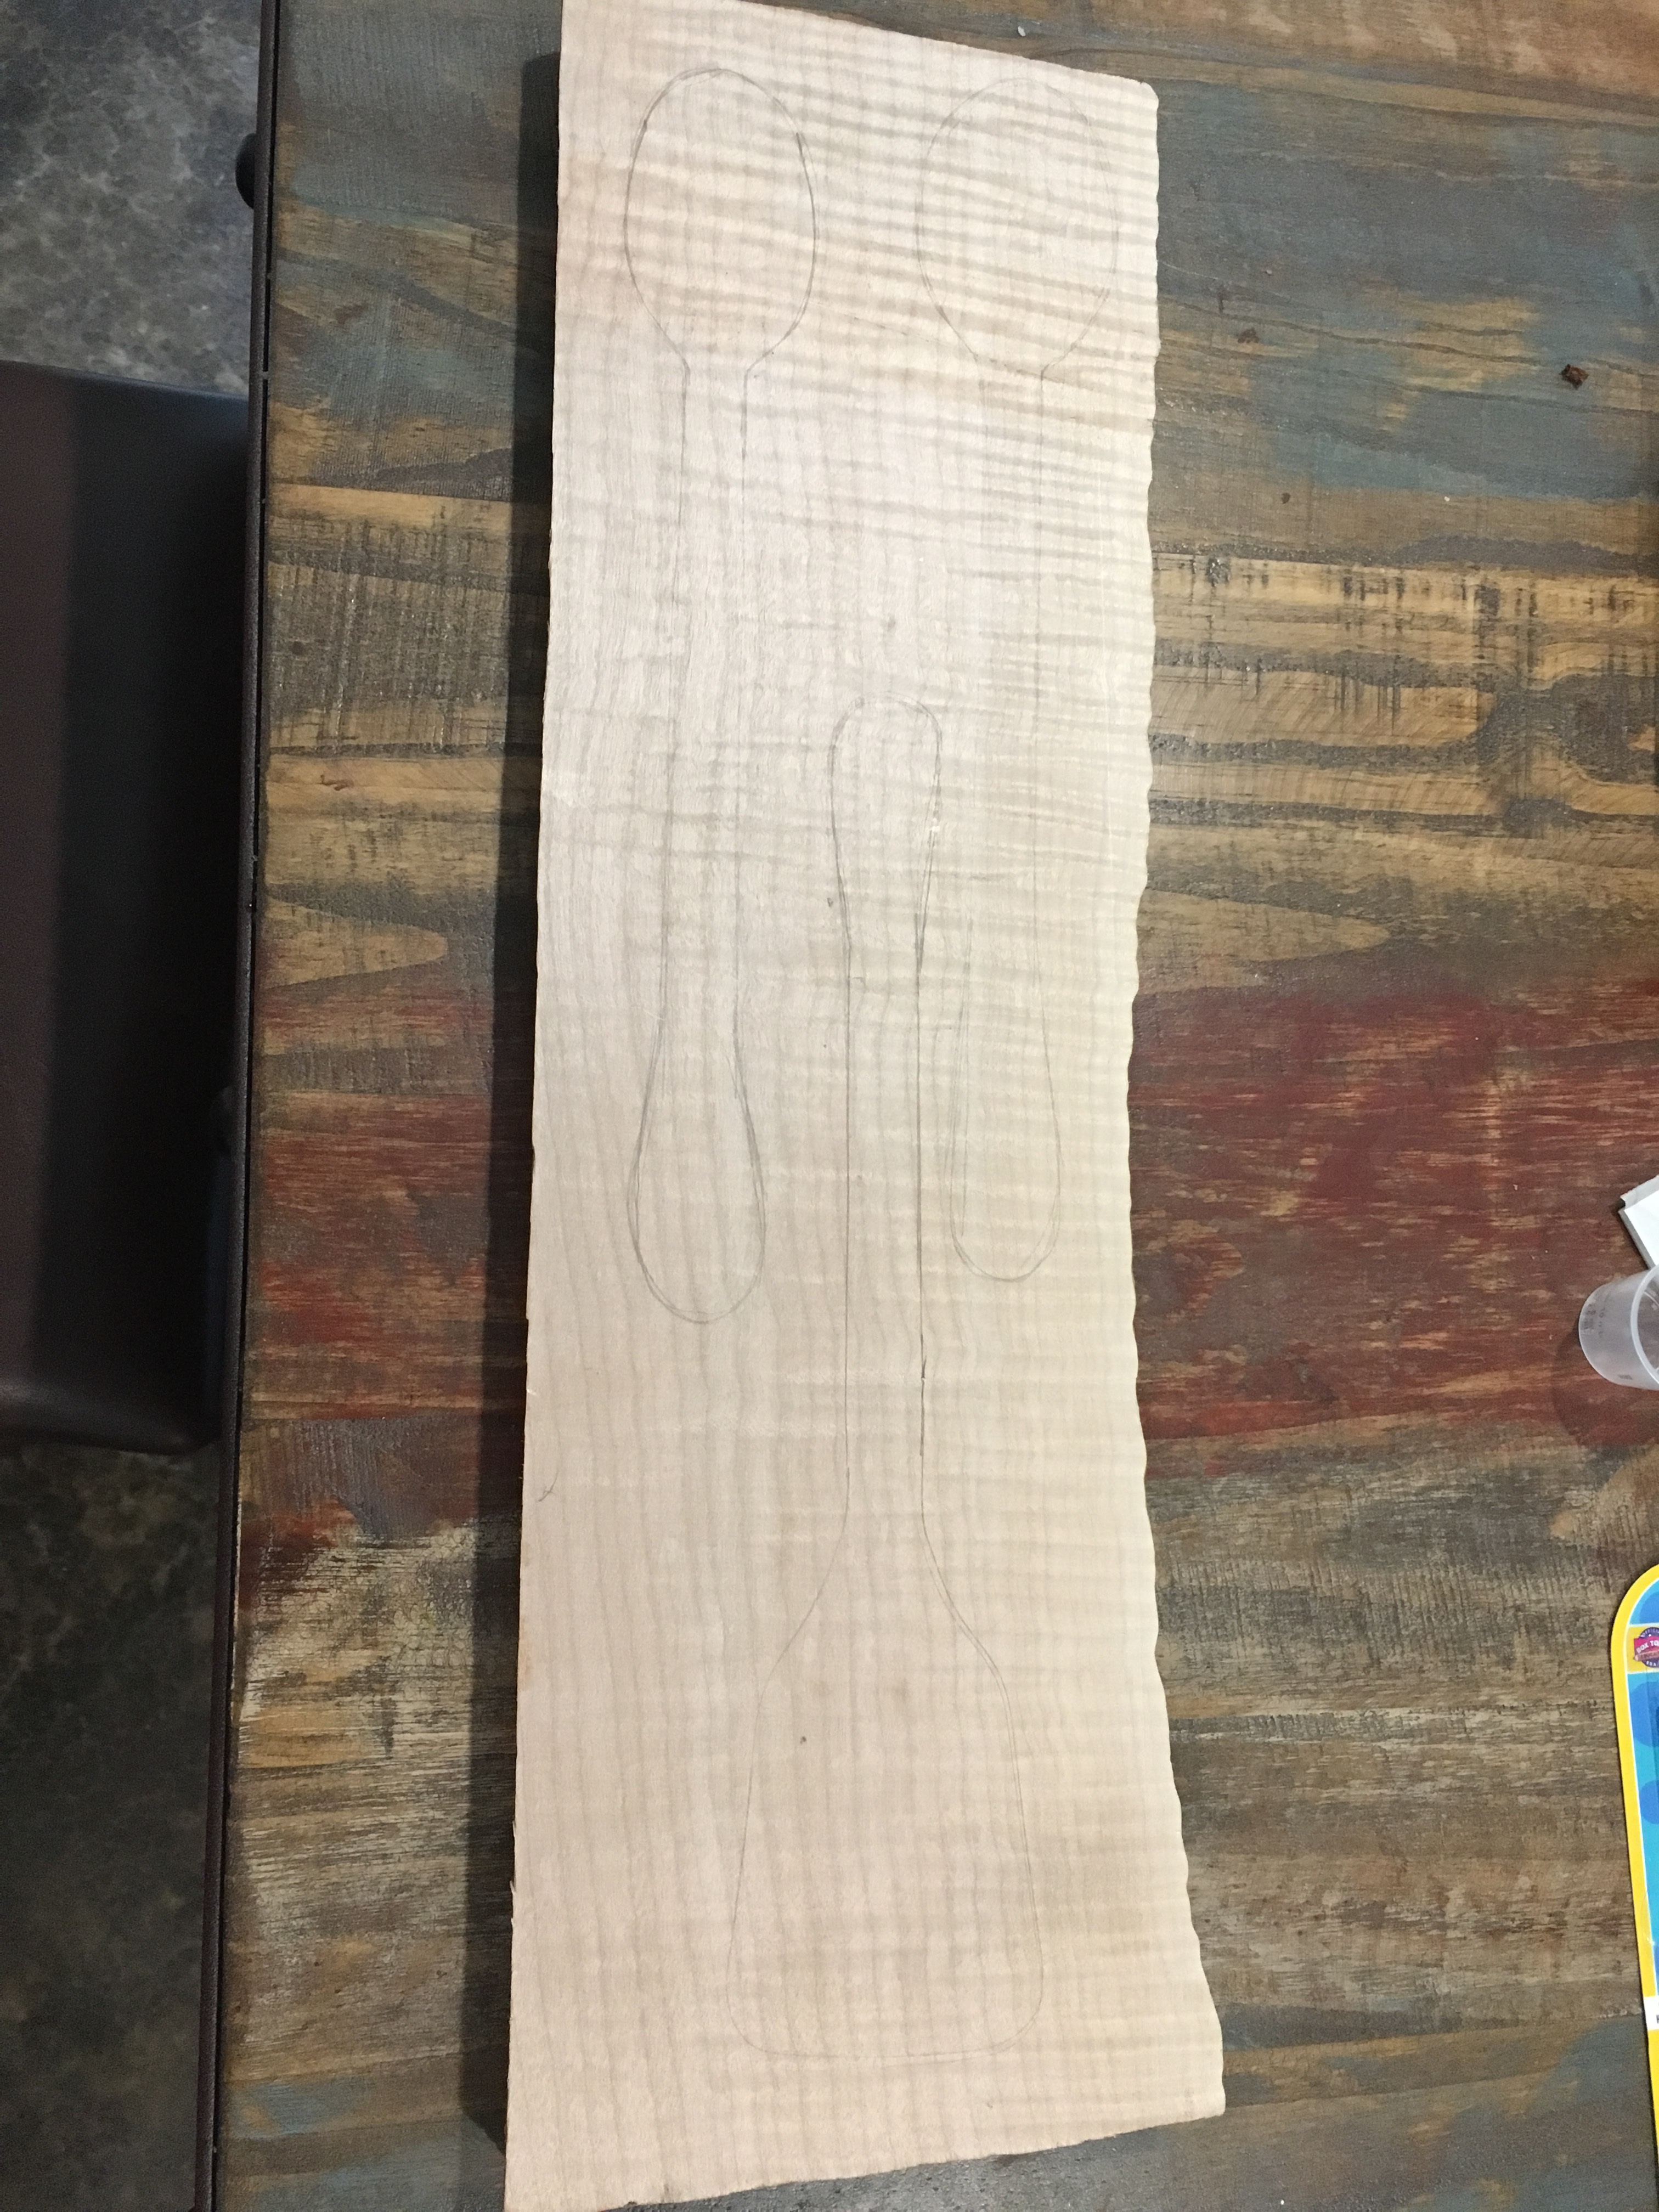
Spoons and spatula laid out in pencil on board
Unfinished shaped utensils
Finished spatula (this one is for me!)

Fold down seat

Oh the quandary! To be able to sit with the chicks, but not have the seat covered in chicken droppings.

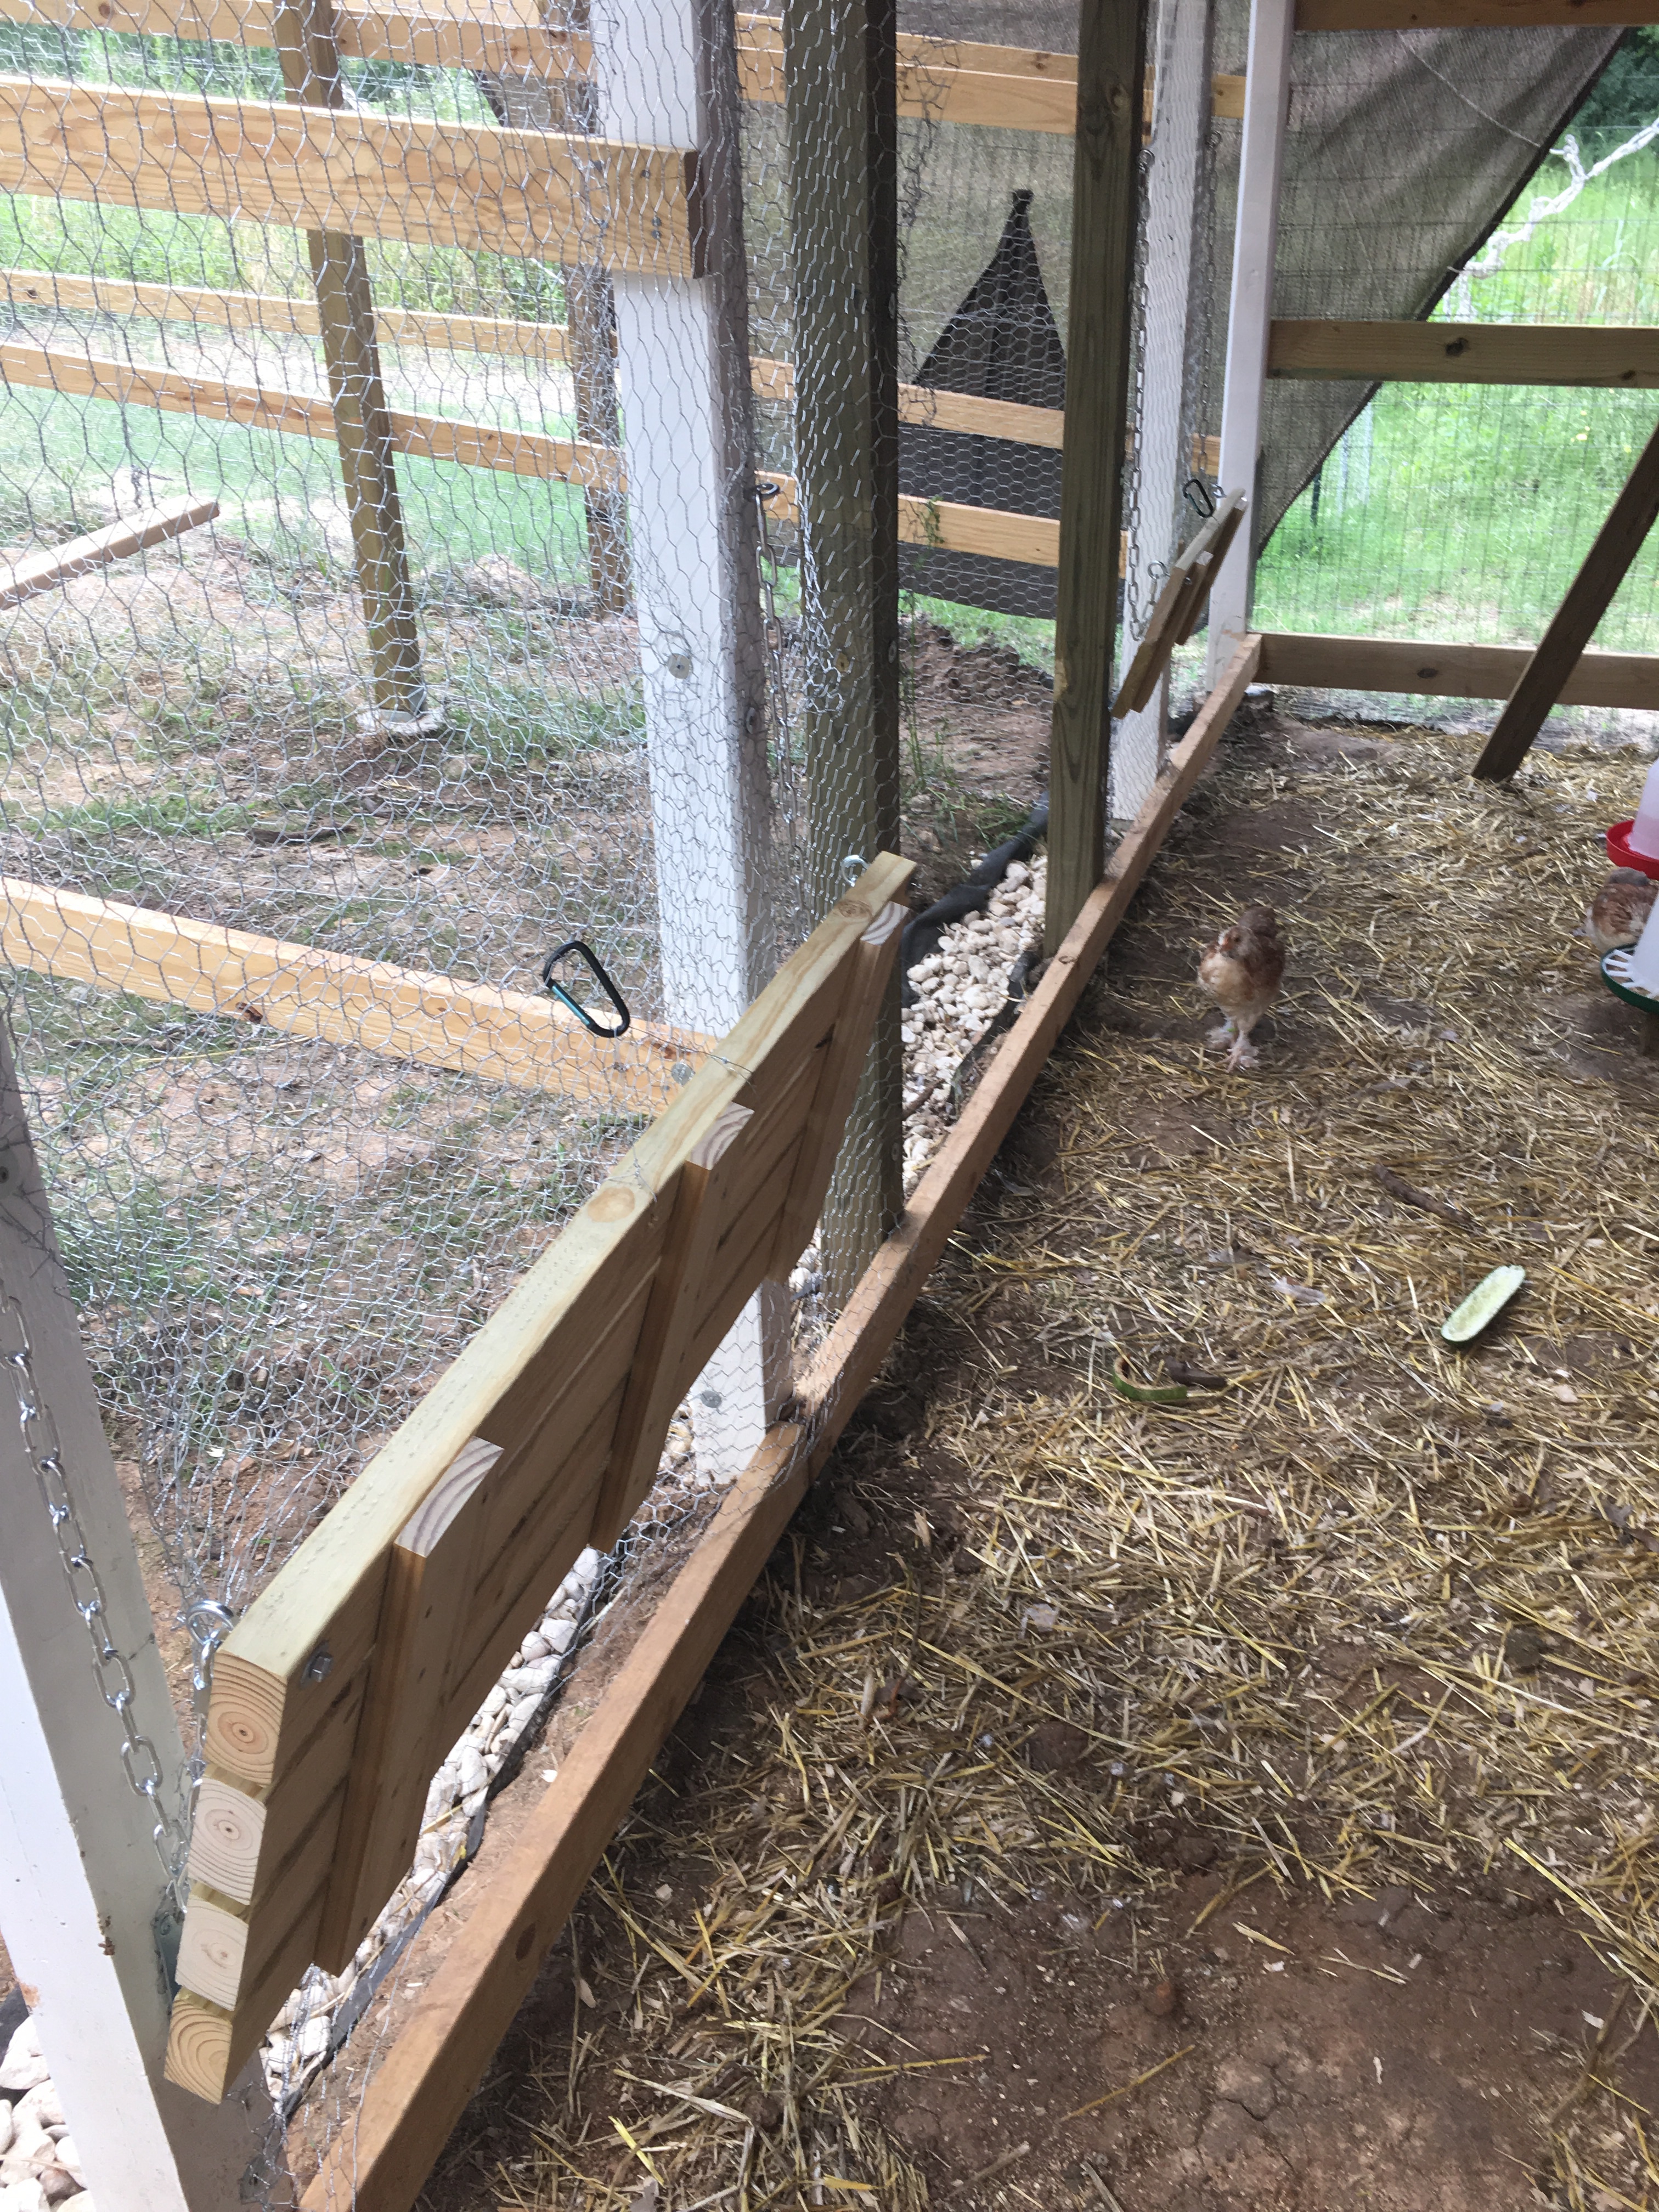
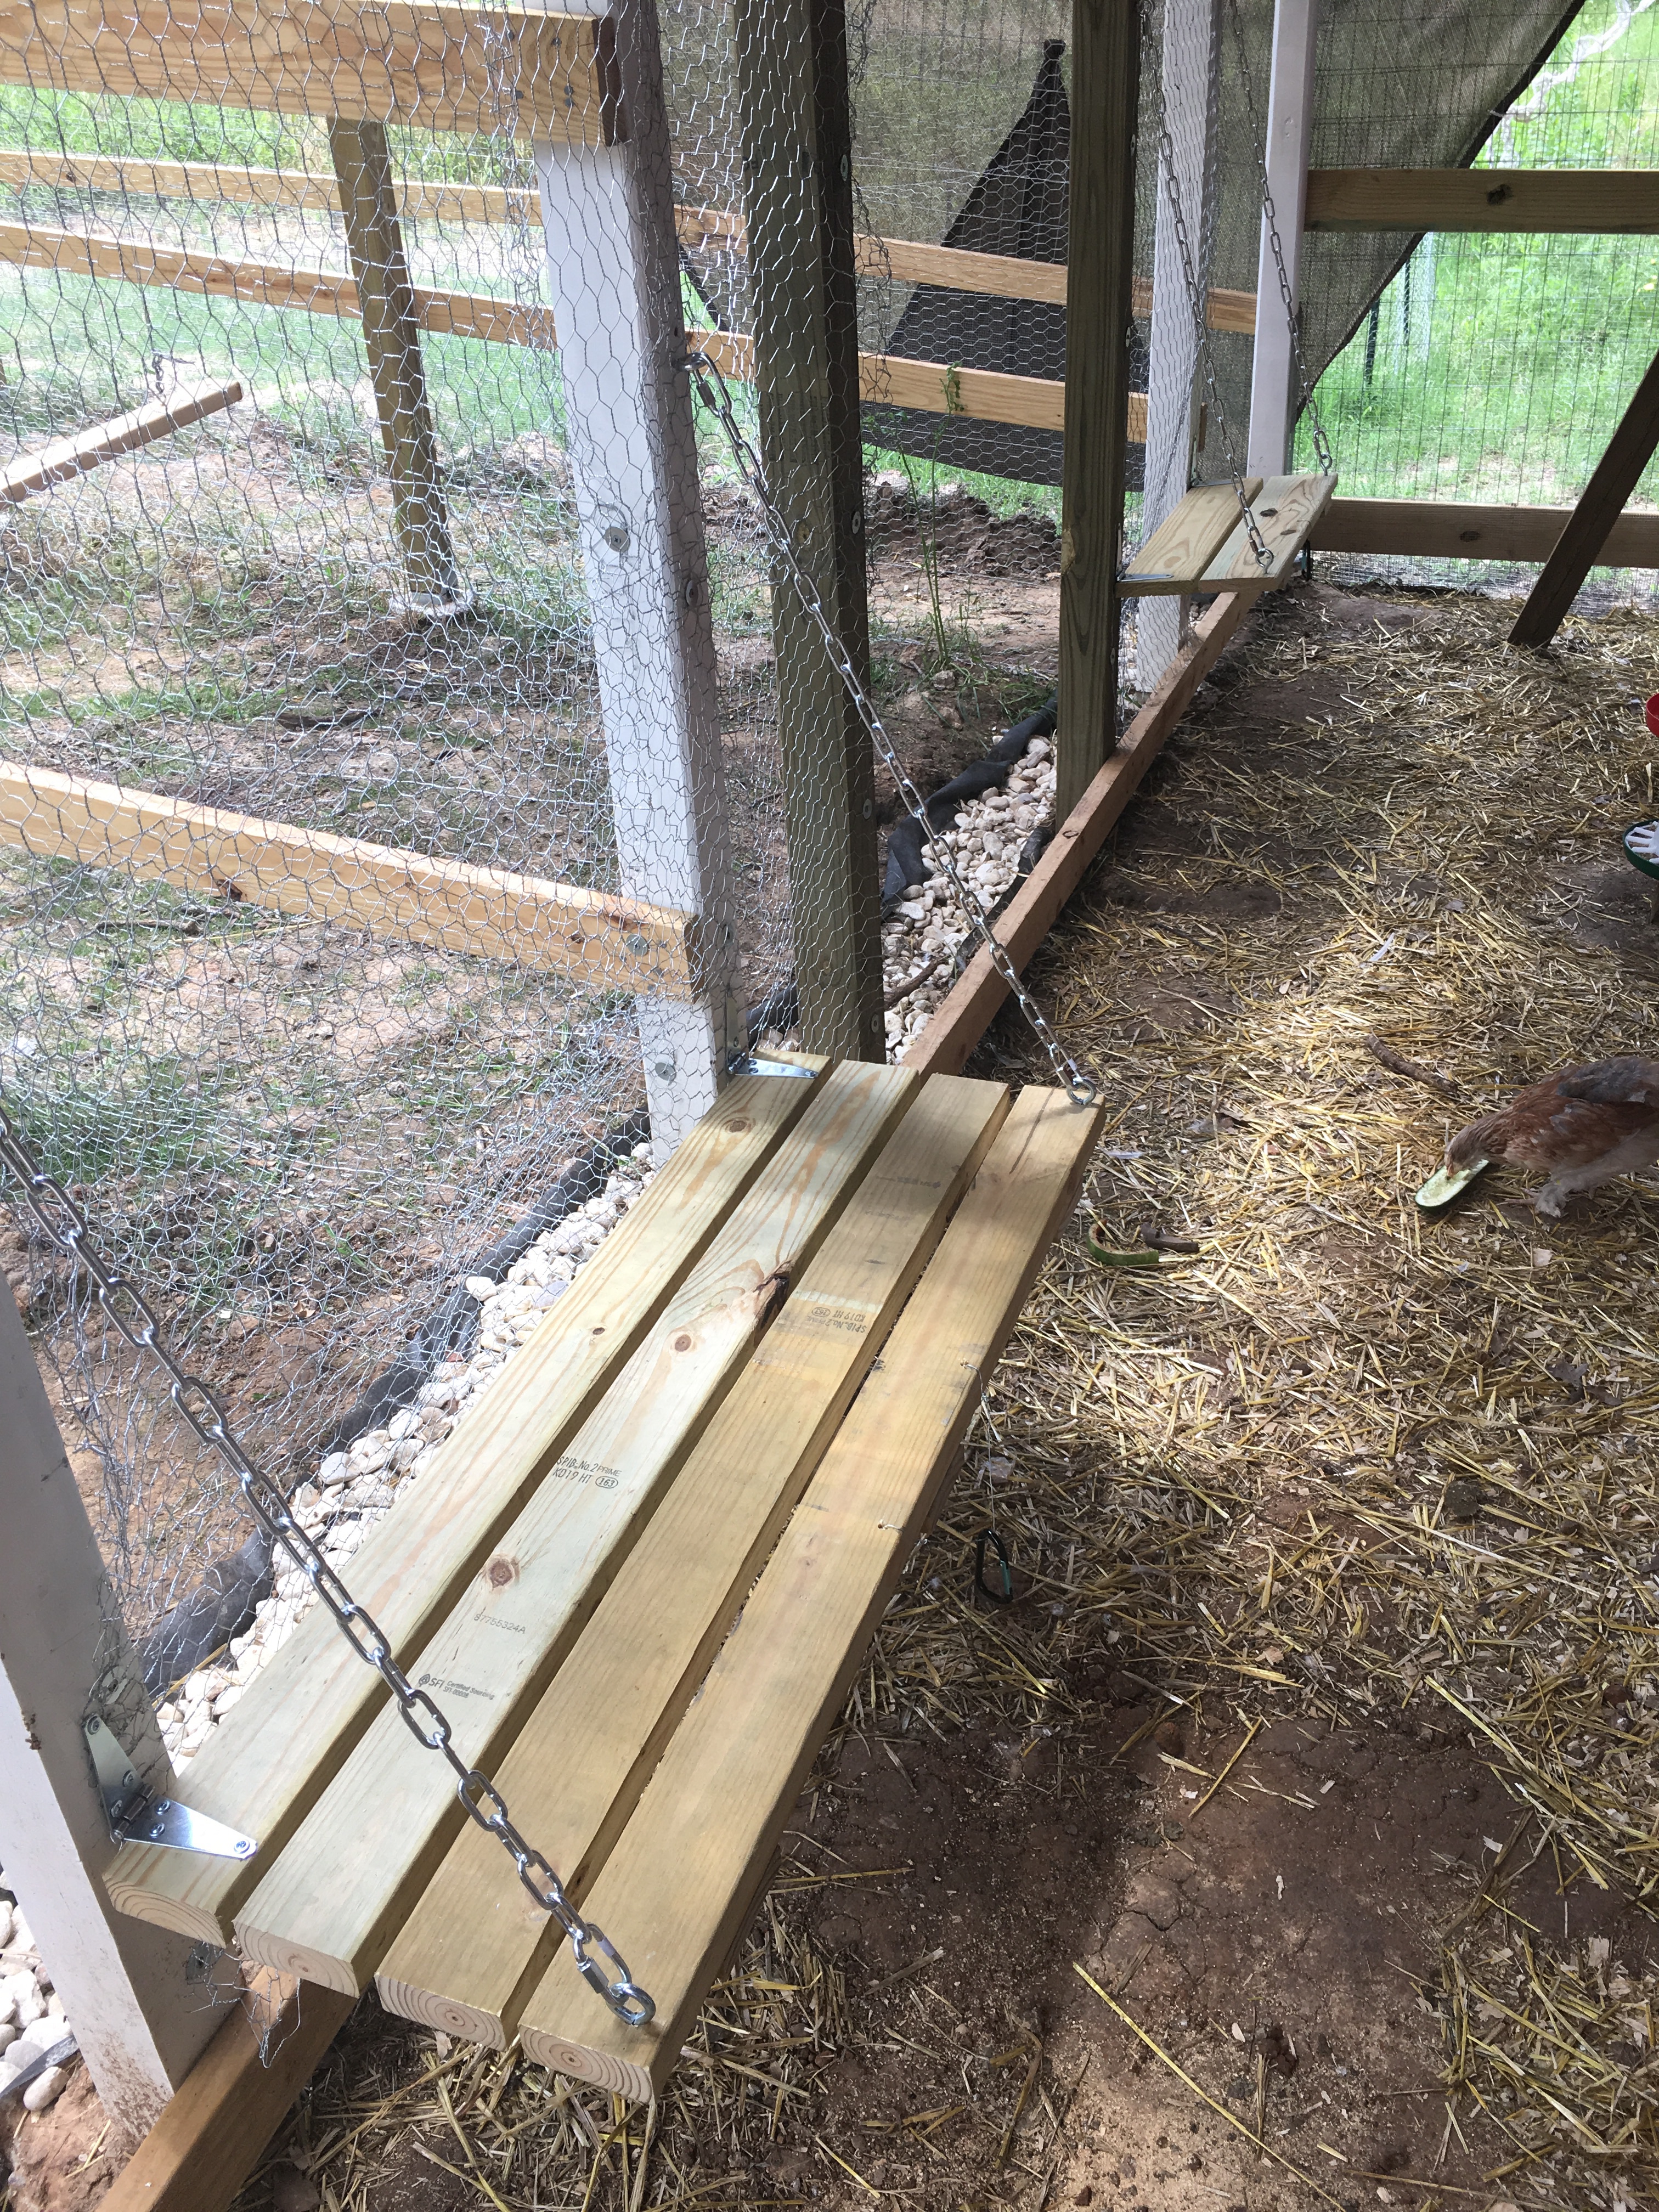
I had an idea for a fold down seat. I used scrap 5/4″ decking for one seat, and 2x4s for the other, chain, connectors, eye screws and bolts, and heavy duty strap hinges. To keep the seat in the upright position, I used a carabiner to hook it to the poultry netting. All the hardware is rated for a load of at least 320 pounds, so it should hold up to people sitting on it.

I set the first one a little high, but both my eldest and husband are taller than I am, so that is probably OK. I set the second one a little lower for my youngest and I. The poultry wire back is surprisingly comfortable.

Seats folded up

Seats folded down

Update:

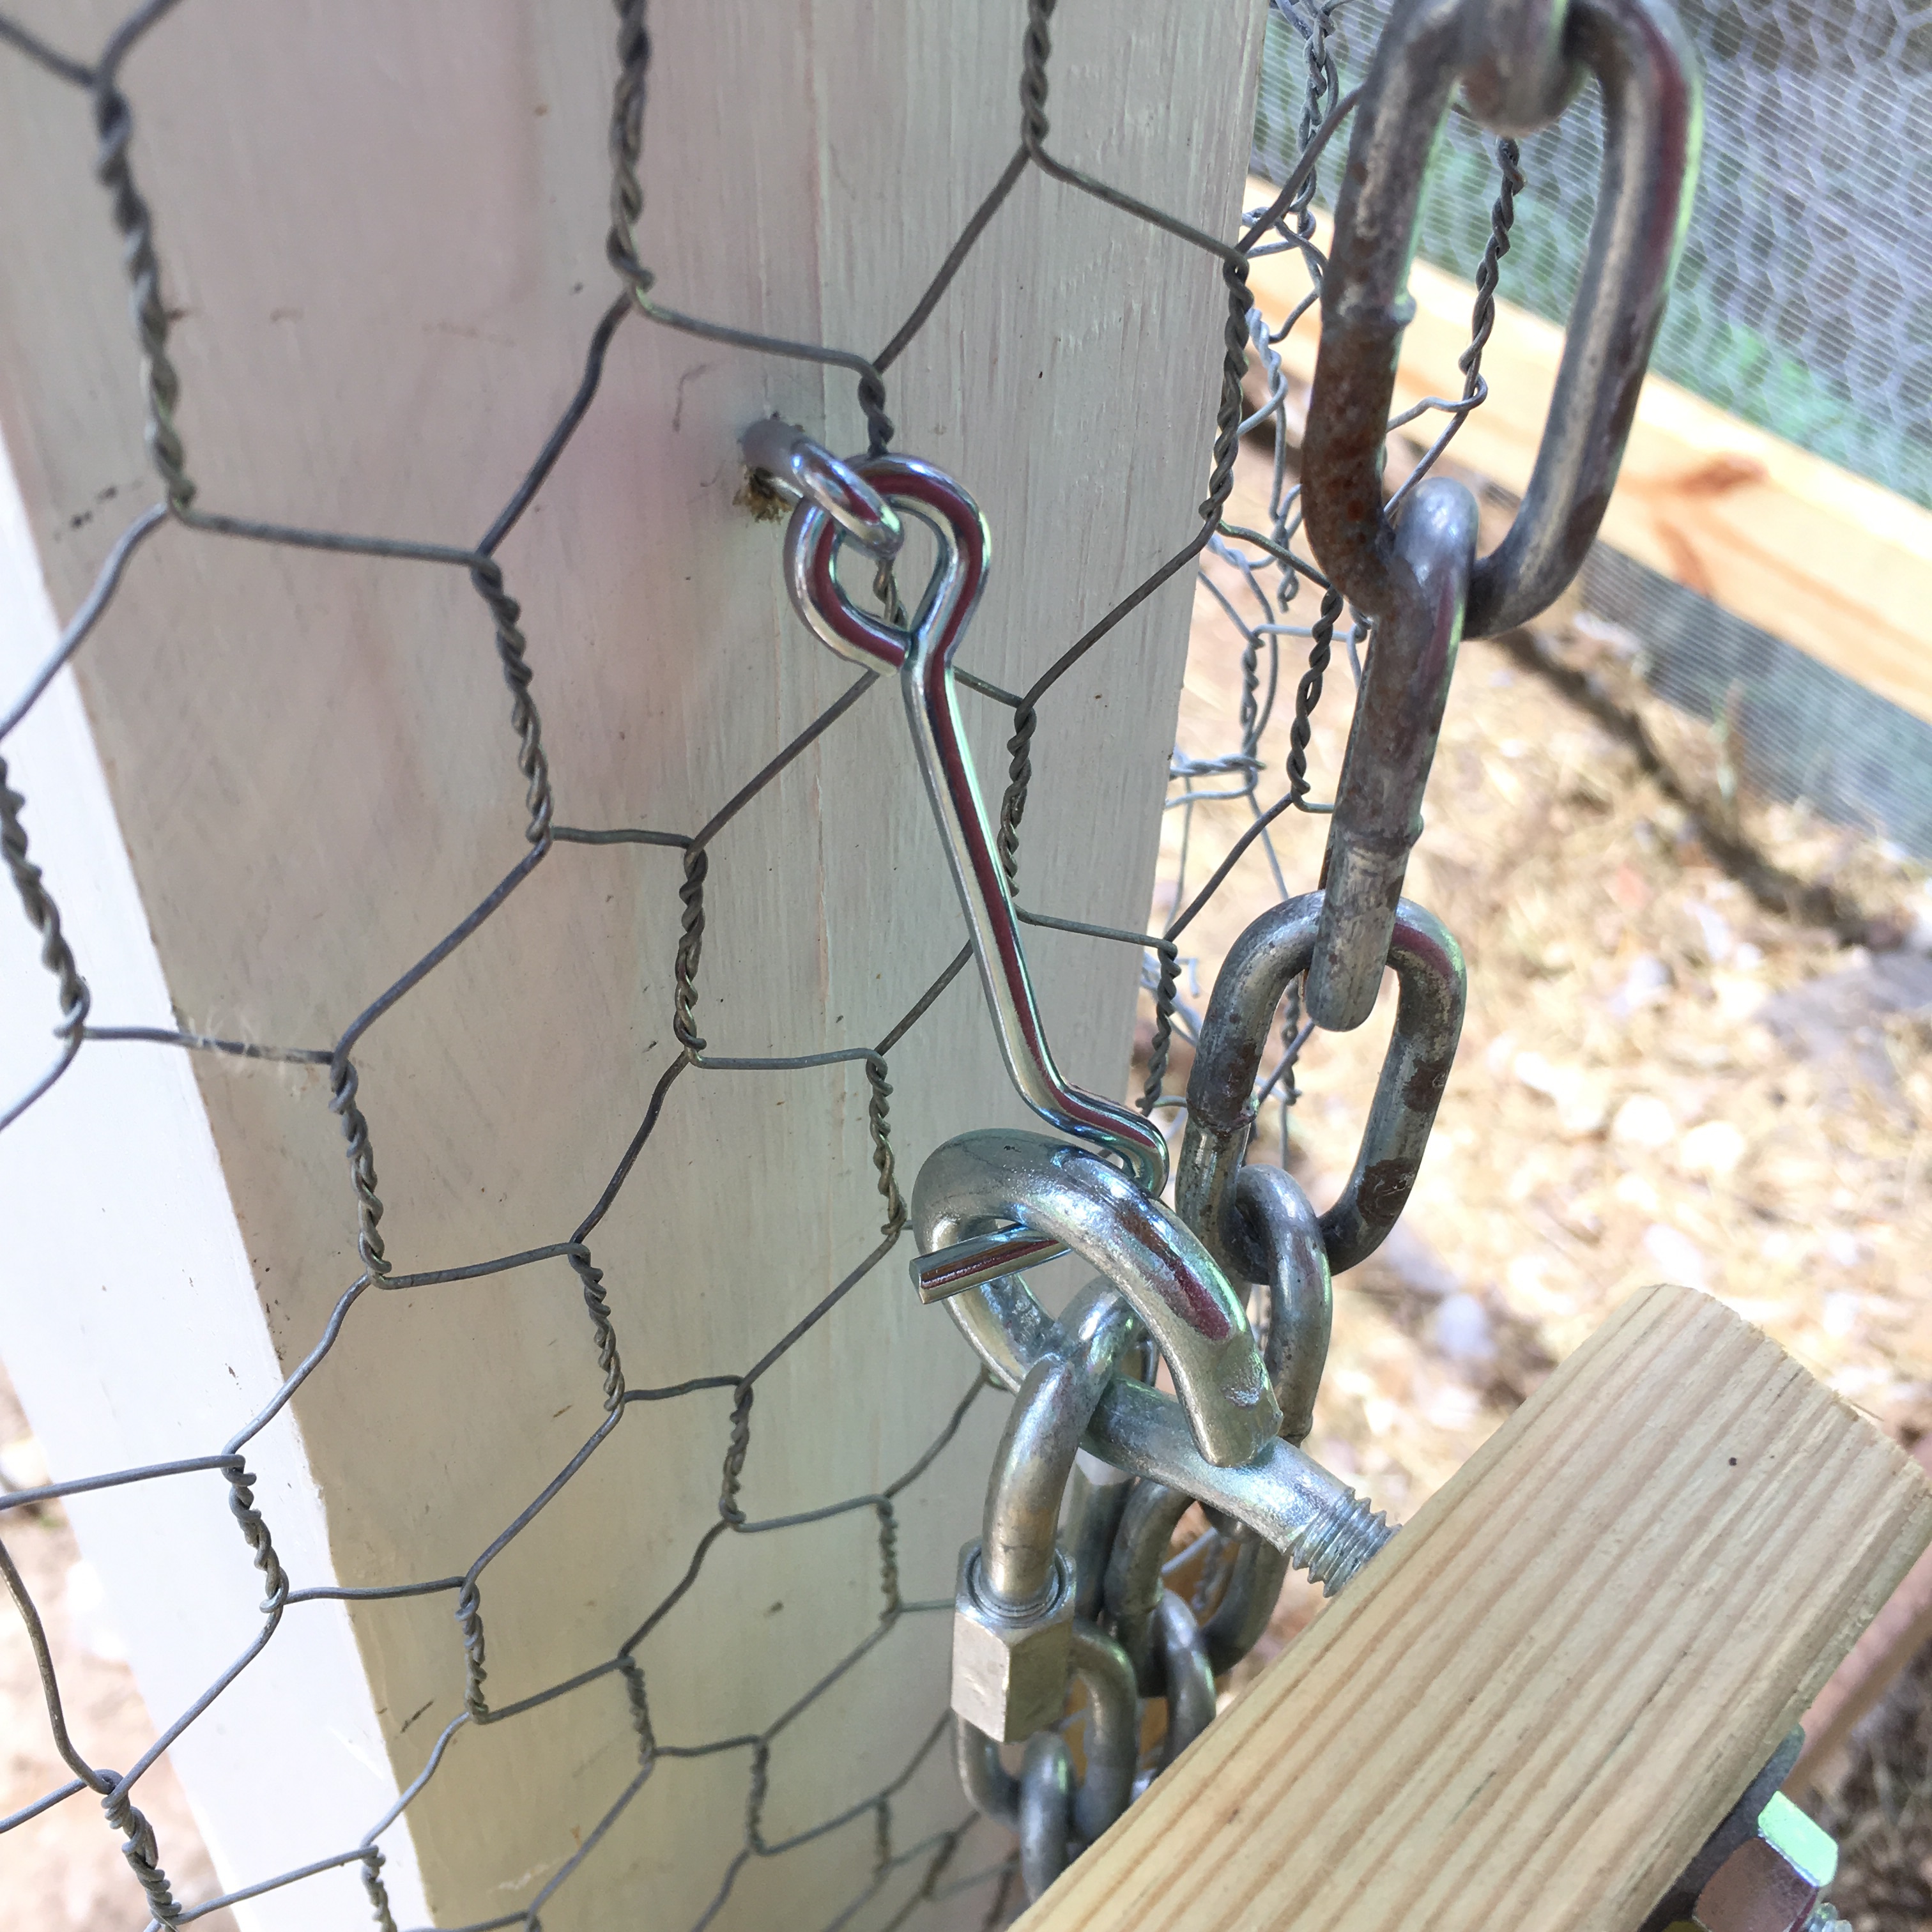
The carabiners were not holding the benches upright enough, and the chickens were roosting on them, so I replaced the carabiners with gate hooks that catch the eyes I used for the chain. Much better!

Gate hook latch for seat

Hand Painted Thank You Notes

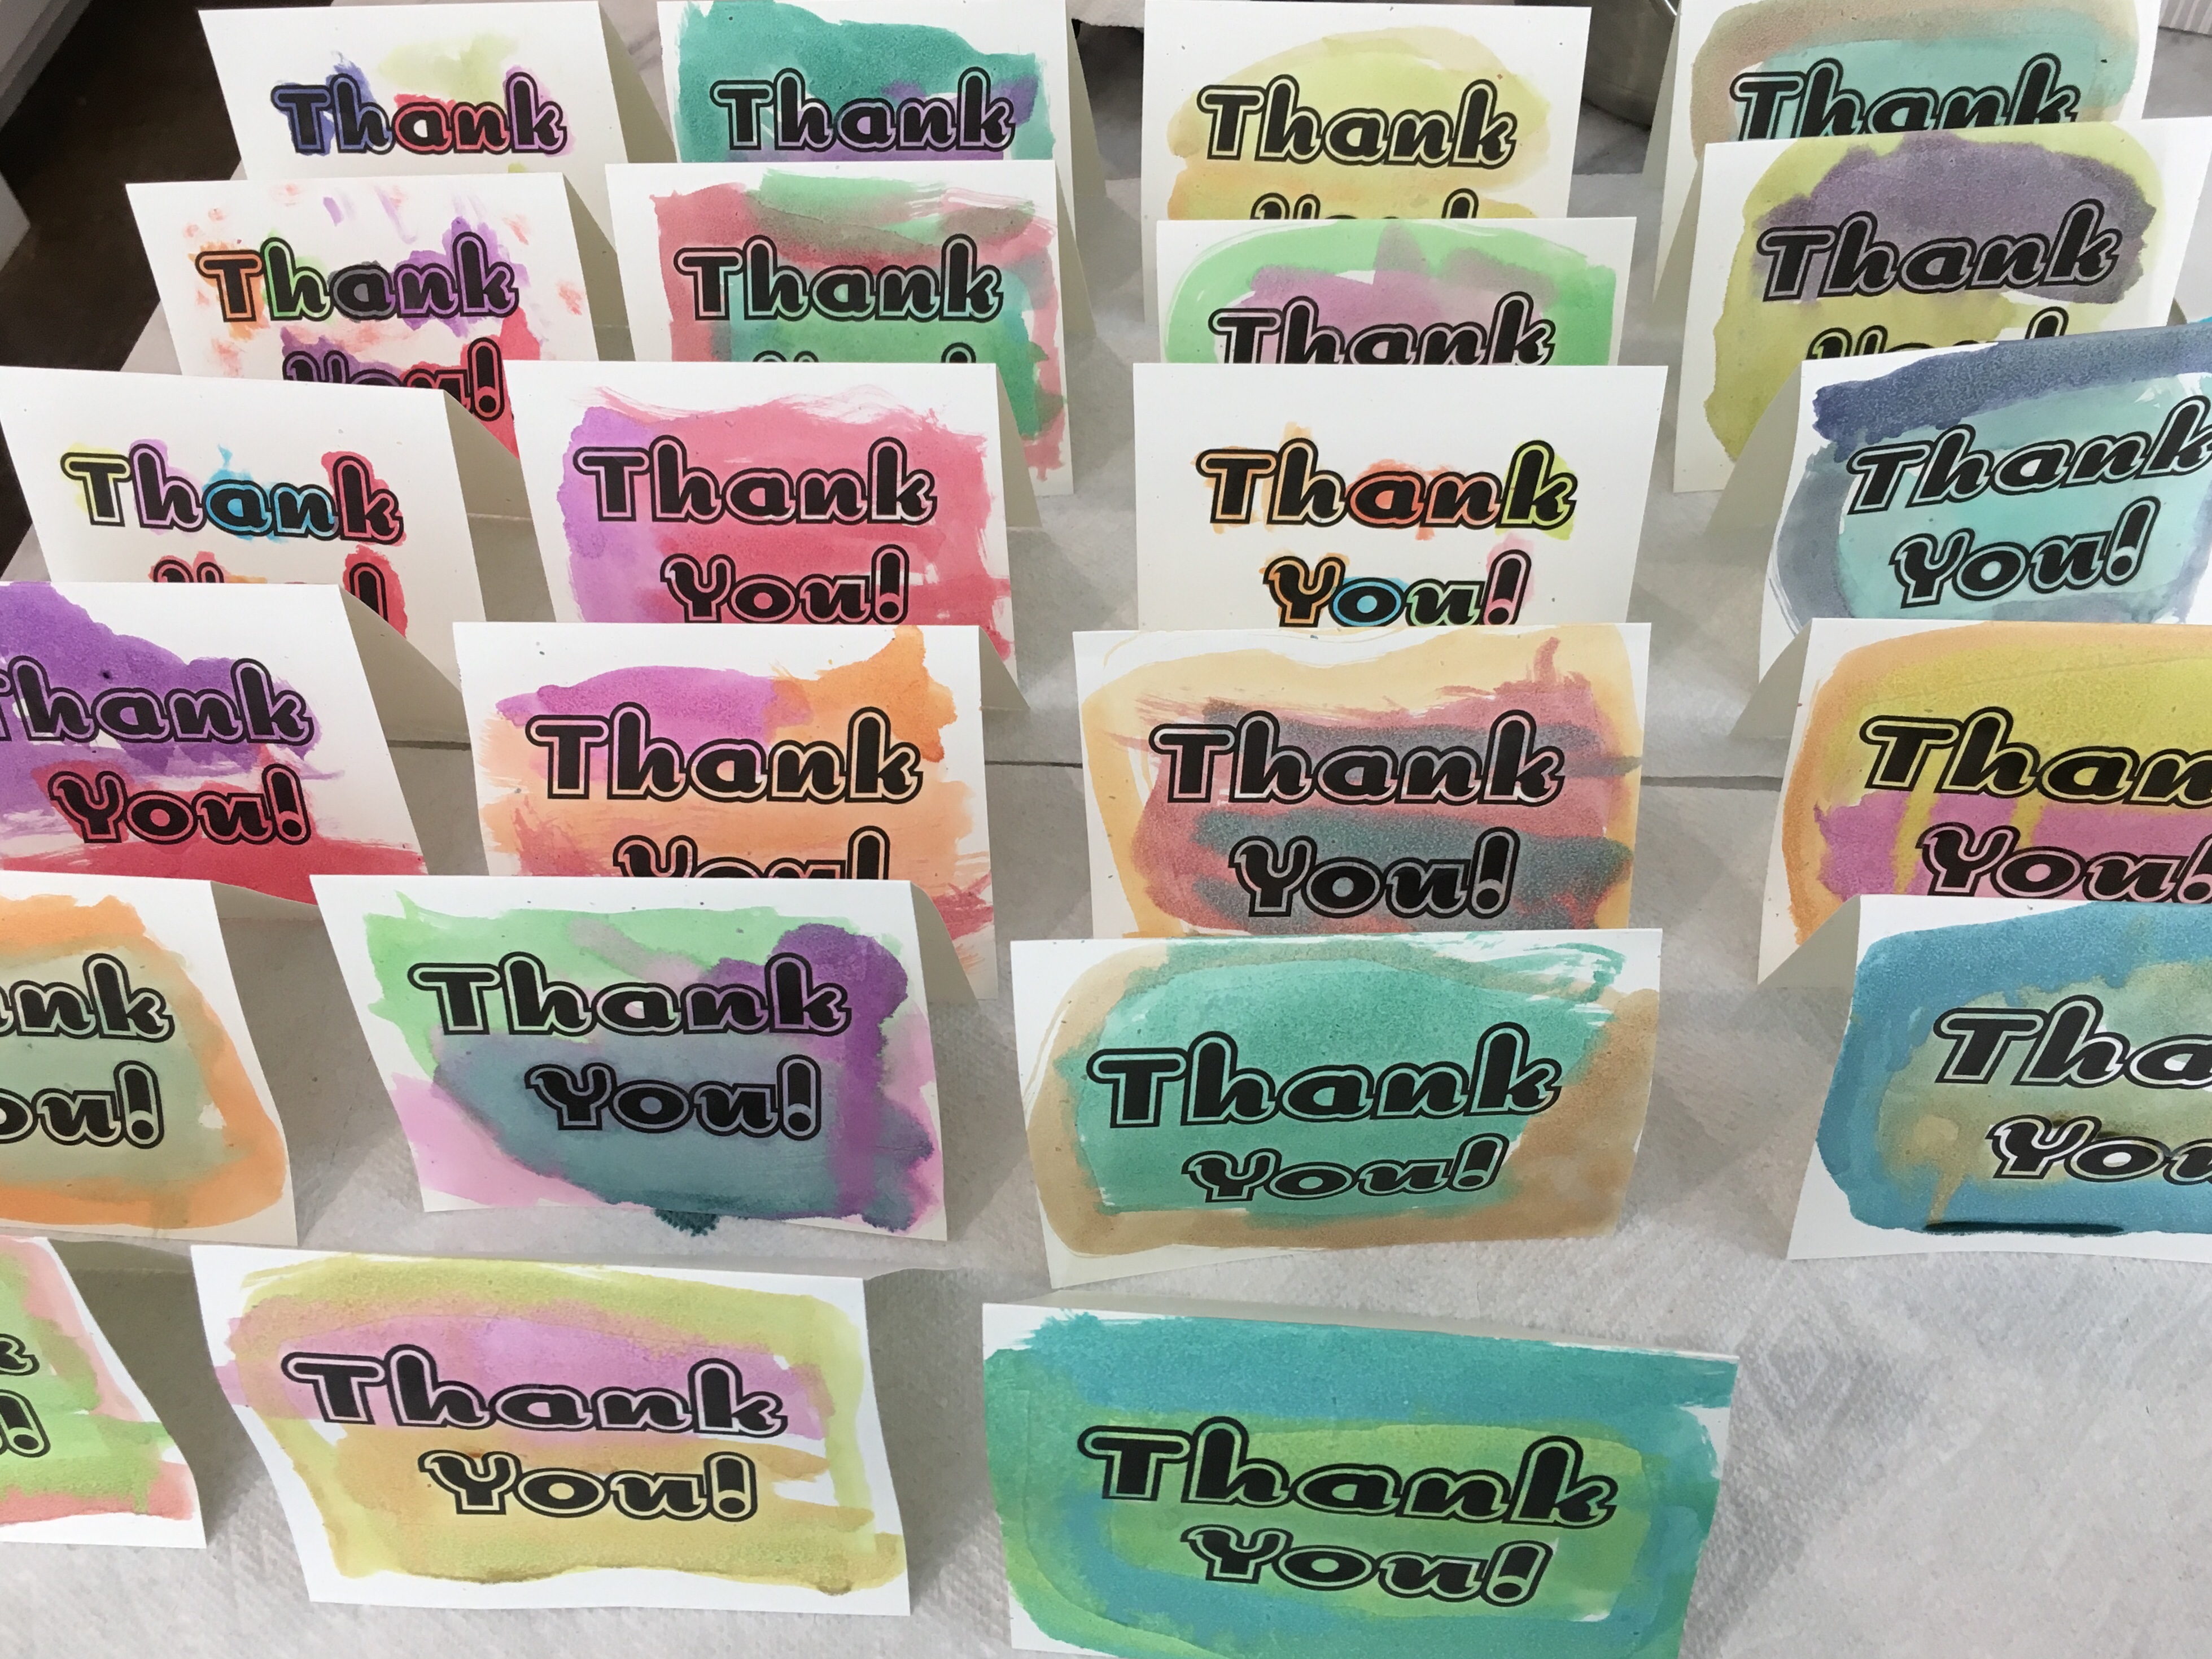
When you have a child with special needs there are many people at school who help and interact with her daily. I love that my daughter wants to get them all a present, but making that many things is hard for her, so we come up with things we can do in steps. For this year’s thank you cards, she picked a bold outline font from a filtered list, and I printed them on card stock. We then set her up with watercolors and turned her loose painting! Because the print is bold and water colors are light, they came out readable every time. She started out trying to color carefully, then quickly moved to broad strokes. All of them came out lovely, and unique!

Hand painted thank you notes

To write in each note, we will do a few at a time so it isn’t overwhelming (for either of us!!)

How to make knitting needles from common parts

In a pinch, or if you need a bunch of needles for teaching a class, you can make knitting needles from dowels you can find in a hardware store. Making your own needles not only gives you a greater connection to your knitting, it is a much cheaper way to have wood needles, which I find more pleasing than plastic or aluminum when knitting (these are cheaper than those too).

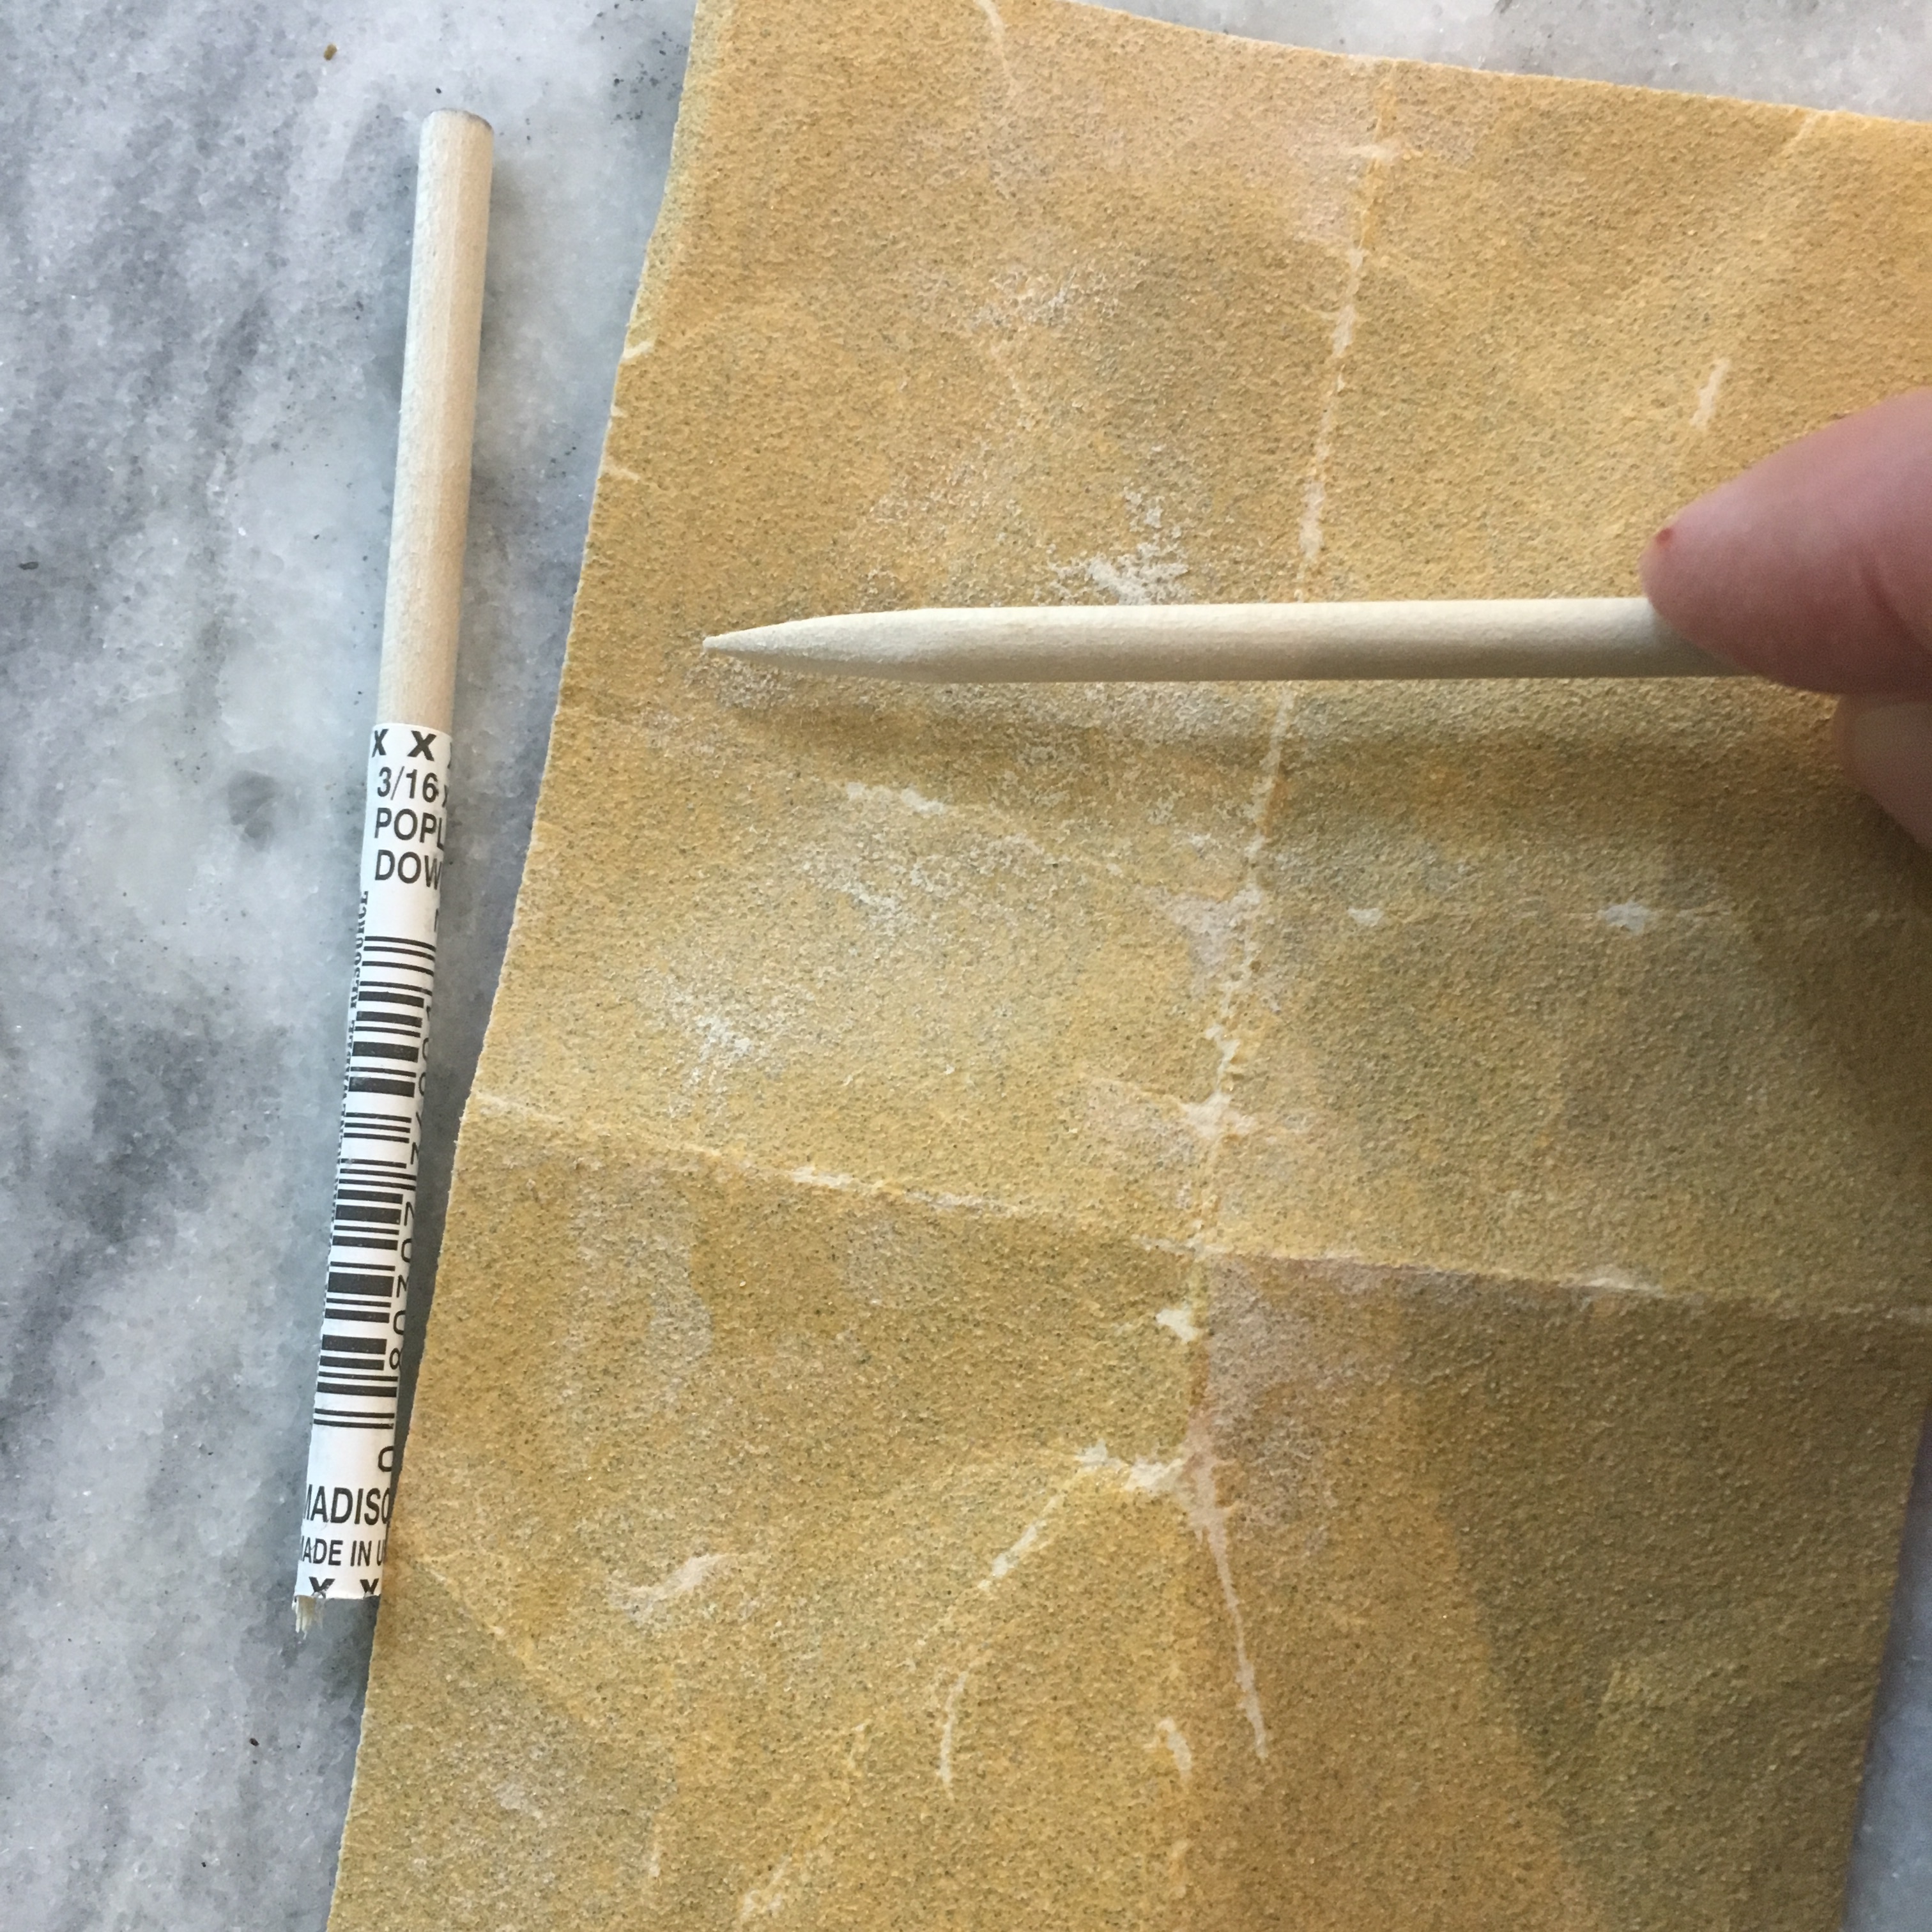
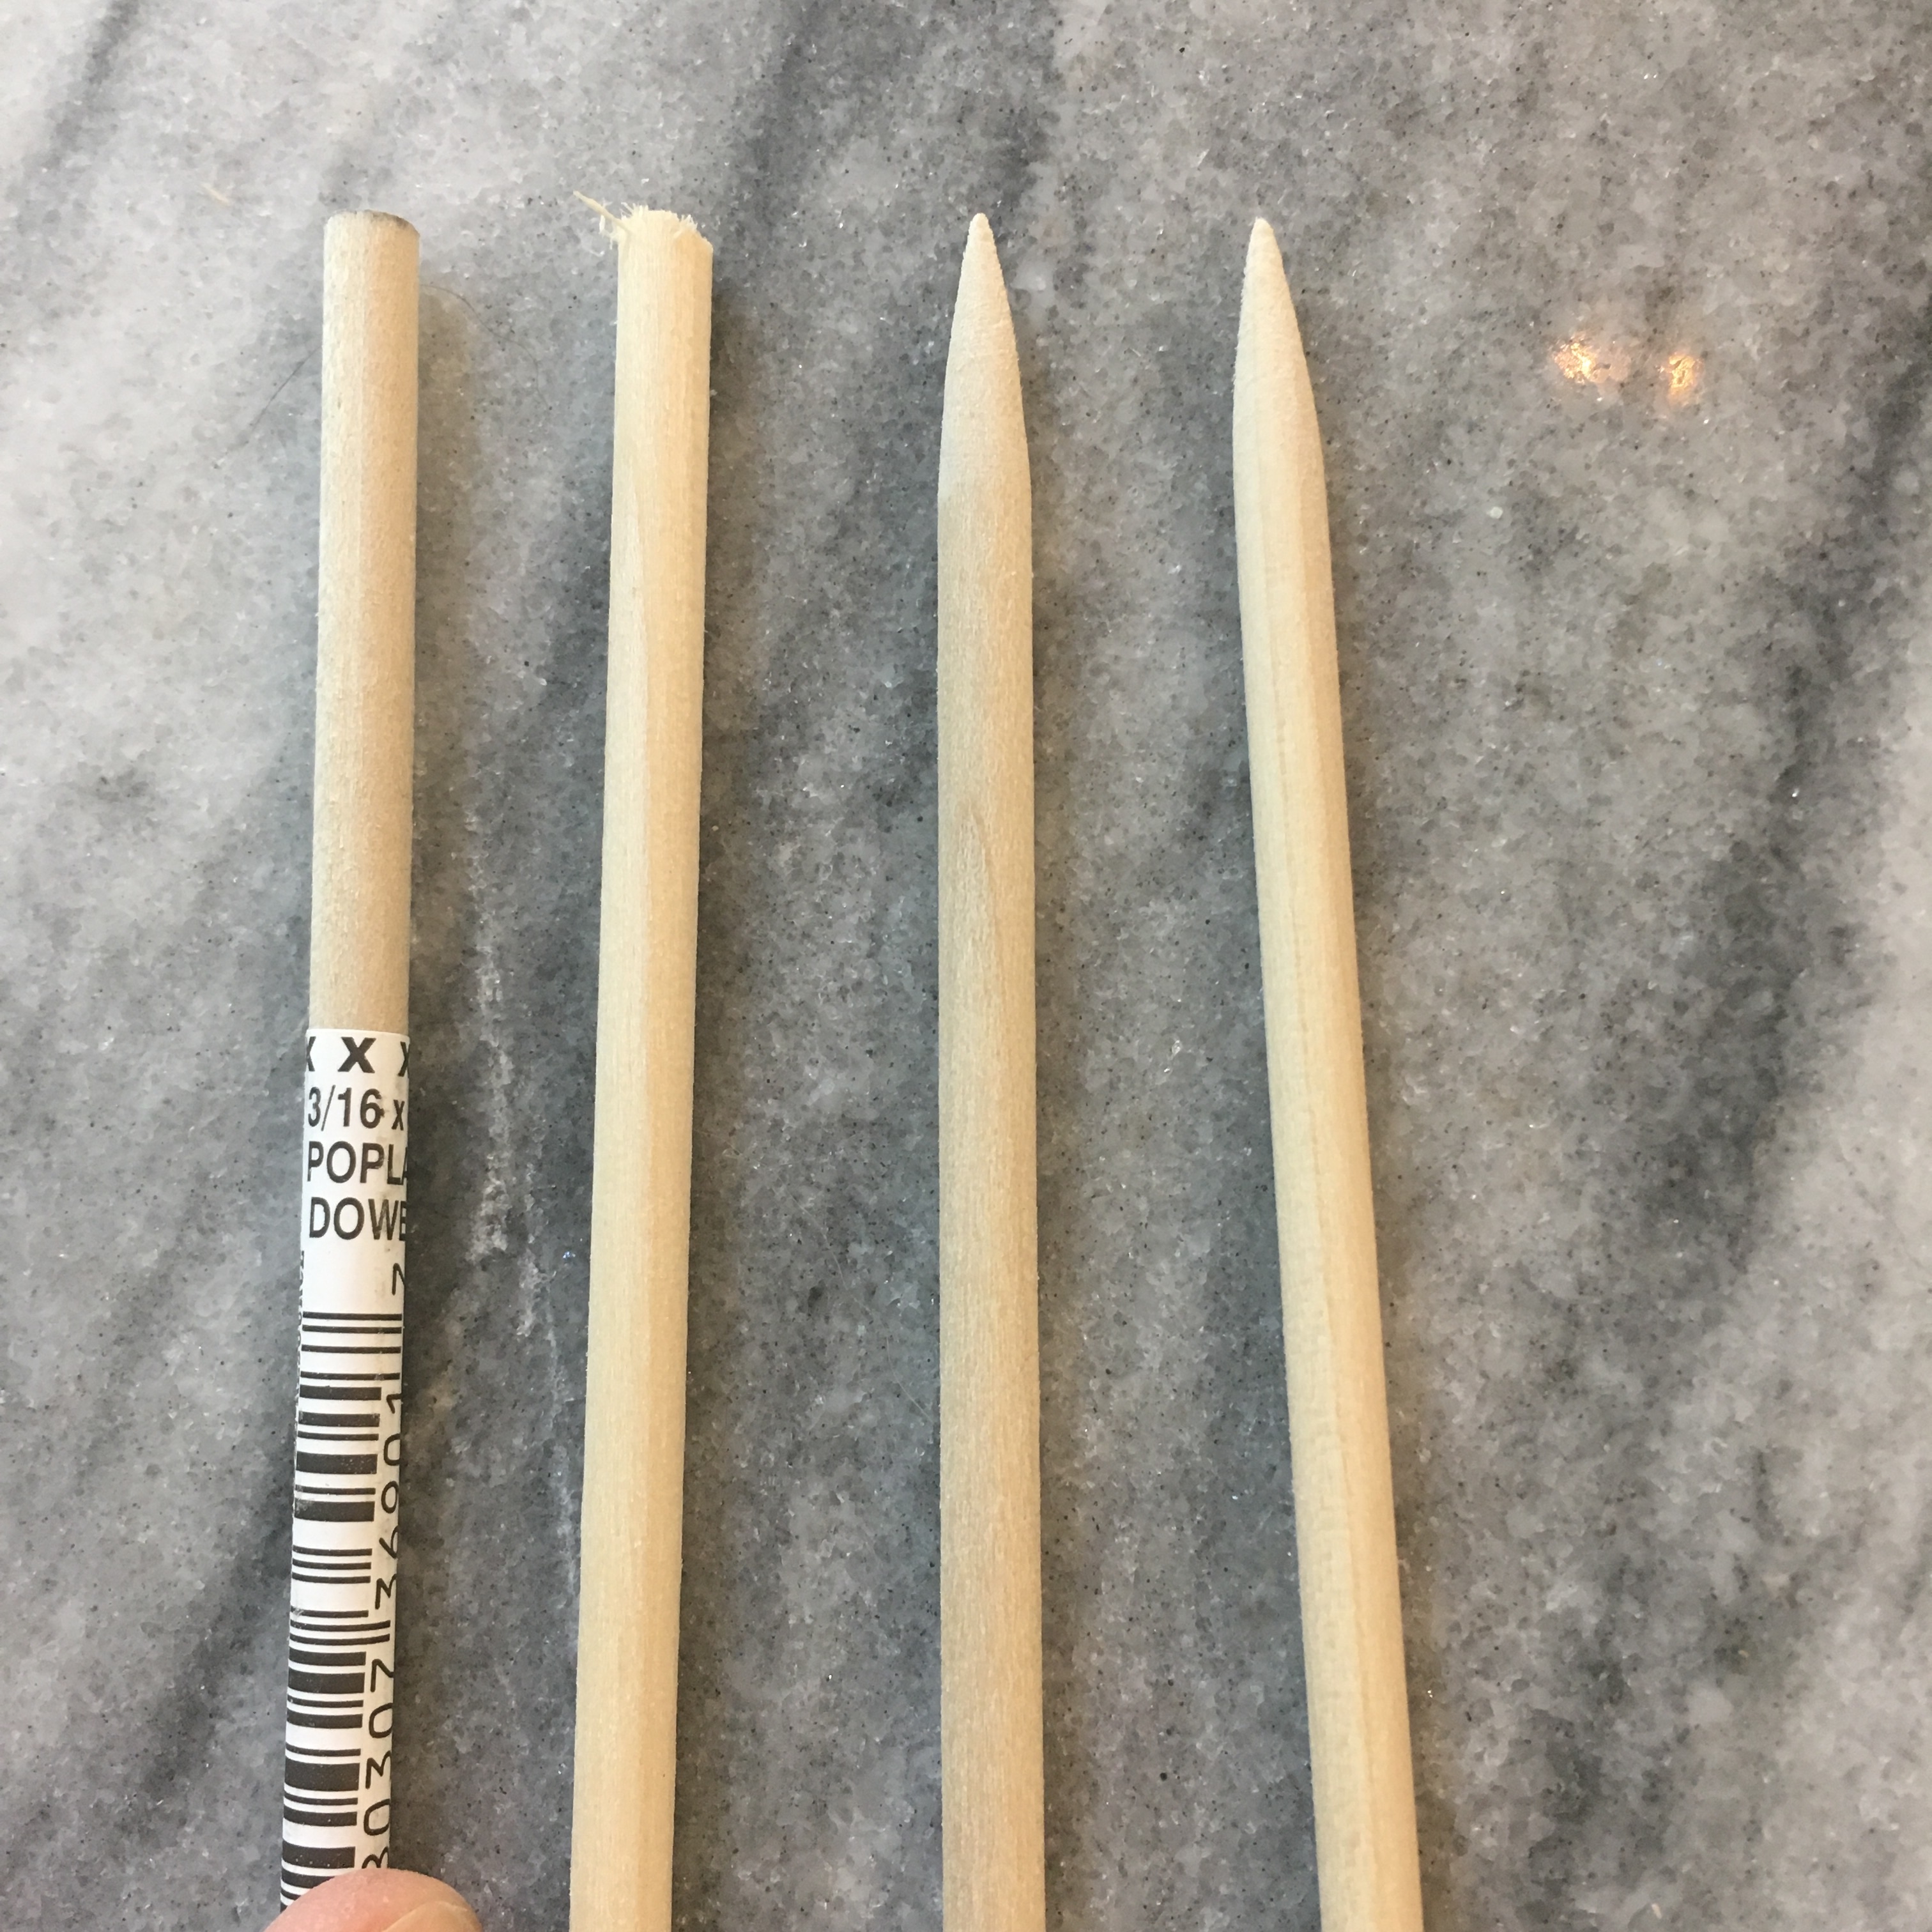
To make these needles I picked up 3/8″ poplar dowels, which are about 68 cents each, at my local hardware store. I also used 120 and 320 grit sand paper. I cut the dowels to 14.5″ (I used a chop saw, but a hand saw would also work). You can use the 120 grit sandpaper to sharpen one end of the dowel. Make a slightly more slanted angle than a sharpened pencil. Blunt the end slightly, so that it is still easy to pick up a stitch, but is harder to split the yarn.

Sharpening the dowel using sandpaper

Sand the whole needle with 320 grit paper so the yarn slides nicely, but isn’t slick. Rub your hands along the needle; the oils from your skin will help the yarn slide on the needle, and the needles with continue to improve with use.

From left to right: 3/8” dowel, cut dowel, shaped end, sanded end

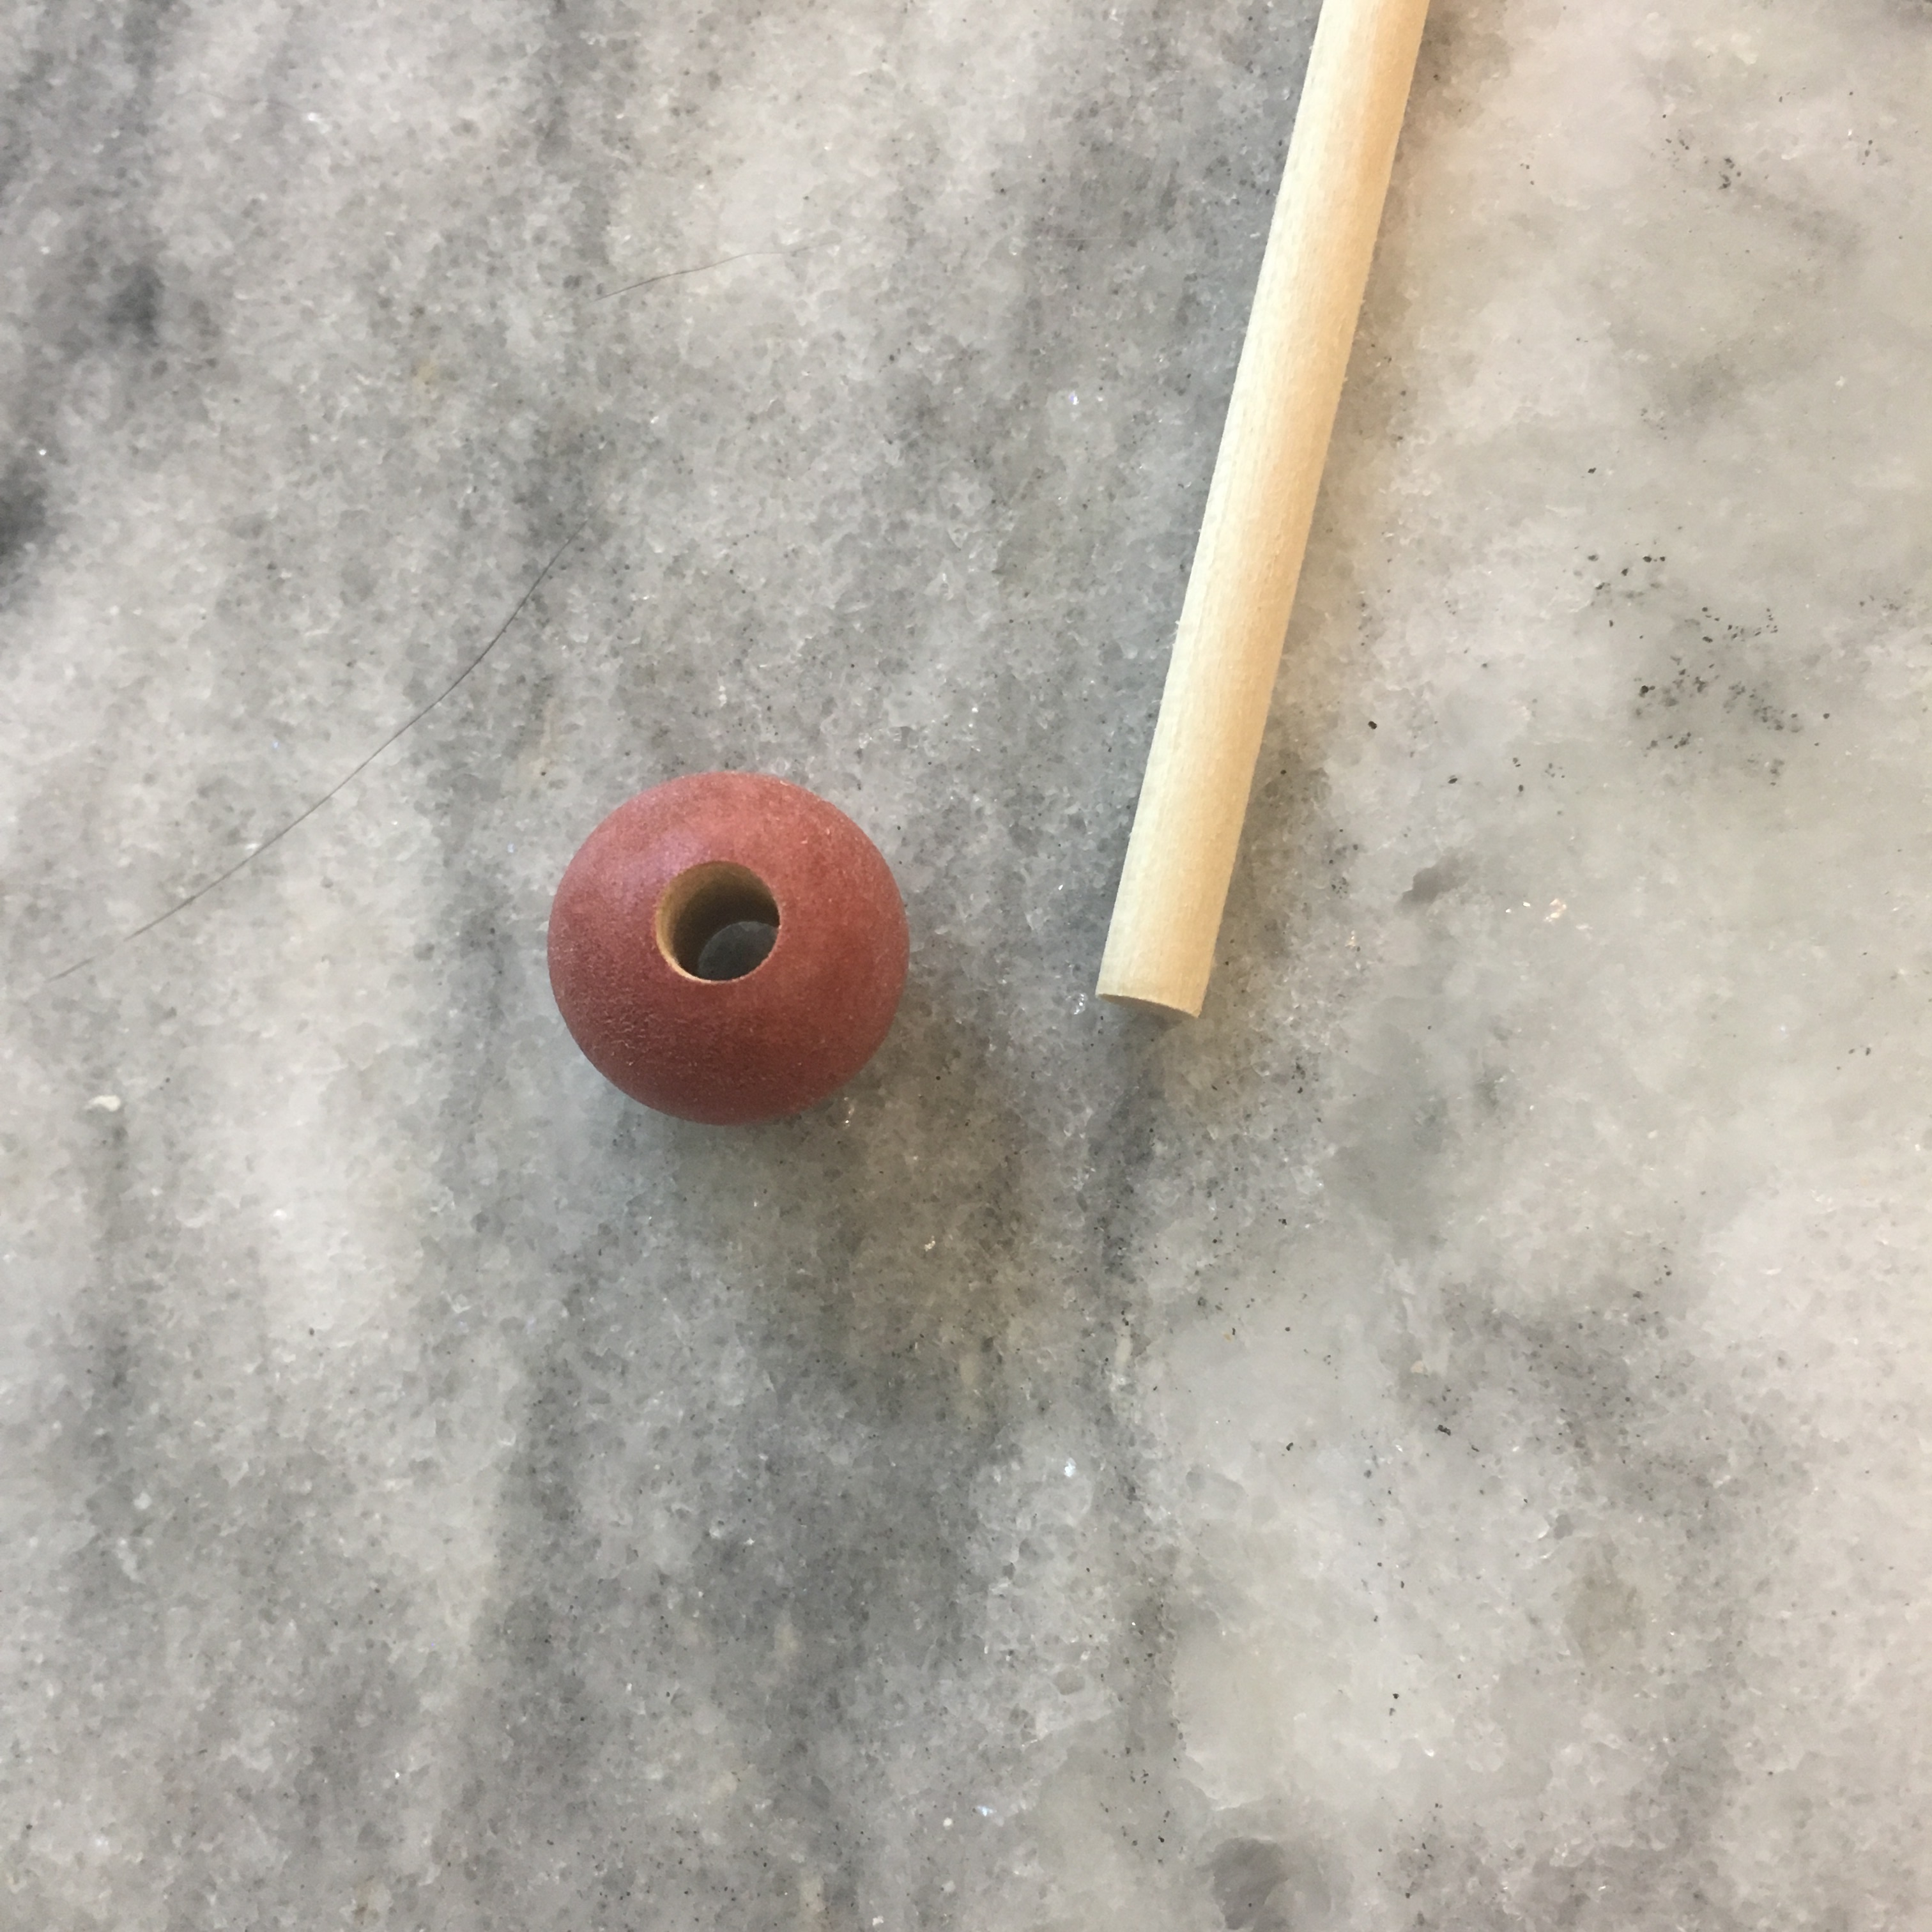
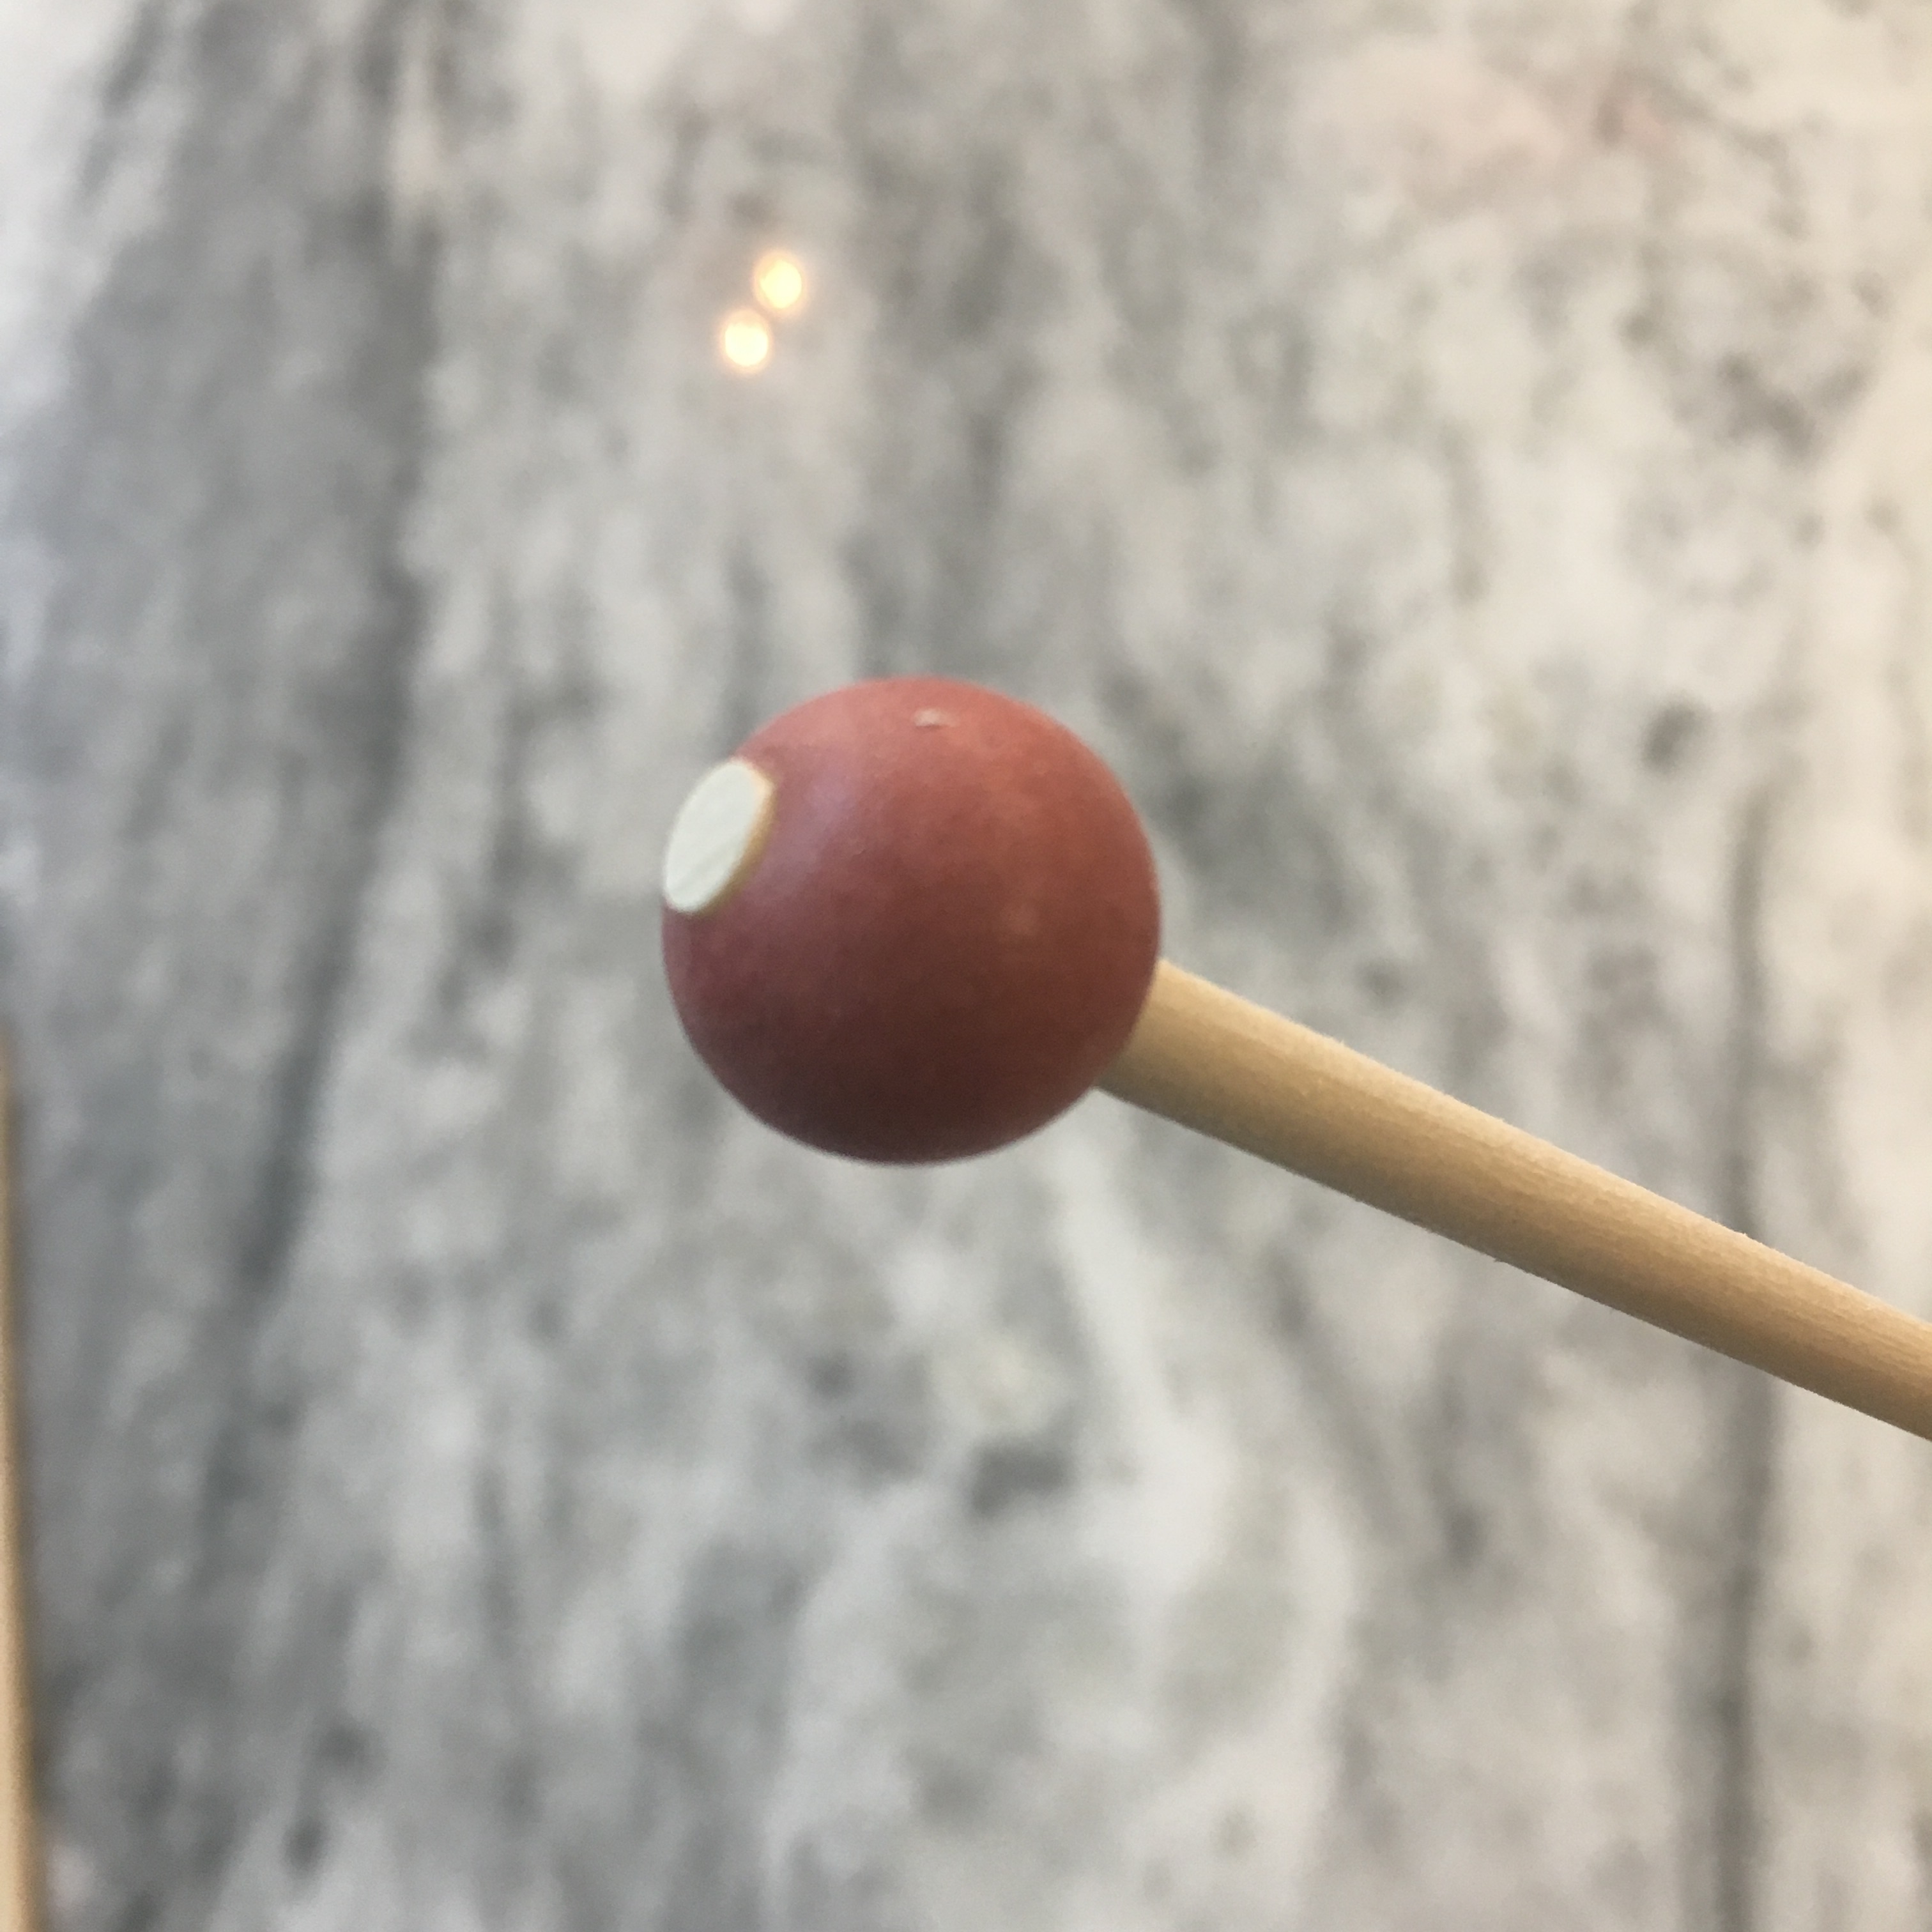
I used wooden beads with a 3/8″ hole to put a stop on the end of my needle. Alternatively you could use a fancier large hole bead, air dry clay, or Sculpy clay on the end to make a stop. A drop of glue will help keep the stop in place.

Wood bead with 3/8“ hole

End stop

If you knit with a tight tension on your yarn, you may break the needle, but you can always make more needles. And learn to ease up the tension without breaking one of the fancy turned needles from the specialty yarn shop (ouch).

Happy knitting! And May the Fourth be with you.

Poop aprons

Say what? Yup. Poop aprons. My eldest and I both want to have the chickens be lap chickens, but we don’t want to have to change clothes afterwards. We tried laying a cloth across our lap, but it was difficult to handle both the fabric and the chick. Hence we need poop aprons. I used some scrap blue cotton and blanket binding to make two simple aprons we can wear in the coop.

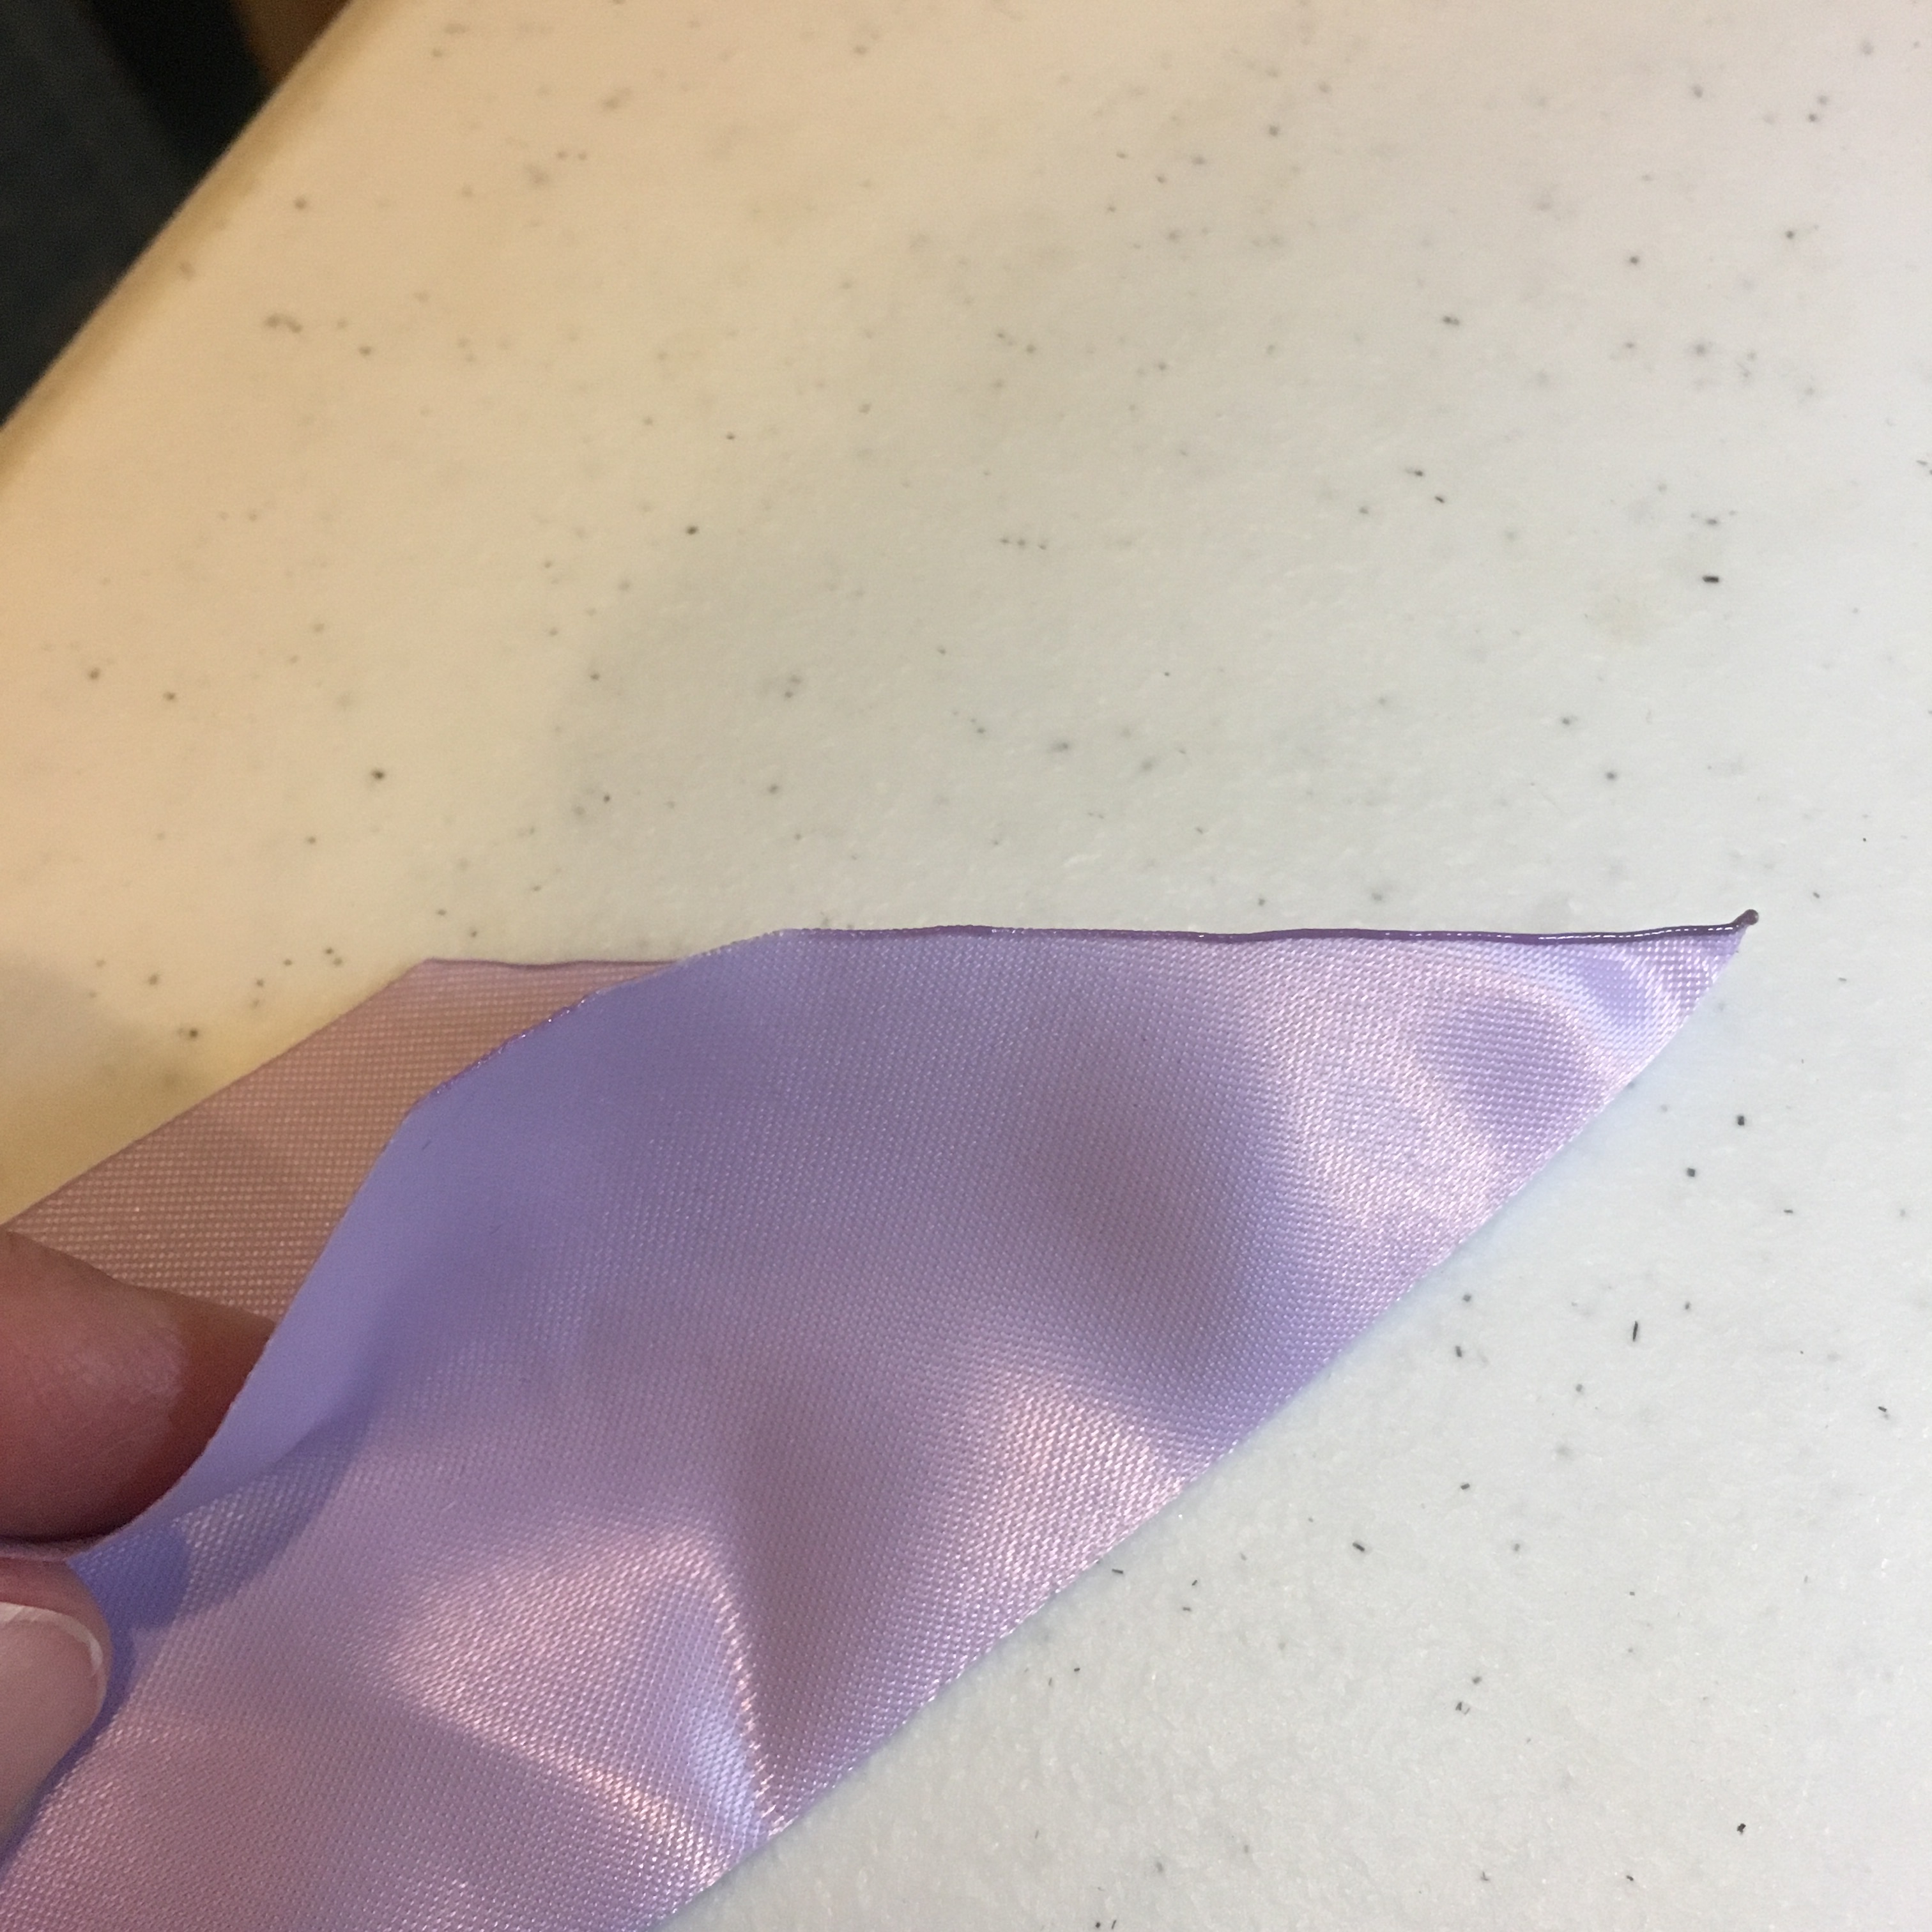
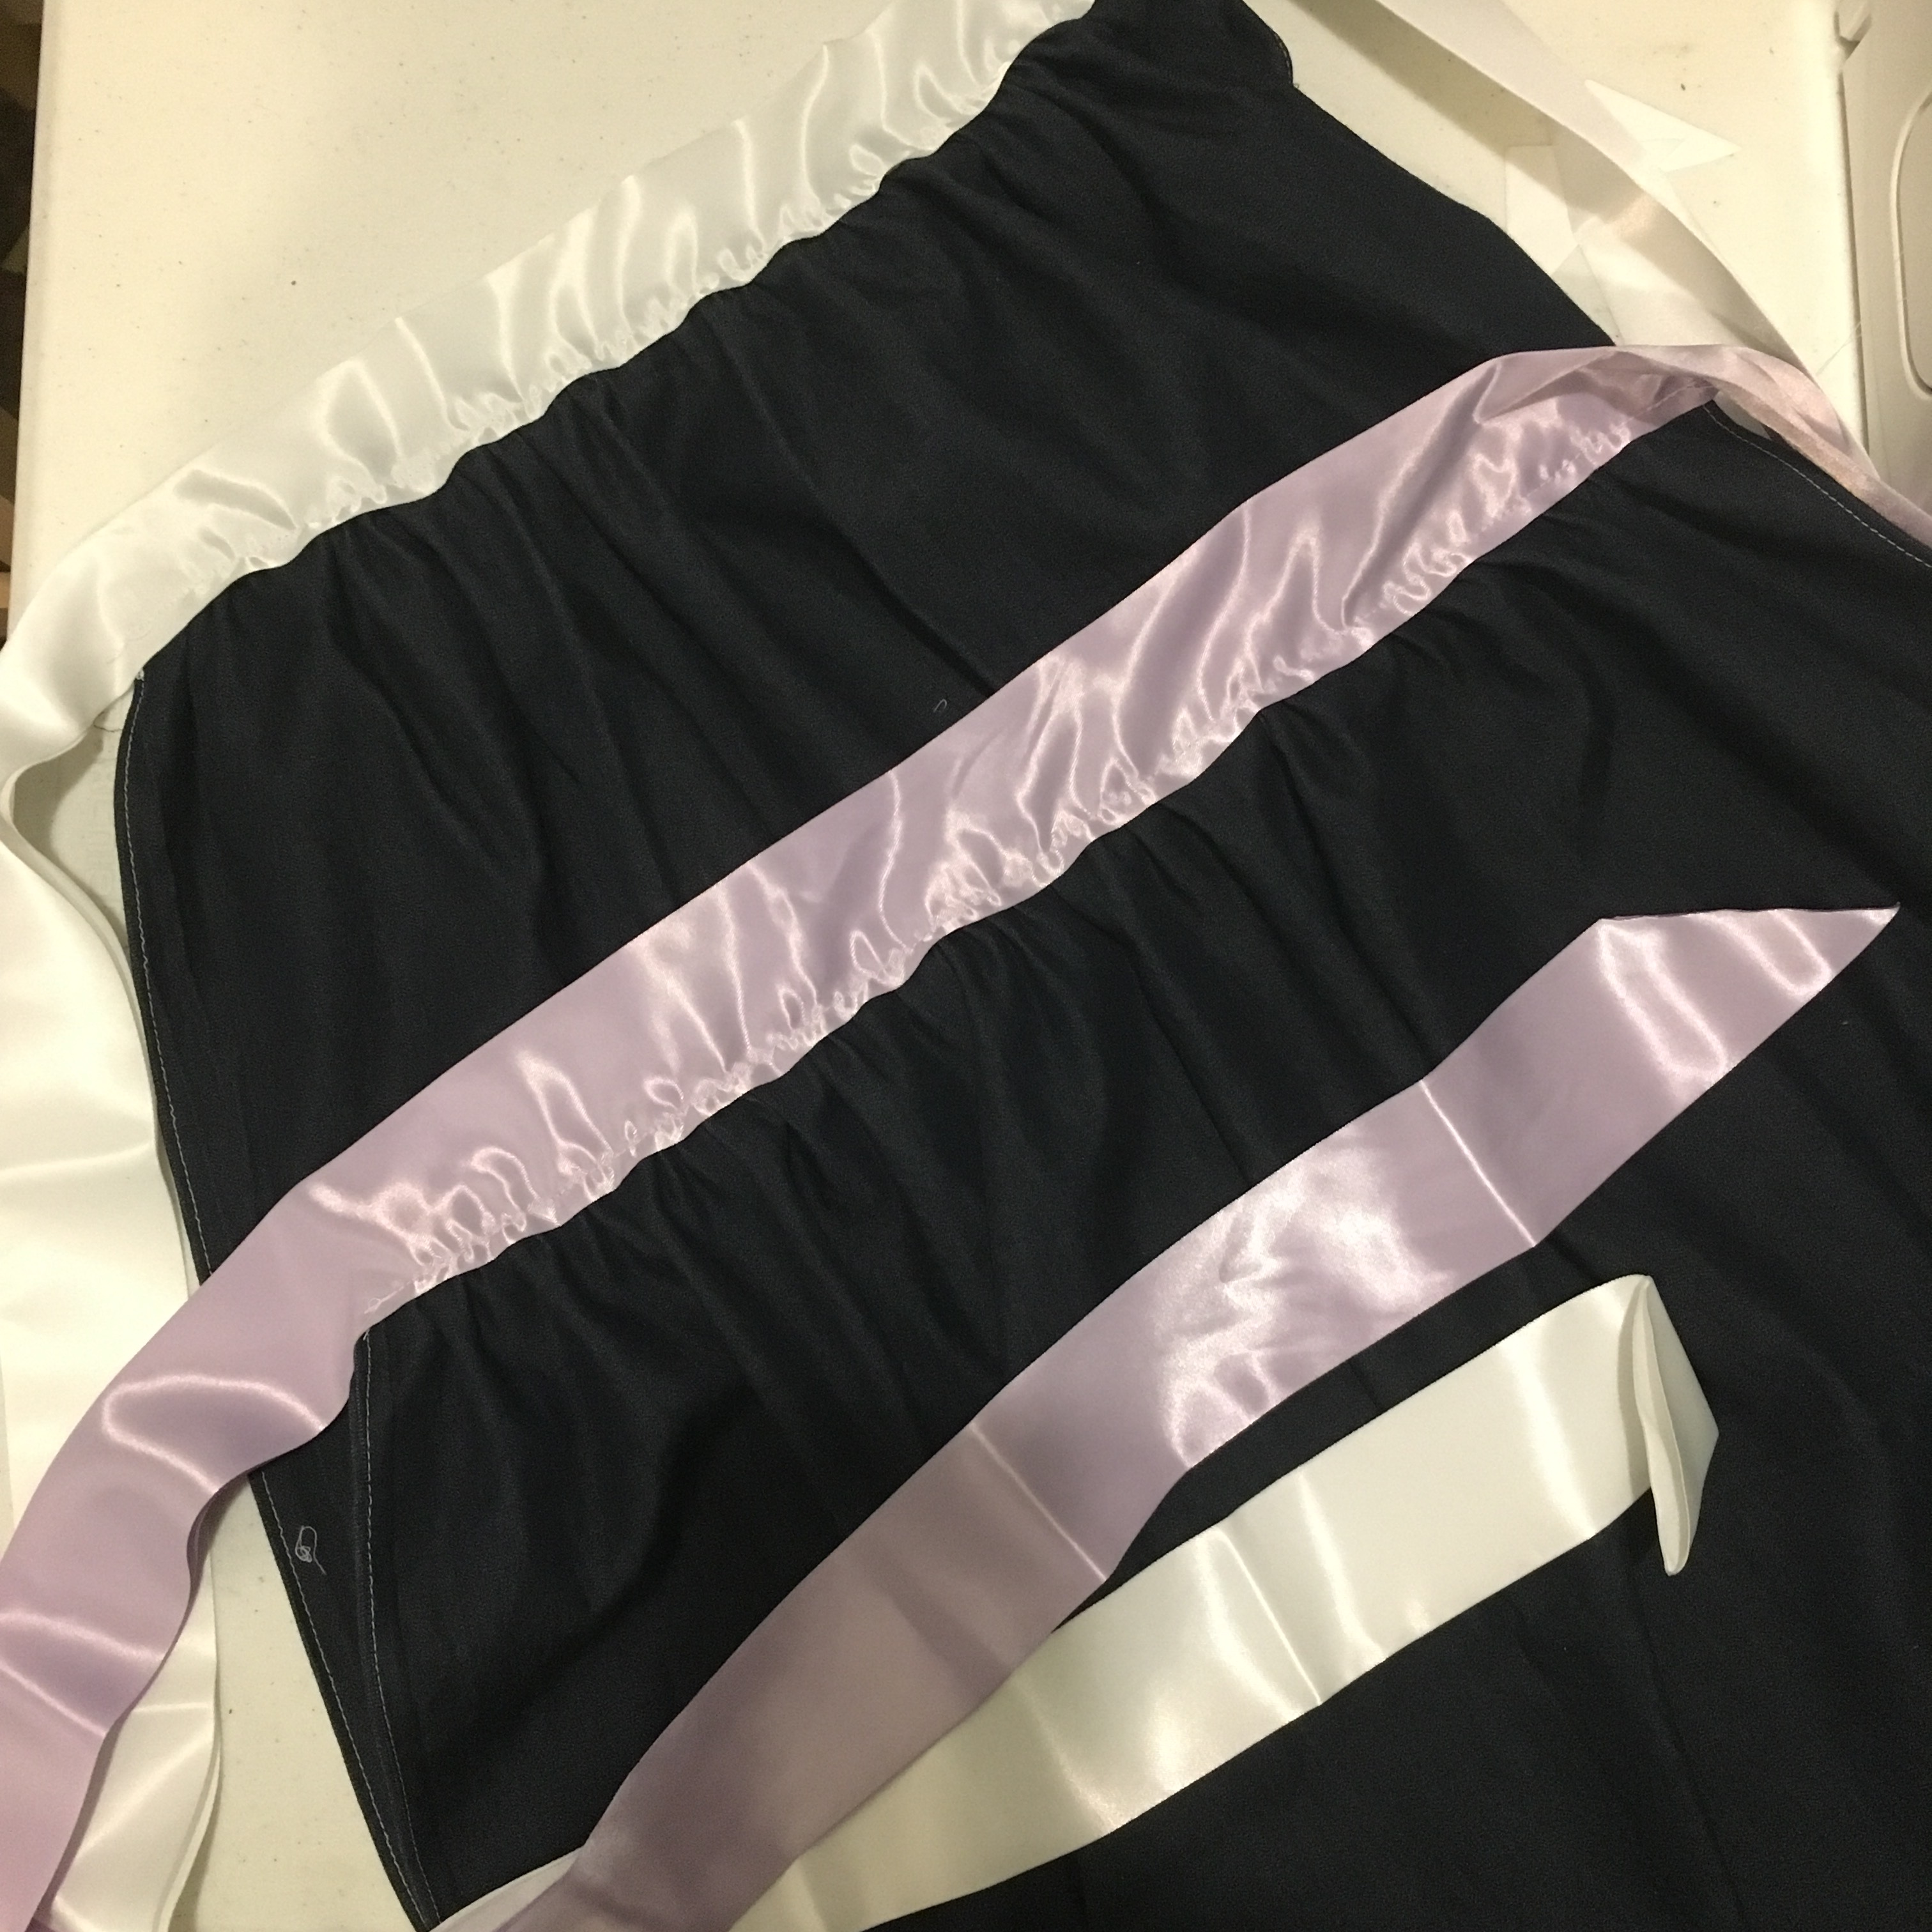
I had blanket binding in my ribbon stash, which makes a very quick, rather fancy sash. I cut the ends at an angle and used a match to melt the edges so they don’t fray.

End of blanket binding cut at an angle and sealed

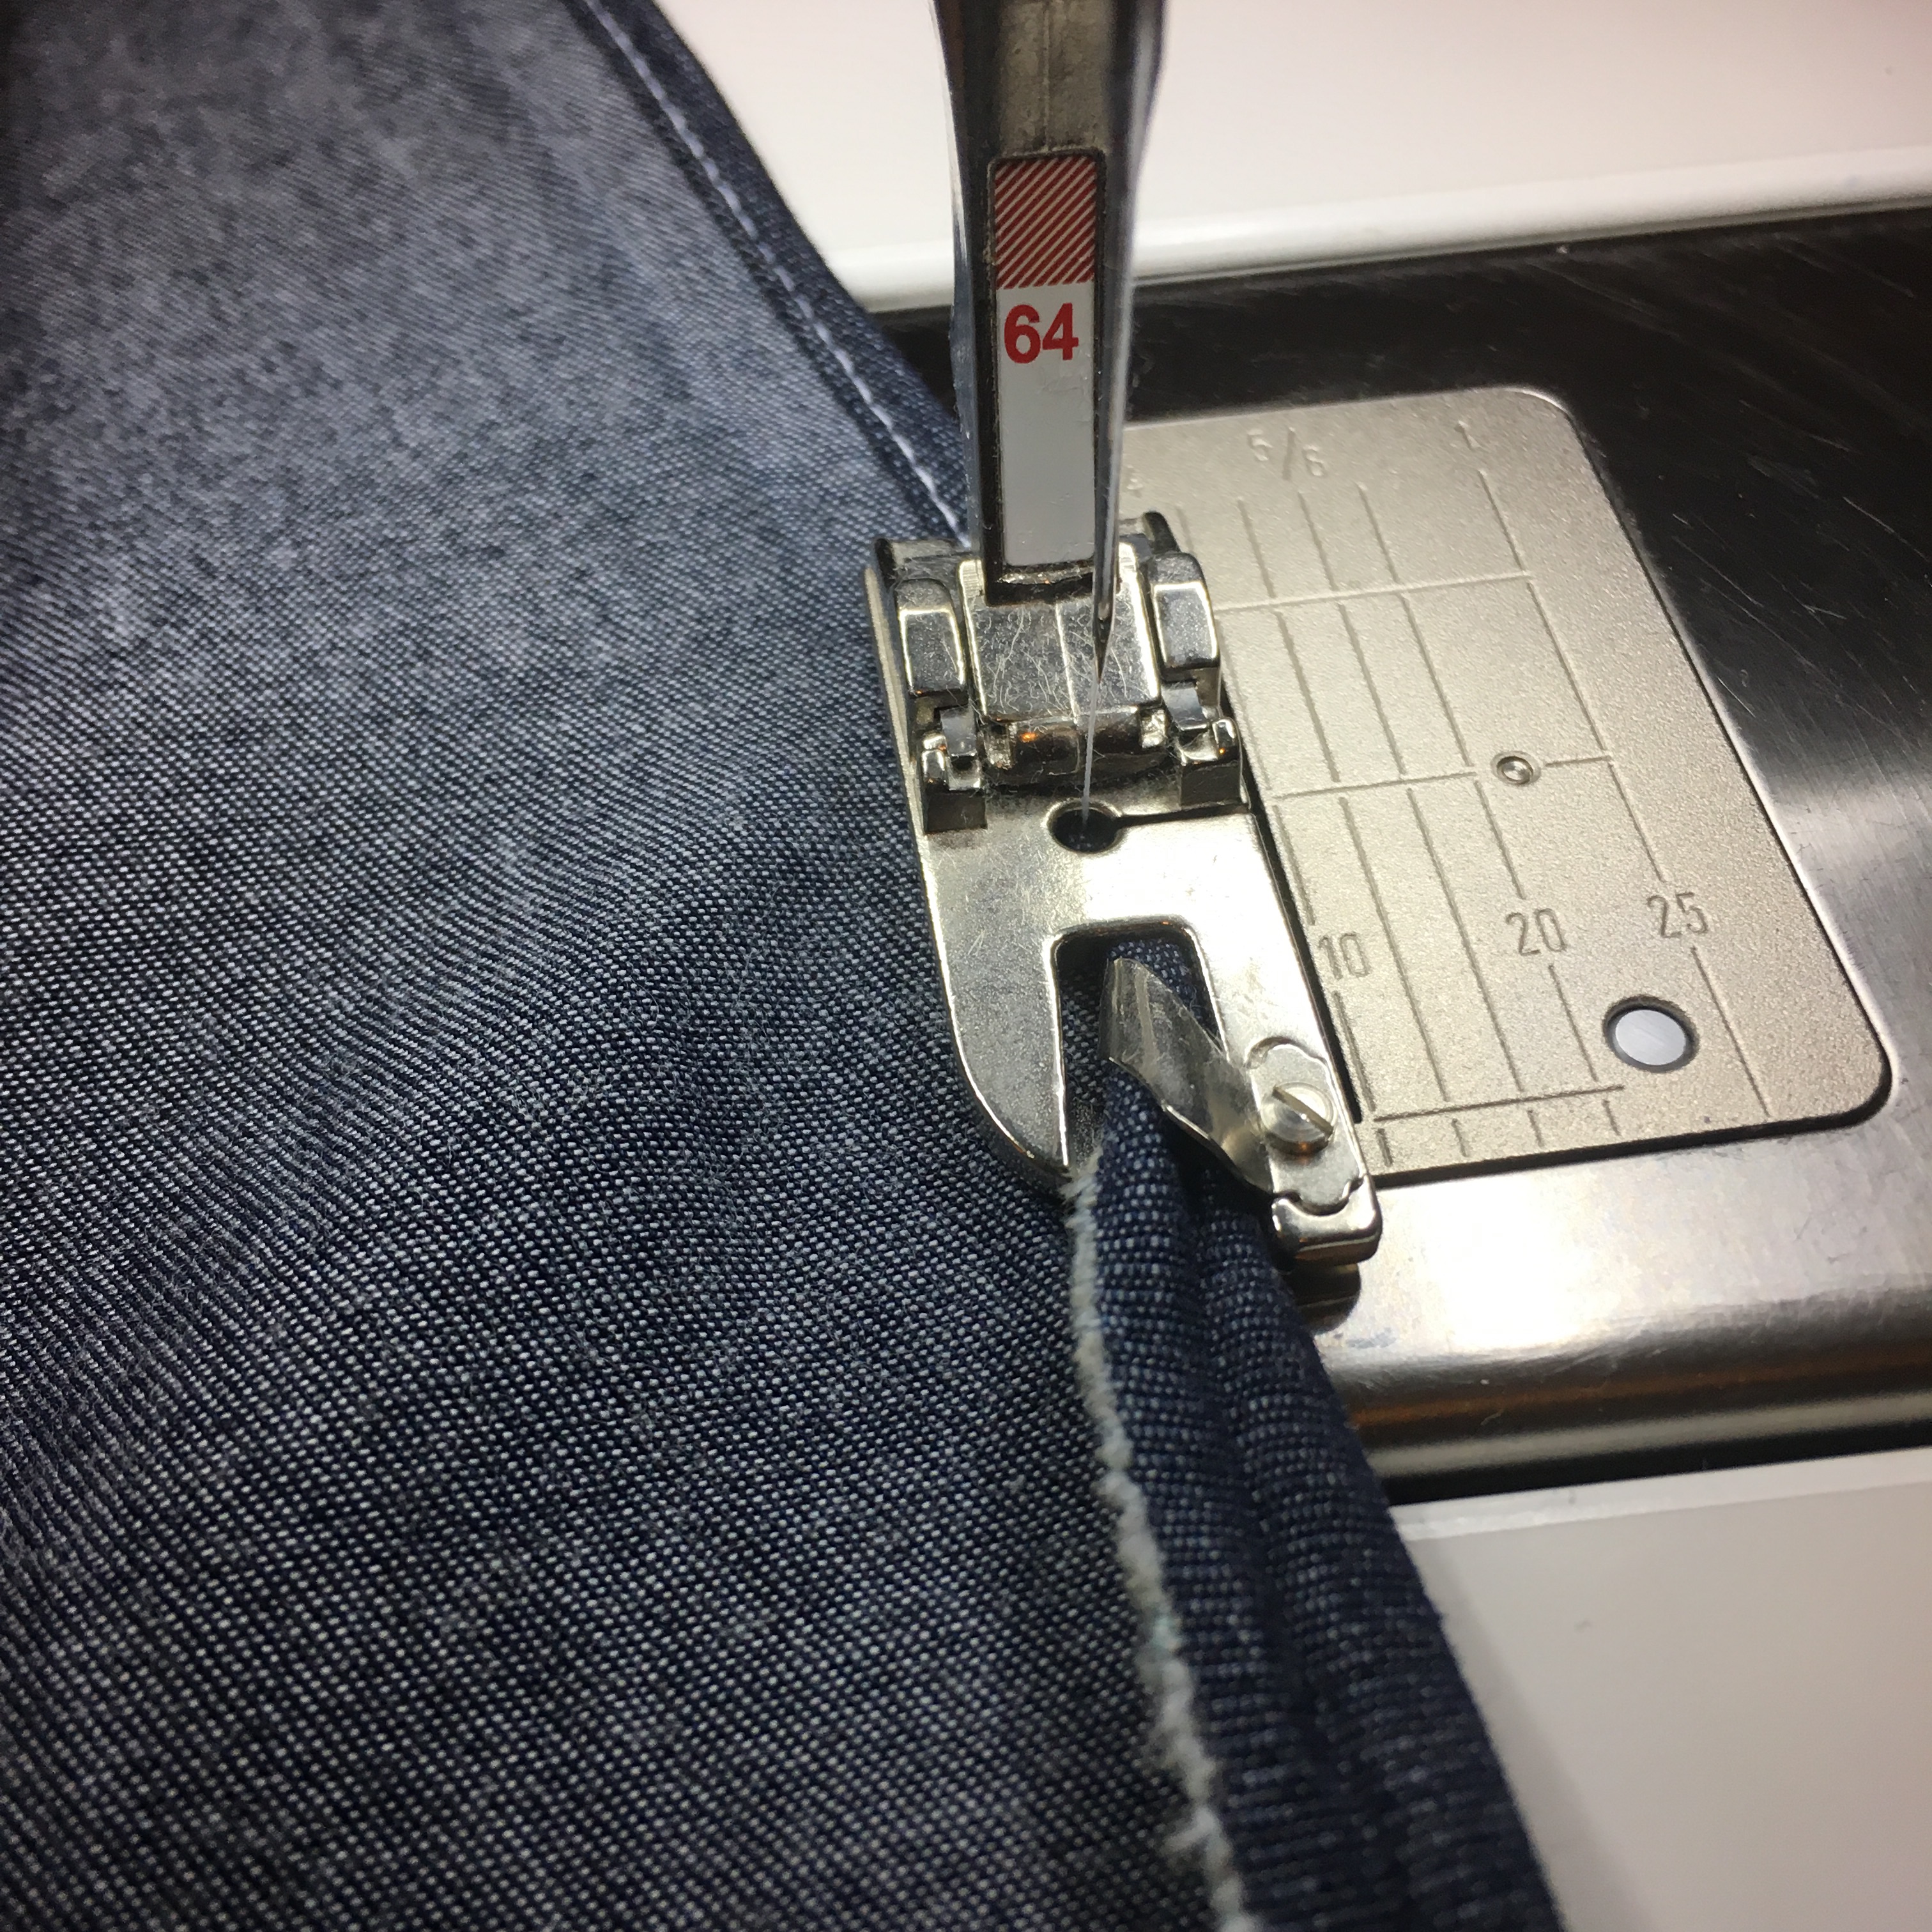
Then I put a small hem on three sides of the fabric. (My hem foot is my favorite accessory ever; it makes it so easy to do tiny hems!)

Hem foot

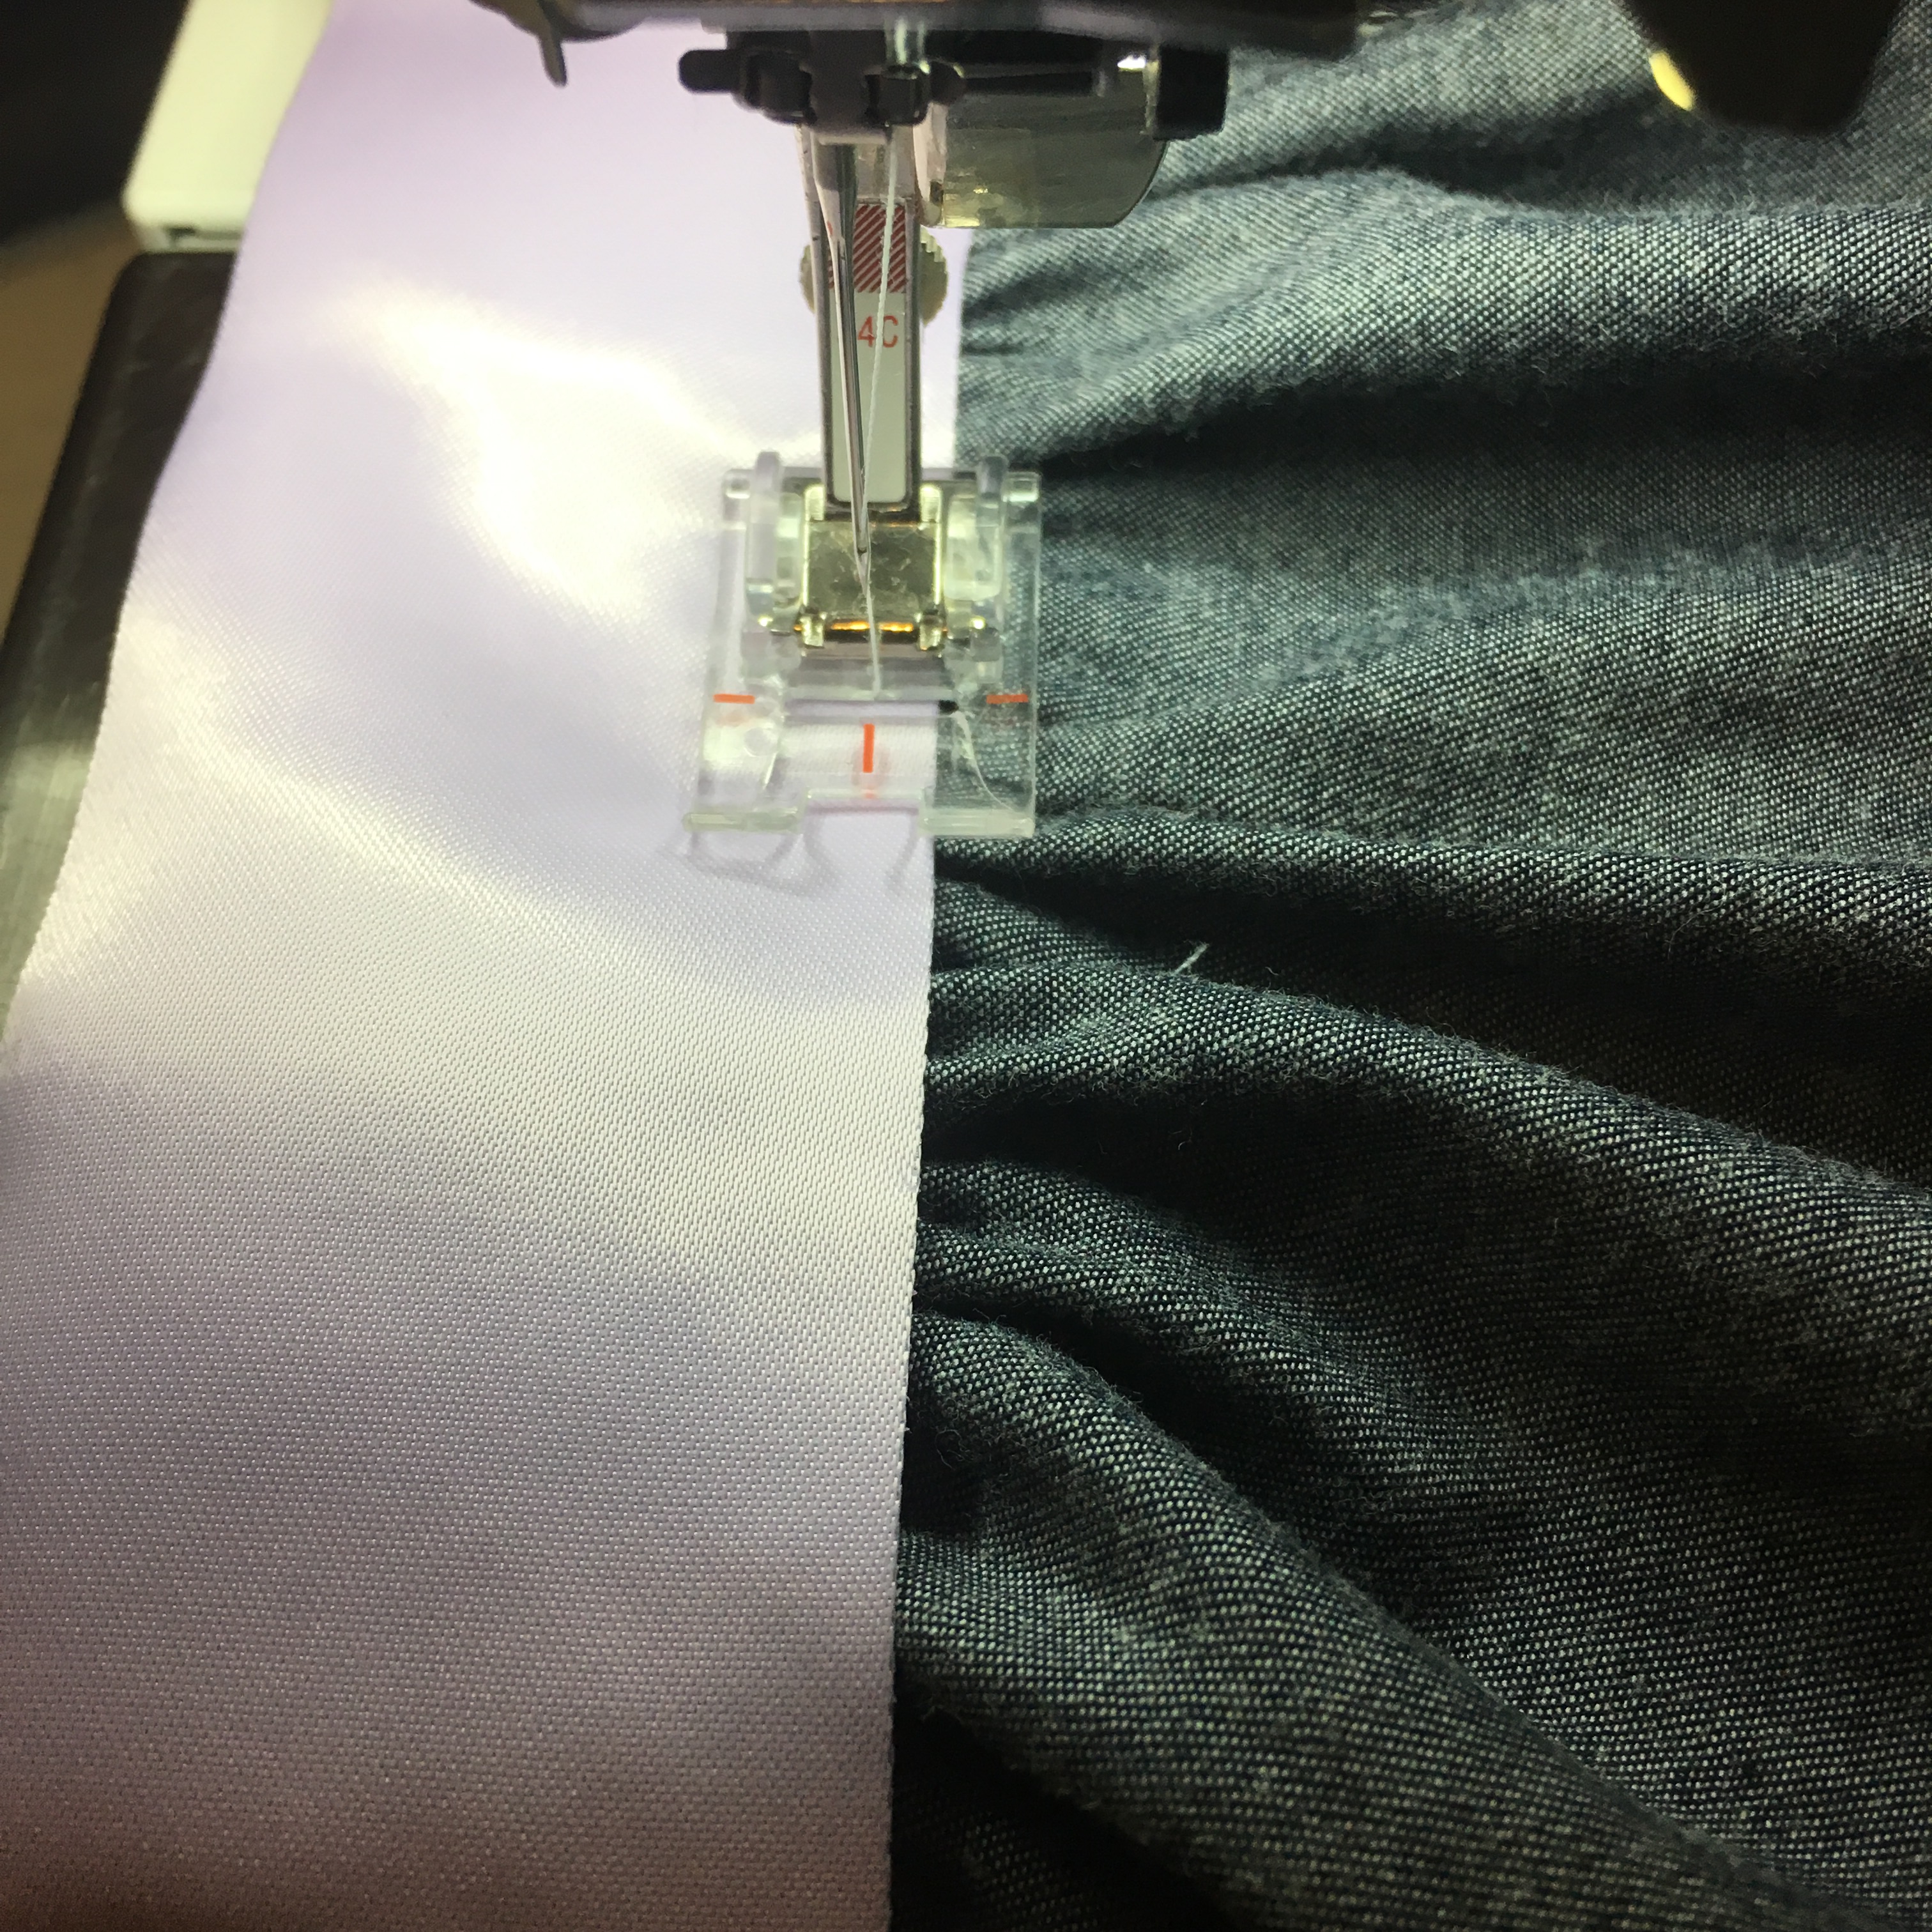
I then ran a basting stitch across the top edge and pulled one thread to gather the top of the apron. Matching centers, I sewed the fabric between the layers of the blanket binding.

Sewing on the sash

Finished aprons

The aprons do their job! Although I may make longer versions later. These don’t quite cover my eldest’s knees. But hey, not bad for using scrap cloth and an hour of time.

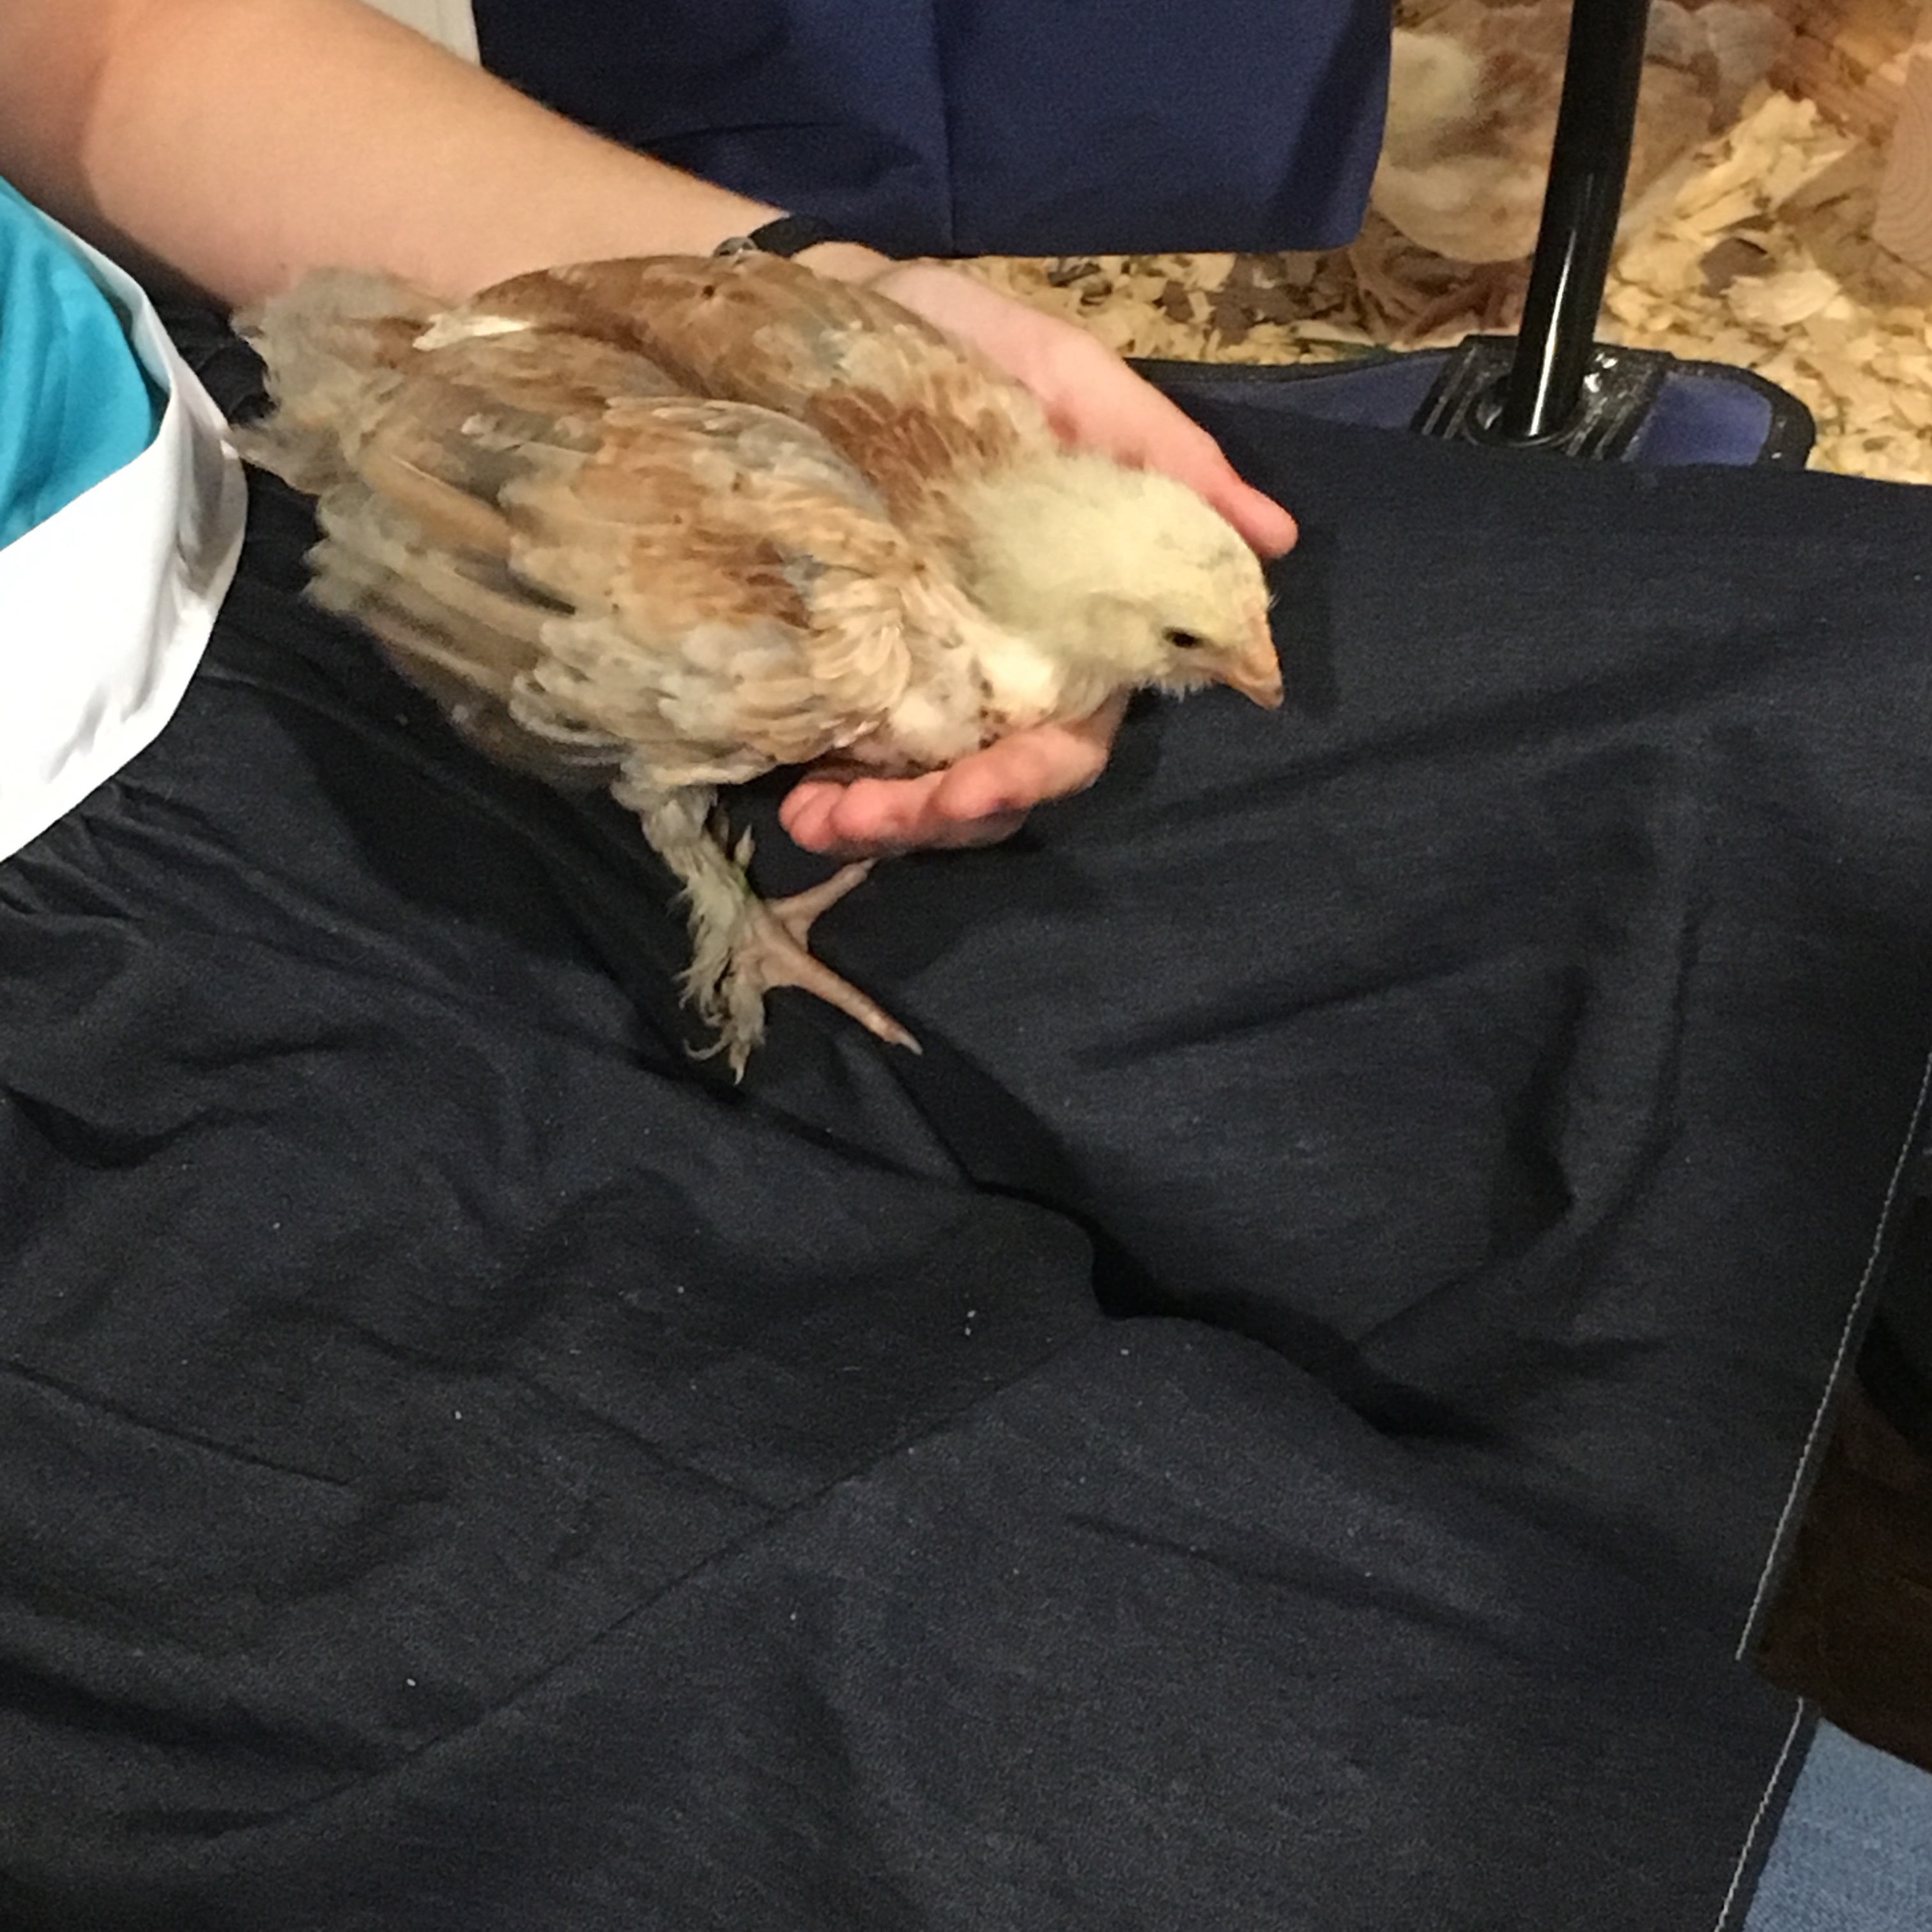
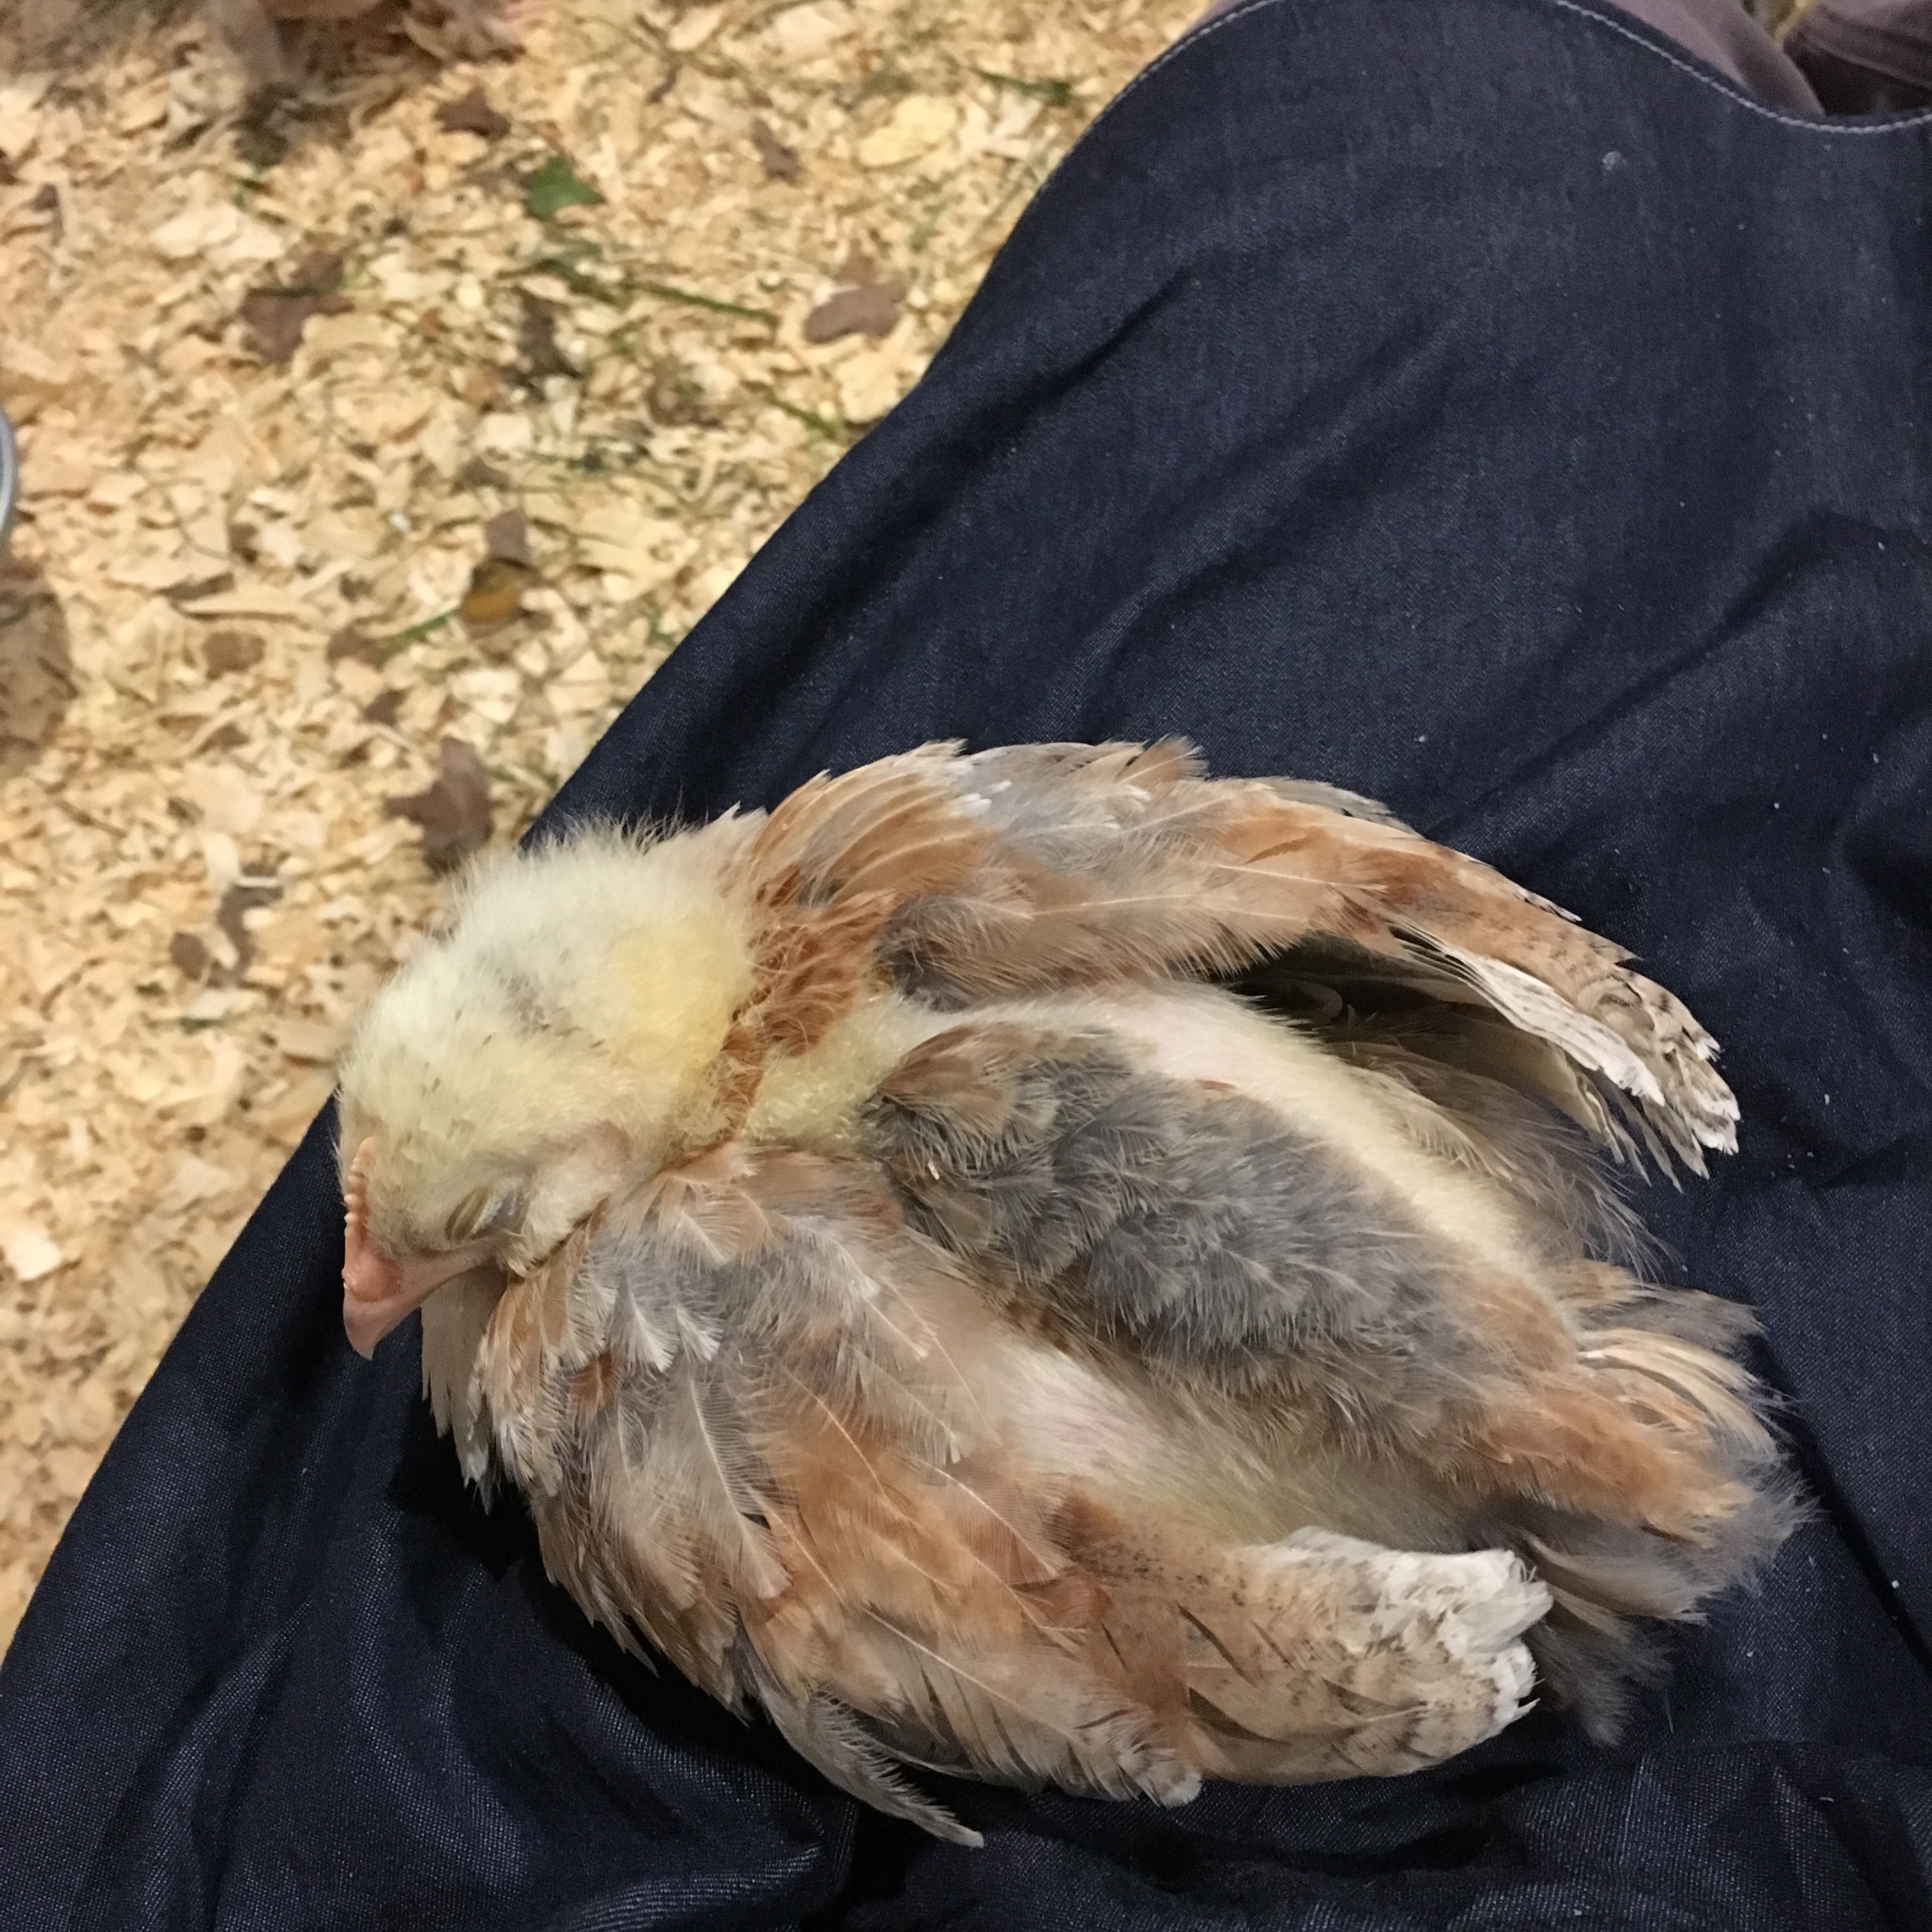
Chick on poop apron

I’m luring them onto my lap with meal worms. Can’t be too bad, one fell asleep!

Sleepy chick on my lap!!