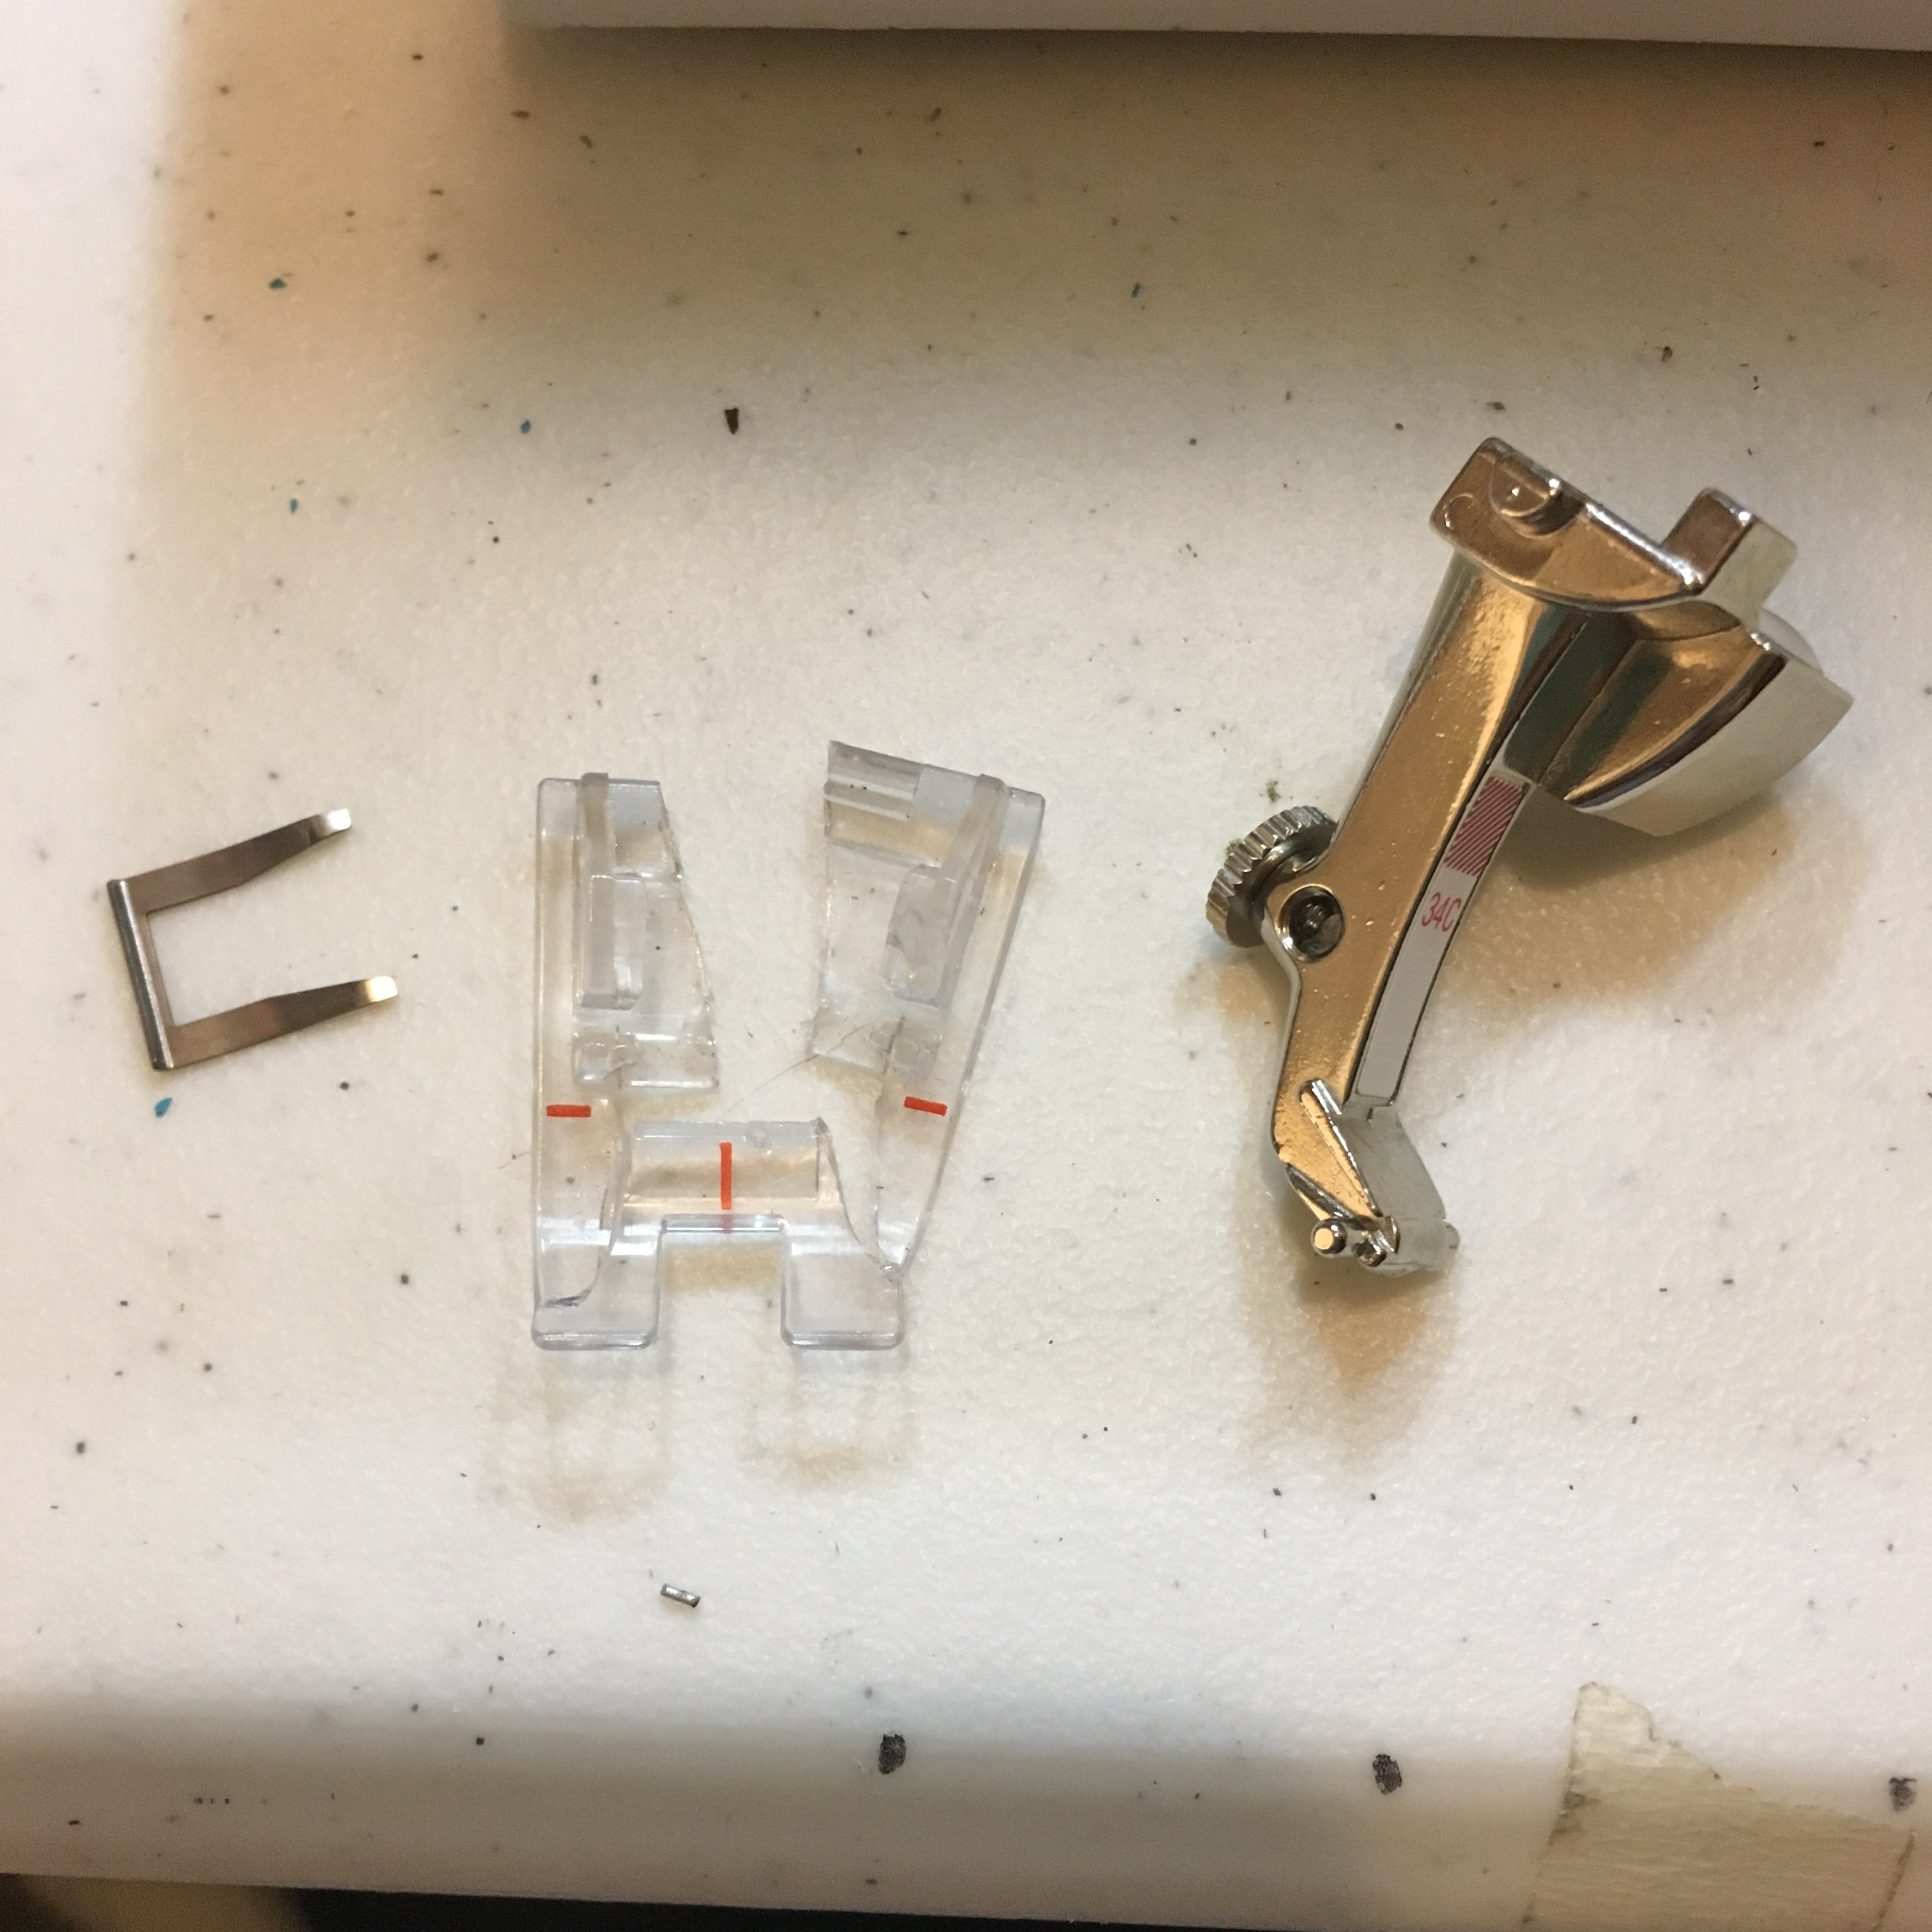
Well that is new. I’ve never had a sewing foot break in the middle of a project before. But of course it was supposed to be a quick 15 minute project, so something had to happen. Luckily it didn’t take too long to find a nice solid metal foot, but the clear one was my favorite. Sigh.
My name is Caryn and I’m addicted to Pinterest. I console myself in that I don’t just pin, I do make things inspired by what I find (not sure that is mitigating, though).
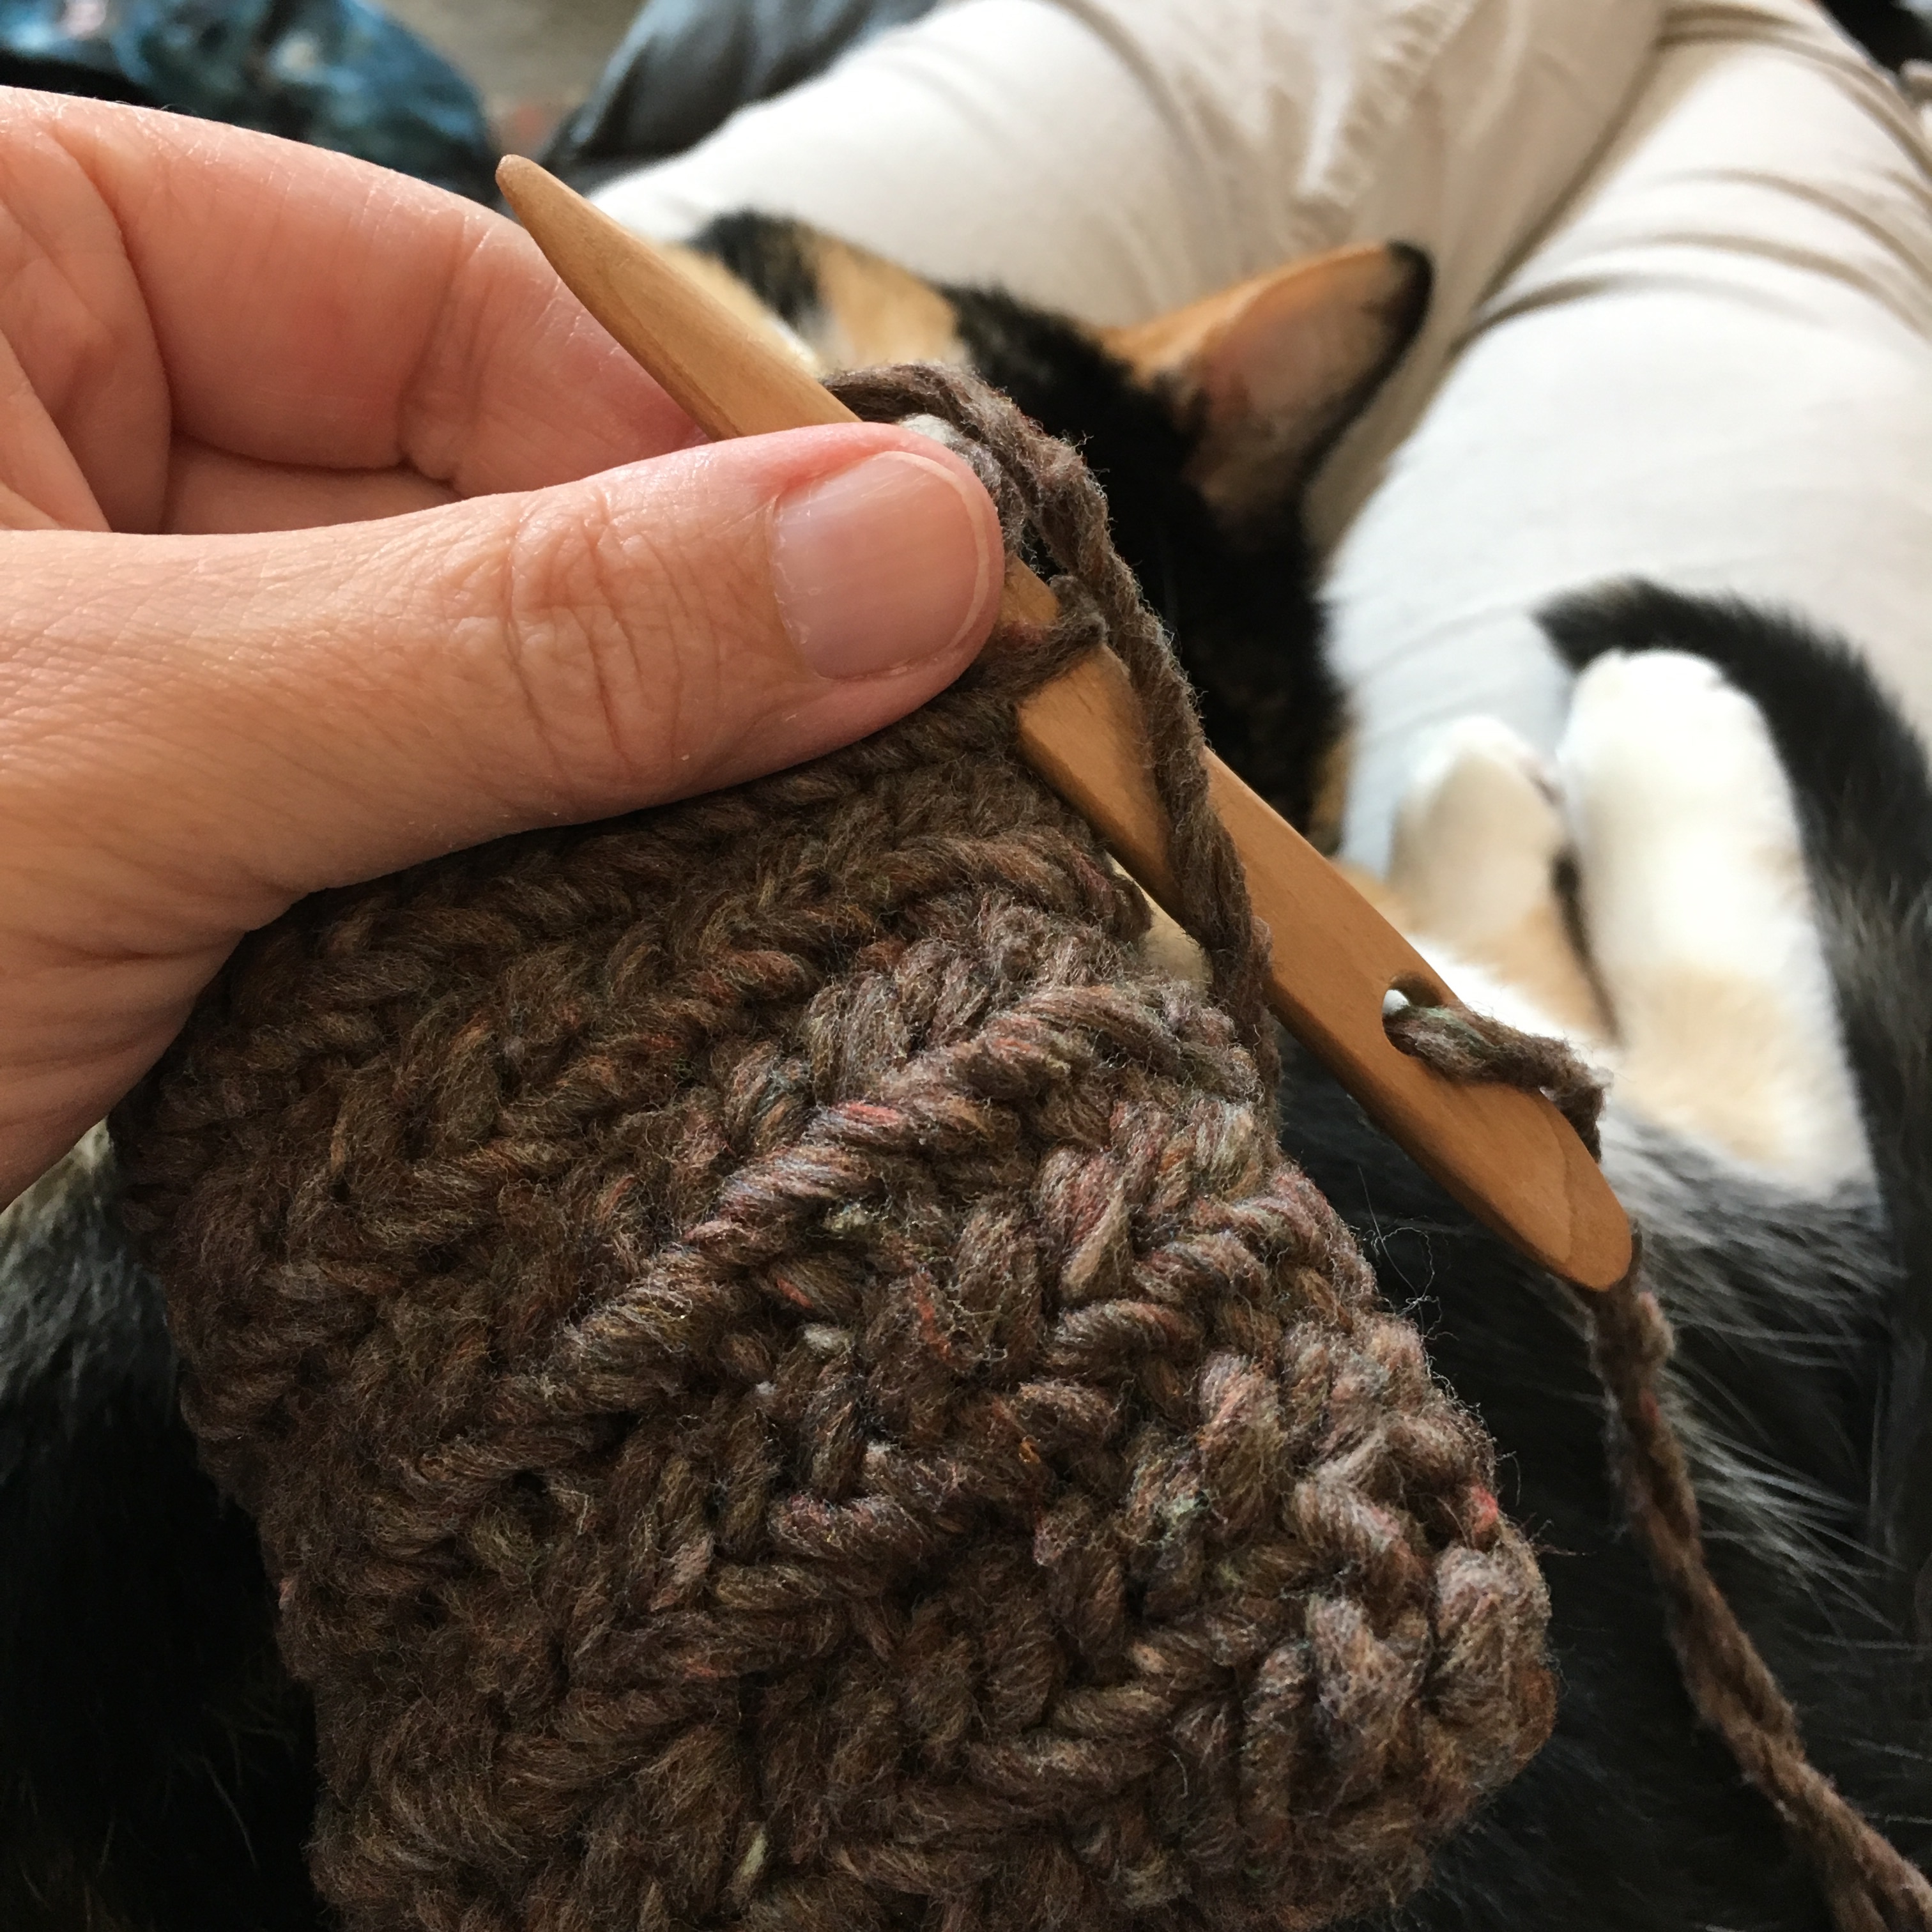
My cat likes nålbinding better than knitting because there is more room on my lap and she doesn’t get tapped with needles
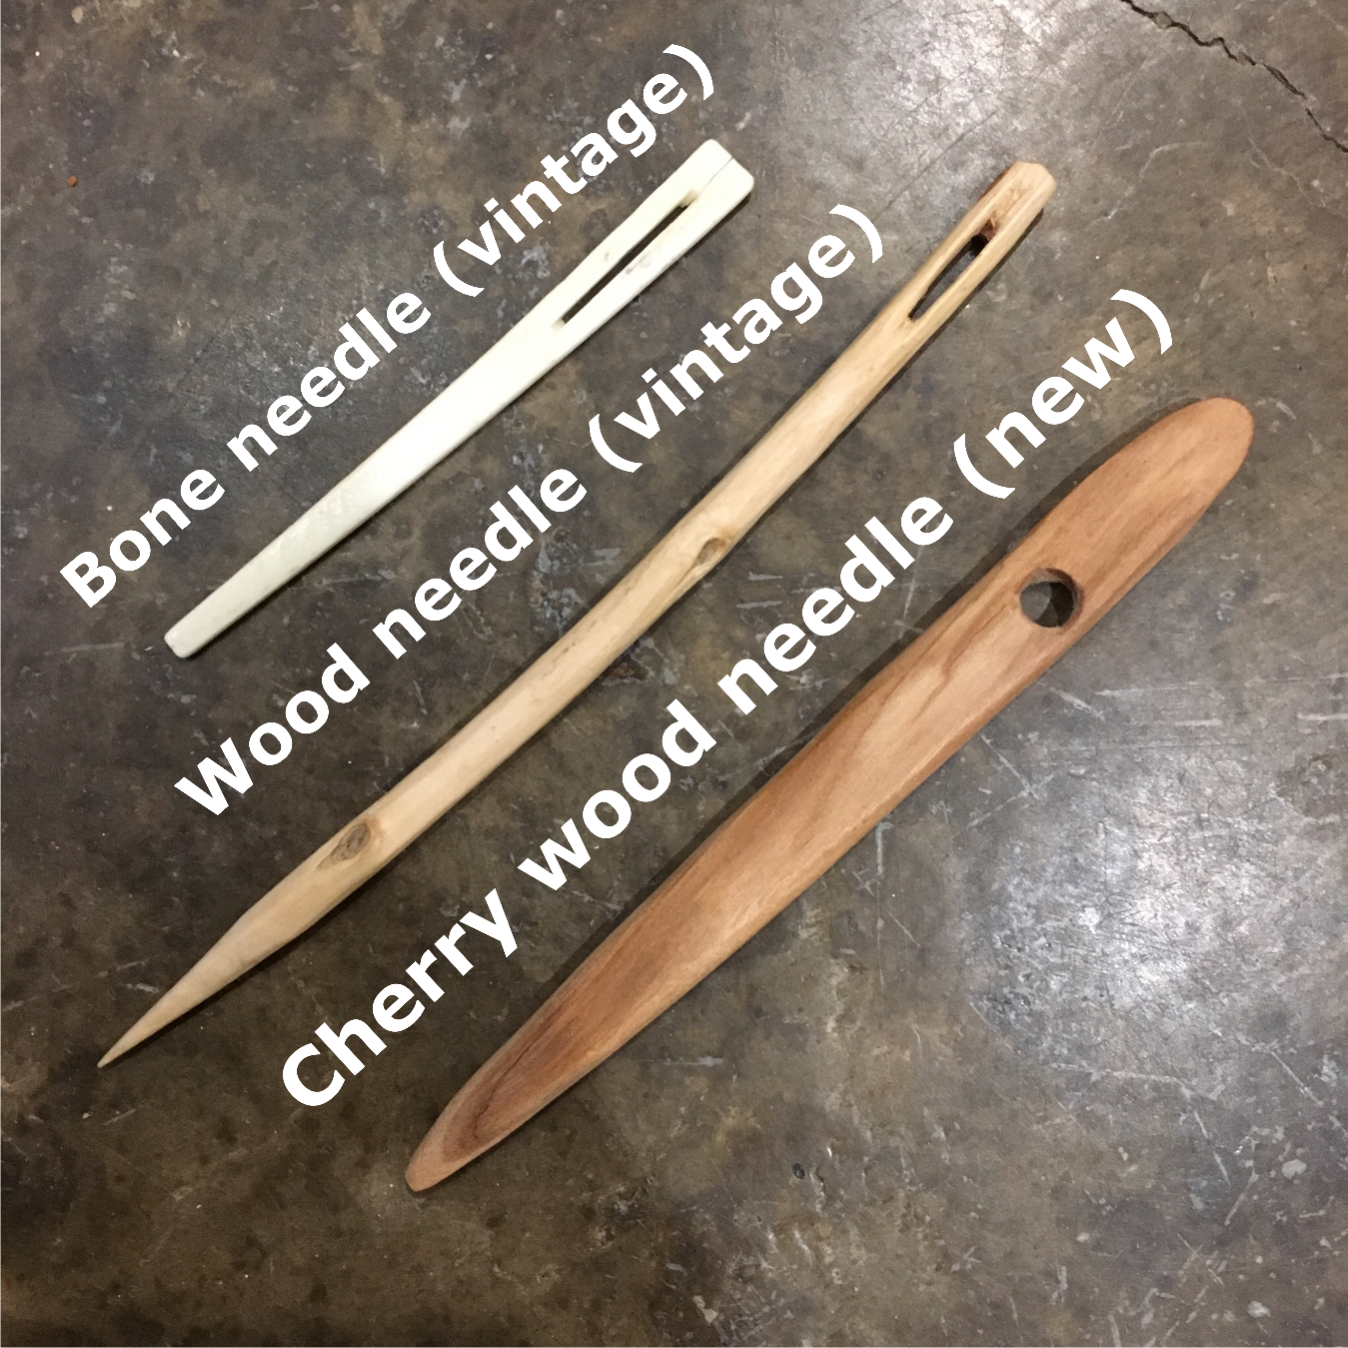
I get many needle craft pins rolling across my feed, and have been seeing the word nålbinding (or naalbinding, or nalbinding) for some time. I pinned one, then decided to delve deeper and found a website by Sanna-Mari Pihlajapiha full of interesting information. Nålbinding is basically using a needle to make connected loops to form a fabric. The needle she used looked very familiar, so I went through my stash (which is made up of items inherited from both sides of my and my husband’s families), and found handmade needles of bone and wood. The bone needle’s eye was cracked, so I didn’t want to risk trying to use that, so I started with the wooden (possibly diamond willow) needle. This turned out to be too sharp for the homespun (possibly) wool I also found in my stash. So I made my own needle fashioned from scrap cherry wood left over from spoon making. The flat wide shape is actually easier to use for nålbinding.
Hand made needles
What appealed to me with this technique of fabric creation (aside from the fact that I didn’t have to buy materials to try it), is that it predates knitting and crocheting and variations have been used all over the world, for possibly over 8,000 years (according to Sanna-Mari Pihlajapiha, the oldest nalbinding fragment was found in Israel and dates from about 6500 BCE).
I actually quite like this technique. It feels like sewing, but creates a thick sturdy fabric with an interesting texture. It builds somewhat like crochet, but does not unravel (picking out stitches is a bear, let me tell you).
After a few discarded starts, I settled into making a small bag. I tried a couple stitches (certainly not all of them, there are over a thousand variations), but liked the Finnish stitch 1 + 2 (also known as the Mammen stitch) with the materials I had. I am not entirely sure how to finish a piece, so I continued the stitches to make a strap, then sewed the end down the side.
Finished nålbound bag
The bag is about the size of my cell phone and used up all the remains of the skein of yarn. A stash buster!
I switched to buying sparkling water in aluminum cans. As much fun as it is to make plastic string from bottles, I now have more string than I know what to do with (I have ideas, but not the time yet!) But aluminum is one of the few recyclables that actually make money (it is easier to melt recycled aluminum than it is to mine and process bauxite and recycling reduces the need to strip mine for bauxite). We don’t have recycling where we live, so the choice of containers makes a big impact on the amount of trash we produce.
I have some ideas on things to make with aluminum cans, but again, the time to process and make has been thin (chickens). I took a large bag to the middle school science teacher for a high/low pressure experiment (and the school has recycling, yay!), but it didn’t take long to build up another big bag. I called around and the local scrap yard takes aluminum! And pays for it. What? Not much, but still, it made me rethink my bag of uncrushed cans. A 33 gallon bag full of empty cans weighs about 7 pounds. Crushed we can at least double that, and reduce the amount of space taken up in the house while the cans are waiting for recycling.
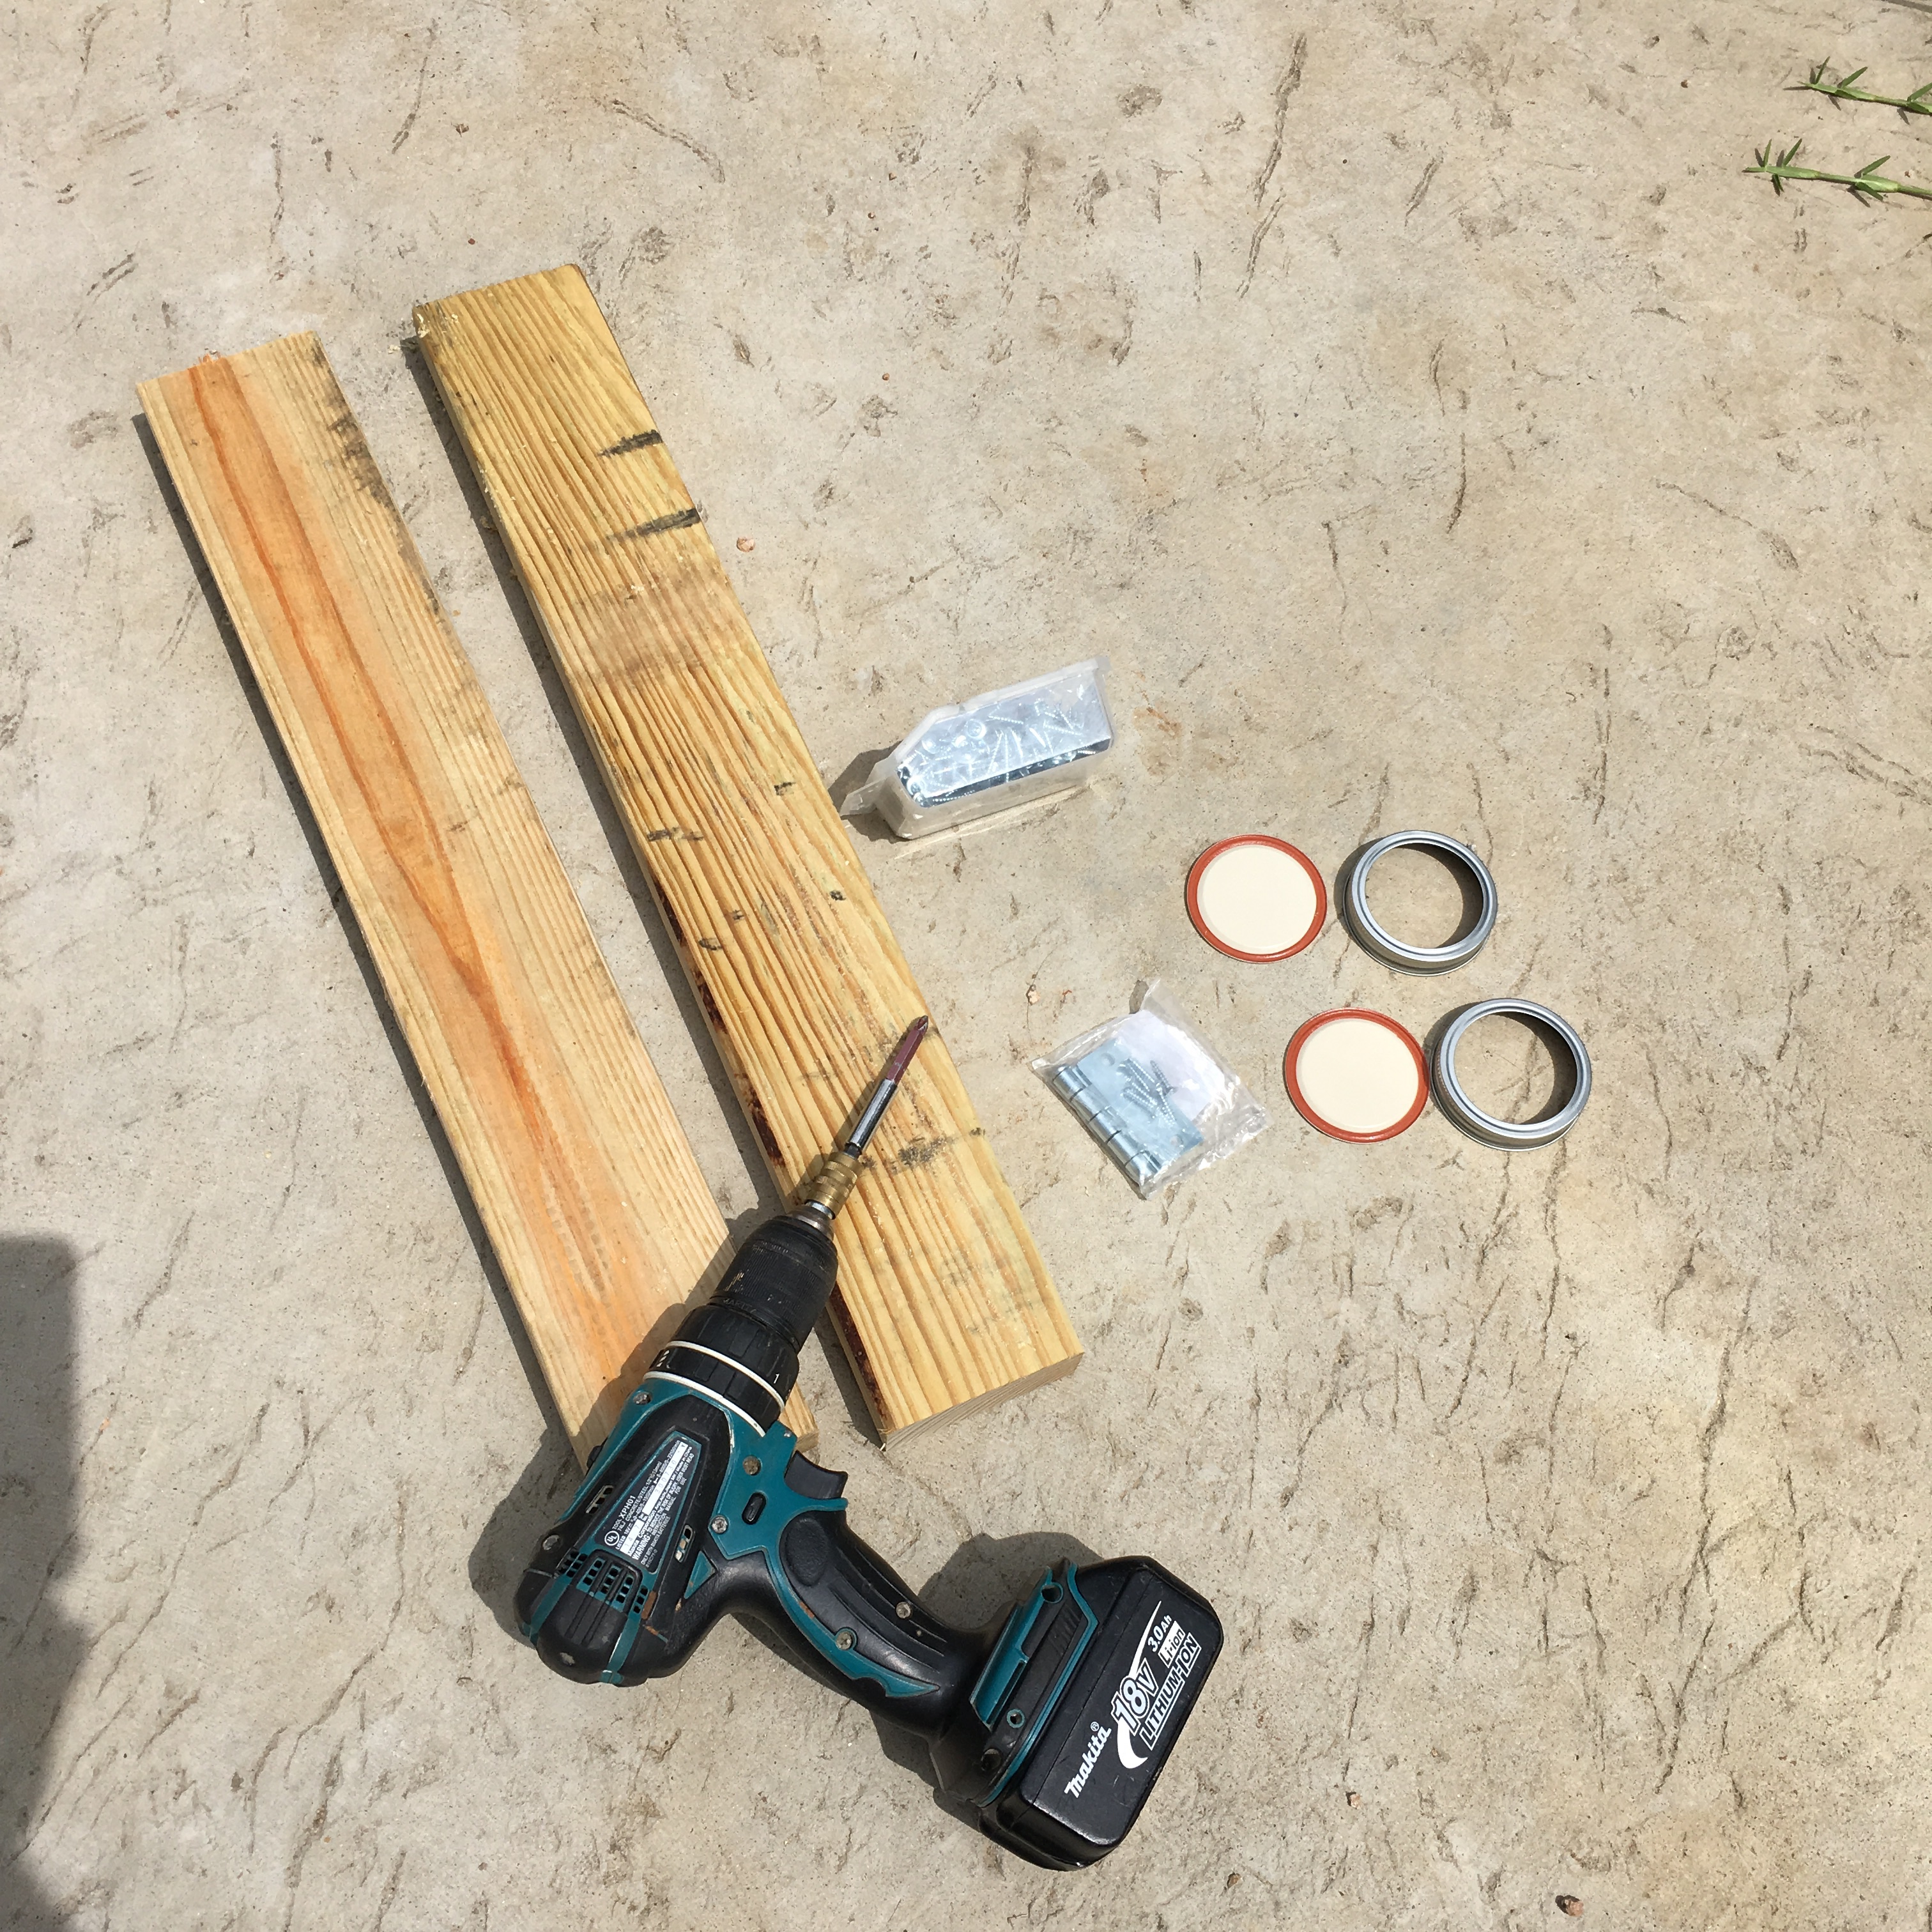
So I looked up DIY can crusher and the first hit was a good one. I gathered some 2×4 scrap, a spare gate hinge, and two pint canning jar lids. All from around the house.
Materials for a can crusher
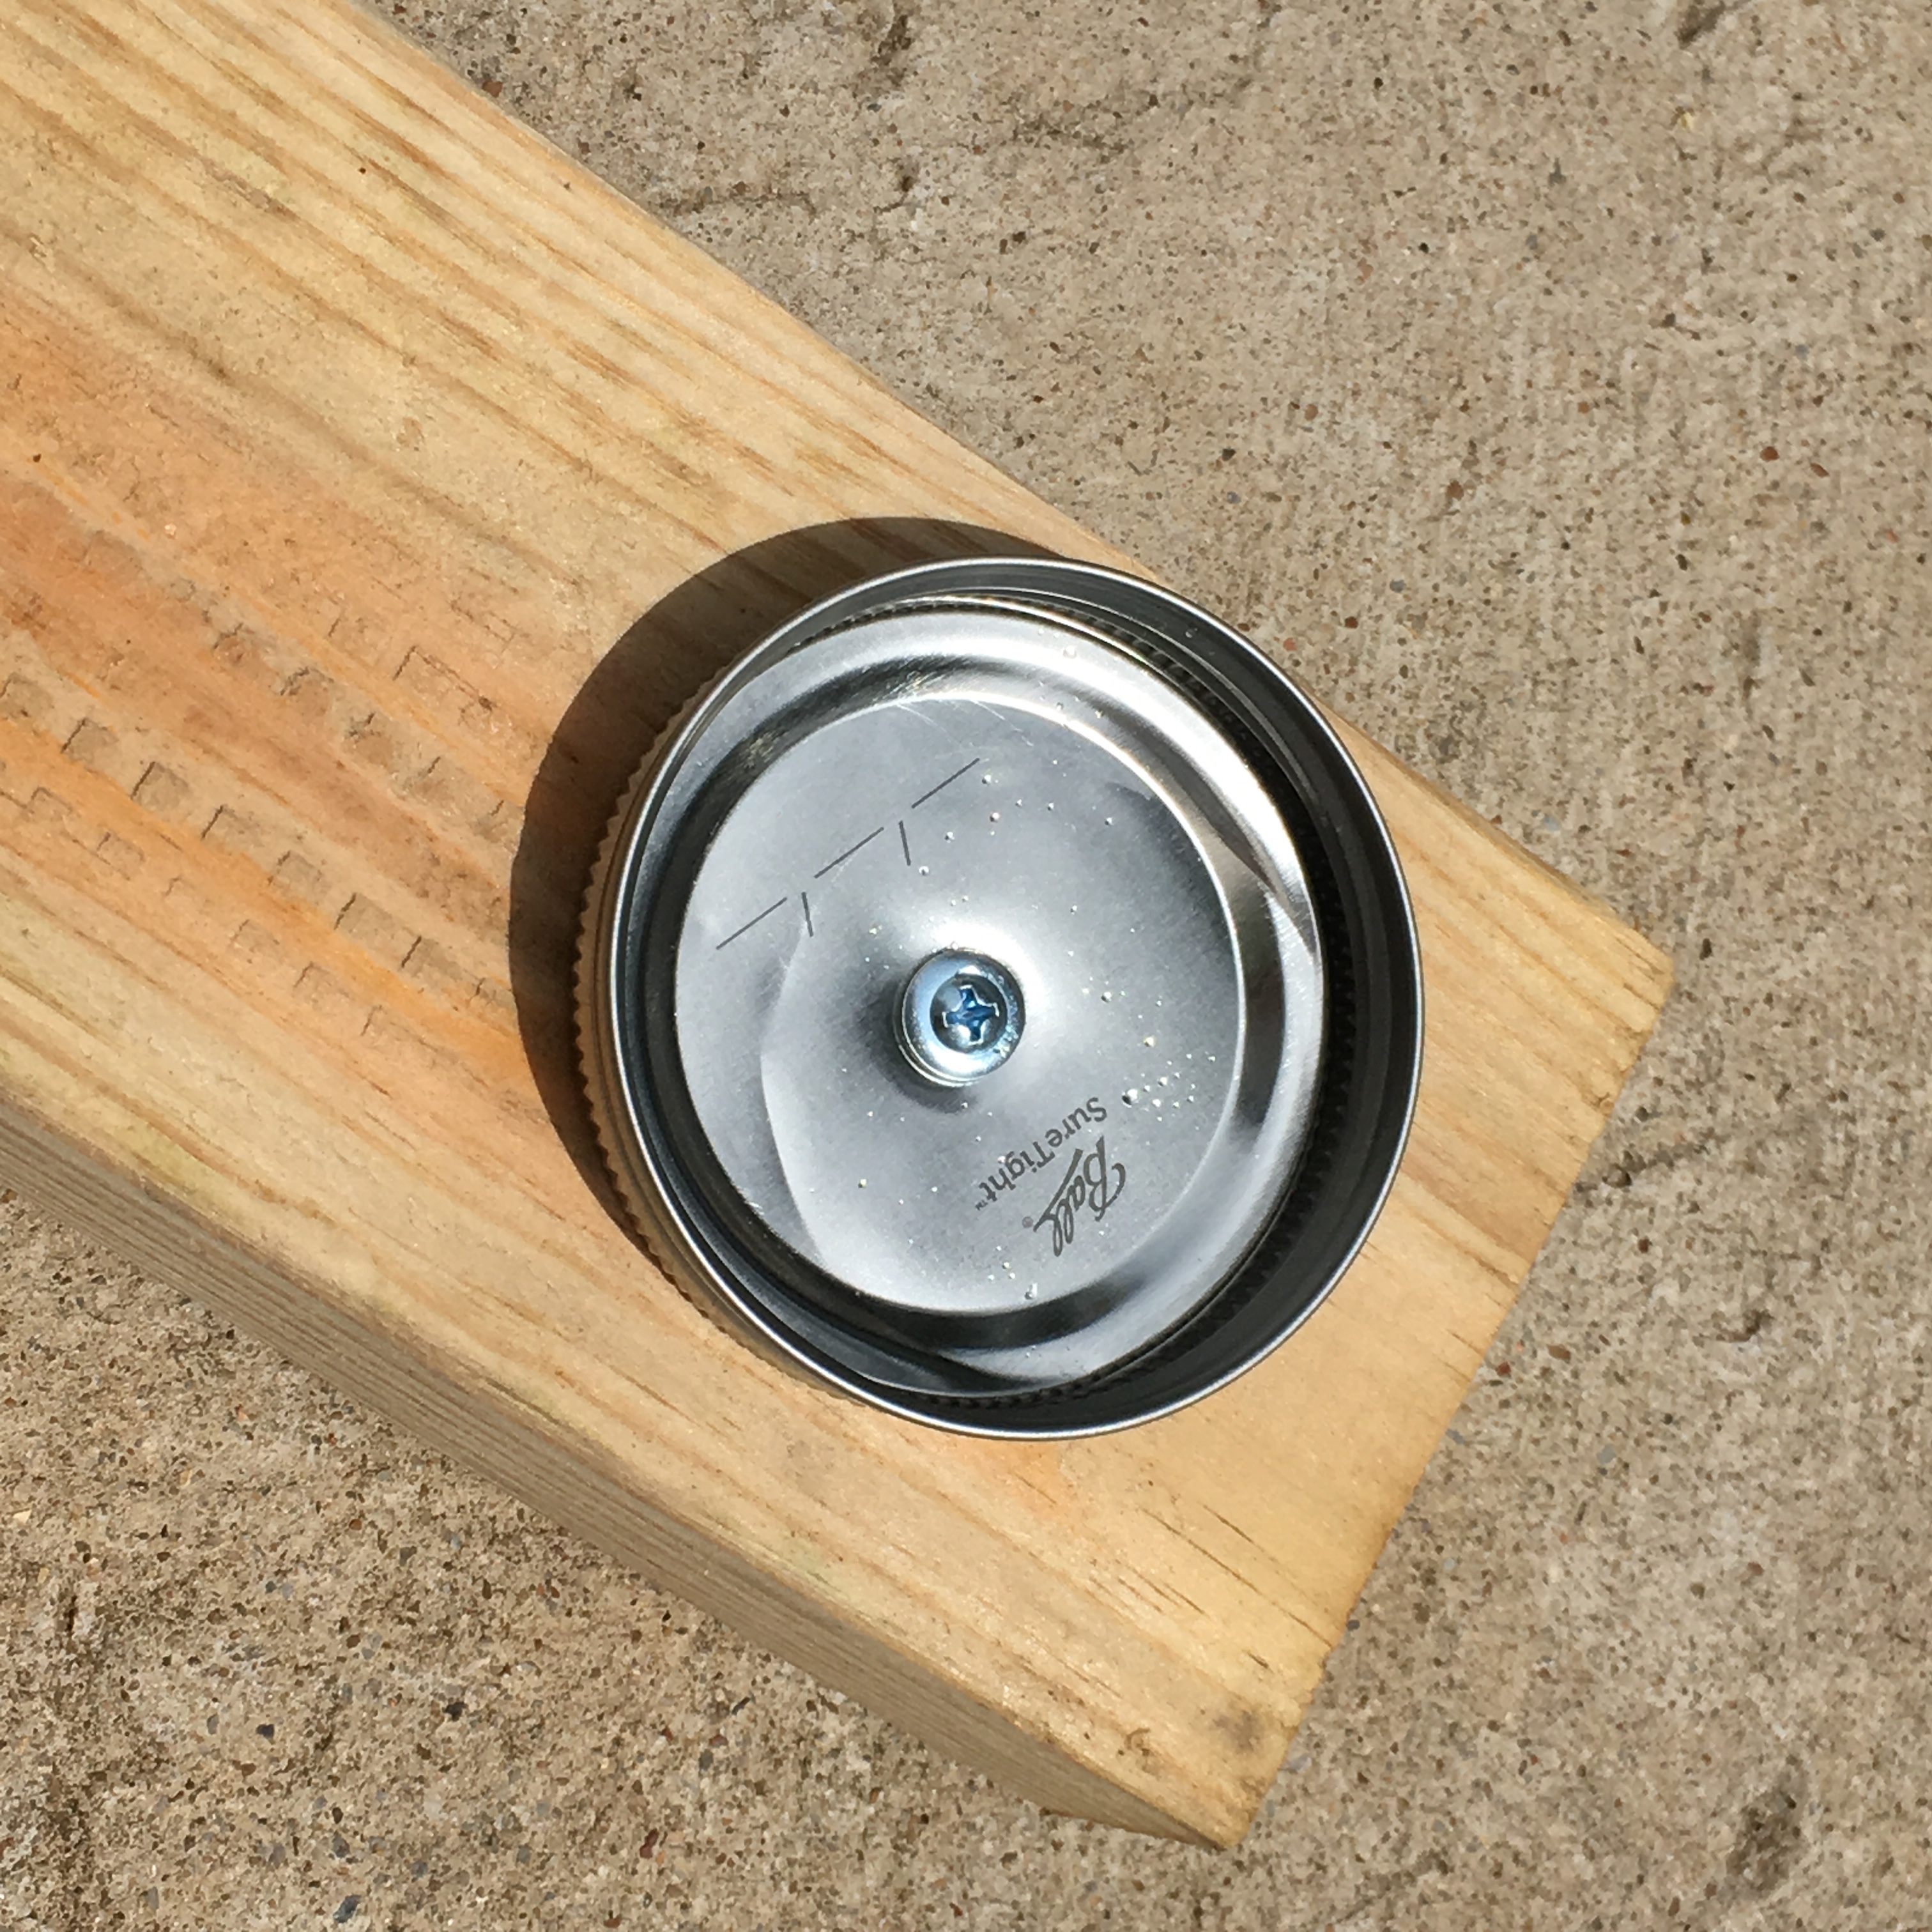
Then my kids and I made it a project. We set the hinge on the ends of the 2x4s, and used 1 inch screws to set the jar lids as guides between the 2x4s. They each took turns using the drill to set screws, then they took turns putting in cans and stepping down to crush the cans.
Canning jar lid on each 2×4 makes a good guide for holding the cans
We started off with the screws that came with the hinge, and after a few cans, changed to 1 inch screws, then to 2.5 inch screws. I think in the original video the guy used lag screws, which would be even better (but I was out of those). The jar lids took a beating, but still worked well!
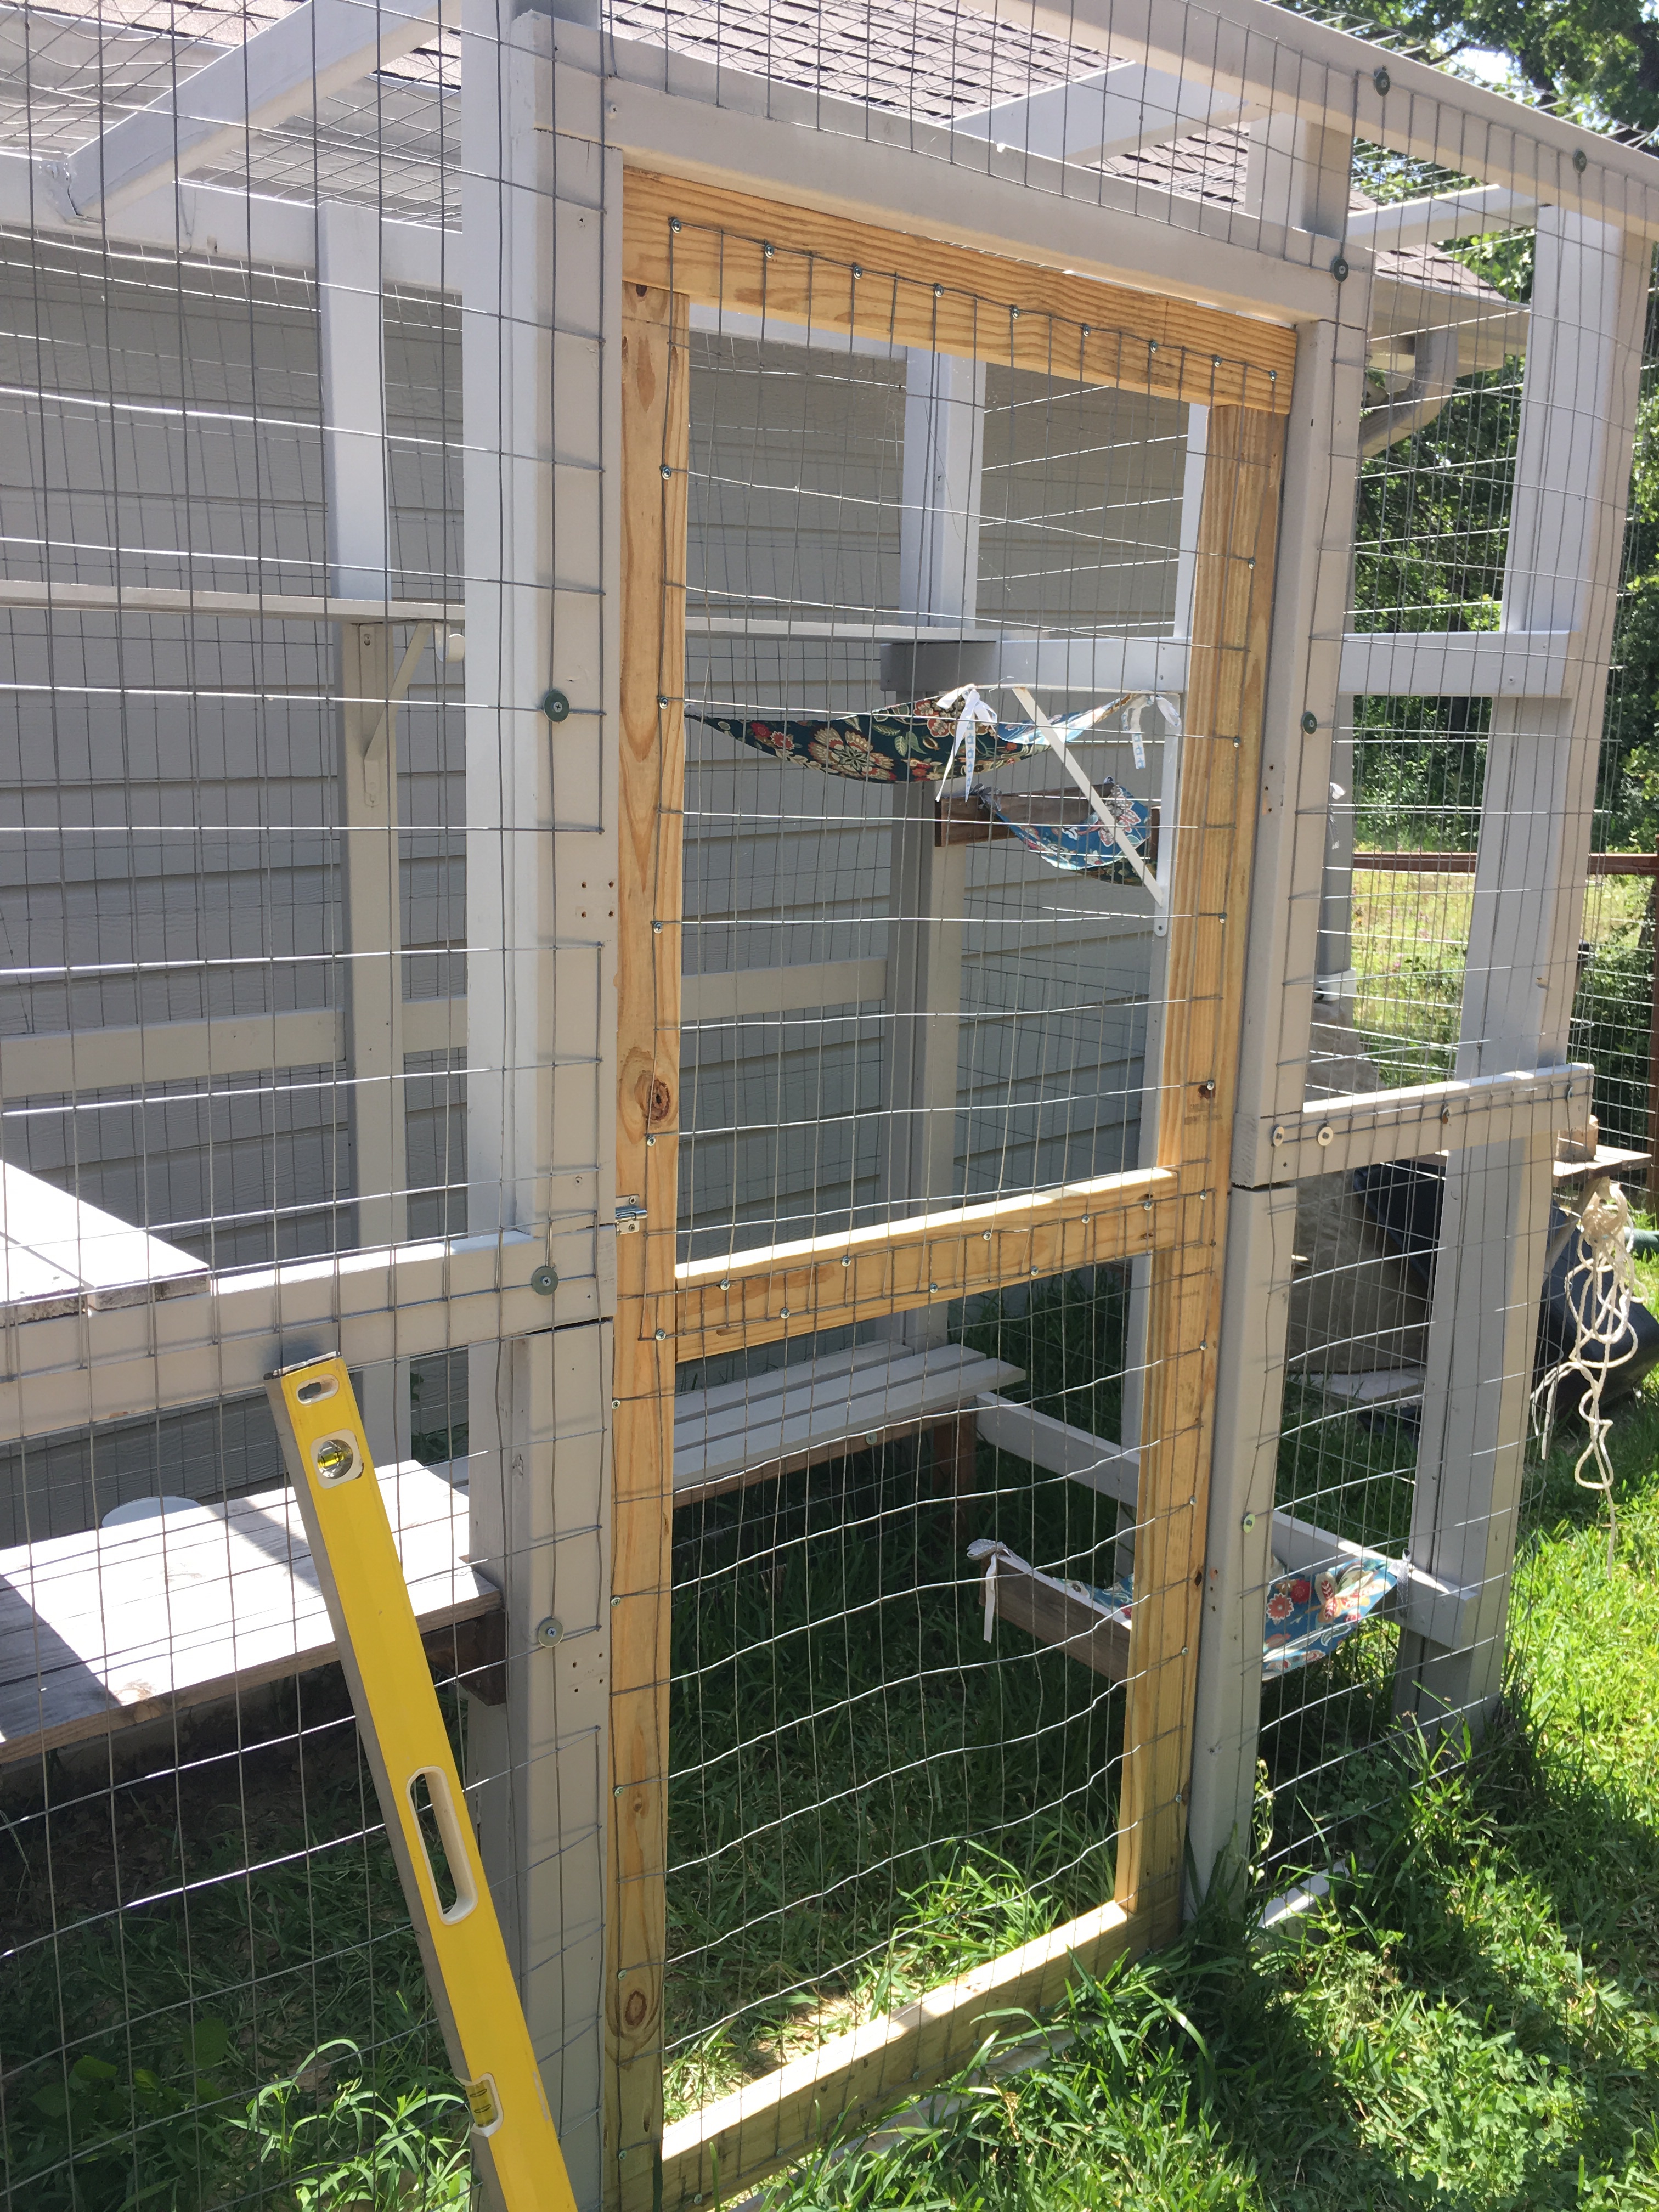
I had some time and was able to put together the final three chicken run doors and as a bonus, a new door for the catio! The old door was a cheap screen door from the big box hardware store, and the screen would come out at the slightest breeze. So now there is a treated 2×4 frame with welded wire door on the catio. It needs paint, but it is a strong sturdy door now.
New catio door
The catio has shifted slightly, and where I made sure the door was square, the opening was not. So we (my eldest helped), hung the door to swing in instead. It works and the gap is not big enough for a cat to squeeze through.