I switched tracks on what I am doing with the yarn remnants. I decided a need a new front door wreath, and am now making crocheted botanical elements.
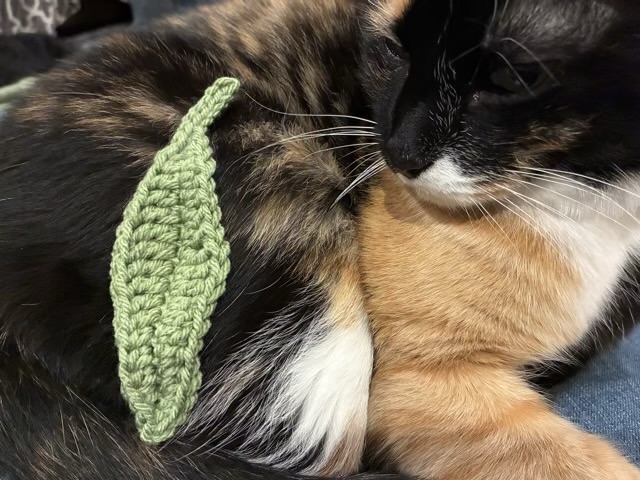
Photo description: green crocheted leaf laying on a calico cat
This first leaf started with a chain, then I worked each side of the chain with single crochet, half-double crochet, double crochet, and triple crochet to make curved sides. The stem is slip stitched.
It is a humble beginning, but I hope it will bloom into something remarkable.
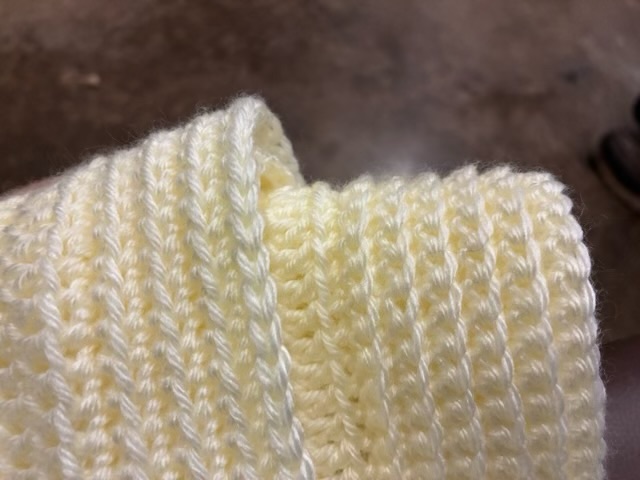
It seems like single crochet in the back loop, reversing direction each row, would create the same fabric as single crochet in the front loop one row, and single crochet in the back loop the next row in the round. It does not.
Photo description: close up of two hat brims, the left one is alternating rounds of front loop and back loop single crochet, the one on the right is single crochet in the back loop switching direction each round
In the photo above, the left brim has some ridges, but feels thin. The brim on the right is soft and squishy.
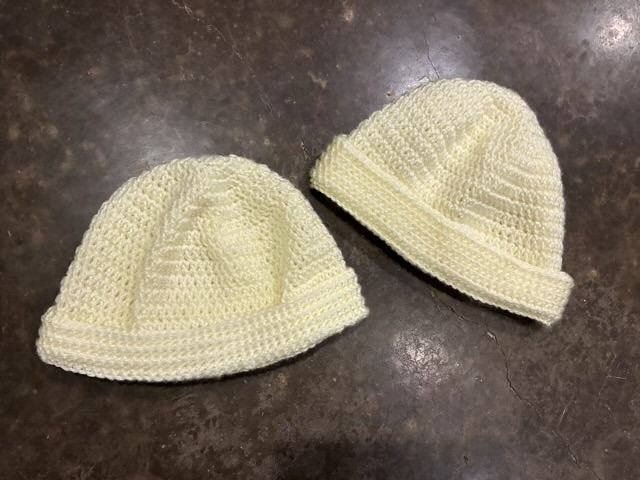
Photo description: two crocheted hats with different brims in off white acrylic yarn
The single crochet in the back loop switching directions is vastly superior as a hat brim and honestly for any other application where warmth and comfort is needed.
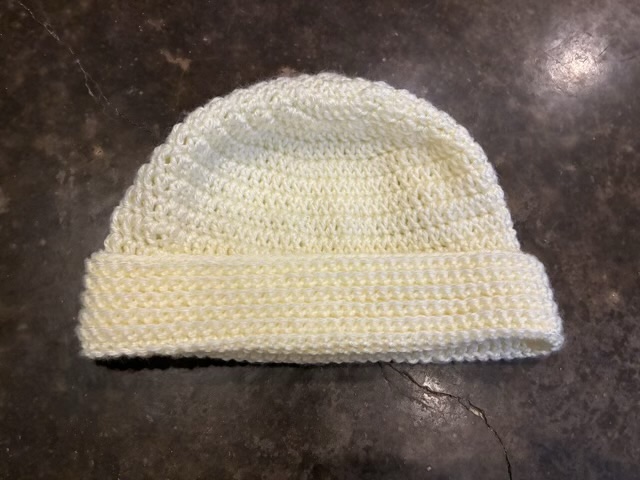
When I have a plethora of yarn remnants on hand, I default to making hats. I like to experiment with different stitches and construction methods, and it uses up the yarn in a useful and quick way. This round, I’m exploring the folded brim. Making a hat longer than necessary, then folding it up to double over the ears does a better job keeping ears toasty and warm than a single layer.
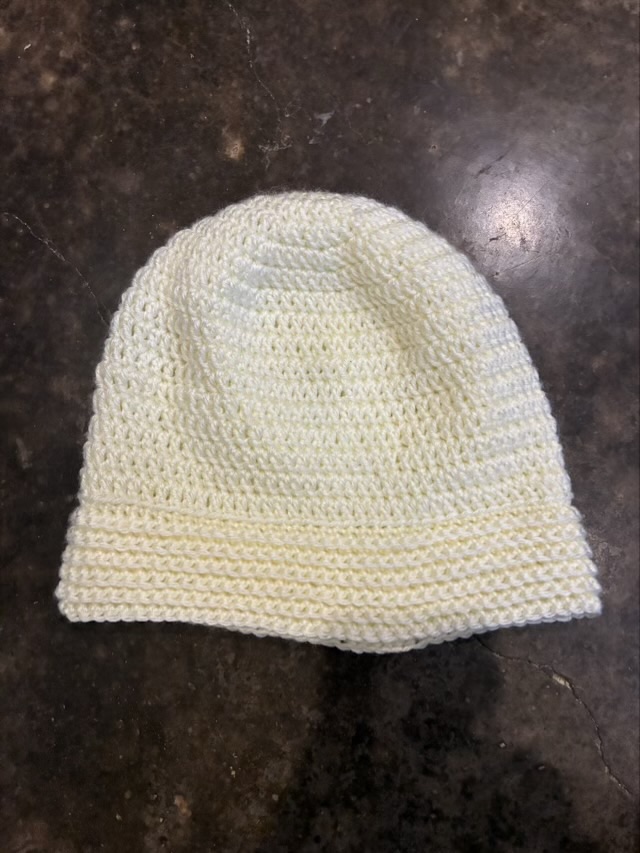
Photo description: off-white acrylic crocheted hat showing the full length Photo description: same hat with a brim folded up
I constructed the hat with double crochets in concentric circles, then for the brim did single crochet in the back loop and changed direction each round. This makes for a lovely squishy accordion-like fabric.
I do wonder if I could achieve the same effect crocheting in the back loop one round and the front loop the second round, to avoid the awkward turnaround where I tend to accidentally add stitches. Hm.
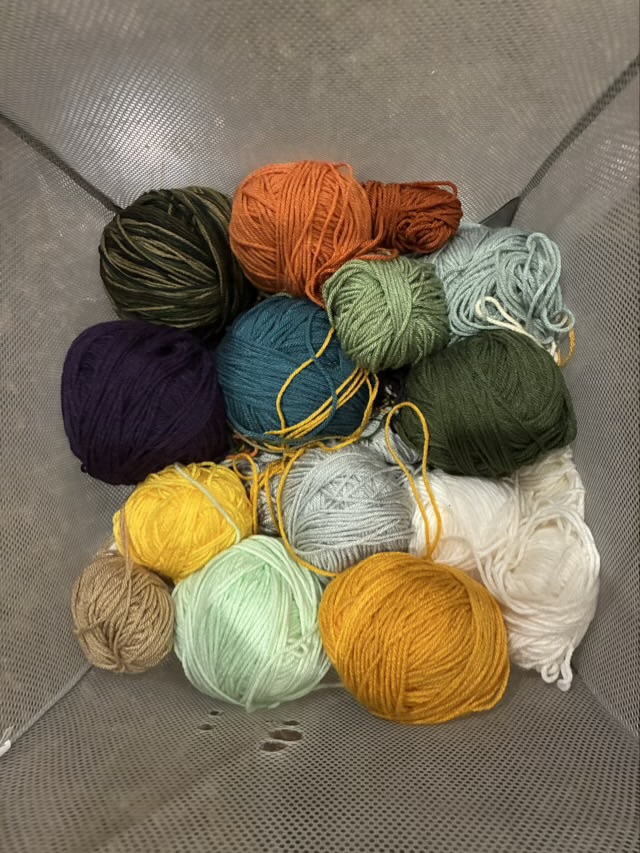
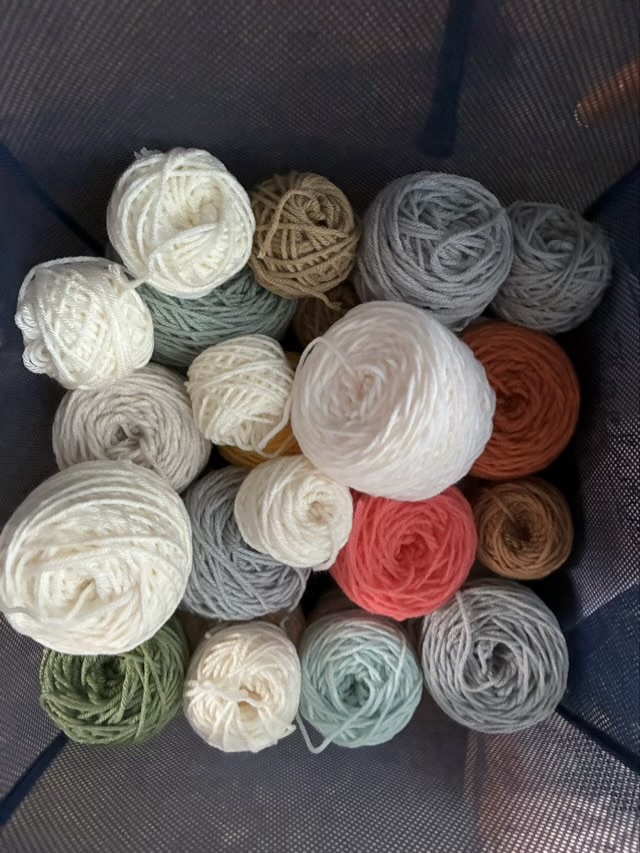
Photo description: mesh basket full of hand wound balls of acrylic yarnPhoto description: mesh basket full of wound cakes of acrylic yarn
I finished rewinding all the yarn remnants into cakes. It might not make a long term difference in the neatness of the stash, but it soothes my soul to have them all center-pull. We’re all different.
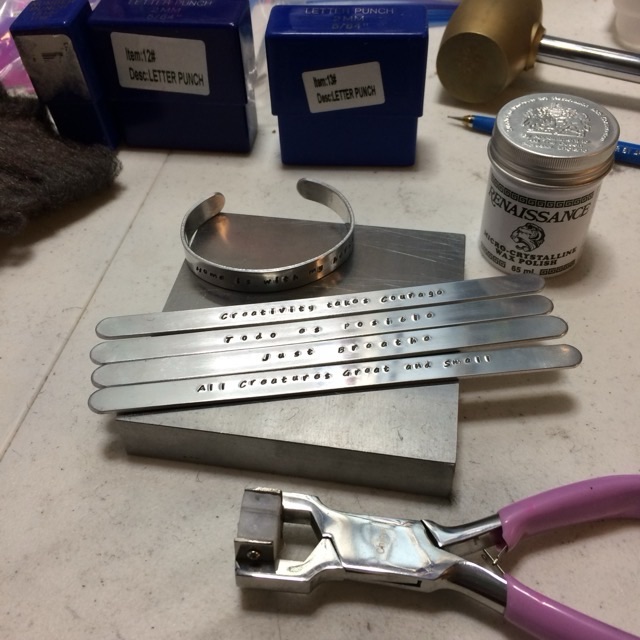
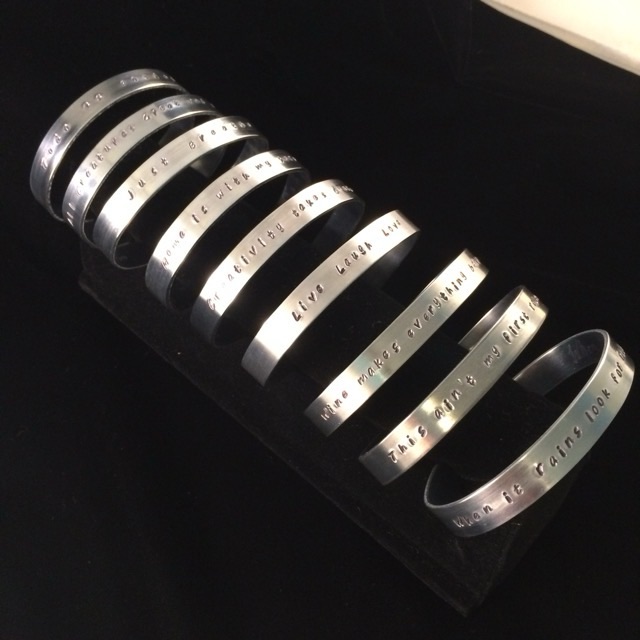
In December 2016 I was all about the stamped aluminum bracelets.
Photo description: bracelet stamping tools: steel wool, metal letter stamps, dead blow hammer, pencil, finishing wax, steel stamping block, aluminum bracelet blanks, forming pliersPhoto description: nine stamped aluminum bracelets laid out on black velvet
The next level for this craft is using tools for alignment so the words come out straight every time. Pencil layouts can only take you so far.
I did have fun finding sayings that fit on the bracelets.